
Why would you want to erase your iPhone settings and data?
There are several reasons why you might want to erase your iPhone settings and data. Whether you’re selling or giving away your device, experiencing performance issues, or concerned about your privacy, erasing your iPhone can provide a fresh start and peace of mind. Here are some common scenarios that may prompt you to take this step:
- Selling or giving away your iPhone: When selling or passing on your iPhone to someone else, it’s essential to remove all personal data to protect your privacy. Erasing your iPhone ensures that your contacts, messages, photos, and other sensitive information are completely wiped from the device, reducing the risk of identity theft or unauthorized access.
- Performance issues: Over time, iPhones may accumulate temporary files, cache, and other data that can impact performance. If you’re experiencing sluggishness, freezes, or other performance-related issues, erasing your iPhone settings and data can help eliminate these problems. Resetting the device to its factory settings can resolve software conflicts and optimize its performance.
- Privacy concerns: Privacy is a significant concern in today’s digital world. If you have sensitive or confidential information stored on your iPhone, such as banking details, passwords, or personal files, erasing your iPhone can prevent unauthorized access. This is especially important if your device has been lost or stolen.
- Switching devices: If you’re upgrading to a new iPhone or switching to a different device, erasing your current iPhone ensures a clean transition. By wiping your iPhone’s settings and data, you can start fresh on your new device without any unnecessary clutter or settings conflicts.
Regardless of your reason for wanting to erase your iPhone settings and data, it’s crucial to understand how to do it correctly to avoid any unintended consequences. In the following sections, we’ll explore different methods to erase your iPhone and what happens during the process.
Back up your iPhone before erasing
Before you proceed with erasing your iPhone settings and data, it’s vital to create a backup of your device. Backing up ensures that you don’t lose any important data, such as photos, contacts, messages, or app data. Having a backup allows you to restore your iPhone to its previous state if needed. Here’s how you can back up your iPhone:
1. iCloud Backup: iCloud provides a convenient way to back up your iPhone wirelessly. Make sure you’re connected to a stable Wi-Fi network and follow these steps:
- Open the Settings app on your iPhone.
- Tap your name at the top of the screen, then select “iCloud.”
- Scroll down and tap “iCloud Backup.”
- Toggle on the “iCloud Backup” option and tap “Back Up Now.”
- Wait for the backup process to complete. It may take some time depending on the size of your data and internet speed.
2. iTunes or Finder Backup: If you prefer to back up your iPhone using a computer, you can use iTunes (on Windows) or Finder (on Mac). Here are the steps:
- Connect your iPhone to your computer using a USB cable.
- If prompted, trust your computer and enter your device passcode.
- Open iTunes (Windows) or Finder (Mac).
- Select your iPhone when it appears in the iTunes or Finder window.
- Click on “Back Up Now” to initiate the backup process.
- Wait for the backup to finish. It may take a while depending on the amount of data on your iPhone.
Once you have successfully backed up your iPhone, you can proceed with confidence to erase your device’s settings and data. Having a backup ensures that you won’t lose any important information, and you can easily restore your iPhone to its previous state or set up a new device using the backup.
How to erase your iPhone settings and data
When it comes to erasing your iPhone settings and data, you have several options to choose from. The method you choose depends on your specific needs and preferences. Here are the four main options to consider:
Option 1: Erase all content and settings from iPhone: This method allows you to completely wipe your iPhone and restore it to its factory settings. Here’s how to do it:
- Open the Settings app on your iPhone.
- Tap on “General” and scroll down to the bottom.
- Select “Reset” and then choose “Erase All Content and Settings.”
- Enter your passcode, if prompted, and confirm your selection.
- Wait for the process to complete. Your iPhone will restart and present the initial setup screen.
Option 2: Erase specific data from iPhone: If you only want to erase specific data, such as photos, contacts, or messages, you can do so directly from your iPhone. Follow these steps:
- Open the Settings app on your iPhone.
- Navigate to “General” and select “iPhone Storage.”
- Tap on the specific app or data category you want to erase.
- Select “Delete” or “Offload App” to remove the data from your iPhone.
- Repeat this process for any other data you wish to erase.
Option 3: Erase iPhone remotely using Find My app: If your iPhone is lost or stolen and you have the Find My app enabled, you can erase your device remotely. Here are the steps:
- On another device, open the Find My app or visit iCloud.com and sign in with your Apple ID.
- Select your iPhone from the list of devices.
- Choose the “Erase iPhone” option.
- Follow any additional prompts to confirm the erasure.
Option 4: Erase iPhone using iTunes: If you prefer to use a computer to erase your iPhone, you can use iTunes (Windows) or Finder (Mac) to do so. Here’s how:
- Connect your iPhone to your computer using a USB cable.
- Open iTunes (Windows) or Finder (Mac).
- Select your iPhone when it appears in the iTunes or Finder window.
- Click on the “Restore iPhone” button.
- Follow the on-screen instructions to erase your iPhone and restore it to its factory settings.
Choose the method that best suits your needs and follow the instructions carefully. Remember to have a backup of your iPhone before proceeding with the erasure to ensure any important data can be restored later.
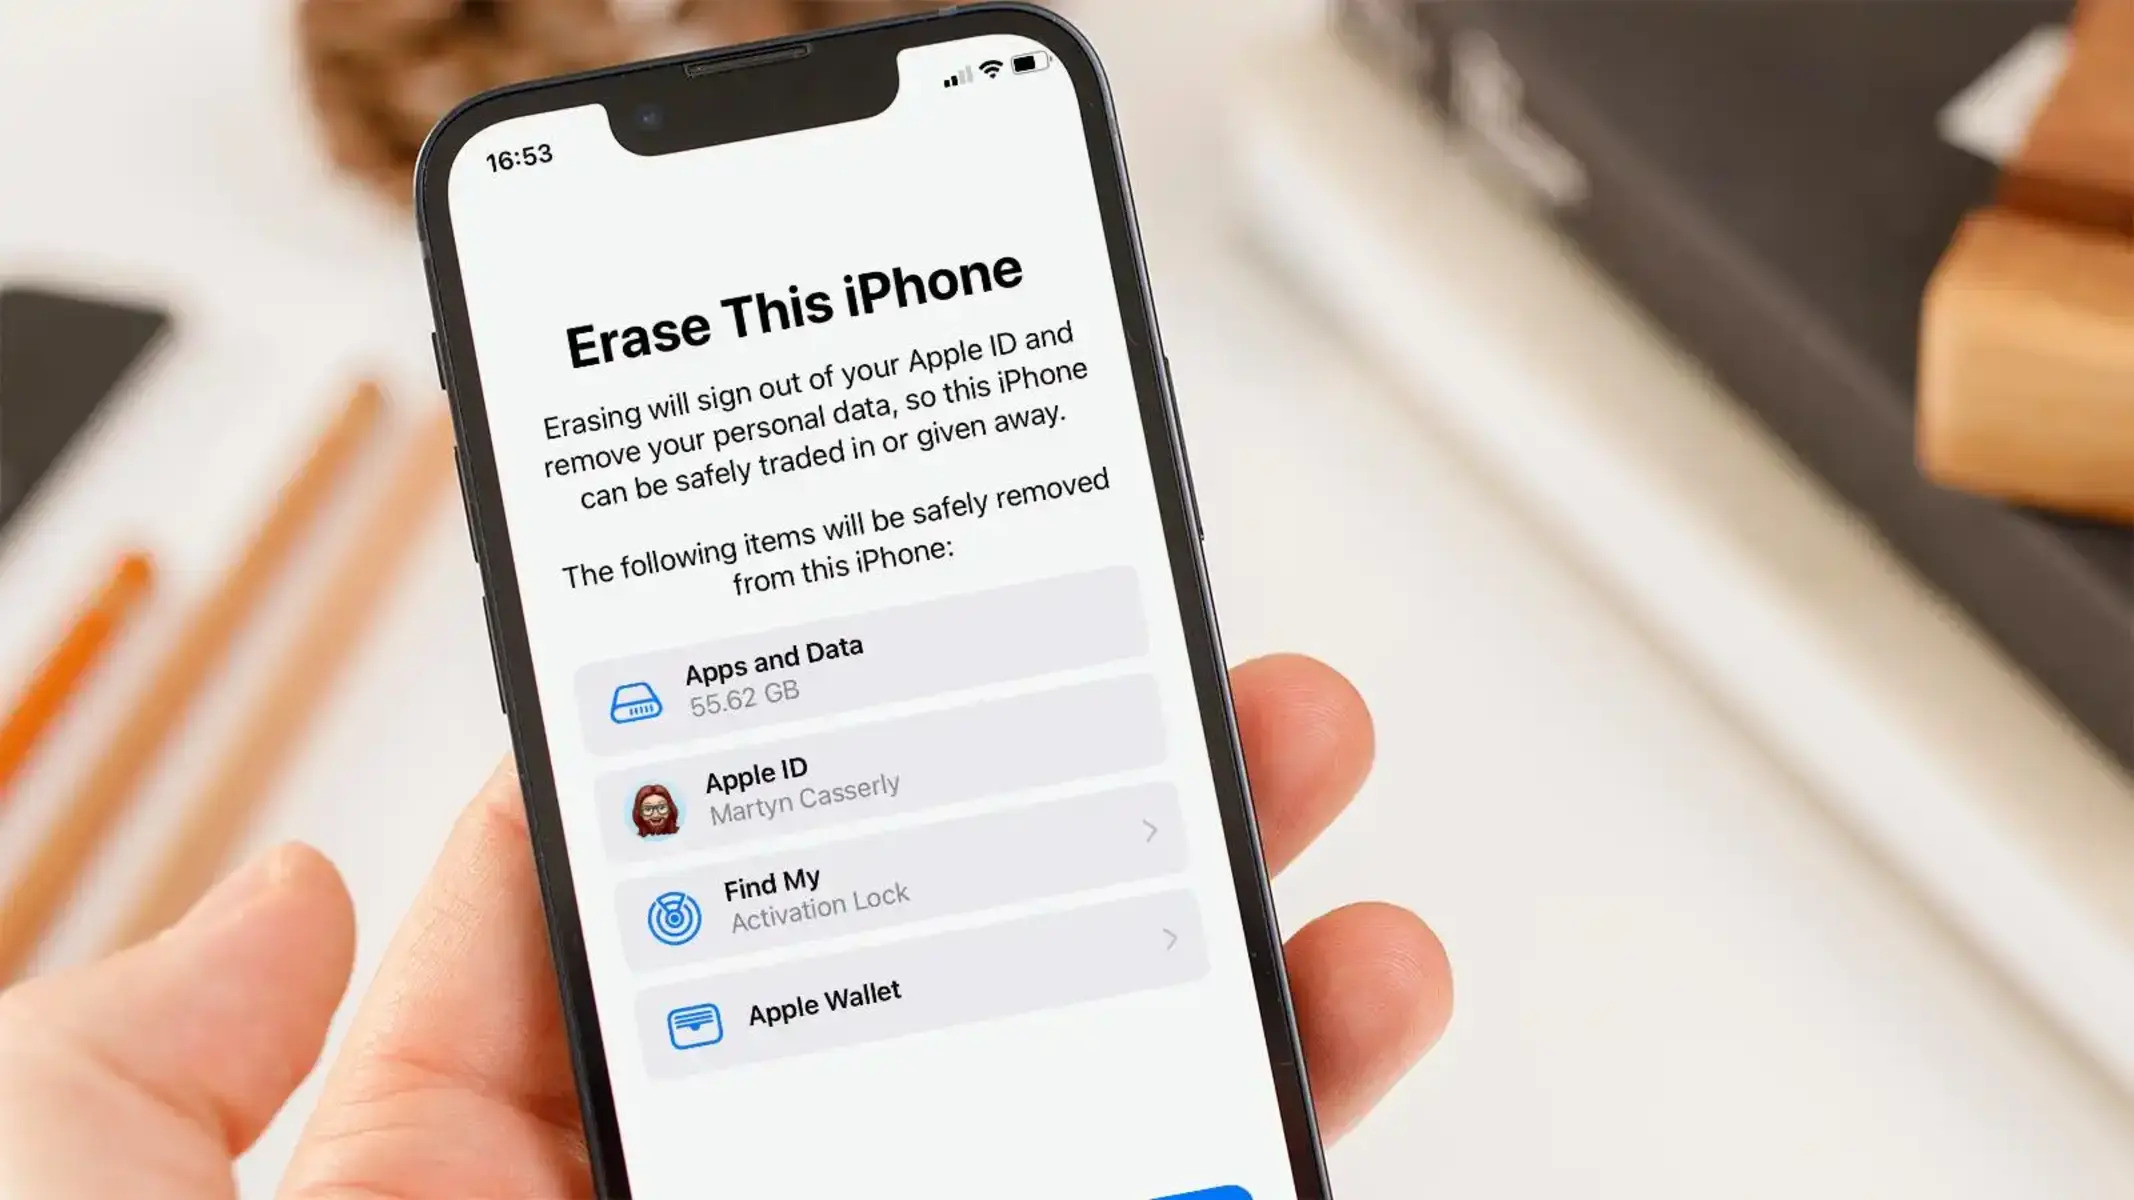
Option 1: Erase all content and settings from iPhone
If you want to completely wipe your iPhone and start fresh, the “Erase All Content and Settings” option is the way to go. This method ensures that all your personal data, including photos, contacts, messages, and settings, are permanently removed from your device. Here’s how to perform this action:
- Open the Settings app on your iPhone.
- Tap on “General.”
- Scroll down and select “Reset.”
- Choose “Erase All Content and Settings.”
- If prompted, enter your passcode or Apple ID password to confirm the action.
- A warning message will appear, reminding you that this action cannot be undone. Confirm by tapping “Erase iPhone.”
- Wait for your iPhone to complete the erasure process. This may take some time, depending on the amount of data stored on your device.
- Once the process is finished, your iPhone will restart and display the initial setup screen.
It’s important to note that erasing all content and settings removes everything from your iPhone, including your apps, media files, and personal settings. Therefore, it’s crucial to have a backup of your important data before initiating this process.
This method is ideal if you’re planning to sell or give away your iPhone, as it ensures that all your personal information is permanently erased. It’s also useful if you’re experiencing software issues or want to start fresh with a clean iPhone without any unnecessary clutter or settings conflicts.
Remember, before proceeding with this erasure method, make sure to back up your iPhone using iCloud or iTunes/Finder. Having a backup ensures that you can restore your data, settings, and apps to a new iPhone or revert to the previous state if needed.
Option 2: Erase specific data from iPhone
Sometimes, you may want to erase specific data from your iPhone without completely resetting the device. This option allows you to selectively remove certain files, apps, or data categories. Here’s how you can do it:
- Open the Settings app on your iPhone.
- Navigate to “General” and select “iPhone Storage.”
- You’ll see a list of apps and data categories, sorted by the amount of storage they consume.
- Tap on the specific app or data category that you want to erase.
- Depending on the app or data category, you’ll see different options to manage the data. Look for “Delete” or “Offload App.” Tap on it to remove the data from your iPhone.
- If you’re deleting an app, you may be asked to confirm the action. Choose “Delete App.”
- Repeat the above steps for any other data or apps you wish to erase.
By utilizing this method, you have the flexibility to free up storage space by removing apps you no longer use or deleting specific types of data like photos, messages, or videos. It can help declutter your iPhone and improve its overall performance.
Keep in mind that when you delete an app, its associated data will be removed as well. For example, if you delete a messaging app, all your conversations and attachments will be permanently deleted. Therefore, make sure to back up any important data before proceeding with the erasure.
This option is particularly useful if you want to selectively clean up your iPhone or if you have limited storage space and need to make room for new content. It allows you to personalize your device by removing unnecessary data without affecting the rest of your apps and settings.
If you decide to erase all content and settings from your iPhone instead, make sure to use the appropriate method described in Option 1 above. Remember to create a backup of your iPhone before performing any erasure to ensure you don’t lose any important data.
Option 3: Erase iPhone remotely using Find My app
If your iPhone is lost, stolen, or you suspect it’s in the wrong hands, you can use the Find My app to remotely erase all data on your device. This option ensures that your personal information remains secure and inaccessible. Here’s how to erase your iPhone using the Find My app:
- On another device, such as a computer or another iPhone with the Find My app, open the app or visit iCloud.com and sign in with your Apple ID.
- Select the “Devices” tab and choose your iPhone from the list of devices.
- In the device details screen, tap on “Erase iPhone.”
- A warning message will appear, informing you that this action will erase all data and settings on your iPhone. Confirm by tapping “Erase.”
- If your iPhone was offline when the erase command was initiated, it will be erased as soon as it comes online. If it’s not connected to the internet, the erasure will start automatically once it connects.
- Once the erase process begins, your iPhone’s screen will display a message indicating that the device is being erased remotely.
- When the process is complete, your iPhone will be restored to its factory settings and all data will be permanently removed.
This method is handy if you’re unable to physically access your iPhone or if you want to ensure that your personal information is completely wiped from the device. By remotely erasing your iPhone using the Find My app, you can protect your privacy and prevent unauthorized access to your data.
It’s important to note that erasing your iPhone using this method also disables Apple Pay on the device, making it inaccessible for any transactions. This provides an additional layer of security to prevent misuse of your financial information.
Remember, once you’ve erased your iPhone using the Find My app, you won’t be able to track its location anymore. If you’re able to locate your device later, you won’t be able to use Find My or any related features until you set it up again.
If you recover your iPhone after erasing it remotely, you can restore your data from a previous backup to restore your apps, settings, and other personal information onto the device.
Option 4: Erase iPhone using iTunes
If you prefer to use a computer to erase your iPhone, you can utilize iTunes (Windows) or Finder (Mac) to perform the erasure. This method allows you to reset your iPhone to its factory settings and remove all data and settings. Here’s how to erase your iPhone using iTunes:
- Connect your iPhone to your computer using a USB cable.
- If prompted, trust the computer and enter your device passcode.
- Open iTunes (Windows) or Finder (Mac). Ensure that you’re using the latest version of iTunes or macOS.
- In the iTunes or Finder window, select your iPhone, which appears as an icon or in the device list.
- Click on the “Restore iPhone” or “Restore” button.
- A dialog box will appear, asking if you want to back up your iPhone. Choose whether to backup or not. It’s recommended to create a backup before erasing your device.
- If prompted, confirm the action by clicking “Restore” again.
- Wait for iTunes or Finder to erase your iPhone and restore it to its factory settings. The process may take some time, depending on the size of your data and the speed of your computer.
- Once the erasure is complete, your iPhone will restart, and you will be taken to the initial setup screen.
Using iTunes or Finder to erase your iPhone provides a convenient option if you prefer to manage your device from your computer or if you’re having issues with your iPhone that can’t be resolved through other methods.
It’s worth noting that erasing your iPhone using this method also updates your device to the latest version of iOS, ensuring that you have the most up-to-date software installed.
Before erasing your iPhone using iTunes or Finder, it’s essential to create a backup of your device to ensure that you don’t lose any valuable data. This backup can be used later to restore your iPhone or set up a new device with your previous data and settings.
Keep in mind that once you’ve erased your iPhone using this method, the action cannot be undone, and all data will be permanently removed from your device.
Whether you choose to erase your iPhone using iTunes, the Find My app, or another method, it’s crucial to have a backup of your data, so you can restore it if necessary or set up a new device with ease.
What happens when you erase your iPhone settings and data?
When you choose to erase your iPhone settings and data, several important actions take place to ensure that your personal information is securely removed from the device. Here’s what happens when you initiate the erasure:
1. All data is permanently deleted: Every piece of data on your iPhone, including photos, videos, messages, contacts, app data, and settings, is permanently erased. The purpose of this process is to ensure that your information cannot be recovered, even by advanced data recovery methods.
2. Settings are restored to factory defaults: Erasing your iPhone settings reverts all personalized configurations back to the original factory settings. This means that preferences, such as Wi-Fi networks, app permissions, wallpaper, and other customized settings, will be reset.
3. Apps and app data are removed: All third-party apps that were installed on your iPhone will be entirely removed. This includes app data, such as login credentials, saved preferences, and local files associated with the apps.
4. iCloud and Apple ID associations are disconnected: Erasing your iPhone dissociates it from your iCloud account and Apple ID. This ensures that your iPhone is no longer tied to your cloud storage, email, contacts, and other iCloud services.
5. Activation Lock is disabled: If you had enabled Activation Lock, which prevents unauthorized use of your iPhone, erasing the device disables this feature. This allows others to set up and activate the iPhone with their own Apple ID.
6. All encryption keys are securely erased: To ensure the complete removal of your data, the cryptographic keys used to encrypt your files are securely wiped. This makes it virtually impossible for anyone to recover your erased data through forensic methods.
By erasing your iPhone settings and data, you can confidently hand over or sell your device without worrying about personal information falling into the wrong hands. Additionally, if you’re experiencing performance issues, starting fresh by erasing your iPhone can help resolve software conflicts and optimize its performance.
It’s important to note that once the erasure process is complete, there is no way to recover the erased data unless you have a backup stored in iCloud, iTunes, or Finder. Therefore, it’s crucial to back up your iPhone before performing the erasure to ensure that you can restore your data, settings, and apps later if needed.
How long does it take to erase an iPhone?
The time it takes to erase an iPhone depends on several factors, such as the model of your device, the amount of data stored on it, and the method you use to perform the erasure. Here’s a general idea of how long the process may take:
Option 1: Erase all content and settings from iPhone: If you choose to erase all content and settings directly on your iPhone, the duration of the erasure can vary. On average, it can take anywhere from a few minutes to an hour or more, depending on the model and the amount of data you have on your device. Additionally, if you have a lot of apps or files that need to be deleted, it may take longer.
Option 2: Erase specific data from iPhone: When you erase specific data, such as individual apps or data categories, the process is generally quicker compared to erasing the entire device. The time it takes will depend on the size and number of the selected data items. Erasing a small app or a few photos can be completed within seconds or a few minutes.
Option 3: Erase iPhone remotely using Find My app: If you’re erasing your iPhone remotely using the Find My app, the time it takes for the erasure to complete can vary. It depends on factors such as the internet connection of your iPhone and the proximity to a Wi-Fi network. Once the erase command is received by your iPhone, it will begin the process as soon as it’s connected to the internet. This can take anywhere from a few minutes to several hours.
Option 4: Erase iPhone using iTunes: Erasing your iPhone using iTunes or Finder typically takes longer than erasing it directly on the device. The duration depends on factors such as the model, the amount of data on the device, and the speed of your computer. It can range from 15 minutes to over an hour.
It’s important to be patient during the erasure process, especially if you’re performing a complete reset or erasing a significant amount of data. Avoid interrupting the process by disconnecting your iPhone or closing iTunes or Finder prematurely, as this can lead to potential issues or incomplete erasure.
Keep in mind that these time estimates are approximate and can vary based on different factors. It’s always a good idea to allocate sufficient time for the erasure and ensure that your iPhone is connected to a reliable power source throughout the process to avoid any unexpected interruptions.
How to check if your iPhone is erased successfully
Once you’ve initiated the erasure process on your iPhone, you may be wondering how to confirm if it was completed successfully. Here are some steps and indicators to check if your iPhone has been erased:
1. Check the setup screen: After the erasure is complete, your iPhone will display the initial setup screen. This screen is where you would typically set up a new device or restore from a backup. If you see this screen, it indicates that the erasure process was successful.
2. Look for the “Hello” screen: On the setup screen, you should see a message that says “Hello” in multiple languages. This is another confirmation that your iPhone has been reset to its factory settings.
3. Confirm the absence of personal data: Navigate through the various settings and menus on your iPhone to ensure that all your personal data, including contacts, messages, photos, and apps, have been removed. If you don’t find any traces of your previous data, it indicates that the erasure was successful.
4. Check iCloud status: If you had enabled Find My iPhone or Activation Lock on your device, you can check the status on the iCloud website. Log in to your iCloud account and navigate to the Find My iPhone section. If the status shows that your iPhone is no longer linked to your account, it means that the erasure process was completed successfully.
5. Connect to iTunes: If you prefer to verify the erasure through iTunes or Finder, connect your iPhone to your computer and open the respective application. If your iPhone is no longer listed as a connected device, it indicates that the erasure was successful.
It’s important to note that once your iPhone has been erased, there is no practical way to recover the data that was removed. Therefore, it’s crucial to ensure that you have created a backup of your important data before initiating the erasure process.
If you’re planning to sell or give away your iPhone, it’s also a good practice to go through the setup process and perform a basic functionality check to ensure that everything is working as expected before handing it over to the new owner.
By following these steps and verifying the indicators mentioned above, you can confidently conclude whether or not your iPhone has been successfully erased, providing you with peace of mind that your personal data is no longer accessible on the device.
Recovering erased data from iPhone (if possible)
When you erase your iPhone, the intention is to permanently remove all data from the device to protect your privacy and security. However, under certain circumstances, it may be possible to recover some or all of the erased data. Here are some options to consider for data recovery:
1. Data Backup: If you had created a backup of your iPhone data before performing the erasure, you can restore the backup to retrieve your files and settings. You can restore the backup from iCloud, iTunes, or Finder, depending on where you had stored it previously.
2. iCloud Backup: If you had enabled iCloud Backup and your iPhone was regularly backing up to iCloud, you can restore the erased data by signing in to iCloud on a new or restored iPhone and selecting the latest backup available.
3. iTunes/Finder Backup: If you had created a backup of your iPhone using iTunes or Finder on your computer, you can restore the erased data by connecting your iPhone to the computer, opening iTunes or Finder, and selecting the backup file that you want to restore.
4. Data Recovery Services: In some cases, if you haven’t backed up your iPhone before erasing it or the backups are not accessible, you may consider professional data recovery services. These services specialize in retrieving data from storage devices, and they may be able to recover some or all of your erased data. It’s important to note that data recovery services can be expensive, and success is not guaranteed.
It’s crucial to remember that the chances of recovering erased data decrease significantly once an iPhone has been fully erased. This is because the erasure process is designed to overwrite the data, making it challenging to retrieve. Therefore, it is strongly recommended to regularly create backups of your iPhone to avoid data loss and ensure that your precious files are protected.
If you have erased your iPhone and did not have a backup of the data, it is a valuable lesson to always maintain regular backups in the future. Taking proactive measures to back up your iPhone will help secure your important files and make data recovery much easier in case of accidental erasure or device failure.