
What is Focused Inbox in Outlook?
Outlook, the popular email client developed by Microsoft, offers a feature called Focused Inbox. This feature aims to help users prioritize their emails by separating them into two tabs: Focused and Other.
The Focused Inbox intelligently analyzes your email patterns and preferences to determine which emails are most important to you. It learns from your actions, such as marking emails as important or moving them to different folders, to better understand your priorities.
The Focused tab displays emails that are considered important or urgent, such as emails from your contacts, messages that you frequently interact with, or emails that appear to require immediate attention. On the other hand, the Other tab consists of less important emails, such as newsletters, promotional messages, and automated notifications.
By using Focused Inbox, you can have a cleaner and more organized inbox, with the most relevant emails conveniently separated and easily accessible.
It’s worth noting that Focused Inbox is available across various platforms, including the Outlook desktop application for Windows and macOS, as well as the Outlook web app.
Now that you have a better understanding of what Focused Inbox is and how it works, let’s explore how to enable or disable this feature in Outlook.
How does Focused Inbox work?
Focused Inbox in Outlook employs a sophisticated algorithm to determine which emails should be classified as “focused” or “other.” This algorithm takes into account various factors, including your email history, communication patterns, and user interactions.
The initial setup of Focused Inbox involves analyzing the content and metadata of your emails to identify recurring patterns and relationships. For example, if you frequently receive and respond to emails from a particular contact or thread, Outlook will recognize this and classify corresponding emails as focused.
As you continue to use Outlook, the Focused Inbox feature adapts to your preferences. When you manually move an email from the Focused tab to the Other tab (or vice versa), Outlook learns from this action and adjusts its filtering accordingly. This helps train the algorithm to accurately categorize emails based on your priorities and preferences.
Additionally, you have the ability to explicitly mark emails as focused or other. This can be done by right-clicking on an email and selecting the “Move to Focused” or “Move to Other” option, depending on where you want the email to be placed.
Focused Inbox also syncs across devices, ensuring a consistent email experience whether you’re using the Outlook desktop application, the web app, or the mobile app. Any changes made to the Focused Inbox on one device will be reflected across all your devices.
One important thing to note is that the Focused Inbox algorithm improves over time. It continuously learns from your actions and adjusts its classification based on your evolving preferences and needs. This means that the more you use Focused Inbox, the more accurate and tailored it becomes.
Now that you have a better understanding of how Focused Inbox works in Outlook, let’s move on to the methods for enabling or disabling this feature.
How to enable Focused Inbox in Outlook
To take advantage of the Focused Inbox feature in Outlook, you can follow these steps to enable it. Please note that the steps may vary slightly depending on whether you are using the Outlook desktop application or the Outlook web app.
Method 1: Using the Outlook desktop app
1. Open the Outlook desktop application on your computer.
2. Go to the “View” tab at the top of the screen.
3. In the “Show” group, click on the “Show Focused Inbox” option. If the option is grayed out, it means that Focused Inbox is already enabled.
4. Once you click on “Show Focused Inbox,” the Focused and Other tabs will appear at the top of your inbox, and your emails will be automatically sorted accordingly.
Method 2: Using the Outlook web app
1. Open your preferred web browser and go to the Outlook web app (outlook.com).
2. Sign in to your Outlook account if you haven’t already done so.
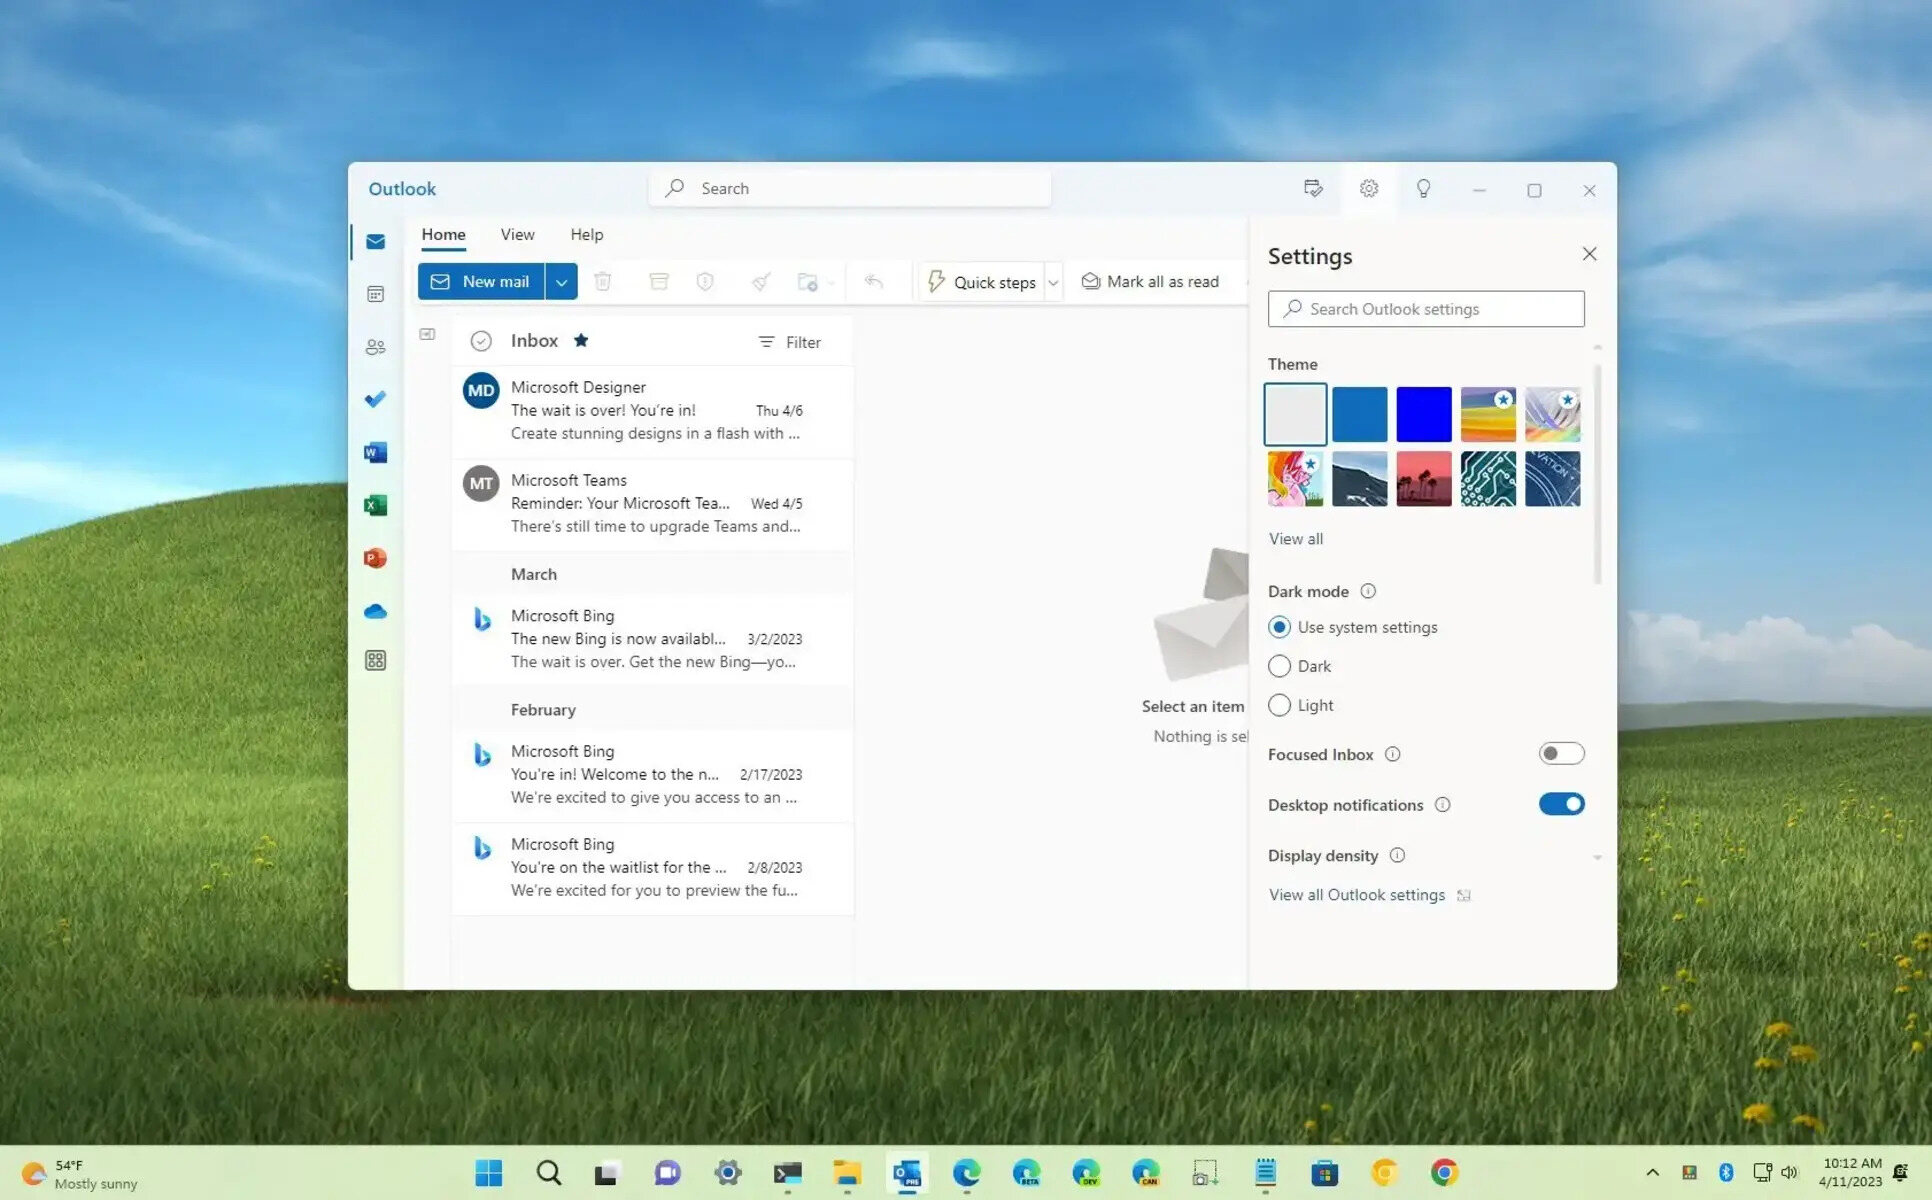
3. Once you’re in the Outlook web app, click on the gear icon in the top right corner to open the Settings menu.
4. In the Settings menu, select “View all Outlook settings” at the bottom.
5. On the left-hand side, click on “Focused Inbox” under the “Mail” section.
6. In the Focused Inbox settings, select the option to “Sort messages into Focused and Other” and click on the “Save” button.
7. Your inbox will then be organized into the Focused and Other tabs, based on the Focused Inbox algorithm.
Enabling Focused Inbox allows you to easily differentiate and prioritize important emails from the rest, providing you with a more focused and streamlined email experience.
Method 1: Using the Outlook desktop app
If you prefer using the Outlook desktop application on your computer, follow these steps to enable Focused Inbox:
1. Open the Outlook desktop application on your computer.
2. Once you’re in Outlook, go to the “View” tab at the top of the screen.
3. In the “Show” group, you should see an option called “Show Focused Inbox.” Click on this option. Note that if the option is grayed out, it means that Focused Inbox is already enabled.
4. After clicking on “Show Focused Inbox,” you will notice that the Focused and Other tabs appear at the top of your inbox. Your emails will now be automatically sorted into these tabs based on their importance and relevance.
Enabling Focused Inbox through the Outlook desktop app provides you with a seamless experience and easy access to important emails without cluttering your inbox with less relevant ones.
It’s crucial to note that the Focused Inbox feature in the Outlook desktop app is available for both Windows and macOS users. By following these simple steps, you can enjoy the benefits of Focused Inbox right from your desktop.
Method 2: Using the Outlook web app
If you prefer using the Outlook web app to access your email, here’s how you can enable Focused Inbox:
1. Open your preferred web browser and navigate to the Outlook web app (outlook.com).
2. Sign in to your Outlook account using your email address and password.
3. Once you’re logged in, you’ll be taken to the Outlook web app. In the top right corner, click on the gear icon to open the Settings menu.
4. In the Settings menu, scroll down and select “View all Outlook settings” at the bottom of the menu. This will open the full list of options for customization.
5. On the left-hand side, you’ll see various categories. Click on “Focused Inbox” under the “Mail” section.
6. In the Focused Inbox settings, you’ll have the option to “Sort messages into Focused and Other.” Select this option to enable Focused Inbox.
7. Lastly, click on the “Save” button at the top of the settings panel to apply the changes.
8. After saving the settings, your inbox will be organized into the Focused and Other tabs based on the Focused Inbox algorithm. You’ll have easy access to important emails in the Focused tab, while less important emails will be placed in the Other tab.
By enabling Focused Inbox in the Outlook web app, you can efficiently manage your emails and ensure that important messages are prioritized and readily accessible.
It’s worth mentioning that the Focused Inbox feature in the Outlook web app provides a consistent and convenient email experience across different web browsers and devices. Whether you’re using Chrome, Firefox, Safari, or any other supported browser, you can enable Focused Inbox with ease.
How to disable Focused Inbox in Outlook
If you find that the Focused Inbox feature in Outlook isn’t suitable for your email management needs, you can disable it. Here are the steps to disable Focused Inbox, whether you’re using the Outlook desktop application or the Outlook web app.
Method 1: Using the Outlook desktop app
To disable Focused Inbox in the Outlook desktop application, follow these steps:
1. Open the Outlook desktop app on your computer.
2. Go to the “View” tab at the top of the screen.
3. In the “Show” group, you’ll see the “Show Focused Inbox” option. Click on it to uncheck and disable Focused Inbox.
4. Once you disable Focused Inbox, your inbox will revert to the traditional view, without the separation into Focused and Other tabs.
Method 2: Using the Outlook web app
If you’re using the Outlook web app and want to disable Focused Inbox, follow these steps:
1. Open your preferred web browser and go to the Outlook web app (outlook.com).
2. Sign in to your Outlook account using your email address and password.
3. Once logged in, click on the gear icon in the top right corner to open the Settings menu.
4. In the Settings menu, select “View all Outlook settings” at the bottom.
5. On the left-hand side, click on “Focused Inbox” under the “Mail” section.
6. In the Focused Inbox settings, select the option to “Don’t sort messages” to disable Focused Inbox.
7. Click on the “Save” button at the top of the settings panel to apply the changes.
By following these steps, you can easily disable Focused Inbox in Outlook and go back to the traditional inbox view, where all your emails are displayed together without any automatic sorting.
Disabling Focused Inbox may be preferred by those who prefer to manually manage their emails without any automated categorization. It allows for a more traditional and unified email experience.
Method 1: Using the Outlook desktop app
If you are using the Outlook desktop application and want to disable Focused Inbox, follow these steps:
1. Open the Outlook desktop app on your computer.
2. Once you’re in Outlook, navigate to the “View” tab located at the top of the screen.
3. Look for the “Show” group, which contains the options related to the display of the inbox.
4. Within the “Show” group, you will find the “Show Focused Inbox” option. Click on it to uncheck and disable the Focused Inbox feature.
5. After disabling Focused Inbox, your inbox will revert to the standard view, without the division into Focused and Other tabs.
By following these steps, you can easily disable Focused Inbox in the Outlook desktop app and return to the traditional view of your inbox.
It’s important to note that the steps outlined above apply to both Windows and macOS versions of the Outlook desktop application. Whether you’re using Outlook on a PC or a Mac, you can disable Focused Inbox using this method.
Disabling Focused Inbox may be preferred by individuals who prefer to have all their emails displayed together without any automatic sorting. This allows for a more unified and familiar email management experience.
Method 2: Using the Outlook web app
If you want to disable Focused Inbox while using the Outlook web app, you can follow these steps:
1. Open your preferred web browser and navigate to the Outlook web app by entering “outlook.com” in the address bar.
2. Sign in to your Outlook account using your email address and password.
3. Once you’re logged in, you will be taken to the Outlook web app interface. In the top right corner, click on the gear icon to open the Settings menu.
4. From the Settings menu, scroll down and click on the “View all Outlook settings” option found at the bottom of the menu. This will open the full list of settings available for customization.
5. On the left-hand side, you will see various categories. Click on “Focused Inbox” under the “Mail” section.
6. In the Focused Inbox settings panel, you will find an option to “Don’t sort messages.” Select this option to disable Focused Inbox.
7. Finally, click on the “Save” button located at the top of the settings panel to apply the changes.
By following these steps, you can easily disable Focused Inbox in the Outlook web app and revert to the traditional view of your inbox.
It’s worth noting that the process for disabling Focused Inbox in the Outlook web app provides a consistent experience across different web browsers and operating systems. Whether you use Chrome, Firefox, Safari, or any other supported browser, these steps will help you disable Focused Inbox with ease.
Disabling Focused Inbox may be preferred by individuals who prefer to have their inbox display all emails together without any automatic categorization. This gives you more control over how your emails are organized and presented.
Troubleshooting common issues with Focused Inbox
While Focused Inbox in Outlook is generally a helpful feature, there may be instances where you encounter issues or face challenges. Here are some common problems with Focused Inbox and troubleshooting steps to resolve them:
1. Emails are not being correctly categorized: If you find that emails are consistently being placed in the wrong tab (Focused or Other), you can try retraining the Focused Inbox algorithm. Move the misclassified emails to the correct tab, and over time, Outlook will learn and adjust its categorization.
2. Important emails are being sent to the Other tab: If you notice that critical emails are consistently being sorted into the Other tab, you can mark these emails as “Focused.” Right-click on the email and select “Move to Focused” to help Outlook understand your priorities better.
3. Focused Inbox is missing or not available: In some cases, you may not see the Focused and Other tabs in your inbox. This could be due to a configuration issue. To resolve this, make sure you have the latest version of Outlook installed and ensure that the Focused Inbox feature is enabled in your account settings.
4. Disabling Focused Inbox doesn’t change the view: If you disable Focused Inbox but still see your emails divided into Focused and Other tabs, try signing out of your account and signing back in. This should refresh the settings and display all your emails in a unified view.
5. Missing emails: In rare instances, you may find that some emails are missing from your inbox. This could be due to Focused Inbox filtering those emails into the Other tab. Double-check both the Focused and Other tabs to ensure that no important emails have been misclassified.
If you encounter any issues with Focused Inbox that cannot be resolved through the steps mentioned above, you may consider reaching out to Microsoft Support for further assistance. They can provide you with personalized guidance and help resolve any specific issues you may be facing.
By troubleshooting these common issues, you can enhance your experience with Focused Inbox and ensure that your emails are organized effectively and accurately.