
What is Sound Check in iTunes?
Sound Check is a useful feature in iTunes that ensures consistent and balanced audio playback. It addresses the issue of varying volume levels that can disrupt the listening experience when playing music or other audio files.
Have you ever noticed that some songs play at a significantly lower or higher volume than others? This inconsistency can be frustrating, especially when you have a playlist with a mix of different songs from various sources. Sound Check works by analyzing the volume levels of the audio files in your iTunes library and adjusting them to a consistent level.
By enabling Sound Check, you can eliminate the need to constantly adjust the volume manually. Whether you’re listening to a playlist, an album, or a mix of songs, Sound Check ensures that each track plays at a similar volume, enhancing your overall listening experience.
When Sound Check is enabled, iTunes analyzes the volume of each track based on its audio waveform. It then adjusts the volume to a predetermined level, making sure that the loudness of the audio remains relatively consistent throughout your music library.
It’s important to note that Sound Check does not alter the actual audio content of the files. It simply adjusts the playback volume so that your songs and audio files are played back at a similar level.
Sound Check is a versatile feature suitable for various listening environments. Whether you’re listening through speakers, headphones, or other audio output devices, Sound Check ensures that the volume remains consistent, resulting in a seamless listening experience.
Now that you understand what Sound Check is and how it works, let’s see how you can enable and use this feature in iTunes.
Enabling Sound Check in iTunes
Enabling Sound Check in iTunes is a simple process that can be done in just a few clicks. Follow the steps below to enable Sound Check and enjoy consistent audio playback in your iTunes library:
1. Launch iTunes on your computer or device.
2. Click on the “Edit” menu at the top of the iTunes window (for Windows users) or the “iTunes” menu on macOS.
3. From the drop-down menu, select “Preferences.”
4. In the Preferences window, click on the “Playback” tab.
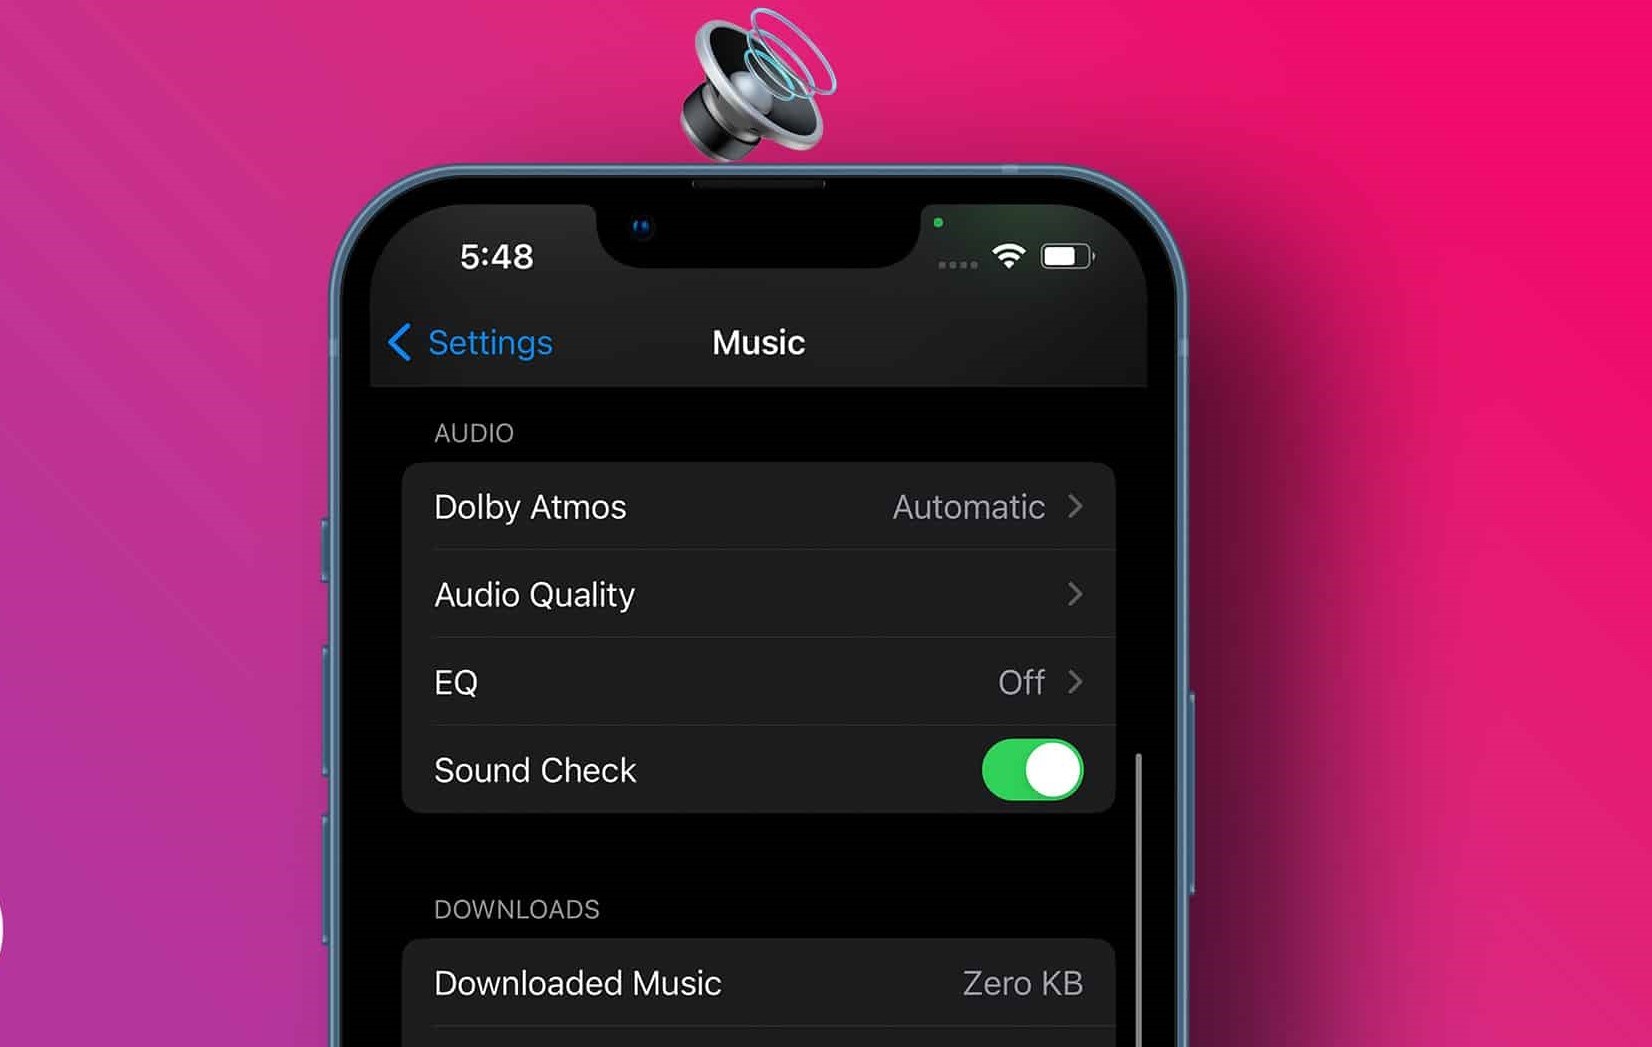
5. Under the “Playback” tab, you will see the option for “Sound Check” in the “Audio” section.
6. Check the box next to “Sound Check” to enable the feature. You will notice a checkmark appears indicating that Sound Check is now turned on.
7. Click the “OK” button at the bottom of the Preferences window to save the changes.
Once you have enabled Sound Check, iTunes will analyze the volume levels of the audio files in your library. It may take a few moments for iTunes to complete this analysis, especially if you have a large library with many tracks.
After the analysis is finished, you can start enjoying consistent audio playback with Sound Check. Regardless of the volume differences in your music library, iTunes will automatically adjust the levels when playing your songs, ensuring a more seamless listening experience.
With Sound Check enabled, you no longer have to constantly reach for the volume control to adjust the playback between songs. Sit back, relax, and let iTunes take care of maintaining a consistent volume level for your entire music collection.
Using Sound Check with Automatic Volume Adjustment
With the Sound Check feature enabled in iTunes, you can enjoy automatic volume adjustment while playing your favorite songs. Here’s how you can make the most out of the automatic volume adjustment provided by Sound Check:
1. Launch iTunes and select the playlist or library you want to listen to.
2. Start playing a song from the selected playlist or library.
3. As the song starts playing, iTunes will automatically analyze the volume levels and adjust them accordingly. This ensures that the playback volume remains consistent even if the songs in the playlist have varying volume levels.
4. Sit back and enjoy your music without having to worry about sudden volume changes or constantly adjusting the volume control.
It’s important to note that Sound Check works on a per-song basis. This means that each song is analyzed individually and adjusted to match the predetermined volume level. As you switch between different songs, Sound Check will continue to adjust the volume accordingly.
With the automatic volume adjustment provided by Sound Check, you can create playlists with songs from different albums, genres, or sources, and still have a consistent listening experience. Whether you’re taking a road trip, working out at the gym, or simply relaxing at home, Sound Check ensures that your music flows smoothly without any unexpected volume changes.
Keep in mind that Sound Check does not affect the volume levels of podcasts, audiobooks, or other non-music audio files in your iTunes library. It is specifically designed for music playback, providing seamless volume adjustment to enhance your musical experience.
By using Sound Check with automatic volume adjustment, you can enjoy a more enjoyable and consistent listening experience with iTunes. Say goodbye to sudden volume spikes and dips, and let Sound Check take care of maintaining the perfect volume level for your music.
Using Sound Check with Manual Volume Adjustment
While Sound Check in iTunes provides automatic volume adjustment, you may occasionally want to manually adjust the volume levels to suit your preferences. Here’s how you can use Sound Check alongside manual volume adjustment in iTunes:
1. Launch iTunes and select the playlist or library you want to listen to.
2. Start playing a song from the selected playlist or library.
3. As the song plays, you can manually adjust the overall volume using the volume control in iTunes or the volume keys on your device.
4. While you adjust the volume, Sound Check will dynamically maintain the preset volume level for each song as it continues to play. This means that Sound Check will automatically adjust the playback volume of subsequent songs to match the volume level you set globally.
5. If you want to reset the volume adjustment for a specific song, you can use the “Reset” option provided by Sound Check. Right-click on the song and select “Reset Sound Check” from the context menu. This will bring the song back to its original volume level as analyzed by Sound Check.
Using Sound Check with manual volume adjustment allows you to have control over the overall volume while still maintaining a consistent listening experience for your music. You can adapt the volume to your preference without worrying about drastic changes in loudness when switching between songs.
It’s worth mentioning that manual volume adjustment in iTunes will only affect the current session. So, if you exit iTunes and return to it later, the volume adjustment you made will not be remembered. However, Sound Check will still be active and will adjust the volume levels accordingly when you start playing songs again.
Whether you enjoy a playlist with a combination of soft and loud songs or prefer to have more control over the volume levels, using Sound Check in tandem with manual volume adjustment gives you the flexibility to create a personalized listening experience in iTunes.
How to Disable Sound Check in iTunes
While Sound Check in iTunes can be beneficial for maintaining consistent audio playback, there may be times when you want to disable this feature. Whether you prefer to manually adjust the volume or have other reasons to turn off Sound Check, here’s how you can do it in a few simple steps:
1. Launch iTunes on your computer or device.
2. Click on the “Edit” menu at the top of the iTunes window (for Windows users) or the “iTunes” menu on macOS.
3. From the drop-down menu, select “Preferences.”
4. In the Preferences window, click on the “Playback” tab.
5. Under the “Playback” tab, you will find the “Sound Check” option in the “Audio” section.
6. To disable Sound Check, simply uncheck the box next to “Sound Check.” Once unchecked, the feature will be deactivated.
7. Click the “OK” button at the bottom of the Preferences window to save the changes.
When you disable Sound Check, iTunes will no longer analyze and adjust the volume levels of your songs automatically. The playback volume will then depend solely on the original volume levels of your audio files.
It’s important to note that if you have previously used Sound Check and made volume adjustments to individual songs, disabling Sound Check will not revert those changes. The volume adjustments you made when Sound Check was enabled will still be in effect. To reset the volume adjustments, you will need to manually adjust the volume for each song or use the “Reset Sound Check” option for individual songs.
Disabling Sound Check gives you full control over the volume levels in your iTunes library. Whether you prefer to fine-tune the volume manually or want to listen to songs in their original volume settings, disabling Sound Check allows you to tailor your listening experience according to your preferences.
Troubleshooting Sound Check in iTunes
While Sound Check in iTunes is designed to provide consistent volume levels during audio playback, you may encounter some issues or have questions about its functionality. Here are some troubleshooting tips to help resolve common Sound Check-related problems:
1. Ensure that Sound Check is enabled: Double-check that you have Sound Check enabled in your iTunes preferences. If Sound Check is turned off, the volume levels may vary between songs.
2. Update iTunes: Make sure that you are using the latest version of iTunes. Outdated software can sometimes cause compatibility issues or glitches with Sound Check.
3. Restart iTunes: Close and reopen iTunes to refresh the application. A simple restart can sometimes resolve minor issues with Sound Check or other features.
4. Reanalyze your library: If you notice significant inconsistencies in volume levels, you can try reanalyzing your music library. To do this, disable Sound Check, close iTunes, and then enable Sound Check again. iTunes will reanalyze your library and adjust the volume levels accordingly.
5. Check your audio output settings: Ensure that your audio output device, such as speakers or headphones, is functioning properly. Faulty or misconfigured audio devices can affect the sound quality and volume levels.
6. Reset song volume adjustments: If you have made manual volume adjustments to specific songs, you can reset them by selecting the song and choosing the “Reset Sound Check” option from the context menu.
7. Verify file quality and encoding: Some audio files may have irregular volume levels due to their encoding or quality. To address this, you can try converting the file to a different format or obtaining a higher-quality version.
8. Contact Apple Support: If you have tried the above troubleshooting steps and are still experiencing issues with Sound Check in iTunes, you may want to reach out to Apple Support for further assistance. They can provide personalized guidance and help resolve any persistent problems.
By troubleshooting common Sound Check issues, you can ensure that you have a seamless and consistent audio experience while using iTunes. If you encounter any difficulties, consider these troubleshooting tips to address the problem effectively.