
Prerequisites for Downloading Oculus Rift Games
Before you can start downloading and enjoying games on your Oculus Rift device, there are a few prerequisites you need to fulfill. By ensuring you have the necessary requirements in place, you can have a seamless gaming experience. Let’s take a look at what you need:
- An Oculus Rift Device: The first and most obvious requirement is the Oculus Rift virtual reality (VR) headset itself. Ensure that your device is properly set up and connected to your computer.
- A Compatible Computer: Your computer needs to meet the minimum specifications recommended by Oculus Rift. This includes having a capable graphics card, sufficient RAM, and a powerful processor to handle the VR experience effectively.
- An Internet Connection: To download games from the Oculus Store, you need a stable internet connection. Make sure you have a reliable and fast internet connection to avoid interruptions during the download process.
- An Oculus Account: Before you can start downloading games, you must create an account on the Oculus platform. You can easily register for an account on their website or within the Oculus app.
- Available Hard Drive Space: VR games can be quite large in size, so it’s important to have sufficient storage space on your computer or external storage device to accommodate the games you want to download.
By meeting these prerequisites, you set yourself up for a smooth and hassle-free experience when downloading Oculus Rift games. Once you have all the necessary requirements in place, you can proceed to the next steps of creating an Oculus account and downloading the necessary software.
Step 1: Setting up your Oculus Rift Device
Before you can begin downloading and playing games on your Oculus Rift, you need to ensure that your device is properly set up. Follow these steps to set up your Oculus Rift:
- Unpack and Connect the Oculus Rift: Start by carefully unpacking your Oculus Rift headset and its accessories. Connect the HDMI cable from the headset to your computer’s GPU, and the USB cable to a USB 3.0 port on your computer.
- Position the Sensors: Depending on your Oculus Rift model, you may have one or two sensors. Place the sensors on a stable surface and ensure that they are facing the play area.
- Adjust the Headset: Put on the Oculus Rift headset and adjust the straps to make it comfortable and secure on your head. Use the IPD adjustment slider to set the interpupillary distance, ensuring a clear and immersive visual experience.
- Configure Audio: Connect your headphones to the Oculus Rift headset for an enhanced audio experience during gameplay. Alternatively, Oculus Rift S users can enable the built-in speakers if preferred.
- Set Up Guardian System: The Guardian system helps define your play area and prevents you from accidentally bumping into objects. Follow the on-screen instructions to set up the Guardian boundary by drawing the playable area using one of the Oculus Touch controllers.
- Complete the Setup Process: After completing the physical setup, follow the on-screen prompts on your computer to complete the software setup process. This includes creating or logging in to your Oculus account and going through the initial tutorial.
Once you have successfully set up your Oculus Rift device, you are ready to move on to the next step of creating an Oculus account.
Step 2: Creating an Oculus Account
Before you can start downloading games on your Oculus Rift, you need to create an Oculus account. Follow these steps to create your Oculus account:
- Open the Oculus App: Launch the Oculus app on your computer. If you don’t have the app installed, you can download it from the Oculus website.
- Click on “Create Account”: On the app’s welcome screen, click on the “Create Account” button to begin the account registration process.
- Enter Your Details: Fill out the required information, including your email address, password, and date of birth. Make sure to choose a strong and unique password to protect your account.
- Agree to the Terms of Service: Read through the terms of service and privacy policy, then tick the box to indicate that you agree to them. It’s important to understand and comply with Oculus’ terms and policies.
- Complete the Verification Process: Oculus may require you to verify your email address before your account is fully active. Check your email inbox for a verification link and click on it to confirm your email.
- Set Up a Profile: Customize your profile by adding a profile picture and choosing a username. You can also fill in additional details about yourself if desired.
- Link Your Oculus Rift Device: Connect your Oculus Rift device to your computer if you haven’t already done so. Follow the on-screen instructions to pair your device with your Oculus account.
Once you have created an Oculus account and linked your Oculus Rift device, you are ready to move on to the next step of downloading the Oculus software.
Step 3: Downloading the Oculus Software
In order to access and download games for your Oculus Rift, you will need to download and install the Oculus software. Follow these steps to download the software:
- Visit the Oculus Website: Open your preferred web browser and go to the official Oculus website.
- Navigate to the Downloads Page: On the Oculus website, navigate to the Downloads page. This page typically provides various options for downloading the Oculus software.
- Choose Your Operating System: Select the appropriate version of the Oculus software based on your computer’s operating system (Windows or macOS).
- Click on the Download Button: Once you have selected the correct version, click on the “Download” button to initiate the software download.
- Run the Installer: Locate the downloaded installer file on your computer and run it to begin the installation process.
- Follow the On-Screen Prompts: The Oculus software installer will guide you through the installation process. Make sure to read and follow the instructions carefully.
- Sign in to Your Oculus Account: During the installation process, you will be prompted to sign in to your Oculus account. Enter your email address and password to log in.
- Complete the Installation: Once you have signed in, the installation will continue. Wait for the installation to complete, which may take a few minutes depending on your computer’s speed.
- Restart your Computer: After the installation is complete, it is recommended to restart your computer to ensure that all changes are applied correctly.
Once you have successfully downloaded and installed the Oculus software, you are now ready to proceed to the next step: launching the Oculus app and connecting your Oculus Rift device.
Step 4: Launching the Oculus App and Connecting Your Device
After you have downloaded and installed the Oculus software, it’s time to launch the Oculus app and connect your Oculus Rift device. Follow these steps to get started:
- Locate the Oculus App: Look for the Oculus app icon on your desktop or in the start menu and double-click to launch it.
- Sign in to Your Oculus Account: If you’re prompted to sign in, enter your Oculus account credentials (email and password) to log in.
- Connect Your Oculus Rift Device: Ensure that your Oculus Rift headset and its sensor(s) are properly connected to your computer. The Oculus app should automatically detect and recognize your device.
- Follow the On-Screen Instructions: The Oculus app will guide you through the setup process for your Oculus Rift device. Follow the on-screen instructions to complete the setup, which may include adjusting the visuals and identifying your play area.
- Complete the Guardian Setup: The Guardian feature creates a virtual boundary to prevent you from wandering outside your play area. Use the Oculus Touch controllers to set up your Guardian, following the on-screen instructions.
- Update Firmware (if needed): If there are any firmware updates available for your Oculus Rift device, the app will prompt you to update. It’s recommended to keep your device’s firmware up to date for optimal performance and compatibility.
- Confirm Device Connection: Once your Oculus Rift device is successfully connected, you’ll see a confirmation message in the Oculus app, indicating that your device is ready to use.
With your Oculus Rift device successfully connected and recognized by the Oculus app, you’re now ready to move on to the next step: browsing and selecting games from the Oculus Store.
Step 5: Browsing and Selecting Games on the Oculus Store
With your Oculus Rift device set up and connected, it’s time to explore the Oculus Store and choose the games you want to download and play. Follow these steps to browse and select games on the Oculus Store:
- Launch the Oculus App: Open the Oculus app on your computer.
- Click on the Store Tab: In the navigation bar at the bottom of the app, click on the “Store” tab to access the Oculus Store.
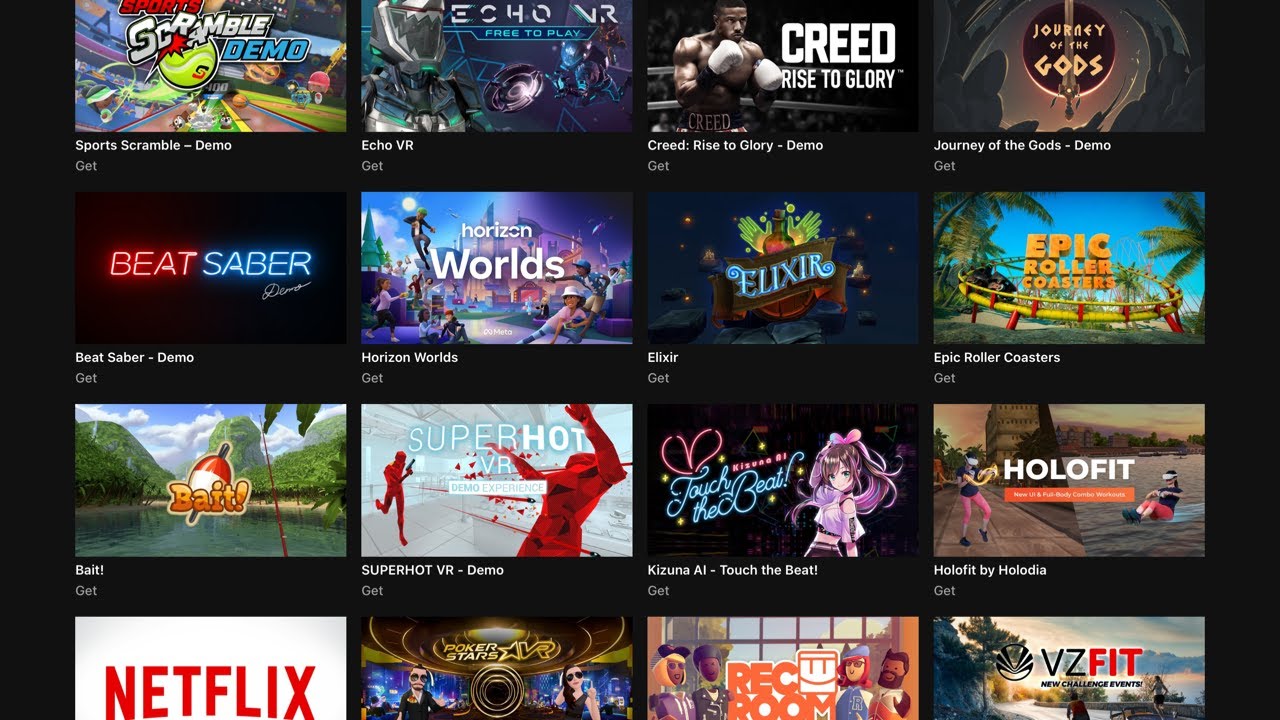
- Explore Featured and Popular Games: The Oculus Store homepage showcases featured and popular games. Browse through the titles and click on the ones that interest you to learn more about them.
- Filter and Sort Games: Use the filtering and sorting options to narrow down your search and find games that meet your preferences. You can filter by genre, price, rating, and more.
- Read Game Descriptions and Reviews: Click on a game to view its description, screenshots, videos, and user reviews. This information will help you determine if the game is suitable for you.
- Add Games to Your Wish List: If you find a game that you’re interested in but not ready to purchase yet, you can add it to your wish list for future reference.
- Purchase Games: When you’re ready to buy a game, click on the “Buy” button. Follow the prompts to complete the purchase using your preferred payment method.
- Download Games: After completing the purchase, the game will be added to your Oculus library. To download the game, go to the “Library” tab in the Oculus app.
- Explore Demos and Free Games: The Oculus Store also offers free games and demos. Take advantage of these opportunities to try out different games before making a purchase.
By following these steps, you’ll be able to browse, select, and download games from the Oculus Store, ready to be enjoyed on your Oculus Rift device.
Step 6: Purchasing and Downloading a Game
Once you have selected a game from the Oculus Store, it’s time to purchase and download it onto your Oculus Rift device. Follow these steps to complete the process:
- Click on the Buy Button: On the game’s page in the Oculus Store, click on the “Buy” button to initiate the purchase process.
- Select a Payment Method: Choose your preferred payment method from the available options. The Oculus Store accepts various payment methods, including credit cards and PayPal.
- Enter Payment Details: If necessary, provide the required payment details, such as credit card information or your PayPal account credentials. Ensure that the information is accurate and complete.
- Confirm the Purchase: Review the purchase details, including the game’s price, before confirming the purchase. Double-check that you have selected the correct game.
- Allow the Download to Begin: Once the purchase is confirmed, the download process will automatically begin. The game will be added to your Oculus library.
- Monitor the Download Progress: Keep an eye on the download progress in the Oculus app’s “Library” tab. The download speed will depend on your internet connection and the size of the game.
- Wait for the Download to Complete: Be patient as the game downloads onto your Oculus Rift device. Avoid interrupting the download process to ensure a successful installation.
- Launch the Game: Once the download is complete, the game will be ready to play. In the Oculus app’s “Library” tab, click on the game and select “Play” to launch it on your Oculus Rift device.
- Enjoy the Game: With the game successfully downloaded and launched, immerse yourself in the virtual reality experience provided by your Oculus Rift device and have fun playing the game!
By following these steps, you can easily purchase and download games onto your Oculus Rift device, expanding your collection and unlocking new gaming experiences.
Step 7: Installing and Launching the Game
After you have downloaded a game onto your Oculus Rift device, the next step is to install it and launch it for an immersive gaming experience. Follow these steps to install and launch a game:
- Locate the Game in Your Oculus Library: Open the Oculus app on your computer and navigate to the “Library” tab. Here, you will find a list of all the games you have downloaded.
- Select the Game: From your library, locate the game you want to install and launch. Click on it to select it.
- Install the Game: On the game’s page, click on the “Install” or “Download” button to begin the installation process. This may take some time depending on the game’s size.
- Monitor the Installation Progress: Keep an eye on the installation progress bar to see how far along the process is. Avoid interrupting the installation to ensure a successful setup.
- Complete any Additional Setup: Some games may require additional setup steps, such as adjusting graphics settings or configuring game-specific options. Follow the on-screen prompts to complete any necessary setups.
- Launch the Game: Once the game is installed, you can launch it from your Oculus library. Click on the game’s icon or select “Play” to start the game.
- Put on Your Oculus Rift Device: To fully immerse yourself in the game, put on your Oculus Rift device and adjust the straps for a comfortable fit.
- Follow any In-Game Setup Instructions: Depending on the game, you may be prompted to go through additional setup steps within the game itself. Pay attention to any on-screen instructions and follow them accordingly.
- Start Playing: Once you have gone through any necessary in-game setup, you are ready to start playing the game. Use the controllers or any other input devices recommended by the game to interact with the virtual world and enjoy the gameplay experience.
Following these steps will assist you in installing and launching your downloaded games on your Oculus Rift device. Get ready to dive into the exciting world of virtual reality gaming!
Step 8: Managing Your Oculus Rift Games Library
As you continue to explore and download games for your Oculus Rift, it’s important to know how to effectively manage your games library. Follow these steps to keep your library organized and easily accessible:
- Access Your Oculus Library: Open the Oculus app on your computer and navigate to the “Library” tab. This is where you can view and manage your collection of downloaded games.
- Sort and Filter Your Games: Use the sorting and filtering options in the Oculus library to organize your games based on various criteria, such as release date, genre, or alphabetical order.
- Create Collections or Playlists: If you have a large library, consider creating collections or playlists to group your games. You can categorize them based on themes, gameplay style, or personal preferences.
- Remove Unwanted Games: If you no longer wish to keep a certain game, you can remove it from your library. Right-click on the game in your library and select “Remove from Library” to delete it.
- Update Your Games: Periodically check for game updates in your library. Developers often release updates that fix bugs, add new features, or optimize gameplay performance. Keeping your games up to date ensures the best gaming experience.
- Reinstall Games: If you have previously uninstalled a game but want to play it again, you can easily reinstall it from your library. Simply locate the game in your library and click on the “Install” or “Download” button.
- Manage Storage Space: VR games can take up a significant amount of storage space. Regularly check your available storage and consider removing unplayed or unwanted games to free up space for new ones.
- Explore Recommendations: The Oculus library may recommend new games based on your preferences and previously played titles. Take some time to explore these recommendations and discover new games to add to your library.
- Stay Informed: Keep an eye on new game releases, discounts, and special promotions in the Oculus Store. Subscribing to newsletters or following Oculus on social media can help you stay informed about the latest updates and offerings.
By effectively managing your Oculus Rift games library, you can easily find and enjoy your favorite games while keeping your storage space optimized. Take advantage of the tools provided in the Oculus app to curate your gaming collection and personalize your virtual reality experience.
Troubleshooting Common Issues While Downloading Oculus Rift Games
While downloading games for your Oculus Rift, you may encounter certain issues that can hinder the download process. Here are some common troubleshooting steps to help you resolve these issues:
- Check Your Internet Connection: Ensure that you have a stable and reliable internet connection. Slow or intermittent internet speeds can cause problems during the download process. Consider restarting your router or connecting to a different network if necessary.
- Restart the Oculus App: Sometimes, the Oculus app may encounter temporary glitches. Close the app and reopen it to see if the issue persists. You can do this by right-clicking on the Oculus app icon in the system tray and selecting “Restart Oculus”.
- Clear the Oculus App Cache: Clearing the app cache can resolve any temporary data conflicts. In the Oculus app, go to “Settings” and under the “General” tab, click on “Clear Cache”. Restart the app after clearing the cache.
- Free Up Disk Space: If your computer’s storage space is running low, it can hinder the download process. Delete unnecessary files or uninstall unused applications to make more space for game downloads.
- Disable Firewall or Antivirus Software: Sometimes, overzealous firewall or antivirus software can block the download of Oculus Rift games. Temporarily disable these programs (remember to re-enable them after the download) and try downloading the game again.
- Check for Game-Specific Requirements: Ensure that your computer meets the minimum system requirements of the game you’re trying to download. Insufficient hardware specifications may cause issues with the download or lead to performance problems during gameplay.
- Restart Your Computer: A simple restart can often resolve various technical issues. Restart your computer and try downloading the game again.
- Contact Oculus Support: If you have tried all the troubleshooting steps above and the issue persists, it may be necessary to reach out to Oculus Support for further assistance. They can provide specific guidance tailored to your situation.
If you continue to experience issues while downloading Oculus Rift games, it’s important to seek support from Oculus or consult their community forums where fellow users may have encountered similar problems and found solutions. By troubleshooting these common issues, you can ensure a smooth and uninterrupted download experience for your Oculus Rift games.