
Understanding Electronics
Electronics is a fascinating field that deals with the study and manipulation of electrical currents and signals. It is the foundation upon which modern technology is built, from smartphones and computers to cars and space shuttles. To fully understand electronics, it is crucial to comprehend the fundamental principles and components that make up electronic circuits.
At its core, electronics involves the flow of electrons through a medium, typically conductive materials such as wires or semiconductors. This flow, known as electric current, can be manipulated and controlled to perform specific functions. Understanding the behavior of electric current is essential to comprehend how electronic devices work.
One of the most important concepts in electronics is voltage. Voltage is the driving force that pushes electrons through a circuit. It is measured in volts and determines the intensity of the current. Another crucial principle is resistance, which is the opposition to the flow of current. Resistance is measured in ohms and depends on the material properties and dimensions of the conductive elements in a circuit.
Electronic circuits are built using various components such as resistors, capacitors, inductors, diodes, transistors, and integrated circuits. Each component serves a specific purpose in controlling the flow of current and shaping the desired output. For example, resistors limit the amount of current passing through a circuit, while capacitors store and release electrical energy.
Understanding basic circuits is also essential to grasp electronics. Series circuits have components arranged in a single path, while parallel circuits have multiple paths for current flow. The combination of series and parallel circuits allows for complex and versatile electronic systems.
To deepen your understanding of electronics, it is helpful to explore Ohm’s Law. Ohm’s Law states that the current flowing through a conductor is directly proportional to the voltage applied and inversely proportional to the resistance. This fundamental relationship helps in calculating and predicting the behavior of electronic circuits.
Basic Electronics Tools
When working with electronics, having the right tools is essential for success. These tools not only enable you to assemble and repair electronic devices but also ensure your safety while working with electrical components. Here are some basic electronics tools that every aspiring electronics enthusiast should have:
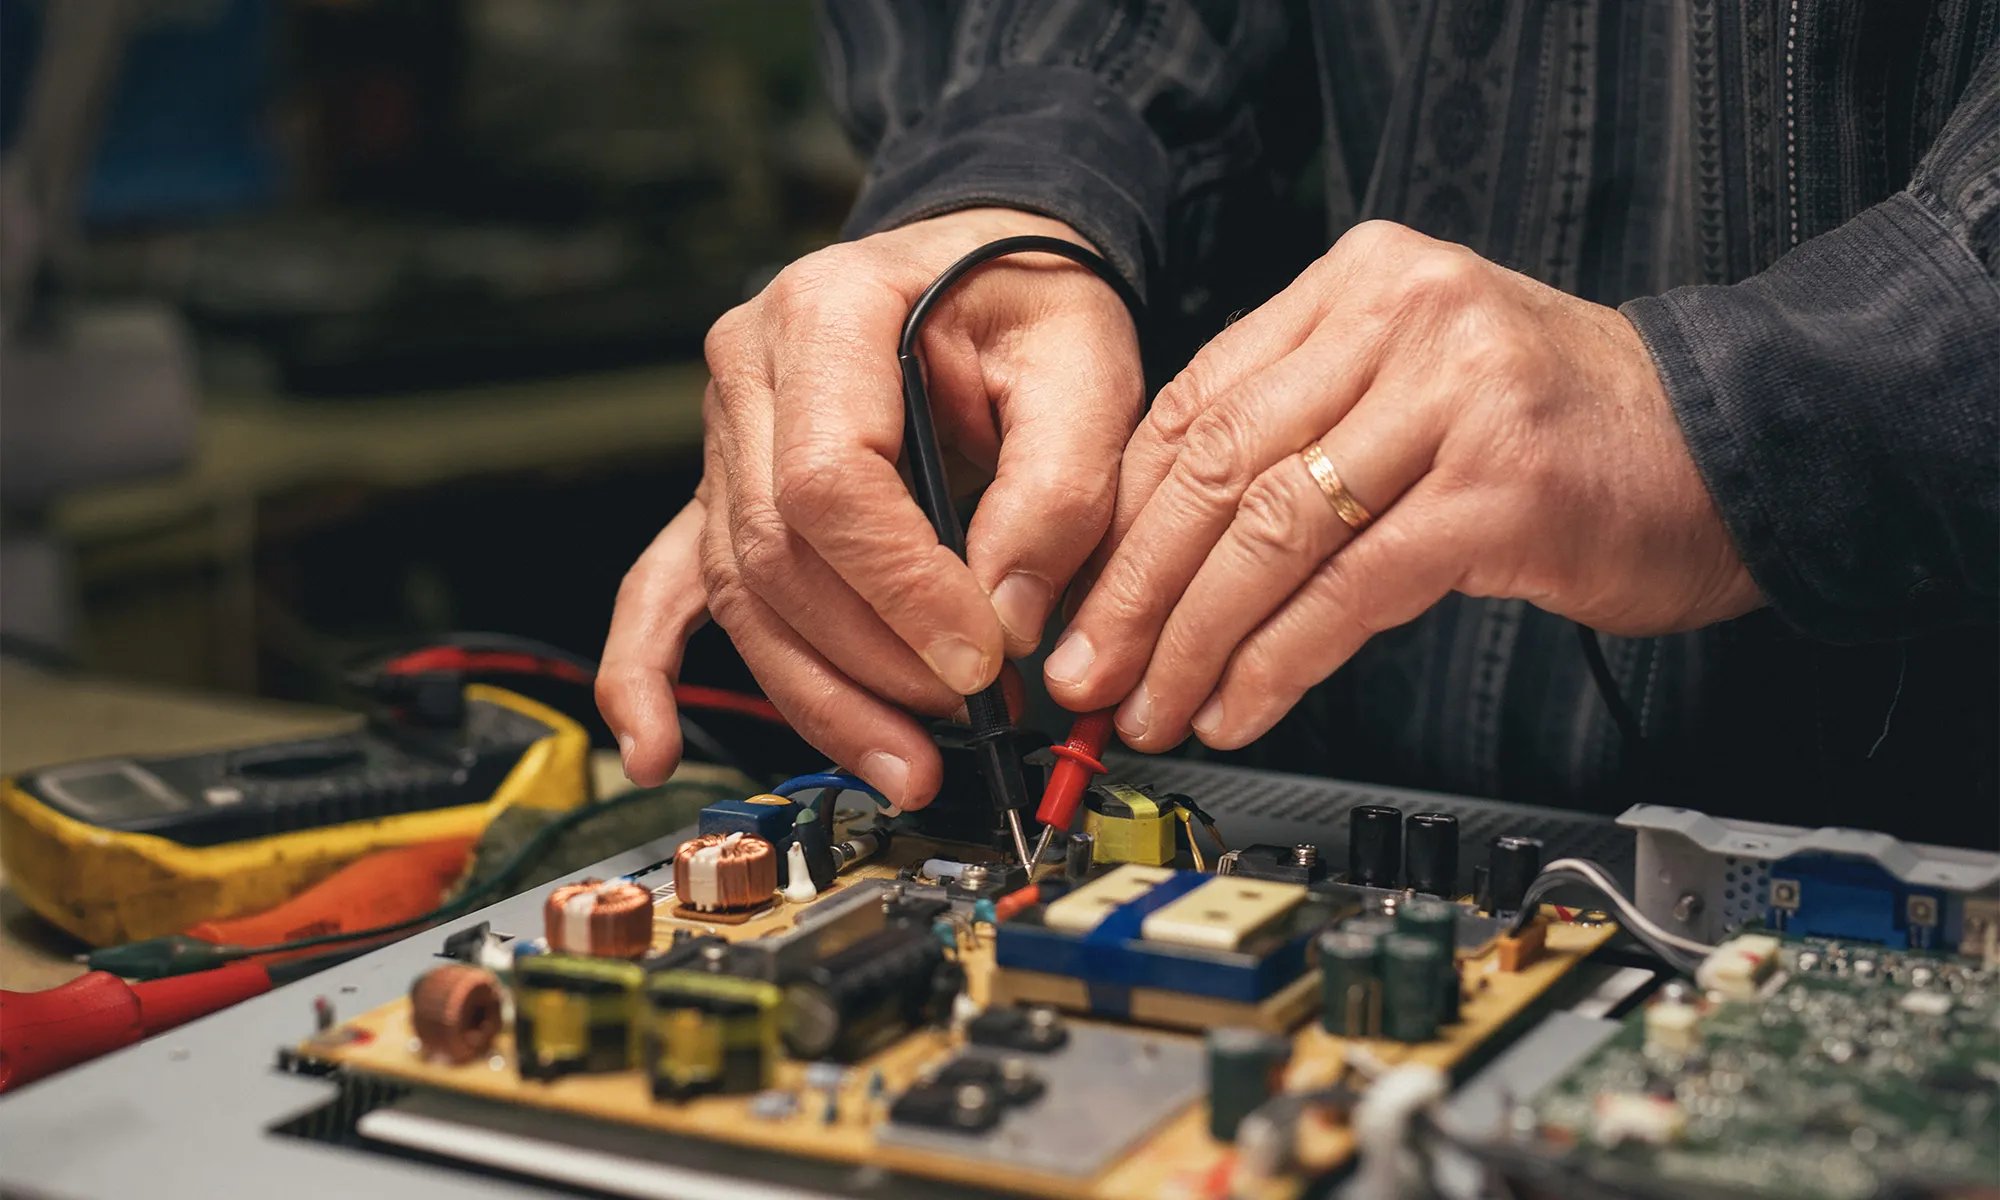
1. Multimeter: A multimeter is a versatile tool that measures voltage, current, and resistance. It allows you to troubleshoot and diagnose electrical issues in circuits and components. With its various settings and probes, a multimeter is a must-have tool for any electronics workbench.
2. Soldering Iron: A soldering iron is used to join electronic components using solder. It is essential for repairing and assembling circuits. Choose a soldering iron with adjustable temperature settings and a fine tip for precise soldering.
3. Wire Strippers: Wire strippers are used to remove the insulation from the ends of wires. They come in various sizes to accommodate different wire gauges. Properly stripped wires ensure secure connections and efficient current flow.
4. Needle-Nose Pliers: Needle-nose pliers are versatile tools for gripping and bending small components and wires. They have narrow, pointed jaws that allow you to work in tight spaces.
5. Diagonal Cutters: Diagonal cutters, also known as wire cutters, are used to cut and trim wires and component leads. They have sharp blades that provide clean and precise cuts.
6. Desoldering Pump or Solder Wick: When working with electronic components, it is often necessary to remove solder. A desoldering pump or solder wick helps in removing excess solder and replacing components.
7. Breadboard: A breadboard is a temporary platform for prototyping electronic circuits. It contains rows and columns of holes that allow you to insert and connect components without soldering. It is an invaluable tool for experimenting with circuit designs.
8. ESD-Safe Work Mat and Wrist Strap: Electrostatic discharge (ESD) can damage sensitive electronic components. An ESD-safe work mat and wrist strap help dissipate static electricity and protect your components from accidental damage.
These are just some of the basic tools that every electronics enthusiast should have. As you delve deeper into electronics, you may find the need for additional specialized tools depending on your specific projects. Remember to always prioritize safety and invest in quality tools that will last for years to come.
Ohm’s Law and Basic Circuits
Ohm’s Law is a fundamental principle in electronics that relates the voltage, current, and resistance in a circuit. It provides a mathematical relationship that helps in understanding and analyzing basic electronic circuits. By applying Ohm’s Law, you can calculate the values of voltage, current, and resistance in a circuit when any two of these values are known.
According to Ohm’s Law, the current flowing through a conductor is directly proportional to the voltage across the conductor and inversely proportional to the resistance. In mathematical terms, Ohm’s Law can be represented as:
V = I * R
Where:
– V is the voltage in volts
– I is the current in amperes
– R is the resistance in ohms
By rearranging the equation, you can solve for any of the three variables. For example, if you know the voltage and resistance, you can calculate the current by dividing the voltage by the resistance (I = V / R). Similarly, if you know the current and resistance, you can calculate the voltage by multiplying the current by the resistance (V = I * R).
Understanding Ohm’s Law is crucial for working with basic electronic circuits. A basic circuit consists of a power source (such as a battery or power supply), a load (such as a resistor), and connecting wires. The power source provides the voltage, which drives the current through the circuit. The load, with its resistance, determines the amount of current flowing through the circuit.
There are two types of basic circuits: series and parallel. In a series circuit, the components are connected in a single path, meaning that the same current flows through each component. The total resistance of a series circuit is the sum of the individual resistances. In a parallel circuit, the components are connected in multiple paths, meaning that the current splits between the parallel branches. The total resistance of a parallel circuit is calculated differently than in a series circuit.
Using Ohm’s Law, you can analyze and calculate the behavior of basic circuits. You can determine the voltage across each component, the current flowing through each component, and the overall resistance of the circuit. This knowledge is essential for diagnosing and troubleshooting electronic circuits, as well as designing and modifying circuits to meet specific requirements.
By understanding Ohm’s Law and basic circuits, you gain the foundational knowledge necessary to explore more complex electronic systems. It allows you to comprehend how voltage, current, and resistance interact, and how they can be manipulated to achieve desired outcomes in electronic circuits.
Capacitors and Inductors
Capacitors and inductors are two essential components in electronics that play crucial roles in shaping the behavior of circuits. They have unique properties that allow them to store and release energy, as well as influence the flow of current.
A capacitor is a passive electronic component that stores and releases electrical energy. It consists of two conductive plates separated by an insulating material called a dielectric. When a voltage is applied across the plates, the capacitor charges and stores energy in the electric field between the plates. When the voltage across the capacitor changes, it can release the stored energy, which can be used to influence the behavior of a circuit.
Capacitors have various applications in electronics. They can be used to filter out unwanted noise in power supplies, stabilize voltage levels, store energy in timing circuits, and block direct current while allowing alternating current to pass through. Capacitors are characterized by their capacitance, measured in farads, which determines their ability to store charge. Common types of capacitors include ceramic capacitors, electrolytic capacitors, and tantalum capacitors.
Inductors, on the other hand, are passive components that store energy in a magnetic field created by a current passing through a coil of wire. Inductors resist changes in current flow and release energy when the current changes. They are commonly used in applications such as filters, oscillators, transformers, and inductive loads.
Inductors are characterized by their inductance, measured in henries, which determines their ability to store energy in the magnetic field. The physical characteristics of an inductor, such as the number of turns in the coil and the core material, affect its inductance. High inductance values create greater opposition to changes in current flow.
Capacitors and inductors can interact with each other in circuits, influencing the behavior of the overall system. For example, an inductor can generate a voltage when there is a change in current, which can affect the voltage across a capacitor connected in parallel. This interaction is the basis of many electronic components and devices, from active filters to resonant circuits.
Understanding the properties and behavior of capacitors and inductors is crucial for designing and analyzing complex electronic circuits. By combining these components with resistors and other electronic components, engineers and technicians can create systems that perform specific functions, such as signal processing, power conversion, and control systems.
Capacitors and inductors are versatile components that open up a world of possibilities in electronics. By leveraging their unique characteristics and understanding their interactions, you can harness their power to create innovative and efficient electronic systems.
Diodes and Transistors
Diodes and transistors are semiconductors that are fundamental to the operation of electronic circuits. They have unique properties that allow them to control the flow of current, amplify signals, and perform a wide range of functions in electronic systems.
A diode is a two-terminal electronic component that allows current to flow in one direction while blocking it in the opposite direction. This property, called rectification, makes diodes essential in converting alternating current (AC) to direct current (DC) in power supplies. Diodes also find use in signal conditioning, voltage regulation, and protection against voltage spikes.
Diodes are characterized by their forward voltage drop and reverse breakdown voltage. The forward voltage drop is the minimum voltage required for the diode to conduct current. The reverse breakdown voltage is the maximum voltage the diode can sustain in the reverse direction without getting damaged.
Another important semiconductor component is the transistor. Transistors are three-terminal devices that can amplify or switch electronic signals and control the flow of current. They are the building blocks of modern electronics and have revolutionized the field, enabling the development of miniature electronic devices with high-speed performance.
There are two main types of transistors: bipolar junction transistors (BJTs) and field-effect transistors (FETs). BJTs are composed of three doped semiconductor regions, namely the emitter, base, and collector. They are commonly used for amplification and switching applications. FETs, on the other hand, have three terminals: the gate, source, and drain. FETs are known for their high input impedance and are widely used in applications such as amplification, switching, and voltage regulation.
Transistors can be operated in three different modes: cutoff, active, and saturation. In cutoff mode, the transistor does not conduct current. In active mode, the transistor amplifies signals or acts as a switch. In saturation mode, the transistor is fully conducting current.
Both diodes and transistors are essential in electronic circuits. They can be combined with other components such as resistors, capacitors, and inductors to create complex and versatile systems. The ability to control current flow and amplify signals allows engineers and technicians to design and build electronic devices with a wide range of applications, from simple radio receivers to complex computer processors.
Understanding the characteristics and functions of diodes and transistors is crucial in the field of electronics. With their unique properties and versatile applications, diodes and transistors form the backbone of modern electronic technology.
Integrated Circuits
Integrated circuits (ICs) are the heart and soul of modern electronics. They have revolutionized the field by packing thousands, millions, or even billions of electronic components onto a single small chip of semiconductor material. Integrated circuits have made electronic devices smaller, faster, and more efficient, fueling the rapid advancement of technology.
An integrated circuit is composed of various electronic components, such as transistors, resistors, capacitors, and diodes, all integrated onto a single chip. The components are interconnected to perform specific functions, ranging from logic operations to signal processing. By combining multiple components into a single package, integrated circuits provide a solution that is more compact, reliable, and cost-effective compared to traditional discrete component assemblies.
There are different types of integrated circuits, depending on their complexity and functionality. Small-scale integration (SSI) ICs contain a few transistors and gates, while medium-scale integration (MSI) ICs have a moderate number of components. Large-scale integration (LSI) and very large-scale integration (VLSI) ICs have hundreds or thousands of components on a single chip, allowing for the implementation of complex systems such as microprocessors and memory chips.
Integrated circuits have transformed industries such as telecommunications, computing, automotive, and healthcare. They are present in smartphones, computers, cars, medical devices, and countless other modern technologies that we rely on every day. Their ability to process and store massive amounts of information has led to advancements in artificial intelligence, automation, and data-driven decision-making.
Designing integrated circuits requires specialized skills and knowledge. Engineers and designers use computer-aided design (CAD) software to create the layout and circuit design of the IC. The layout is then fabricated using advanced manufacturing processes, such as photolithography and etching, to print circuits onto a silicon wafer. After fabrication, the ICs undergo testing and packaging to ensure functionality and reliability.
The continuous advancement of integrated circuit technology has led to the development of new generations of chips that are smaller, faster, and more power-efficient. Moore’s Law, an observation made by Intel co-founder Gordon Moore, states that the number of transistors on a chip tends to double approximately every two years. This trend has held true for several decades, but as we approach the limits of conventional semiconductor technology, new approaches such as quantum computing are being explored.
Integrated circuits have shaped the world we live in today, enabling innovations and advancements in nearly every industry. They have transformed our lives, making communication faster, computing more powerful, and technology more accessible. As the field of integrated circuits continues to evolve, we can expect even more incredible breakthroughs that will shape the future of electronics.
Troubleshooting Techniques
Troubleshooting is an essential skill in electronics that allows you to identify and resolve issues in electronic circuits and devices. Whether you are repairing a malfunctioning gadget or designing a new circuit, troubleshooting techniques help you locate faults, diagnose problems, and find solutions.
Here are some effective troubleshooting techniques that can help you tackle electronic issues:
1. Start with the Basics: Before diving into complex troubleshooting, always begin by checking the basics. Ensure that the power source is plugged in, the circuit connections are secure, and the components are in proper working condition. Sometimes, a loose connection or a faulty component can be the root cause of the problem.
2. Divide and Conquer: If the issue persists, divide the circuit into smaller sections and test each section individually. This helps to narrow down the problem area and identify the faulty component or section. By gradually isolating the problematic part, you can effectively pinpoint the cause of the issue.
3. Use Test Equipment: Test equipment such as multimeters, oscilloscopes, and logic analyzers are invaluable tools for troubleshooting. They allow you to measure voltages, currents, waveforms, and digital signals, providing valuable insights into the behavior and performance of the circuit. These measurements can help you determine if the circuit is functioning properly or if there is a fault.
4. Visual Inspection: Conduct a visual inspection of the circuit board or device for any visible signs of damage, such as burnt components, broken wires, or leaking capacitors. Sometimes, physical damage or wear and tear can cause electronic issues. Repairing or replacing the damaged components can often resolve the problem.
5. Use a Systematic Approach: Troubleshooting is a systematic process. Instead of randomly checking components, follow a structured approach. Start from the power source and work your way through the circuit, checking each component and connection along the way. This methodical approach helps ensure that no part is overlooked, increasing the chances of finding the problem.
6. Consult Documentation: Reference manuals, datasheets, and circuit diagrams provide valuable information about the expected behavior of a circuit or device. Consult the documentation to understand how the circuit is intended to work and what values you should expect to measure. Comparing the actual measurements to the expected values can give insights into potential faults.
7. Use Trial and Error: Sometimes, troubleshooting involves trial and error. Experiment with different approaches or substitute components to identify which part is causing the issue. This method requires patience and persistence, but it can be effective in isolating the problem.
Troubleshooting is a skill that improves with experience. The more you practice, the better you become at quickly identifying and resolving electronic issues. By combining these techniques with your understanding of electronics, you can confidently tackle troubleshooting challenges and successfully repair or design electronic circuits and devices.
Identifying and Locating Faults
Identifying and locating faults is a crucial step in troubleshooting electronic circuits. When a circuit or device is not working as intended, it is essential to identify the exact nature and location of the fault in order to effectively resolve the issue. Here are some techniques to help you identify and locate faults in electronic circuits:
1. Gather Information: Start by gathering relevant information about the circuit or device. Review the circuit diagram, datasheets, and any available documentation to understand the expected behavior and functioning of the circuit. This information will serve as a reference point for identifying deviations from the normal operation.
2. Visual Inspection: Perform a thorough visual inspection of the circuit board or device. Look for any signs of physical damage, loose connections, burnt components, or broken traces on the circuit board. These visual cues can often lead you to the location of the fault.
3. Isolate Sections: Divide the circuit into smaller sections or subsystems. Test each section individually to identify the specific section where the fault is occurring. This step helps to narrow down the problem area, making it easier to locate the fault.
4. Check Power Supply: Ensure that the power supply is providing the correct voltage and current. Measure the voltage at various points of the circuit and compare it to the expected values. An incorrect or unstable power supply can lead to circuit malfunctions.
5. Use Test Equipment: Employ various test equipment like multimeters, oscilloscopes, logic analyzers, or signal generators to measure voltages, currents, waveforms, and digital signals at different points in the circuit. These measurements can help pinpoint the exact location of the fault by comparing the measured values to the expected values.
6. Swap Components: If possible, swap suspect components with known good ones. This technique helps identify faulty components that may be causing the issue. By systematically replacing components, you can determine if a particular component is at fault.
7. Analyze Error Symptoms: Pay close attention to any error symptoms exhibited by the circuit or device. For example, if there is no output sound from an audio amplifier, the fault may lie in the audio output stage. Analyzing the symptoms can guide you towards the faulty section of the circuit.
8. Employ Signal Injection and Tracing: Injecting test signals into the circuit and tracing their path can help identify where the signals are lost or distorted. By observing the behavior of the injected signals, you can locate the faulty component or section.
9. Time Domain Reflectometry (TDR): TDR is a technique that uses time-domain reflectometers to analyze transmission lines and locate faults such as open or short circuits. By measuring the time it takes for a signal to travel along a transmission line, TDR can pinpoint the exact location of the fault.
Remember, identifying and locating faults requires patience, systematic testing, and the utilization of different techniques and tools. By utilizing these methods, you can effectively troubleshoot electronic circuits and devices, ensuring they are restored to their proper functionality.
Fixing Common Problems
When working with electronic circuits and devices, certain issues are more common than others. These common problems can often be resolved with some troubleshooting and simple fixes. Here are some common problems encountered in electronics and how to fix them:
1. Loose Connections: Loose or poorly connected wires and components can cause intermittent problems or complete failure. Inspect the circuit for any loose connections and ensure that all components are securely connected. Tighten screws or connectors if needed.
2. Burnt Components: If you notice burnt or charred components on the circuit board, they are likely damaged and need to be replaced. Identify the burnt component and carefully remove it using desoldering tools. Install a new component of the same type and value in its place.
3. Open Circuits: An open circuit occurs when there is a break in the continuity of the circuit, resulting in no current flow. Use a multimeter to check for continuity and identify any open circuits. Repair the open circuit by reconnecting or replacing the broken wire or component.
4. Short Circuits: A short circuit occurs when two or more circuit points that should not be connected are accidentally bridged. This can cause excessive current flow and damage components. Inspect the circuit for any unintended bridges or connections and remove or isolate them to resolve the short circuit.
5. Incorrect Component Polarity: Many components, such as diodes and electrolytic capacitors, have specific polarity requirements. If these components are installed incorrectly, the circuit may not function as intended. Check the component datasheets or markings to ensure proper polarity and reorient any incorrectly installed components.
6. Faulty Power Supply: If the circuit is not receiving adequate power or experiencing voltage fluctuations, the power supply may be at fault. Check the power source and verify that it is delivering the correct voltage and current. Replace the power supply if necessary, ensuring it meets the circuit’s specifications.
7. Overheating: If components or the circuit board itself gets too hot, it can cause malfunctions or even component failure. Ensure that the circuit has adequate ventilation for cooling. Check for any heat sinks or fans that may not be functioning properly and replace or repair them.
8. Component Failure: Components can fail over time due to age, stress, or other factors. If a specific component is faulty, identify and replace it with a new one. Check for components that may have exceeded their rated values or look damaged, such as swollen capacitors or burnt resistors.
9. Environmental Factors: Environmental factors like humidity, temperature extremes, and dust can affect electronic components and circuits. Ensure that the circuit is kept in a clean and controlled environment. Use protective measures like conformal coating or enclosures to safeguard against environmental damage.
Remember, when troubleshooting and fixing common problems, it’s important to follow safety precautions, such as disconnecting power sources and using appropriate tools. If you’re unsure about a repair or troubleshooting technique, consider consulting a professional or seeking guidance from experts in the field. With careful attention and the right techniques, many common electronic problems can be resolved and circuits can be brought back to working order.
Soldering and Desoldering Components
Soldering and desoldering are essential skills when working with electronic components. Soldering is the process of joining electronic components together using solder, while desoldering involves removing components from a circuit board. These techniques allow for secure and reliable connections, as well as the ability to repair and replace faulty components. Here’s a guide to soldering and desoldering components:
Soldering:
1. Prepare the Tools: Make sure you have the necessary tools ready, including a soldering iron, solder wire, soldering stand, flux, and a clean sponge or brass wire tip cleaner.
2. Clean the Surfaces: Clean the components and the soldering iron tip using a sponge or brass wire tip cleaner. A clean surface ensures better solder flow and improves the quality of the joint.
3. Heat the Components: Place the soldering iron tip in contact with both the component lead and the pad on the circuit board. Apply gentle pressure to create good thermal contact.
4. Apply Solder: Once the components are heated, touch the solder wire to the junction of the component lead and the pad. Allow the solder to melt and flow smoothly onto the joint, ensuring it completely surrounds the wire and forms a shiny, concave fillet.
5. Remove the Iron: Remove the soldering iron from the joint while maintaining a steady position for a few seconds until the solder solidifies. Ensure the joint is stable and doesn’t move during cooling.
6. Inspect the Joint: After soldering, visually inspect the joint. It should have a smooth, shiny appearance, indicating a good connection. Check for any visible solder bridges or cold joints, which may require touch-up soldering.
Desoldering:
1. Prepare the Tools: Gather the necessary tools, including a desoldering pump or desoldering braid, soldering iron, flux, and a clean sponge or brass wire tip cleaner.
2. Heat the Joint: Apply heat to the solder joint with a soldering iron by touching the iron tip to the joint. Ensure the solder is heated enough to become molten.
3. Use a Desoldering Pump: Place the desoldering pump nozzle against the molten solder and press the plunger to create suction. The pump will suck up the molten solder, removing it from the joint.
4. Clean the Joint: After desoldering, use flux or isopropyl alcohol along with a clean brush or sponge to remove any excess flux or residue from the joint. This ensures a clean surface for re-soldering or installing a new component.
5. Inspect the Circuit: Inspect the circuit for any remaining solder or damaged pads. Repair any damaged pads or traces before soldering in a replacement component.
Remember, practice is key to mastering soldering and desoldering techniques. Start with simple projects or damaged circuit boards to gain confidence and refine your skills. Always prioritize safety by working in a well-ventilated area, using proper eye protection, and taking precautions to avoid burns from the hot soldering iron. With time and practice, soldering and desoldering components will become second nature, allowing you to handle diverse electronic projects with ease.
Safety Considerations when Repairing Electronics
When working with electronic devices and circuits, ensuring safety is paramount. Electronics repair involves handling potentially hazardous materials, working with high voltages, and dealing with delicate components. Here are some crucial safety considerations to keep in mind when repairing electronics:
1. Power Off and Discharge: Always turn off and unplug the device before starting any repair work. Even when powered off, there may still be stored electrical energy, so it is important to discharge capacitors to prevent electric shocks. Use a suitable resistor or discharge tool to safely discharge any residual energy.
2. Personal Protective Equipment (PPE): Wear appropriate personal protective equipment to safeguard yourself from potential hazards. PPE can include safety glasses or goggles to protect your eyes from debris, gloves to shield your hands from sharp edges or hot solder, and anti-static straps to prevent electrostatic discharge (ESD) damage to sensitive components.
3. Workspace Setup: Set up a clean and organized workspace that is well-ventilated. Make sure there is ample lighting to work comfortably and avoid potential mishaps. Keep the workspace clutter-free to minimize the risk of tripping or accidentally damaging components.
4. Proper Tool Usage: Use tools in accordance with their intended purpose. Understand how to handle and operate each tool safely. Keep tools properly maintained and avoid using damaged tools that may lead to accidents. Always use insulated tools when working near live circuits to prevent electrical shock.
5. ESD Protection: Protect sensitive electronic components from electrostatic discharge (ESD). Use an ESD mat or work on an anti-static surface to prevent static electricity buildup. Additionally, wear an anti-static wrist strap and ground it to a suitable point to dissipate any static charge.
6. Safe Soldering Practices: When soldering, be cautious of the hot soldering iron. Avoid contact with skin, clothing, or flammable materials. Use a soldering iron stand to safely hold the iron when not in use. Ensure proper ventilation to disperse solder fumes and avoid inhalation.
7. Chemical Handling: Some repair processes may require the use of chemicals, such as flux or cleaning solvents. Handle chemicals with care and according to their safety guidelines. Wear gloves and work in a well-ventilated area to avoid exposure to harmful fumes.
8. Component Identification: Take precautions when handling unknown or unfamiliar components. Be aware of potentially hazardous components, such as high-voltage capacitors, that may retain a charge even when disconnected from power. Avoid touching unfamiliar components without proper knowledge or appropriate safety measures.
9. Reference Manuals and Resources: Consult the manufacturer’s documentation, service manuals, or online resources for specific safety precautions related to the device or circuit you are working on. This ensures you follow manufacturer-recommended procedures and precautions.
10. Know Your Limits: Recognize your skill level and limits when it comes to repairing electronics. Some repairs may require advanced knowledge or specialized tools. If a repair project exceeds your expertise, it is best to seek professional assistance to avoid potential risks to yourself and the device.
Resources for Further Learning
Continuing to learn and expand your knowledge in the field of electronics is crucial for staying updated with the latest advancements and mastering new skills. Fortunately, there are numerous resources available to help you further your understanding and expertise. Here are some valuable resources for further learning in electronics:
1. Online Courses and Tutorials: Websites such as Coursera, Udemy, and Khan Academy offer a wide range of online courses and tutorials on electronics. These platforms provide structured lessons taught by industry experts, covering topics from basic electronics to advanced circuit design and troubleshooting techniques.
2. YouTube Channels: YouTube is a goldmine of educational content on electronics. Numerous channels, such as GreatScott!, EEVblog, and Adafruit, offer informative and engaging videos on a variety of electronic topics. From hands-on projects to in-depth explanations, these channels provide valuable insights and practical demonstrations.
3. Online Forums and Communities: Engaging in online forums and communities like Reddit’s r/electronics or Stack Exchange’s Electrical Engineering forum allows you to interact with fellow electronics enthusiasts and professionals. These platforms provide opportunities to ask questions, share knowledge, and discuss challenging concepts with a diverse community.
4. Books and Textbooks: There is a wealth of books and textbooks available on electronics that cover a broad range of topics. Some popular titles include “The Art of Electronics” by Paul Horowitz and Winfield Hill, “Practical Electronics for Inventors” by Paul Scherz and Simon Monk, and “Microelectronic Circuits” by Adel S. Sedra and Kenneth C. Smith. These books offer in-depth explanations, practical examples, and exercises for further exploration.
5. Online Documentation and Datasheets: The websites of electronic component manufacturers, such as Texas Instruments, Analog Devices, and Microchip, provide comprehensive documentation and datasheets for their products. These resources contain detailed specifications, application notes, and examples that can enhance your understanding of specific components and their applications.
6. Electronics Magazines and Websites: Magazines like IEEE Spectrum, Make, and Electronics For You cover a wide range of electronics-related topics, including industry news, project tutorials, and interviews with experts. Online websites such as All About Circuits and Electronics-Lab also offer a wealth of articles, tutorials, and project ideas to further your learning.
7. Open-Source Hardware and Communities: Open-source hardware platforms like Arduino and Raspberry Pi have vibrant communities that provide extensive documentation, tutorials, and project examples. Exploring these resources can help you understand and work with these popular platforms, opening up opportunities for experimentation and innovation.
8. Local Workshops and Meetups: Check for local workshops, maker spaces, and meetups in your area that focus on electronics and DIY projects. Attending these events allows you to learn from experienced individuals, collaborate with like-minded enthusiasts, and gain hands-on experience with various electronic projects.
Remember, continuous learning in electronics is a dynamic process that requires hands-on practice and exploration. Combine these resources with practical experimentation to reinforce your understanding and hone your skills. It’s important to stay curious, seek out new challenges, and be persistent in your pursuit of knowledge in the ever-evolving field of electronics.