
Choose a Theme Template
When creating a Google Chrome theme, the first step is to choose a template to work with. Fortunately, Google provides a variety of pre-designed templates to help you get started. To access these templates, you’ll need to navigate to the Chrome Web Store and search for “Theme Creator for Chrome.”
Once you’ve installed the Theme Creator extension, open a new tab and click on the puzzle piece icon located on the top right corner of the browser. This will open the Extensions menu, where you’ll find the Theme Creator option. Click on it to launch the theme creator tool.
In the theme creator tool, you’ll be presented with a selection of template options. Each template offers a different layout and design, so take your time to explore them and choose the one that aligns with your vision for your custom Chrome theme. From minimalistic and sleek designs to colorful and vibrant options, there’s a template for every taste.
Consider the overall aesthetic you want to achieve with your theme. Do you prefer a clean and modern look or something more whimsical and unique? Ensure that the template you select complements the purpose or theme of your browser customization.
Additionally, keep in mind that some templates may have more customization options available than others. If you’re looking for more flexibility and creative freedom, choose a template that offers a wide range of customization features.
Remember, the template you choose will serve as the foundation for your Google Chrome theme, so make sure it resonates with your style and preferences. Once you’ve selected a template, you’re ready to move on to the next step: customizing images.
Customize Images
One of the key aspects of creating a unique and personalized Google Chrome theme is customizing the images used in the design. This allows you to add your own personal touch and make the theme truly your own.
To begin customizing images, navigate to the Theme Creator tool that we accessed in the previous section. Within the tool, you’ll find various options for image customization.
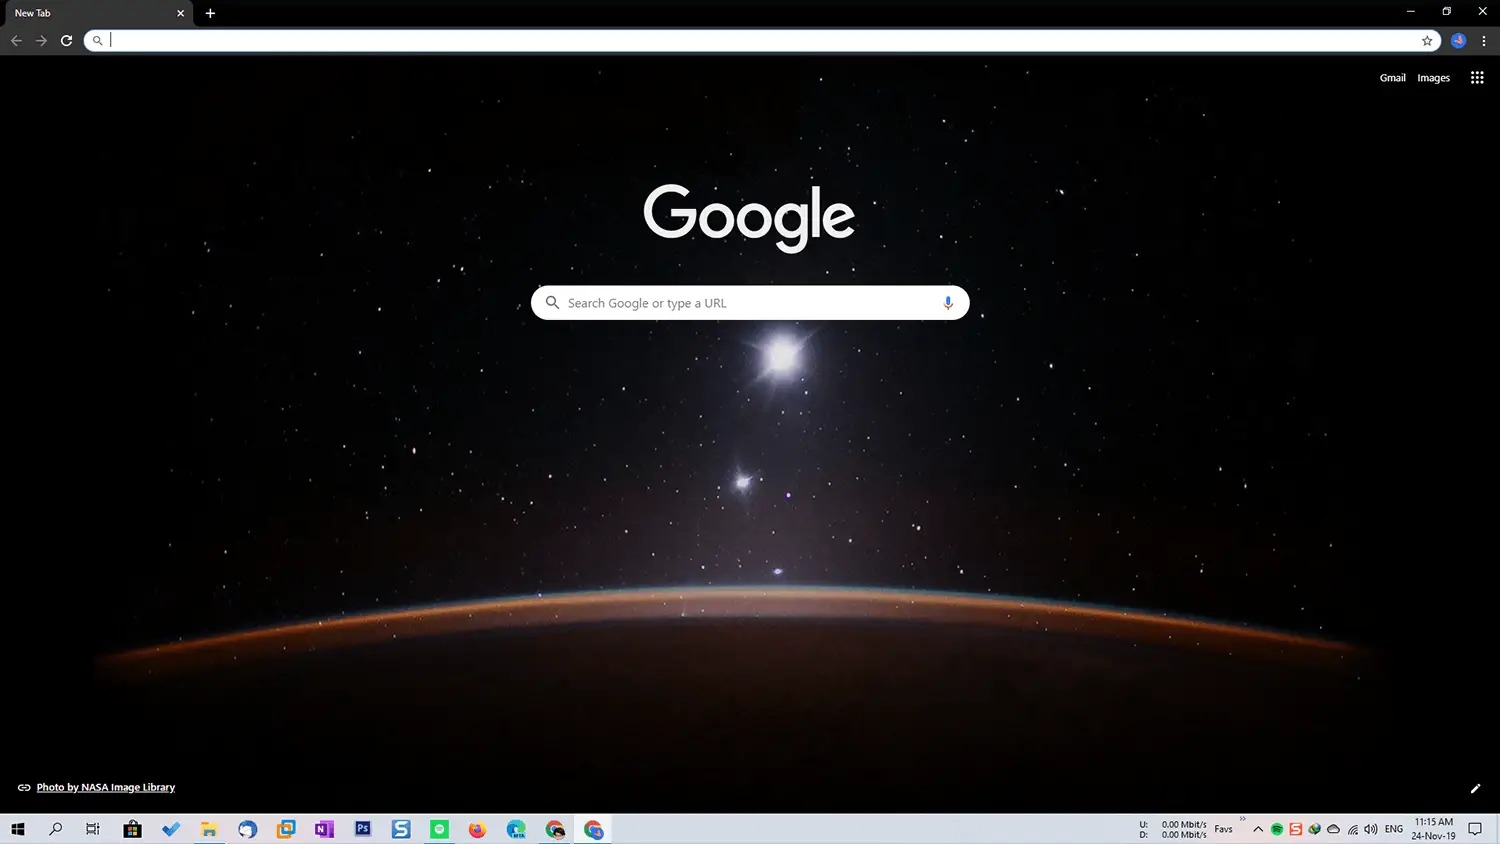
The first image you’ll need to customize is the background image. This image forms the backdrop of your Chrome theme and sets the overall tone and atmosphere. You can either choose a suitable image from the provided selection or upload your own image. Ensure that the image you select or upload is of high quality and appropriate for your theme.
Next, you’ll have the option to customize the frame image. This is the image that outlines the browser window and gives it a distinct appearance. Similar to the background image, you can browse the available options or upload your own custom image.
If you want to further customize your theme, you can also choose to edit the tab images. These are the small icons that appear on each open tab in Google Chrome. Again, you have the choice to select from a range of icon options or to upload your own custom icons.
In addition to these main image customizations, you may also have the option to modify other visual elements such as buttons, tooltips, and scrollbars. Check the customization options offered by your chosen template to see what additional image customization possibilities are available.
Remember to select images that suit the overall theme and aesthetic you want to convey. Whether you prefer a minimalist design or a bold and vibrant style, the images you choose will help bring your vision to life.
Once you’ve customized the images to your liking, you’re ready to move on to the next step: editing colors.
Edit Colors
The color scheme you choose for your Google Chrome theme plays a crucial role in creating a visually appealing and cohesive design. With the Theme Creator tool, you have the ability to edit and customize the colors used throughout your theme.
To get started with color customization, open the Theme Creator tool and navigate to the color editing options. You’ll find a variety of color settings that you can modify to match your desired theme.
The first color you’ll want to edit is the background color. This sets the tone for the overall theme and will be the color visible behind the web pages when you open Chrome. Consider choosing a color that complements your chosen images and creates a pleasing visual backdrop.
Next, you’ll have the option to customize the frame color. This color will be applied to the browser’s frame and can help create a cohesive look and feel. Select a color that harmonizes with your overall theme and enhances the visual appeal of the browser window.
In addition to the background and frame colors, you can also edit the colors of various UI elements. These include the tab colors, which determine the appearance of the browser tabs when they are active or inactive, and the button colors, which apply to buttons and icons within the Chrome interface. Take the time to experiment with different color combinations and find the ones that best reflect your style and preferences.
Remember to consider the overall aesthetic you want to achieve with your theme. If you’re aiming for a minimalist and elegant design, choose neutral or subdued colors. For a bold and vibrant theme, opt for brighter and more saturated hues.
Once you’ve edited and finalized the color scheme of your Google Chrome theme, you’re ready to move on to the next step: customizing the browser toolbar.
Customize Browser Toolbar
The browser toolbar is an essential element of your Google Chrome theme, and customizing it allows you to add personal flair and functionality to your browsing experience. With the Theme Creator tool, you have the ability to customize various aspects of the browser toolbar to align with your desired theme.
To begin customizing the browser toolbar, open the Theme Creator tool and navigate to the toolbar customization options. Here, you’ll find a range of settings that you can modify to suit your preferences.
One of the key elements you can customize is the toolbar background. This is the area of the toolbar where your extensions, bookmarks, and other icons are displayed. You can select a solid color that complements your overall theme or upload a custom background image to add more visual interest.
In addition to the background, you can also customize the toolbar icons. These are the icons that represent your extensions and other browser functions. You have the option to choose from a selection of pre-designed icons or upload your own custom icons to create a more personalized look.
To enhance the visual appeal of your toolbar, you can also customize the toolbar button style. This allows you to modify the appearance of buttons, including their shape and size. Experiment with different button styles to find the one that best complements your theme and provides a seamless browsing experience.
Furthermore, you can customize the toolbar text style. This involves adjusting the font, size, and color of the text displayed in the toolbar. Choose a font and color combination that is easily readable and aligns with your overall design aesthetic.
Take the time to explore the various customization options available for the browser toolbar and experiment with different combinations to create a customized look and feel that reflects your style and preferences.
Once you’ve customized the browser toolbar to your satisfaction, you can move on to the next step: adding icons and buttons.
Add Icons and Buttons
Icons and buttons are important elements in a Google Chrome theme as they provide visual cues and enhance the functionality of the browser. With the Theme Creator tool, you can easily add icons and buttons to create a personalized and intuitive browsing experience.
To begin adding icons and buttons, open the Theme Creator tool and navigate to the icon and button customization options. Here, you’ll find a range of settings and options to choose from.
The first step is to select the toolbar icons that represent the different browser functions. You can choose from a variety of pre-designed icons in the Theme Creator tool, or you have the option to upload your own custom icons. Consider icons that are visually appealing, easily recognizable, and aligned with the overall theme of your customization.
In addition to toolbar icons, you can also add buttons to your Google Chrome theme. Buttons can be used to provide quick access to specific actions or functionalities within the browser. These buttons can include options like “refresh,” “back,” “forward,” and more. Customize the appearance of these buttons to match the overall design of your theme.
When adding icons and buttons, it’s important to ensure they are in harmony with the other visual elements of your theme, such as the background, frame, and toolbar. Consistency in design will create a more professional and polished look for your customized Chrome theme.
Remember, the purpose of adding icons and buttons is to enhance both the visual appeal and usability of your theme. Strive for an intuitive and user-friendly experience that allows users to easily navigate and access the various browser functions.
Once you’ve added and customized the icons and buttons to your satisfaction, you can move on to the next step: adjusting font and text style.
Adjust Font and Text Style
The font and text style used in a Google Chrome theme can greatly impact the overall look and feel of the browsing experience. With the Theme Creator tool, you have the ability to adjust the font and text style to align with your desired theme.
To begin adjusting the font and text style, open the Theme Creator tool and navigate to the font customization options. Here, you’ll find a range of settings that allow you to modify the appearance of the text within the browser.
The first step is to choose the font family for your theme. You can select from a list of available fonts or upload your own custom font. Consider the readability and suitability of the font for your theme. Choose a font that enhances the overall aesthetic and aligns with the purpose of your customization.
In addition to the font family, you can also adjust the font size of the text. Finding the right font size is important to ensure that the text is easily readable and accessible to users. Avoid using excessively small or large font sizes, as they may hinder the user experience.
To further customize the text style, you can modify the font color and text shadow. Experiment with different color combinations and text shadow effects to create a visually appealing and eye-catching design. Ensure that the font color contrasts well with the background color or image to maintain readability.
Consider the overall look and feel you want to achieve with your theme. If you’re aiming for a modern and clean design, opt for a simpler font style and muted colors. For a more adventurous and creative theme, you may choose a decorative font with bold and vibrant colors.
Remember that the font and text style should not only be visually appealing, but also enhance the legibility of the content. Aim for a harmonious balance between aesthetics and functionality.
Once you’ve adjusted the font and text style to your liking, you can move on to the next step: previewing and testing your theme.
Preview and Test Theme
Before publishing your Google Chrome theme, it’s essential to preview and test it to ensure that it meets your expectations and functions properly. With the Theme Creator tool, you can easily preview and test your theme before making it available for others to use.
To preview your theme, open the Theme Creator tool and navigate to the preview section. Here, you’ll be able to see how your theme looks in a simulated browser window. Take this opportunity to carefully review each element of your theme, including images, colors, icons, text, and overall layout.
Pay attention to the overall visual appeal and coherence of your theme. Make sure the images and colors complement each other and create a harmonious design. Check for any elements that may be too distracting or unclear.
In addition to the visual aspects, test the functionality of your theme. Ensure that the buttons and icons are properly linked to their respective actions, and that they behave as expected. Test the readability of the text in different areas of the browser to ensure it’s legible and accessible.
During the preview process, take note of any necessary adjustments or improvements. If you notice any issues or areas that need fine-tuning, go back to the customization options in the Theme Creator tool and make the necessary modifications.
After making the desired changes, preview your theme again to ensure that the adjustments have been properly implemented. Repeat this process until you are satisfied with the overall appearance and functionality of your theme.
Once you are confident in the quality of your theme, it’s time to test it in action. Apply the theme to your own Google Chrome browser and browse through various webpages to ensure that it looks and functions as expected in a real-world scenario.
During the testing phase, pay attention to any additional factors that may impact the overall user experience, such as responsiveness, loading speed, and compatibility with different webpages and extensions.
By previewing and testing your theme thoroughly, you can identify and address any issues or adjustments needed, ensuring that you provide users with a seamless and enjoyable browsing experience.
Once you are satisfied with the preview and testing results, you can move on to the final step: publishing and sharing your Google Chrome theme.
Publish and Share Theme
After customizing and testing your Google Chrome theme to perfection, the final step is to publish and share it with others. Publishing your theme allows users from around the world to enjoy your unique creation and customize their browsing experience.
To publish your theme, start by packaging it as a theme file. In the Theme Creator tool, you’ll find an option to generate the theme package. This will create a .crx file that contains all the necessary components of your theme.
Once you have the theme package ready, you can upload it to the Chrome Web Store. Visit the Chrome Web Store developer dashboard and follow the instructions to package and upload your theme. Provide a catchy and descriptive title, add relevant tags, and write a compelling description to entice potential users to install your theme.
Ensure that your theme meets the Chrome Web Store’s guidelines and policies to avoid any issues during the review process. Verify that your theme doesn’t violate any copyright or licensing agreements and that it adheres to the content guidelines set by Google.
After submitting your theme to the Chrome Web Store, it will go through a review process to ensure that it meets all the necessary requirements. This process can take some time, so be patient and wait for the approval notification.
Once your theme is approved, it will be made available for users to install and enjoy. Share your theme through social media, your website, or other channels to increase its visibility and reach. Encourage users to provide feedback and ratings, which will help improve your theme and attract more users.
Remember to keep your theme updated and respond to user feedback promptly. This ensures that your theme remains relevant and continues to provide an excellent browsing experience for users.
Publishing and sharing your Google Chrome theme allows you to showcase your creativity and contribute to the customization options available to Chrome users worldwide. Enjoy the satisfaction of knowing that your unique theme is enhancing the browsing experience for countless individuals.