
Downloading and Installing Paint.NET
To create editable text in Paint.NET, you first need to download and install the software. Paint.NET is a free image editing program that offers a range of tools and features, including the ability to add and edit text on your images. To get started, follow these steps:
- Open your preferred web browser and navigate to the official Paint.NET website.
- Click on the “Download” button to initiate the download process.
- Once the setup file is downloaded, locate it in your downloads folder or the designated location on your computer.
- Double-click on the setup file to begin the installation process.
- Follow the on-screen instructions to install Paint.NET on your computer. Make sure to read and accept the terms of use if prompted.
- Once the installation is completed, you can launch Paint.NET by double-clicking on the desktop icon or searching for it in the Start menu.
It’s important to note that Paint.NET is currently only available for Windows operating systems. If you are using a different operating system, you may need to explore alternative image editing software that offers similar functionality.
By downloading and installing Paint.NET, you are ready to begin adding and editing text on your images. Let’s move on to the next section to learn how to create a new canvas in Paint.NET.
Opening Paint.NET and Creating a New Canvas
Now that you have Paint.NET installed on your computer, it’s time to open the program and create a new canvas where you can add and edit text. Follow these steps:
- Launch Paint.NET by double-clicking on its icon on the desktop or searching for it in the Start menu.
- Once Paint.NET is open, go to the “File” menu located at the top-left corner of the program interface.
- Select “New” from the drop-down menu. Alternatively, you can use the keyboard shortcut Ctrl + N.
- A dialog box will appear, allowing you to specify the dimensions of the new canvas. Enter the desired width and height for your canvas in the respective fields.
- Choose the appropriate units for the dimensions, such as pixels, inches, or centimeters.
- Click on the “OK” button to create the new canvas.
Once you have completed these steps, a blank canvas will appear in Paint.NET, ready for you to add and edit text. You can adjust the canvas size or resolution later if needed.
It’s worth mentioning that Paint.NET is a versatile image editing program that allows you to work with multiple layers, making it easier to manage and manipulate your text and other elements. Now that you have your canvas set up, it’s time to move on to the next section to learn how to add a text layer to your canvas.
Adding a Text Layer to the Canvas
With your canvas ready, it’s time to add a text layer where you can input and customize your text. Follow these steps to add a text layer in Paint.NET:
- Ensure that the Layers window is visible. If not, go to the “Window” menu and click on “Layers” to enable it.
- In the Layers window, click on the “Add New Layer” button located at the bottom-left corner. This will create a new layer where you can add your text.
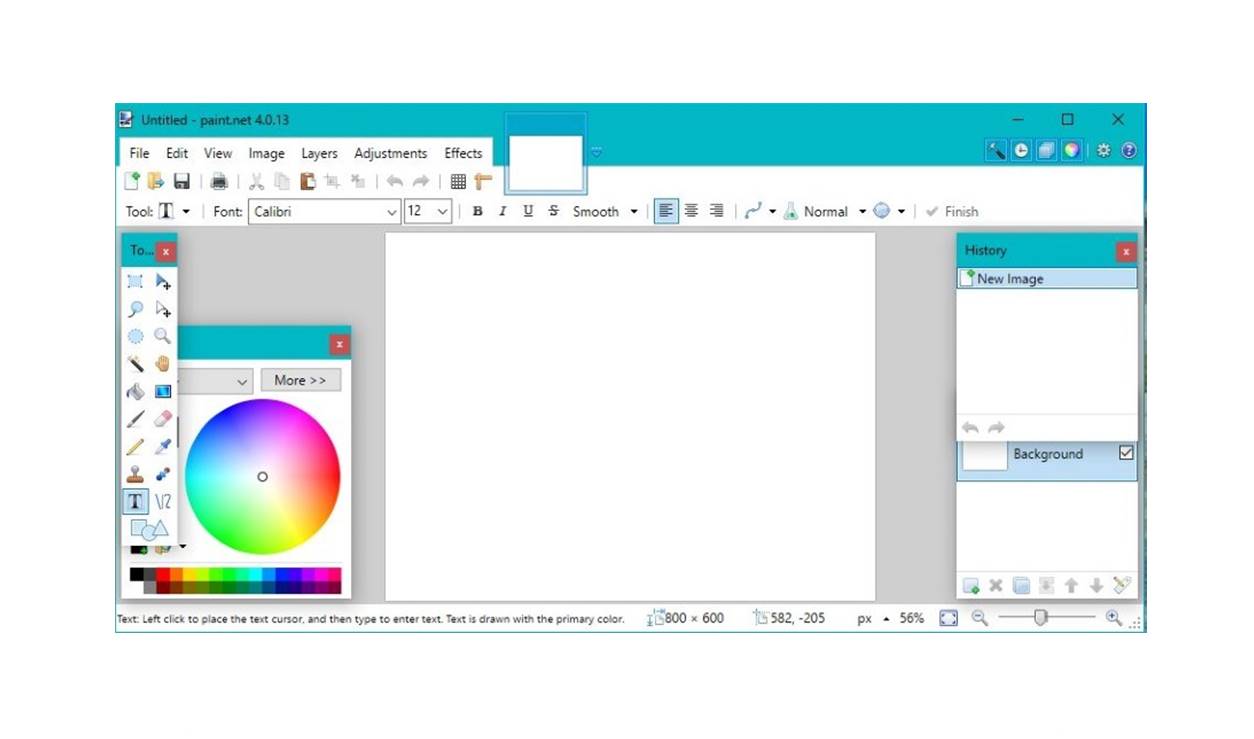
- Next, go to the “Tools” window and select the “Text” tool. It is represented by an uppercase “A” icon.
- Click on the canvas where you want to place your text. This will open the Text Entry dialog box.
- In the dialog box, type in the desired text you want to add to the canvas.
- Customize the text properties by selecting the font, size, and color from the options available in the Text Entry dialog box.
- Click on the “OK” button to apply the changes and insert the text onto the canvas as a new layer.
Once you have added the text layer, you can resize, move, or rotate it using the various editing tools in Paint.NET. Additionally, you can modify the properties of the text layer later on if you wish to make any adjustments.
Now that you have successfully added a text layer to your canvas, let’s move on to the next section to learn how to select and format the text.
Selecting and Formatting the Text
After adding the text layer to your canvas, you can now select and format the text to achieve the desired look. Here’s how you can select and format the text in Paint.NET:
- Make sure the Layers window is visible. If not, go to the “Window” menu and click on “Layers” to enable it.
- In the Layers window, click on the text layer that contains the text you want to format. This will select the text layer, and you’ll see handles around the text in the canvas.
- To format the selected text, you can make use of the toolbar and options available in the Text tool.
- Use the toolbar to change the font, font size, text color, or apply text styles such as bold, italic, underline, or strikethrough.
- You can also align the text to the left, right, center, or justify it by using the alignment options in the toolbar.
- To adjust the position or size of the selected text, click and drag the handles around the text. This will resize and reposition the text layer accordingly.
- If you want to edit the text content, double-click on the text layer in the Layers window or select the text and start typing.
By selecting and formatting the text, you can create visually appealing designs and make the text stand out on your canvas. Experiment with different font styles, sizes, and colors to achieve the desired effect.
Now that you know how to select and format the text, let’s proceed to the next section to learn how to edit the text content in Paint.NET.
Editing the Text Content
Paint.NET provides flexibility when it comes to editing the content of text in your project. Whether you want to make minor adjustments or completely change the text, follow these steps to edit the text content:
- Ensure that the Layers window is visible. If not, go to the “Window” menu and click on “Layers” to enable it.
- In the Layers window, select the text layer that contains the text you want to edit. Make sure the text layer is highlighted.
- Double-click on the text layer or select the text directly on the canvas to activate the text editing mode.
- The text you want to edit will become highlighted or appear inside a text box. Now, you can make changes to the text by deleting, replacing, or adding new characters.
- While in the text editing mode, you can also modify the formatting options such as font style, size, color, and alignment.
- Once you have made the desired changes, click outside the text area or press the Enter key to apply the edits and exit the text editing mode.
With the ability to edit the text content, you have the freedom to correct any mistakes, update information, or experiment with different phrases or words to achieve the desired message in your design.
Now that you know how to edit the text content in Paint.NET, let’s move on to the final section to learn how to save and export the editable text file.
Saving and Exporting the Editable Text File
Paint.NET allows you to save and export your project as an editable text file, which can be later opened and edited in Paint.NET or other compatible software. Follow these steps to save and export your editable text file:
- Go to the “File” menu at the top-left corner of the Paint.NET interface.
- Select the “Save As” option from the drop-down menu.
- In the “Save As” dialog box, choose a location on your computer where you want to save the file.
- Enter a filename for your project and choose a file format for saving. Paint.NET supports different file formats, including .pdn (the default Paint.NET format) and .psd (Adobe Photoshop format).
- Ensure the “Save as type” option is set to the appropriate file format, which allows for maintaining the layers and text properties.
- Click on the “Save” button to save the file.
By saving your project in an editable text file format, you can preserve the layers, text properties, and overall design of your project. This allows you to reopen the file in Paint.NET or other compatible software and make further edits as needed.
Additionally, if you want to export your project as a non-editable file format, such as JPEG or PNG, you can do so by selecting the “Export” option in the “File” menu. This will allow you to save your project as an image file while flattening the layers and text into a single image.
Now that you have saved and exported your editable text file, you can share it or continue editing it in the future with the flexibility and convenience that Paint.NET provides.