
Finding the Right Input
Connecting your Wii U to your television may seem like a daunting task, but with a little guidance, you’ll have it up and running in no time. The first step in the process is to find the right input on your TV where you can connect the Wii U console.
Every TV is different, but most modern televisions have multiple input ports, such as HDMI, component, or composite. The Wii U console uses an HDMI cable for the best video and audio quality, so it’s recommended to use an available HDMI input on your TV if possible.
To find the HDMI input on your TV, look for the labels or symbols near the ports. It’s usually labeled as “HDMI” or as an “HDMI In” port. Depending on the TV model, there may be multiple HDMI ports, so make sure to select the correct one.
If your TV doesn’t have an HDMI input, don’t worry! The Wii U console also includes a component video output, which is capable of delivering high-definition video. Simply connect the component video cable to the corresponding input on your TV, usually labeled as “Component In” or with a set of red, green, and blue color-coded ports.
If your TV only has composite inputs, which are the yellow, red, and white ports, you can still connect your Wii U using the included AV cable. These cables will provide standard-definition video and audio, but keep in mind that the graphics won’t be as crisp as with HDMI or component connections.
Once you have identified the correct input on your TV, you’re ready to connect your Wii U console and start enjoying your games and entertainment. The next step is to properly connect the console to the TV, which will be covered in the next section.
Connecting the Wii U Console to the TV
Now that you have identified the right input on your television, it’s time to connect your Wii U console. The process is straightforward, and you’ll be playing games in no time.
The first step is to locate the HDMI port on your Wii U console. It’s usually found on the back of the console and labeled as “HDMI Out.” Take the HDMI cable that came with your Wii U and plug one end into the HDMI port on the console.
Next, locate the other end of the HDMI cable and plug it into the corresponding HDMI input on your TV. Make sure to select the same HDMI input you identified earlier when finding the right input. Once connected, ensure that the cable is securely and firmly inserted into both the console and TV.
If you’re using a component video cable, locate the component video output on your Wii U console. It’s typically found next to the HDMI port. Connect the corresponding component video cables to the matching color-coded ports on your TV. Ensure that each cable is securely plugged in.
For those using composite AV cables, the process is slightly different. Plug the yellow video cable into the yellow video input port on your TV. Connect the red and white audio cables to their respective audio input ports. Again, ensure that the cables are firmly plugged in.
With the Wii U console now physically connected to your TV, it’s time to move on to the next step: configuring the display settings on your console. This will ensure that you get the best audio and video output from your Wii U.
Configuring the Display Settings on Your Wii U
After connecting your Wii U console to your TV, it’s essential to configure the display settings to ensure optimal audio and video performance. Here’s how you can do it:
1. Turn on your Wii U console by pressing the power button on the front of the console or the power button on the Wii U GamePad.
2. Once the console is powered on, the Wii U Menu will appear on your TV screen. Use the Wii U GamePad or Wii U Pro Controller to navigate to the System Settings icon, located on the bottom right corner of the screen.
3. Select System Settings and press the A button to access the System Settings menu.
4. In the System Settings menu, navigate to the TV menu by using the arrow buttons on the GamePad or Pro Controller. Select TV and press A to enter the TV settings.
5. Within the TV settings menu, you will see different options for display settings, including TV resolution, aspect ratio, and HDMI control. Adjust these settings based on your TV’s capabilities and personal preferences. If you’re unsure about the optimal settings, consult your TV’s user manual or refer to the manufacturer’s website.
6. Once you have made your desired changes, navigate to the Save button using the arrow buttons and press A to save your settings.
7. Exit the System Settings menu by pressing the B button on the GamePad or Pro Controller until you return to the Wii U Menu.
Now that you have configured the display settings on your Wii U, you can enjoy your games and multimedia content with the best possible audio and video quality. If you encounter any issues or are not satisfied with the display performance, you can always revisit the TV settings menu and make further adjustments.
Adjusting the Audio Settings
Along with configuring the display settings, it’s crucial to ensure that the audio settings on your Wii U console are properly adjusted for an immersive gaming and entertainment experience. Follow these steps to adjust the audio settings:
1. From the Wii U Menu, use the Wii U GamePad or Wii U Pro Controller to navigate to the System Settings icon on the bottom right corner of the screen.
2. Select System Settings and press the A button to access the System Settings menu.
3. Within the System Settings menu, navigate to the TV menu by using the arrow buttons on the GamePad or Pro Controller. Select TV and press A to enter the TV settings.
4. In the TV settings menu, you will find an option labeled Audio. Select it and press A to access the audio settings.
5. Within the audio settings, you can adjust the audio output type, volume, and balance. Select the desired options based on your preferences and the audio capabilities of your TV or sound system.
6. After making your changes, navigate to the Save button using the arrow buttons and press A to save your audio settings.
7. Exit the System Settings menu by pressing the B button on the GamePad or Pro Controller until you return to the Wii U Menu.
By adjusting the audio settings on your Wii U console, you can ensure that the sounds from your games, videos, and other multimedia content are delivered with clarity and depth. Take the time to experiment with different settings to find the audio configuration that best suits your preferences and enhances your overall gaming experience.
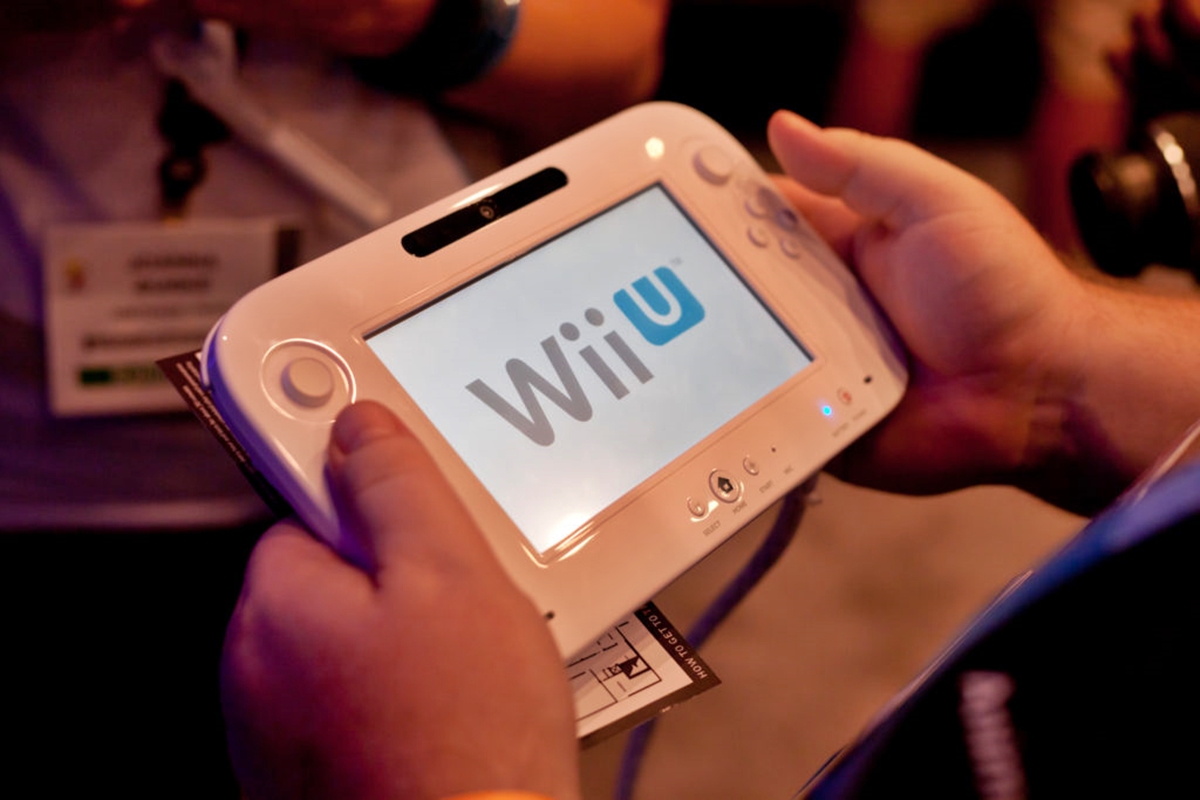
Syncing the Wii U GamePad with Your TV
The Wii U GamePad is a unique feature of the Wii U console, providing an additional screen for gameplay and interactive features. To fully utilize its capabilities, you’ll need to sync it with your TV. Here’s how you can do it:
1. Ensure that both your Wii U console and TV are turned on.
2. On the Wii U GamePad, press the Home button to open the Quick Start Menu.
3. Navigate to the System Settings icon and select it by tapping on the touch screen.
4. Within the System Settings menu, locate the TV icon and tap on it to access the TV settings.
5. In the TV settings, you will find an option called Sync GamePad. Select it to begin the syncing process.
6. Follow the instructions on the GamePad’s screen to complete the syncing process. This typically involves pressing a Sync or Connect button on both the GamePad and the TV.
7. Once the syncing process is complete, the GamePad will display a success message, and you will be able to use it in conjunction with the TV.
8. Test the GamePad by launching a game that supports it or navigating through the Wii U Menu. The GamePad’s screen should display supplementary content or controls while the TV displays the primary gameplay.
Syncing the Wii U GamePad with your TV enables you to access unique gameplay features, interact with menus, or play games directly on the GamePad’s screen. It enhances the versatility and immersive nature of the Wii U gaming experience, providing you with new ways to enjoy your favorite titles.
If you experience any difficulties during the syncing process, ensure that both the GamePad and the TV are close to the Wii U console. You can also consult the Wii U GamePad manual or contact the Wii U support team for further assistance.
Troubleshooting Tips for Connecting Your Wii U
Connecting your Wii U to your television may encounter some issues, but don’t worry! Here are a few troubleshooting tips that may help you overcome common problems:
1. Double-check the connections: Ensure that all cables are securely plugged into the correct ports on both the Wii U console and your TV. Sometimes, a loose connection can cause display or audio problems.
2. Verify the input selection: Make sure you have selected the correct input on your TV. Switch to the corresponding HDMI, component, or composite input that you connected your Wii U to.
3. Power cycle the devices: Turn off both your Wii U console and television, unplug them from the power source, wait for a few minutes, and then plug them back in. This can help resolve minor connectivity issues.
4. Check for firmware updates: Ensure that your Wii U console’s firmware is up to date. Go to the System Settings menu and select System Update to check for any available updates. Updating the firmware can address compatibility issues and improve overall performance.
5. Test with different cables: If you’re experiencing issues with the video or audio quality, try using different HDMI, component, or composite cables. Faulty or damaged cables can sometimes cause connectivity problems.
6. Adjust display settings on the TV: Access your TV’s settings menu and make sure the display settings are optimized for the connection type you’re using, such as HDMI or component. Experiment with different settings to find the best configuration for your Wii U.
7. Consult the user manual: If the above troubleshooting steps don’t resolve the issue, refer to the user manual that came with your Wii U console or TV. It may provide specific troubleshooting steps or contact information for further assistance.
Remember, each TV model and setup may have unique requirements, so these troubleshooting tips may not cover all possible scenarios. If you still encounter issues, don’t hesitate to reach out to the Nintendo support team or seek assistance from a professional.
With these troubleshooting tips in mind, connecting your Wii U to your TV should be a smooth process, allowing you to fully enjoy the immersive gaming and entertainment experience it offers.