
Overview
Connecting Bluetooth headphones to a desktop computer allows you to enjoy a wireless audio experience, free from the constraints of tangled cables. Whether you want to listen to music, watch movies, or play games, setting up your Bluetooth headphones with your desktop computer is a simple process.
Before you begin, it is important to check the compatibility of your desktop computer with Bluetooth technology. Not all desktop computers come with built-in Bluetooth capabilities, so you may need to purchase a separate Bluetooth adapter if your computer doesn’t have one. Once you have confirmed compatibility, you can move on to the steps below.
Enabling Bluetooth on your computer is the first step in the process. This can usually be done through the computer’s system settings or control panel. Once Bluetooth is enabled, you need to put your Bluetooth headphones into pairing mode. This mode allows your headphones to be discovered by your computer during the connection process.
With your headphones in pairing mode, you can then search for Bluetooth devices on your computer. The computer will scan for any available Bluetooth devices in its vicinity. When your headphones are discovered, they will appear in the list of available devices.
Once you have located your headphones on the list, you can connect them to your computer. Depending on the operating system, this may involve clicking on the headphones’ name and selecting the option to pair or connect. The computer and headphones will communicate with each other, establishing a secure connection.
Finally, it is essential to test the connection to ensure that your Bluetooth headphones are working properly with your desktop computer. Play some music or a video to confirm that the audio is coming through the headphones and not the computer’s speakers.
If you encounter any issues during the setup process, don’t worry. There are common troubleshooting steps you can take to resolve them. By following these steps, you’ll be able to enjoy the convenience and freedom of wireless audio with your Bluetooth headphones and desktop computer.
Step 1: Check Compatibility
Before you begin the process of connecting Bluetooth headphones to your desktop computer, it’s crucial to ensure that your computer is compatible with Bluetooth technology. Not all desktop computers come equipped with built-in Bluetooth capabilities, especially older models. So, it’s essential to check if your computer has the necessary hardware.
To check the compatibility, start by looking at your computer’s specifications. You can usually find this information in the user manual or on the manufacturer’s website. Look for any indications of Bluetooth support or wireless connectivity. If you’re unsure, you can also check the device manager on your computer.
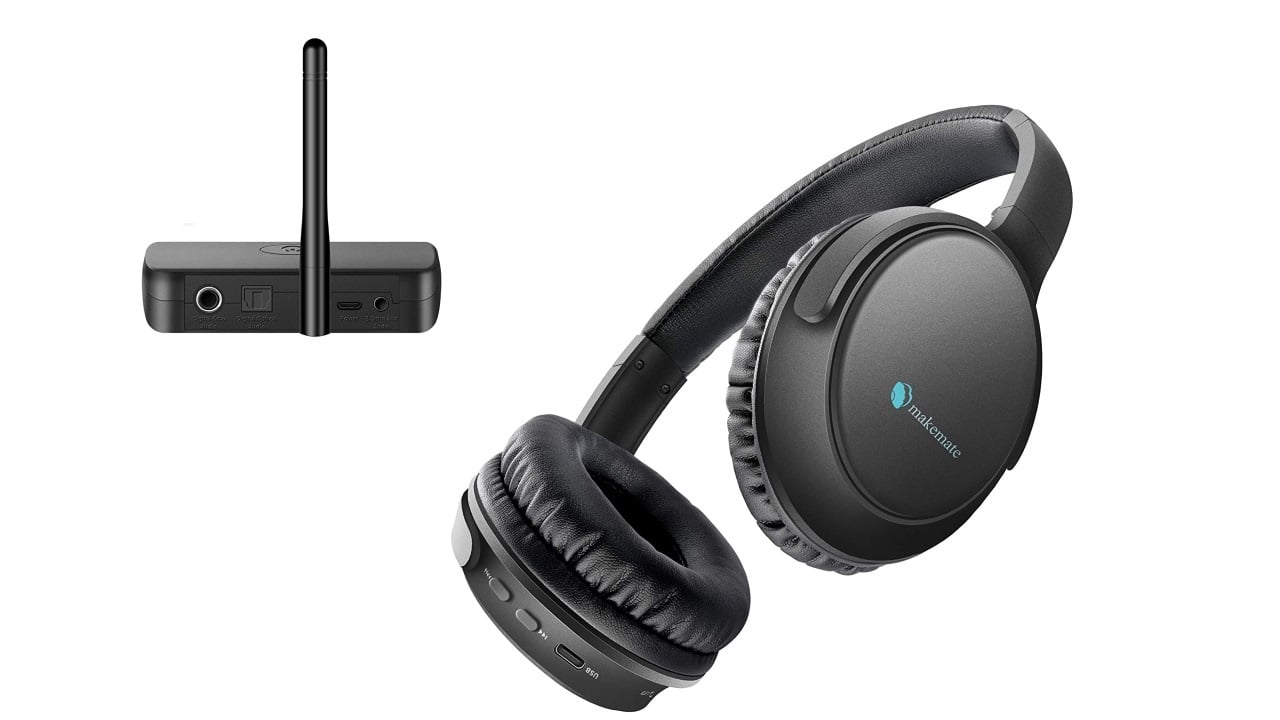
If your computer does not have built-in Bluetooth, don’t worry! You still have options to connect your Bluetooth headphones. You can purchase a Bluetooth adapter, also known as a dongle, that can be plugged into one of your computer’s USB ports. These adapters are small and affordable, and they provide your computer with Bluetooth capabilities.
When purchasing a Bluetooth adapter, make sure it is compatible with your operating system. Most adapters are compatible with both Windows and macOS. However, it’s always good to check the product specifications to ensure it will work with your computer.
It’s worth noting that some newer desktop computers come with Bluetooth capabilities built-in. In this case, you can skip the step of buying a separate Bluetooth adapter and proceed with enabling Bluetooth on your computer.
By checking compatibility and acquiring the necessary hardware if needed, you can ensure a smooth and successful connection between your Bluetooth headphones and your desktop computer. Once you have confirmed compatibility, you can proceed to the next steps of the setup process.
Step 2: Enable Bluetooth on Your Computer
After verifying the compatibility of your desktop computer with Bluetooth technology, the next step is to enable Bluetooth on your computer. Enabling Bluetooth will allow your computer to communicate with and connect to your Bluetooth headphones.
The process of enabling Bluetooth can vary slightly depending on the operating system of your desktop computer. Below are the general steps to enable Bluetooth on both Windows and macOS:
- Windows:
- Click on the “Start” menu and select “Settings”.
- In the Settings window, select “Devices”.
- In the Devices menu, click on the “Bluetooth & other devices” tab.
- Toggle the Bluetooth switch to the “On” position.
- macOS:
- Click on the Apple menu in the top-left corner of the screen and select “System Preferences”.
- In the System Preferences window, click on “Bluetooth”.
- Toggle the Bluetooth switch to the “On” position.
Once you have enabled Bluetooth on your computer, you should see the Bluetooth icon appear in the taskbar or menu bar. This indicates that Bluetooth is now active and ready for pairing with your Bluetooth headphones.
Keep in mind that some computers may have a physical toggle button or switch to enable Bluetooth. If this is the case, locate the button or switch and toggle it to the “On” position.
Enabling Bluetooth on your computer is an essential step to establish a connection between your desktop and your Bluetooth headphones. With Bluetooth enabled, you can now proceed to the next step of putting your headphones into pairing mode.
Step 3: Put Your Bluetooth Headphones in Pairing Mode
Before you can connect your Bluetooth headphones to your desktop computer, you need to put your headphones into pairing mode. Pairing mode allows your headphones to be discovered by your computer during the connection process.
The exact method for entering pairing mode can vary depending on the brand and model of your Bluetooth headphones. Typically, the following steps should guide you in putting your headphones into pairing mode:
- Refer to the user manual of your Bluetooth headphones to determine the specific instructions for entering pairing mode. The manual usually provides a step-by-step guide that is tailored to your particular headphones.
- Most Bluetooth headphones have a dedicated pairing button or switch. Press and hold this button or toggle it to activate pairing mode. Some headphones may require a combination of button presses to enter pairing mode, so consult the manual for the correct sequence.
- When your headphones enter pairing mode, you may see an indicator light or hear a sound to confirm their readiness for connection.
It’s important to note that the duration of the pairing mode can vary depending on the headphones. Some headphones may remain in pairing mode for a limited time, while others may stay in this mode until they are successfully connected to a device. Refer to the user manual for any specific instructions regarding the duration of pairing mode.
By putting your Bluetooth headphones into pairing mode, you allow your computer to detect and establish a connection with them. Once your headphones are in pairing mode, you can move on to the next step and search for Bluetooth devices on your computer to connect to them.
Step 4: Search for Bluetooth Devices on Your Computer
After putting your Bluetooth headphones into pairing mode, the next step is to search for Bluetooth devices on your computer. This will allow your computer to discover and display the available Bluetooth devices, including your headphones.
Here’s how to search for Bluetooth devices on both Windows and macOS:
- Windows:
- Click on the Bluetooth icon in the taskbar at the bottom right corner of your screen.
- In the Bluetooth menu, select “Add Bluetooth or other devices”.
- In the Add a device window, click on the “Bluetooth” option.
- Your computer will start scanning for nearby Bluetooth devices. This process may take a few moments.
- macOS:
- Click on the Bluetooth icon in the menu bar at the top-right corner of your screen.
- In the Bluetooth menu, select “Open Bluetooth Preferences”.
- Your computer will start scanning for nearby Bluetooth devices. This process may take a few moments.
During the scanning process, your Bluetooth headphones should appear in the list of available devices on your computer’s screen. The device name usually corresponds to the brand or model of your headphones.
If your headphones don’t appear in the list, ensure that they are still in pairing mode and within range of your computer. If you’re still having trouble, try restarting both your computer and headphones, and then repeat the scanning process.
Once your Bluetooth headphones are visible on the computer’s list of devices, you are ready to initiate the connection between your headphones and your computer. The next step will guide you on how to connect them successfully.
Step 5: Connect Your Bluetooth Headphones to Your Computer
After your Bluetooth headphones appear in the list of available devices on your computer, you can proceed to connect them. The process of connecting your headphones to your computer may differ slightly depending on the operating system you are using.
Here’s how to connect your Bluetooth headphones to your computer on both Windows and macOS:
- Windows:
- Click on the name of your Bluetooth headphones in the list of available devices on your computer.
- Click on the “Connect” or “Pair” button next to your headphones’ name.
- Wait for a few moments as your computer establishes a connection with the headphones. Once connected, you will see a confirmation message.
- macOS:
- Click on the name of your Bluetooth headphones in the list of available devices on your computer.
- Click on the “Connect” button next to your headphones’ name.
- Your computer will establish a connection with the headphones, and you will see a confirmation message.
During the connection process, your computer and Bluetooth headphones will communicate to establish a secure and stable connection. This process usually takes a few seconds, but it may vary depending on the devices.
Once the connection is established, your computer will recognize your Bluetooth headphones as the default audio output device. This means that the audio from your computer will now be routed through your headphones rather than the computer’s internal speakers.
It’s important to note that some Bluetooth headphones may require you to enter a passcode or confirm the connection on both your headphones and the computer. If prompted, follow the instructions on both devices to complete the connection process.
With the successful connection of your Bluetooth headphones to your computer, you are now ready to enjoy wireless audio and immerse yourself in your favorite music, movies, or games.
Step 6: Test the Connection
After connecting your Bluetooth headphones to your computer, it is essential to test the connection to ensure that everything is working properly. Testing the connection will confirm that the audio is coming through your headphones and that you can enjoy a seamless wireless audio experience.
To test the connection, follow these steps:
- Play some audio on your computer, such as a music track, a video, or a game.
- Ensure that the sound output is set to your Bluetooth headphones. You can generally adjust the sound settings in the system preferences or control panel of your operating system.
- Listen for the audio to play through your Bluetooth headphones. You should hear the sound clearly without any distortions or interruptions.
- Check the volume levels on both your computer and your headphones to ensure they are appropriately adjusted.
If you encounter any issues during the testing process, here are a few troubleshooting steps you can try:
- Restart your computer and headphones to refresh the connection.
- Make sure your headphones are charged or properly powered.
- Ensure that your headphones are within the effective range of your computer (usually within 30 feet or 10 meters).
- Check for any software or driver updates for your Bluetooth headphones and your computer.
- Disconnect and reconnect your headphones to your computer to reestablish the Bluetooth connection.
By testing the connection and troubleshooting any potential issues, you can ensure that your Bluetooth headphones are working correctly with your computer. Enjoy the convenience and freedom of wireless audio as you indulge in your favorite media.
Troubleshooting Common Issues
While connecting Bluetooth headphones to a desktop computer is generally a straightforward process, you may encounter some common issues along the way. Here are some troubleshooting tips to help you overcome these challenges:
- Incompatible or Missing Bluetooth Adapter: If your desktop computer does not have a built-in Bluetooth adapter, you will need to purchase an external Bluetooth dongle. Make sure the adapter is compatible with your computer’s operating system and follow the manufacturer’s instructions for installation.
- Bluetooth Not Enabled: Ensure that Bluetooth is enabled on your computer. Check the system settings or control panel to activate Bluetooth functionality. If you have a physical Bluetooth toggle switch, ensure it is in the “On” position.
- Headphones Not in Pairing Mode: Make sure your Bluetooth headphones are in pairing mode. Refer to the headphones’ user manual for specific instructions on how to enter pairing mode. Keep in mind that different headphone models may have different methods for activating pairing mode.
- Disconnection or Intermittent Connection: If your Bluetooth headphones frequently disconnect or experience intermittent connection, try moving closer to your computer to ensure you are within the effective range. Additionally, reduce potential sources of interference such as other electronic devices or Wi-Fi routers that may interfere with the Bluetooth signal.
- Outdated Drivers or Firmware: Check for updates for your Bluetooth headphones’ drivers or firmware. Visit the manufacturer’s website or use their software if available to download and install the latest updates. Similarly, make sure your computer’s Bluetooth drivers are up to date.
- Insufficient Battery Charge: Ensure that your Bluetooth headphones have sufficient battery charge to establish and maintain a connection. Charge your headphones or replace the batteries if necessary.
- Conflicting Devices: Other Bluetooth devices in the vicinity may interfere with the connection. Try turning off other nearby Bluetooth devices or moving them farther away to prevent signal interference.
- Restart Devices: If you encounter any issues, try restarting both your computer and Bluetooth headphones. This can help reset any temporary glitches and establish a fresh connection.
By following these troubleshooting steps, you can address common issues that may arise when connecting Bluetooth headphones to your desktop computer. Persistence and patience will help you overcome any obstacles and enjoy uninterrupted wireless audio.