
Equipment Needed
To connect your Echo Dot to Wi-Fi, you will need a few essential items. These items are essential for a smooth setup process and ensure that you can enjoy all the features and benefits of your Echo Dot device. Here is a quick rundown of the equipment you will need:
- Amazon Echo Dot device (2nd generation or later)
- Wi-Fi network with internet access
- A smartphone or tablet with the latest version of the Amazon Alexa app
- A power outlet to connect your Echo Dot
Before you get started, make sure you have these items readily available. It’s also a good idea to make sure your Wi-Fi network is active and you have the Wi-Fi password handy. Once you have everything you need, you can proceed with the setup process and get your Echo Dot connected to Wi-Fi.
Step 1: Prepare your Echo Dot
Before you can connect your Echo Dot to Wi-Fi, you need to prepare the device for setup. Follow these simple steps to get started:
- Remove the Echo Dot from its packaging and find a suitable location for it in your home. The device should be placed in an area with a good Wi-Fi signal and within reach of a power outlet.
- Ensure that the Echo Dot is not too close to other electronic devices, as this can interfere with its performance. Keep it at least three feet away from speakers, television sets, and other similar devices.
- If your Echo Dot has a protective plastic covering, gently remove it before proceeding. This will ensure that the device functions properly and the sound quality is not compromised.
By taking these simple preparation steps, you are setting the foundation for a smooth setup process. Once your Echo Dot is ready, you can move on to the next step and download the Amazon Alexa app on your smartphone or tablet.
Step 2: Download the Amazon Alexa App
To connect your Echo Dot to Wi-Fi, you will need to download the Amazon Alexa app on your smartphone or tablet. This app is available for both iOS and Android devices, and it serves as the central hub for managing your Echo Dot and accessing its various features. Follow these steps to download the app:
- Open the app store on your smartphone or tablet. For iOS devices, open the App Store, and for Android devices, open the Google Play Store.
- In the search bar, type “Amazon Alexa” and search for the app.
- Once you find the Amazon Alexa app, tap on it to open the app’s page.
- Tap the “Install” or “Get” button to start the download process.
- Wait for the app to download and install on your device.
Once the installation is complete, you will need to open the app and sign in using your Amazon account credentials. If you don’t have an Amazon account, you can create one for free within the app. Once you’re signed in, you’ll be ready to proceed to the next step and connect your Echo Dot to power.
Step 3: Connect to Power
Now that you have downloaded the Amazon Alexa app, it’s time to connect your Echo Dot to power. Follow these simple steps to ensure a proper power connection:
- Locate the power adapter that was included with your Echo Dot.
- Plug the power adapter into a nearby power outlet.
- Connect the other end of the power adapter into the power port on the back of the Echo Dot. It should fit securely without any force.
- Once the Echo Dot is connected to power, you will see a ring of light on the top of the device. This indicates that the device is powered on and ready for setup.
It’s important to ensure that the Echo Dot is properly connected to power for a seamless setup process. Make sure the power outlet is functioning, and avoid using extension cords or power strips, as they may interfere with the device’s performance. With the Echo Dot now connected to power, you can move on to the next step and put the device into setup mode.
Step 4: Put the Echo Dot into Setup Mode
To connect your Echo Dot to Wi-Fi, you need to put the device into setup mode. Follow these steps to enter setup mode on your Echo Dot:
- Make sure your Echo Dot is powered on and connected to power.
- Locate the Action button on the top of the Echo Dot. This button has a small dot or line on it.
- Press and hold the Action button for about 5 seconds until the light ring on the Echo Dot turns orange. This indicates that the device is now in setup mode.
Putting your Echo Dot into setup mode is a crucial step to connect it to Wi-Fi. The orange light ring will let you know that the device is ready to be connected to a new Wi-Fi network. With the Echo Dot in setup mode, you can proceed to the next step and connect your phone or tablet to the device using the Amazon Alexa app.
Step 5: Connect your Phone or Tablet to the Echo Dot
Now that your Echo Dot is in setup mode, it’s time to connect your phone or tablet to the device. The Amazon Alexa app will guide you through this process. Follow these steps to connect your phone or tablet to the Echo Dot:
- Open the Amazon Alexa app on your phone or tablet.
- Tap on the “Devices” icon at the bottom right corner of the screen.
- Tap on the “+” symbol at the top right corner to add a new device.
- Select “Add Device” and choose “Amazon Echo” from the list of available devices.
- Follow the on-screen instructions to connect your phone or tablet to the Echo Dot. This may involve selecting your Echo Dot device from the list and confirming the connection.
Once your phone or tablet is connected to the Echo Dot, the Amazon Alexa app will establish a secure connection between the devices. This connection will allow you to control and manage your Echo Dot using the app. With the connection established, we can now move on to the next step and connect the Echo Dot to your Wi-Fi network.
Step 6: Connect the Echo Dot to Wi-Fi
With your phone or tablet connected to the Echo Dot, it’s time to connect the device to your Wi-Fi network. Follow these steps to establish the Wi-Fi connection:
- Open the Amazon Alexa app on your phone or tablet.
- In the app, tap on the “Devices” icon at the bottom right corner of the screen.
- Tap on your Echo Dot device from the list of available devices.
- Tap on “Change” or “Connect to Wi-Fi” to start the Wi-Fi setup process.
- Follow the on-screen instructions to select your Wi-Fi network from the available list and enter your Wi-Fi password.
- Wait for the Echo Dot to establish a connection to your Wi-Fi network. This may take a few moments.
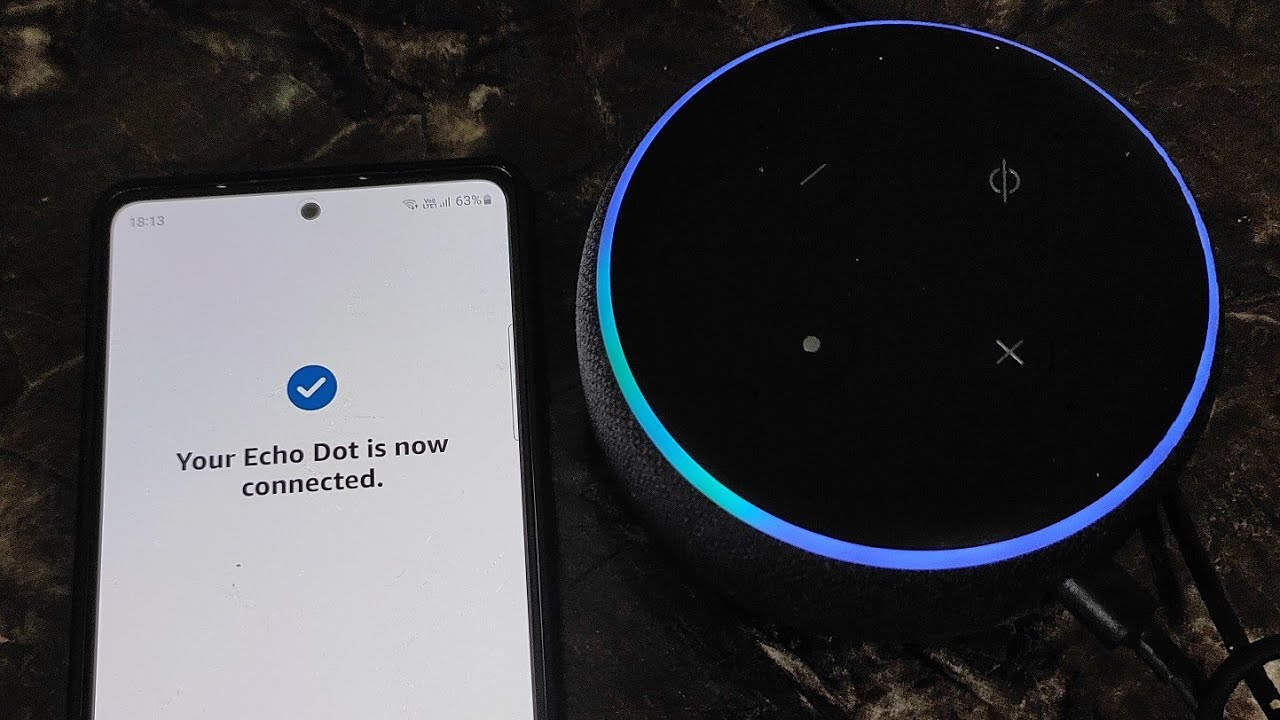
Once the Echo Dot is connected to your Wi-Fi network, the light ring on the device will turn blue. This indicates that the connection has been successfully established. Your Echo Dot is now ready to be used with voice commands and Alexa-enabled features. Now, let’s move on to the final step and complete the setup process in the Amazon Alexa app.
Step 7: Complete the Setup in the Alexa App
After successfully connecting your Echo Dot to Wi-Fi, the final step is to complete the setup process in the Amazon Alexa app. Follow these steps to finish the setup:
- In the Amazon Alexa app on your phone or tablet, tap on the “Devices” icon at the bottom right corner of the screen.
- Select your Echo Dot device from the list of available devices.
- Tap on “Continue with Setup” or “Finish Setup” to proceed.
- On the next screen, you may be prompted to choose your language preference and set up voice recognition.
- Follow the on-screen instructions to customize your Echo Dot settings according to your preferences.
- Once you have completed the setup process, your Echo Dot is now ready to use. You can start interacting with Alexa, the virtual assistant, and explore the various features and skills available.
By following these steps and completing the setup process in the Amazon Alexa app, you have successfully connected your Echo Dot to Wi-Fi and personalized its settings. Now, you can enjoy the convenience and functionality that the Echo Dot and Alexa have to offer. Feel free to experiment with different voice commands, explore new skills, and make the most of your Echo Dot experience.
Troubleshooting Tips
While setting up your Echo Dot, you may encounter some issues. Here are a few troubleshooting tips to help you address common problems:
- No Wi-Fi connection: If your Echo Dot is unable to connect to your Wi-Fi network, make sure you entered the correct password. Also, ensure that the Wi-Fi signal is strong in the area where the Echo Dot is placed. Try restarting your Wi-Fi router or moving the Echo Dot closer to the router to improve the connection.
- No sound or low volume: If you’re not hearing any sound or the volume on your Echo Dot is low, ensure that the volume is turned up. You can use voice commands or the volume buttons on the device to adjust the volume. Additionally, check if the Echo Dot is properly connected to any external speakers and make sure they are powered on and set to the correct input.
- Unresponsive device: If your Echo Dot doesn’t respond to voice commands or seems unresponsive, try restarting it. Simply unplug the power adapter from the device, wait for a few seconds, and then plug it back in. This should reboot the Echo Dot and resolve any temporary glitches.
- Issues with the Alexa app: If you’re experiencing problems with the Amazon Alexa app, such as app crashes or difficulty in connecting to your Echo Dot, try closing the app and reopening it. If the issue persists, try uninstalling and reinstalling the app or updating it to the latest version.
If these troubleshooting tips don’t resolve the issue, you may need to consult the Amazon customer support for further assistance. They can provide more targeted solutions based on your specific situation.
With these troubleshooting tips at your disposal, you can overcome potential hurdles and ensure a smooth and successful setup for your Echo Dot device.