
Exporting your data from Zoho Mail
If you have decided to close your Zoho Mail account, it is essential to export your data beforehand to ensure that you don’t lose any important information. Exporting your data from Zoho Mail is a straightforward process that allows you to save your emails, contacts, and other essential data for future reference.
To begin the data export process, follow these simple steps:
- Log in to your Zoho Mail account using your credentials.
- Once logged in, navigate to the settings menu by clicking on your profile picture in the upper-right corner of the screen.
- In the settings menu, locate and click on the “Data Management” option.
- Under the “Data Management” section, you will find the “Export” tab. Click on it to proceed.
- On the export page, you will see various options for exporting your data. Choose the specific data you want to export, such as emails, contacts, or calendar events.
- After selecting the desired data, choose the format in which you want to export your data. Zoho Mail provides options like .pst, .csv, and .vcf formats.
- Once you have chosen the data and format, click on the “Export” button. Zoho Mail will then start the export process, and you will receive a notification when the export is complete.
By following these steps, you can easily export your data from Zoho Mail and save it on your local device or any external storage medium of your preference. This way, even after closing your Zoho Mail account, you will still have access to your important emails, contacts, and calendar events.
Deleting emails and folders
As you prepare to close your Zoho Mail account, it is important to delete any unnecessary emails and folders to declutter your account and ensure that you only keep the information you truly need. Deleting emails and folders in Zoho Mail is a simple process that can be done in a few quick steps:
- Log in to your Zoho Mail account using your credentials.
- Once logged in, navigate to the email section where your emails and folders are located.
- To delete individual emails, simply select the emails you wish to remove and click on the “Delete” button. You can also use the “Delete” keyboard shortcut (usually the “Delete” or “Backspace” key) to delete selected emails.
- If you want to delete an entire folder along with its contents, right-click on the folder and select the “Delete” option.
- Zoho Mail will prompt you to confirm the deletion. Click “OK” to proceed.
- All selected emails or the entire folder, including its contents, will now be moved to the “Trash” folder.
- To permanently delete the emails or folders from the “Trash” folder, go to the “Trash” section, select the items you wish to delete, and click on the “Delete Forever” button.
By deleting unnecessary emails and folders, you can streamline your account and ensure that only relevant information remains. Remember to review your emails and folders carefully before deleting to avoid removing any important messages or data.
It is worth noting that once you delete emails and folders from your Zoho Mail account, they cannot be recovered. Therefore, it is advisable to back up any critical emails or data before initiating the deletion process.
Removing filters and forwarding rules
Before closing your Zoho Mail account, it is important to remove any filters and forwarding rules that you may have set up. This will ensure that your emails are no longer redirected or sorted automatically, allowing for a smooth transition as you close your account.
To remove filters and forwarding rules in Zoho Mail, follow these steps:
- Log in to your Zoho Mail account using your credentials.
- Once logged in, navigate to the settings menu by clicking on your profile picture in the upper-right corner of the screen.
- In the settings menu, locate and click on the “Mail Filters” option.
- You will now see a list of filters and forwarding rules that you have set up. Review the list and identify the filters and rules that you want to remove.
- To remove a filter or rule, simply click on the “Delete” or “Remove” option next to it.
- Zoho Mail will prompt you to confirm the deletion of the filter or rule. Click “OK” to proceed.
- Repeat this process for all the filters and forwarding rules that you wish to remove.
By removing filters and forwarding rules, you ensure that your emails are not redirected or sorted automatically after closing your Zoho Mail account. This allows you to have full control over your emails and ensures that they are not sent to the wrong location or lost during the account closure process.
It is important to note that once you remove filters and forwarding rules, any emails that were previously filtered or forwarded will no longer be affected by these settings. Ensure that you have alternative arrangements in place to manage your emails if necessary.
Updating your email signatures and vacation response
Before closing your Zoho Mail account, it is essential to update your email signatures and vacation response to inform your contacts about the upcoming account closure and provide them with alternative means of communication. Updating these settings will help minimize any confusion and ensure a seamless transition for those who interact with you via email.
To update your email signatures and vacation response in Zoho Mail, follow these steps:
- Log in to your Zoho Mail account using your credentials.
- Once logged in, navigate to the settings menu by clicking on your profile picture in the upper-right corner of the screen.
- In the settings menu, locate and click on the “Mail” option.
- Under the “Mail” section, you will find the options to modify your email signature and vacation response.
- To update your email signature, simply edit the text in the provided box. You can include your name, contact information, and any other relevant details you wish to include in your signature.
- To update your vacation response, enter a message that states that you will no longer be using this email account and provide alternative contact information if applicable. It is also helpful to mention the date of the account closure to provide clarity.
- Save the changes once you have updated your email signature and vacation response.
By updating your email signatures and vacation response, you can inform your contacts about the impending closure of your Zoho Mail account and provide them with alternative ways to reach you. This ensures that important communications are not missed and that your contacts are aware of the change in your email communication method.
Remember to update your signatures and vacation response well in advance of closing your account to allow ample time for your contacts to adjust to the changes and update their records accordingly.
Disabling POP/IMAP access
When closing your Zoho Mail account, it is important to disable POP/IMAP access to ensure that your emails are not accessed from external email clients or devices. By disabling these access methods, you can maintain control over your email data and prevent any unauthorized access once your account is closed.
To disable POP/IMAP access in Zoho Mail, follow these steps:
- Log in to your Zoho Mail account using your credentials.
- Once logged in, navigate to the settings menu by clicking on your profile picture in the upper-right corner of the screen.
- In the settings menu, locate and click on the “Mail” option.
- Under the “Mail” section, look for the option to manage POP/IMAP access.
- Click on the “POP/IMAP” option to access the settings.
- On the POP/IMAP settings page, you will see options to enable or disable POP/IMAP access.
- To disable POP access, uncheck the box next to “Enable POP Access”.
- To disable IMAP access, uncheck the box next to “Enable IMAP Access”.
- Once you have disabled the desired access method(s), save the changes.
By disabling POP/IMAP access, you are ensuring that your emails can only be accessed through the Zoho Mail web interface and not through external email clients or devices. This helps safeguard your email data and ensures that it remains secure even after closing your Zoho Mail account.
Remember to disable POP/IMAP access well in advance of closing your account to allow sufficient time for any necessary adjustments to alternative email clients or devices that may be using these access methods.
Disconnecting third-party services
Before closing your Zoho Mail account, it’s important to disconnect any third-party services that are integrated with your account. Disconnecting these services ensures that they no longer have access to your Zoho Mail data and helps protect your privacy and security.
To disconnect third-party services in Zoho Mail, follow these steps:
- Log in to your Zoho Mail account using your credentials.
- Once logged in, navigate to the settings menu by clicking on your profile picture in the upper-right corner of the screen.
- In the settings menu, locate and click on the “Mail” option.
- Under the “Mail” section, find the option for “Connected Apps & Devices” or “Third-Party Apps”.
- Click on the “Connected Apps & Devices” or “Third-Party Apps” option to view the list of connected services.
- Review the list of connected services and identify the ones that you want to disconnect.
- For each service you want to disconnect, click on the “Remove” or “Disconnect” option next to it.
- Zoho Mail will prompt you to confirm the disconnection of the service. Click “OK” to proceed.
- Repeat this process for all the third-party services you want to disconnect.
By disconnecting third-party services, you can ensure that your Zoho Mail data remains private and secure. It also prevents any further syncing or accessing of your account information by these services after you have closed your Zoho Mail account.
Remember to disconnect third-party services well in advance of closing your account to ensure that any necessary changes or adjustments can be made on the side of the services you are disconnecting, if needed.
Revoking access to Zoho Mail app
As you prepare to close your Zoho Mail account, it is important to revoke access to the Zoho Mail app on any devices or platforms that you have previously granted permission to. Revoking access ensures that the app can no longer access your Zoho Mail data and helps protect your account’s security.
To revoke access to the Zoho Mail app, follow these steps:
- Log in to your Zoho Mail account using your credentials.
- Once logged in, navigate to the settings menu by clicking on your profile picture in the upper-right corner of the screen.
- In the settings menu, locate and click on the “Mail” option.
- Under the “Mail” section, find the option for “Connected Apps & Devices” or “Authorized Devices”.
- Click on the “Connected Apps & Devices” or “Authorized Devices” option to view the list of authorized devices and apps.
- Review the list of authorized devices and apps and identify the ones that you want to revoke access to.
- For each device or app, click on the “Remove” or “Revoke Access” option next to it.
- Zoho Mail will prompt you to confirm the revocation of access. Click “OK” to proceed.
- Repeat this process for all the devices and apps you want to revoke access to.
By revoking access to the Zoho Mail app, you can ensure that your account remains secure and that no unauthorized devices or apps can access your email data after you have closed your Zoho Mail account.
Remember to revoke access on all relevant devices and platforms before closing your account to prevent any potential security risks or unauthorized access to your email data.
Removing shared access to your account
Before closing your Zoho Mail account, it is crucial to remove any shared access that you have granted to other users. This ensures that others can no longer view or access your account and helps maintain the privacy and security of your data.
To remove shared access from your Zoho Mail account, follow these steps:
- Log in to your Zoho Mail account using your credentials.
- Once logged in, navigate to the settings menu by clicking on your profile picture in the upper-right corner of the screen.
- In the settings menu, locate and click on the “Mail” option.
- Under the “Mail” section, find the option for “Sharing & Permissions” or “Shared Mailboxes”.
- Click on the “Sharing & Permissions” or “Shared Mailboxes” option to view the list of shared access in your account.
- Review the list of shared access and identify the users or mailboxes that you want to remove.
- For each user or mailbox, click on the “Remove” or “Revoke Access” option next to it.
- Zoho Mail will prompt you to confirm the removal of shared access. Click “OK” to proceed.
- Repeat this process for all the users or mailboxes you want to remove shared access from.
By removing shared access from your Zoho Mail account, you can ensure that no other users can access your account or view your email data after it is closed. This step keeps your data confidential and maintains the integrity of your account.
Remember to remove shared access well in advance of closing your account to allow sufficient time for any necessary adjustments to collaborative workflows or communication processes involving other users or shared mailboxes.
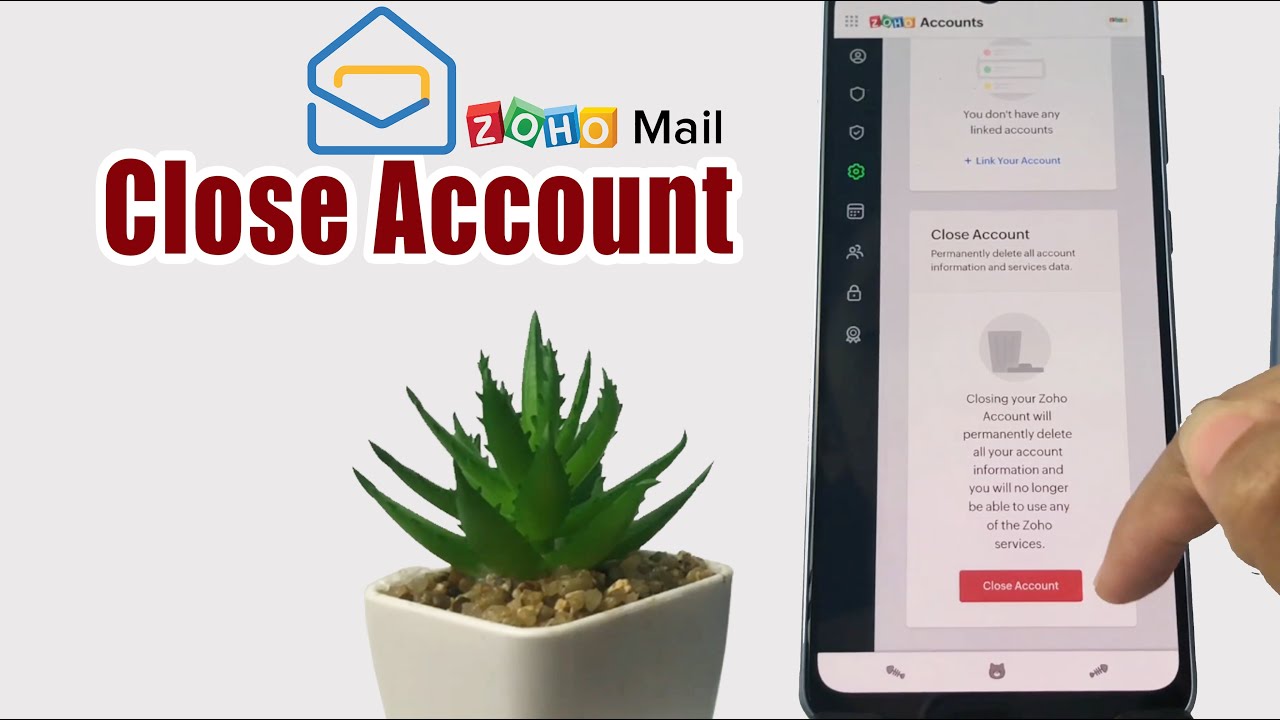
Closing your Zoho Mail account
If you have decided to permanently close your Zoho Mail account, it is important to follow the proper steps to ensure a smooth and irreversible closure. Closing your Zoho Mail account will result in the deletion of all your emails, contacts, and other data associated with the account. Therefore, it is crucial to back up any important information before proceeding.
To close your Zoho Mail account, follow these steps:
- Log in to your Zoho Mail account using your credentials.
- Once logged in, navigate to the settings menu by clicking on your profile picture in the upper-right corner of the screen.
- In the settings menu, locate and click on the “Account Information” or “Account Settings” option.
- On the account information page, scroll down to find the option to “Close Account” or “Delete Account”.
- Click on the “Close Account” or “Delete Account” option to initiate the closure process.
- Zoho Mail will prompt you to confirm the closure of your account. Read the instructions carefully and provide any required information to proceed.
- Once you have confirmed, Zoho Mail will begin the account closure process. This process may take some time to complete.
- During the closure process, Zoho Mail will permanently delete all your emails, contacts, and other data associated with the account.
- After the closure process is complete, you will no longer have access to your Zoho Mail account, and the account cannot be recovered.
Before closing your Zoho Mail account, make sure to back up any critical data and inform your contacts about the impending closure. It is also advisable to update your email signatures and vacation response to provide alternative means of communication.
By following these steps, you can effectively close your Zoho Mail account and ensure the safe and irreversible deletion of your data.
Recovering a closed Zoho Mail account
Once a Zoho Mail account has been closed, it is crucial to note that the closure is typically irreversible. However, in some exceptional cases, Zoho Mail may provide a limited opportunity for users to recover a closed account. If you find yourself in such a situation and wish to recover your closed Zoho Mail account, follow these steps:
- Visit the Zoho Mail website and go to the account recovery page.
- Click on the relevant option provided for account recovery or reopening a closed account.
- Follow the instructions provided and provide all the necessary information requested to verify your identity and ownership of the closed account.
- Provide any additional details or documentation that may be required to support your account recovery request.
- Submit the account recovery request and wait for a response from the Zoho Mail support team.
- Be prepared to provide any further information or follow any additional steps as instructed by the support team.
- Keep in mind that the decision to recover a closed account is at the discretion of Zoho Mail, and it may not always be possible to recover the account.
- If your account recovery request is approved, you will be notified, and further instructions will be provided to regain access to your Zoho Mail account.
It is important to note that Zoho Mail’s policy regarding closed account recovery may vary, and there are no guarantees of successful recovery. Therefore, it is advised to consider the irreversible nature of closing an account and take appropriate precautions beforehand.
In case recovery of a closed Zoho Mail account is not possible, it is recommended to create a new account and transfer any important data or communications from the closed account to the new one.
If you need further assistance or clarification regarding closed account recovery, it is recommended to reach out to the Zoho Mail support team for guidance and support.