
Why is Cleaning Electronic Equipment Important?
Keeping electronic equipment clean is crucial for several reasons. First and foremost, regular cleaning helps maintain the performance and functionality of the devices. Over time, dust, dirt, and debris can accumulate on the surfaces and components, hampering their efficiency and potentially causing malfunctions.
Another key reason to clean electronic equipment is to prolong its lifespan. By removing any build-up of dust and debris, you can prevent the internal components from overheating. Excessive heat can lead to component failure and reduce the overall longevity of the device. Additionally, cleaning helps prevent corrosion, which can occur when moisture or other contaminants come into contact with electronic parts.
Cleanliness is not just about the internal components; it also matters for the external appearance. Regularly cleaning electronic devices not only enhances their aesthetic appeal but also reflects positively on the overall maintenance and professionalism of the owner. This is especially important for businesses, where maintaining clean and presentable electronic equipment can create a positive impression on customers and clients.
Moreover, cleaning electronic devices can contribute to a healthier environment. Dust and dirt particles that accumulate on the surfaces of gadgets can harbor allergens, bacteria, and germs. Regular cleaning helps remove these contaminants, reducing the risk of allergic reactions and the spread of harmful bacteria.
Finally, cleaning electronic equipment can also save you money. When devices are properly cleaned and maintained, their performance is optimized, reducing the need for repairs or replacements. By taking proactive measures to keep your electronic equipment clean, you can potentially avoid costly repairs or the need to purchase a new device prematurely.
Tools and Materials Needed for Cleaning
Before you start cleaning your electronic equipment, it’s important to gather the necessary tools and materials. Having the right supplies will ensure that you can effectively and safely clean your devices. Here are some essential items you’ll need:
- Cleaning solution: Use a mild, non-abrasive cleaning solution specifically designed for electronics. Avoid using harsh chemicals or abrasive cleaners, as they can damage the surfaces and components of your devices.
- Microfiber cloths: These soft, lint-free cloths are ideal for cleaning electronic equipment. They are gentle on surfaces and effectively remove dust and smudges without scratching or leaving residue.
- Cotton swabs: These small, precision cleaning tools are useful for reaching tight spaces and removing dirt and grime from crevices and delicate areas.
- Compressed air duster: This tool is great for removing dust from keyboards, vents, and other hard-to-reach areas. Make sure to use a non-flammable compressed air duster to avoid any potential hazards.
- Isopropyl alcohol: In some cases, you may need to use isopropyl alcohol to clean stubborn stains or sticky residue. However, always use it sparingly and make sure to follow the manufacturer’s instructions.
- Soft brush: A soft-bristled brush, such as a clean makeup brush or a small paintbrush, can be useful for gently removing dust and debris from surfaces and crevices.
It’s important to note that different electronic devices may require specific cleaning tools or additional materials. For example, cameras may require lens cleaning solution and lens cleaning tissues, while gaming consoles may benefit from anti-static cleaning wipes. Always refer to the manufacturer’s instructions or do some research beforehand to ensure you have the appropriate supplies for cleaning your specific devices.
Remember, when cleaning electronic equipment, it’s essential to be gentle and avoid using excessive force. Take your time and use the appropriate tools and materials to ensure a thorough and safe cleaning process.
General Cleaning Tips
When cleaning electronic equipment, following some general cleaning tips can help you maintain the devices’ performance and prevent damage. Here are some essential guidelines to keep in mind:
- Power off and unplug: Before starting the cleaning process, always turn off and unplug the device. This will prevent any electrical accidents and ensure your safety.
- Read the instructions: It’s important to read the manufacturer’s instructions or user manual before cleaning your electronic equipment. Different devices may have specific cleaning recommendations or precautions that you need to be aware of.
- Avoid excessive moisture: While it’s necessary to clean electronic devices, it’s important to be cautious with moisture. Avoid using excessive amounts of liquid when cleaning and make sure to wring out the cleaning cloth or cotton swab to remove any excess moisture before use.
- Don’t spray directly: When using a cleaning solution, avoid spraying it directly onto the device. Instead, apply the solution to a microfiber cloth or cotton swab and then gently wipe the surfaces. This prevents the liquid from seeping into sensitive areas of the device.
- Be gentle: When cleaning, use light pressure and gentle motions. Avoid scrubbing or rubbing too hard, as it can scratch or damage the surfaces of your electronic equipment.
- Focus on high-touch areas: Pay close attention to high-touch areas, such as keyboards, touch screens, and buttons. These areas tend to accumulate more dirt, fingerprints, and oils, so giving them extra attention will help keep your devices clean and functioning properly.
- Avoid strong chemicals: Do not use strong chemicals, such as bleach or solvents, when cleaning your electronic equipment. These substances can cause damage to the surfaces and components.
- Allow sufficient drying time: After cleaning, give your devices enough time to dry thoroughly before turning them on or plugging them back in. This helps ensure that no moisture remains, which can potentially cause short circuits or damage the device.
By following these general cleaning tips, you can effectively maintain the cleanliness and functionality of your electronic equipment while reducing the risk of damage. Remember to always exercise caution and prioritize your safety when cleaning your devices.
Cleaning a Desktop Computer or Laptop
Regularly cleaning your desktop computer or laptop is essential for its optimal performance and longevity. Here’s how you can clean your computer effectively:
- Power off the computer: Before you start cleaning, shut down the computer and unplug it from the power source to avoid any electrical hazards.
- Dust the exterior: Use a dry microfiber cloth or a soft brush to gently remove dust from the exterior surfaces of the computer, including the monitor, keyboard, and mouse. Make sure to pay attention to crevices or areas where dirt tends to accumulate.
- Clean the monitor: Use a microfiber cloth slightly dampened with water or a monitor cleaning solution to wipe the screen. Avoid using excessive moisture, and do not spray the cleaning solution directly on the monitor.
- Clean the keyboard: Turn the keyboard upside-down and gently tap it to dislodge any loose debris. Use a compressed air duster to remove dust and crumbs from between the keys. For more stubborn dirt or grime, use a cotton swab dipped in isopropyl alcohol and gently clean the keys.
- Clean the mouse: If you have an optical or laser mouse, simply wipe the exterior surfaces with a microfiber cloth. For a mechanical mouse, remove any visible dust or hair using a cotton swab or a soft brush. If necessary, remove the mouse ball and clean it with mild soap and water.
- Clean the internals: Use a compressed air duster to blow away the dust from the computer’s internal components, such as the fan, vents, and motherboard. Be careful not to touch any sensitive components with your fingers or the nozzle of the duster.
- Clean the cables: Wipe down the cables with a microfiber cloth to remove dust and debris. Ensure that all cables are properly connected and undamaged.
- Allow proper ventilation: Make sure the computer is placed in a well-ventilated area with sufficient space around it. Avoid blocking the vents, as this can cause the computer to overheat.
Remember to always follow the manufacturer’s instructions for cleaning your specific computer model. By incorporating regular cleaning into your maintenance routine, you can keep your desktop computer or laptop running smoothly and extend its lifespan.
Cleaning a Keyboard and Mouse
Cleaning your keyboard and mouse regularly is important to maintain their functionality and hygiene. Here’s a step-by-step guide on how to clean them effectively:
- Power off and unplug: Before cleaning, turn off your computer and disconnect the keyboard and mouse from the computer or any power source.
- Shake off debris: Hold the keyboard upside down and gently shake it to dislodge any loose debris, such as crumbs or dust.
- Use compressed air: Use a can of compressed air to blow out any remaining particles or dust from between the keys. Hold the can upright and use short bursts of air to avoid damaging the keyboard.
- Clean the keys: Dampen a microfiber cloth with a mild cleaning solution or isopropyl alcohol. Gently wipe the keys, paying extra attention to heavily used areas. Avoid soaking the cloth excessively to prevent liquid from seeping under the keys.
- Remove stubborn stains: For stubborn stains or sticky residue on the keys, use a cotton swab dipped in isopropyl alcohol. Scrub the affected keys gently to remove the residue, and then wipe them dry with a clean cloth.
- Clean the mouse: Wipe the exterior of the mouse with a microfiber cloth to remove dirt and smudges. If your mouse has removable buttons or a removable ball, refer to the manufacturer’s instructions for cleaning and follow them accordingly.
- Disinfect the surfaces: To maintain hygiene, use a disinfectant wipe or slightly dampen a cloth with an alcohol-based sanitizer to wipe down the keyboard and mouse surfaces. Allow them to air dry before connecting them back to your computer.
- Reconnect and test: Once the keyboard and mouse are dry, reconnect them to your computer and test their functionality to ensure they are working properly.
Remember to perform these cleaning steps on a regular basis or whenever you notice dirt or debris accumulating on your keyboard or mouse. By keeping them clean, you can enjoy a smooth and comfortable typing experience and improve the lifespan of your devices.
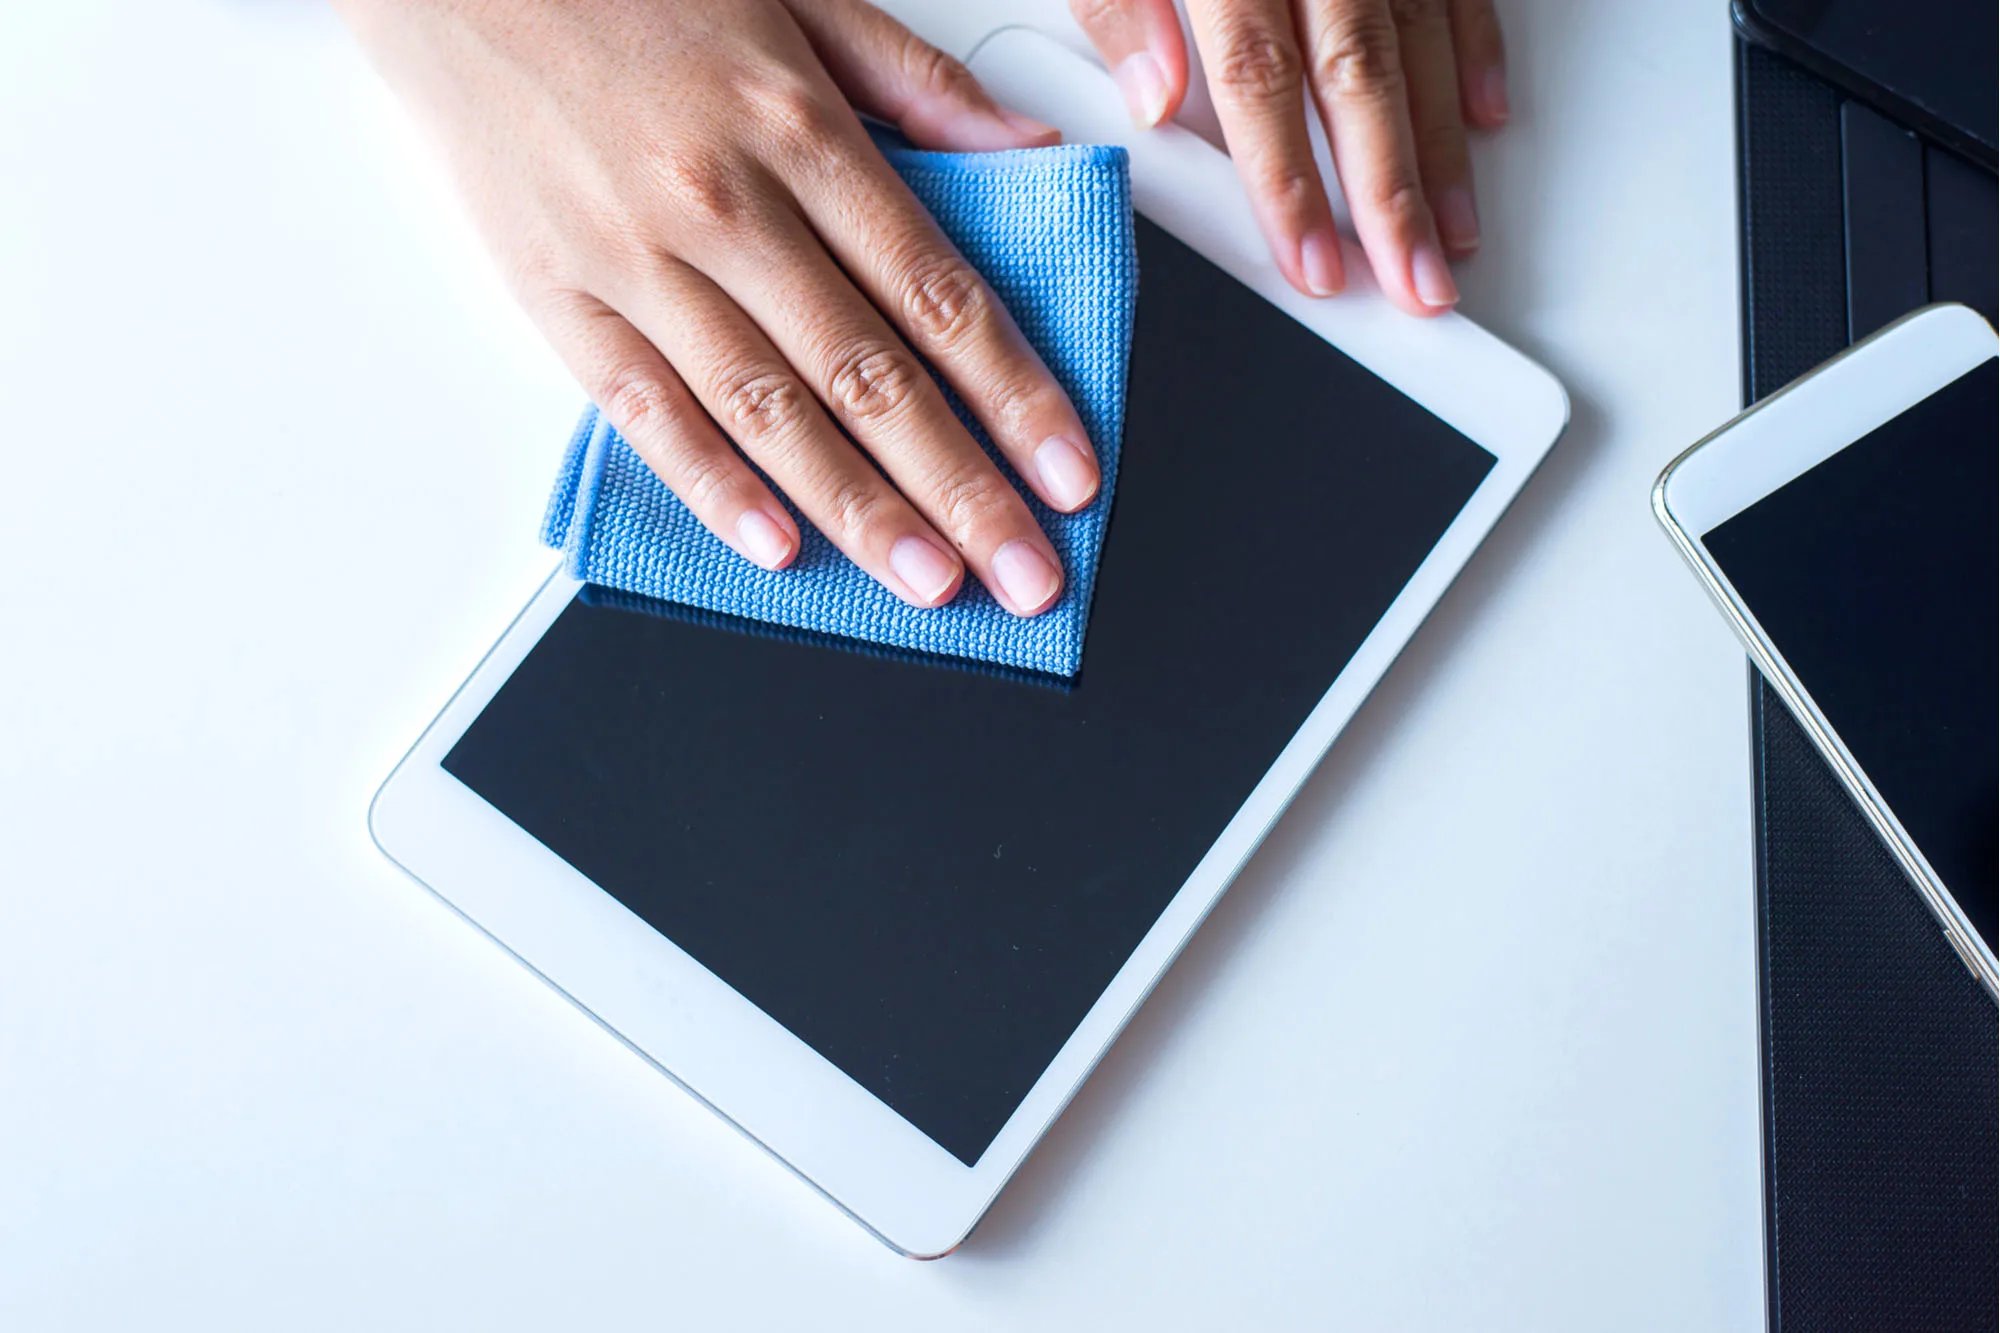
Cleaning a Phone or Tablet
Cleaning your phone or tablet regularly is essential to keep it free from dirt, smudges, and germs. Here’s a guide on how to clean your phone or tablet effectively:
- Power off and unplug: Before cleaning, power off your device and unplug any charging cables.
- Remove the case: If your phone or tablet has a protective case, remove it to clean it separately.
- Use a microfiber cloth: Wipe the screen and the back of your device with a clean microfiber cloth to remove dust and smudges. If needed, you can slightly dampen the cloth with water or a screen cleaning solution designed for electronic devices.
- Clean the ports: Use a soft-bristled brush or a toothpick to gently remove any dirt or debris from the charging port, headphone jack, and speaker grills. Be careful not to insert anything too deep or forcefully to avoid damaging the components.
- Disinfecting wipes: To sanitize your phone or tablet, use disinfecting wipes that are safe for electronic devices. Be sure to wring out any excess liquid before wiping down the surfaces to prevent moisture from entering the device.
- Focusing on the camera: Take extra care when cleaning the camera lens to avoid scratching it. Use a microfiber cloth or a camera lens cleaning solution and gently wipe in a circular motion to remove fingerprints and dirt.
- Cleaning the case: If your device’s case is removable, clean it separately using a mild soap and water solution. Rinse it thoroughly, dry it completely, and then reattach it to your device.
- Allow to dry: After cleaning, allow your phone or tablet to air dry completely before turning it back on or inserting it into a case. This will prevent any moisture from potentially damaging the device.
It’s important to follow the manufacturer’s guidelines for cleaning your specific phone or tablet model. Avoid using harsh chemicals, abrasive cleaners, or excessive amounts of liquid, as they can damage the device’s screen or other components. By regularly cleaning your phone or tablet, you can keep it looking clean and functioning optimally.
Cleaning a Television or Monitor
Regularly cleaning your television or monitor is crucial to maintain clear, vibrant images and prevent dust accumulation. Here’s how you can clean your television or monitor effectively:
- Power off and unplug: Before cleaning, turn off your television or monitor and unplug it from the power source.
- Dust the surfaces: Use a clean, dry microfiber cloth to gently remove dust from the screen and the exterior surfaces of your television or monitor. Start from the top and work your way down, using light pressure to avoid damaging the screen.
- Clean the screen: Lightly dampen another microfiber cloth with water or a monitor cleaning solution specifically designed for electronic displays. Wipe the screen in a gentle, circular motion to remove fingerprints, smudges, and stubborn dirt. Avoid applying excessive pressure or using abrasive materials that may scratch the screen.
- Clean the edges and back: Use a soft brush or a microfiber cloth to remove dust and dirt from the edges and back of your television or monitor. Pay attention to any vents or openings where dust tends to accumulate.
- Clean the remote control: Use a mild cleaning solution or disinfecting wipes to clean the remote control. Be careful not to let any liquid seep into the buttons or openings, and ensure it is completely dry before using it again.
- Allow to dry: After cleaning, allow the screen and other surfaces to air dry completely before plugging in and turning on your television or monitor.
It’s important to avoid using harsh chemicals, ammonia-based cleaners, or rough materials like paper towels or abrasive cloths, as they can damage the screen. Some televisions or monitors may have special coatings or finishes, so always refer to the manufacturer’s instructions for specific cleaning recommendations.
Regularly cleaning your television or monitor not only keeps it looking great but also enhances the viewing experience by ensuring clear and vivid images. By following these tips, you can enjoy a clean and well-maintained screen for your entertainment or work needs.
Cleaning a Printer or Scanner
Cleaning your printer or scanner on a regular basis is essential to ensure optimal performance and maintain print quality. Here’s a guide on how to clean your printer or scanner effectively:
- Power off and unplug: Before starting the cleaning process, turn off your printer or scanner and unplug it from the power source to prevent any electrical accidents.
- Clean the exterior: Use a dry, lint-free cloth to gently wipe the exterior surfaces of your printer or scanner. Remove any dust, dirt, or fingerprints that may have accumulated.
- Clean the scanner glass: If you have a scanner, the glass needs to be kept clean for accurate scans. Use a glass cleaner specifically designed for electronics or a mixture of equal parts vinegar and water. Apply the cleaning solution to a microfiber cloth and wipe the scanner glass gently.
- Clean the printer rollers: Over time, the rollers in your printer can accumulate dust and debris, causing paper feed issues. Consult your printer’s user manual or manufacturer’s instructions on how to access the rollers and clean them properly. Use a soft cloth dampened with water or isopropyl alcohol and gently wipe the rollers to remove any dirt or residue.
- Remove paper particles: Occasionally, small paper particles may get stuck within the printer’s mechanisms. Use compressed air or a soft brush to remove any loose paper debris from the feed tray and other accessible parts of the printer.
- Clean the printhead (for inkjet printers): If you have an inkjet printer, the printheads may need cleaning to maintain print quality. Check your printer’s manual for specific instructions on how to initiate a printhead cleaning cycle or use the printer’s utility software to perform this task.
- Reinstall ink cartridges: After cleaning, reinstall the ink cartridges following the manufacturer’s instructions to ensure proper alignment and functioning.
- Allow to dry: Once you’ve finished cleaning, allow all the components to dry completely before plugging in and turning on your printer or scanner.
Regularly cleaning your printer or scanner can help prevent paper jams, improve print quality, and extend the life of your device. Consult the manufacturer’s instructions or user manual for any specific cleaning recommendations or maintenance routines. By following these guidelines, you can keep your printer or scanner in optimal condition for reliable and clear printing or scanning.
Cleaning Audio Equipment
To ensure optimal sound quality and prolong the lifespan of your audio equipment, regular cleaning is necessary. Follow these steps to clean your audio equipment effectively:
- Power off and unplug: Before cleaning, turn off and unplug all audio equipment from the power source to prevent any electrical accidents.
- Clean the exterior: Use a soft, dry cloth to gently wipe the exterior surfaces of your audio equipment, including speakers, amplifiers, and receivers. Remove dust, fingerprints, and smudges carefully.
- Clean the speaker grills: If your speakers have removable grills, take them off and wipe them with a microfiber cloth or a soft brush to remove any dust or debris. If necessary, use a vacuum cleaner with a brush attachment to remove stubborn dust particles.
- Clean connectors and ports: Inspect the audio connectors and ports for any dust or debris buildup. Use compressed air to remove dust from the ports and connectors gently. If needed, use a cleaning solution specifically designed for electronics and a cotton swab to clean the connectors.
- Clean the volume and control knobs: Wipe the volume and control knobs with a cloth slightly dampened with a mild cleaning solution. Make sure not to get any liquid inside the control knobs or other sensitive areas.
- Clean vinyl records: If you have a vinyl record collection, it’s important to keep them clean. Use a carbon fiber brush or a record cleaning kit to remove dust and static buildup from the surface of the records and maintain their sound quality.
- Organize and tidy cables: Take this opportunity to tidy up and organize the audio cables. Use cable ties or cable management solutions to keep them neat and free from tangles. Additionally, check the cables for any signs of damage or fraying, and replace them if necessary.
- Allow to dry: After cleaning, ensure that all components are completely dry before plugging in and turning on your audio equipment to avoid any damage or electrical issues.
It’s important to use cleaning solutions specifically designed for electronics and to follow the manufacturer’s instructions for cleaning your particular audio equipment. Proper cleaning and maintenance will help preserve the sound quality and ensure the longevity of your audio equipment for enjoyable listening experiences.
Cleaning Gaming Consoles
Regularly cleaning your gaming console is essential to keep it running smoothly and extend its lifespan. Here’s a guide on how to clean your gaming console effectively:
- Power off and unplug: Before cleaning, turn off your gaming console and unplug it from the power source.
- Wipe the exterior: Use a soft, dry cloth to gently wipe the exterior surfaces of your gaming console, removing any dust or fingerprints. Pay attention to ventilation areas and ports.
- Clean the controller: Remove any batteries and detachable parts from your gaming controller. Use a microfiber cloth dampened with a mild cleaning solution to wipe down the exterior surfaces. Avoid getting any liquid inside the controller or buttons. For tight spaces and crevices, use a cotton swab moistened with the cleaning solution.
- Clean the console vents: Dust accumulation in the vents of your gaming console can hinder its performance. Use a can of compressed air to blow out any dust or debris from the vents, making sure to hold the can at a safe distance to prevent damage.
- Clean the disc drive (if applicable): If your gaming console has a disc drive, gently clean it using a microfiber cloth or a disc cleaning kit. Follow the manufacturer’s instructions for the proper cleaning technique.
- Remove dust from accessories and cables: Wipe down any gaming accessories, such as headsets or charging cables, using a dry cloth to remove dust and dirt. Check cables for any signs of damage or fraying, and replace them if necessary.
- Reconnect and power on: Once all the components are clean and dry, reconnect your gaming console and power it on to resume your gaming sessions.
Make sure to follow the manufacturer’s instructions for cleaning and maintenance specific to your gaming console. Avoid using harsh chemicals or abrasive materials that could damage the console or controller. By regularly cleaning your gaming console, you can help prevent overheating, maintain proper ventilation, and ensure an optimal gaming experience.
Cleaning Camera and Photography Equipment
Maintaining cleanliness and proper care of your camera and photography equipment is crucial to ensure optimal performance and image quality. Here’s a guide on how to clean your camera and photography equipment effectively:
- Power off and remove batteries: Before cleaning, turn off your camera and remove the batteries or any power source to prevent accidental damage.
- Clean the camera body: Use a soft, dry cloth or a microfiber cloth to gently wipe the exterior surfaces of your camera body. Pay attention to buttons, dials, and crevices where dirt or dust may accumulate. If needed, use a small brush or a blower to remove any loose particles.
- Clean the lenses: Start by using a lens brush or a blower to remove any loose dust or debris from the lens surface. Then, use a professional lens cleaning solution and a microfiber cloth or lens cleaning tissue to gently wipe the lens in circular motions. Avoid applying excessive pressure, and be careful not to touch the glass with your fingers.
- Clean camera filters: If you use filters on your lenses, remove them and clean them separately using a lens cleaning solution or mild soap and water. Rinse them thoroughly, dry them with a clean cloth, and reattach them to the lenses.
- Clean camera viewfinder: If your camera has a viewfinder, use a blower or a small brush to remove any dust or particles. If necessary, use a soft, lint-free cloth or an eyeglass cleaning cloth to gently wipe the viewfinder.
- Clean camera sensors: Cleaning the camera sensor requires caution and precision. If you are unsure about this task, it is recommended to have it professionally cleaned. However, if you feel comfortable doing it yourself, use a specialized sensor cleaning kit and follow the manufacturer’s instructions carefully.
- Clean camera accessories: Wipe down camera accessories such as camera straps, memory card slots, and hot shoe mounts with a soft cloth to remove any dirt or dust.
- Store properly: After cleaning, ensure your camera and lenses are dry and store them in a clean, dry place with adequate protection to prevent dust or damage.
Remember to always refer to the manufacturer’s instructions and follow specific cleaning procedures for your camera and lenses. Regular maintenance and cleaning of your camera equipment will help ensure better image quality, prolong the lifespan of your gear, and enhance your photography experience.
Cleaning Cables and Accessories
While cleaning cables and accessories may seem less obvious, it is important to keep them clean and well-maintained to ensure proper functionality and longevity. Here’s a guide on how to clean cables and accessories effectively:
- Power off and unplug: Before cleaning any cables or accessories, power off and unplug any connected devices to prevent any electrical accidents.
- Inspect for damage: Before cleaning, inspect all cables and accessories for any signs of damage, fraying, or loose connections. If you notice any issues, it may be necessary to replace the damaged cables or accessories.
- Untangle and organize: Start by untangling any tangled cables or cords and organize them neatly. Using cable ties or cable management solutions can help keep them organized and prevent further tangling.
- Remove dust and debris: Use a soft, dry cloth or a small brush to gently remove any dust or debris from the surface of the cables and accessories. Be careful not to use excessive force or liquids that could damage the cables or connectors.
- Clean connectors: If the connectors on your cables or accessories have accumulated dirt or grime, use a cotton swab slightly dampened with a mild cleaning solution or isopropyl alcohol to carefully clean the connectors. Ensure that the connectors are completely dry before reconnecting them to any devices.
- Check power adapters: Clean any power adapters or charging cables by using a dry cloth to remove dust and debris. Pay attention to the connection points and ensure there is no buildup or damage that could affect the charging or power supply.
- Keep accessories clean: If you have any accessories such as cases, stands, or mounts, follow the manufacturer’s instructions for cleaning and maintenance. Wipe them down with a soft cloth or use a mild cleaning solution if necessary.
- Regular maintenance: Incorporate regular maintenance into your routine to periodically check and clean your cables and accessories. This will help prevent any build-up of dirt or debris and maintain their optimal functionality.
By cleaning and maintaining your cables and accessories, you can reduce the risk of connectivity issues, improve their performance, and extend their lifespan. Keeping them organized and free from dirt or damage will help ensure a smooth and reliable experience with your electronic devices.
Safety Precautions while Cleaning Electronic Equipment
While cleaning electronic equipment is important, it is equally essential to prioritize your safety to prevent accidents or damage to the devices. Here are some safety precautions to keep in mind while cleaning electronic equipment:
- Power off and unplug: Always turn off and unplug electronic devices before starting the cleaning process. This will minimize the risk of electrical shock or damage.
- Follow manufacturer’s instructions: Read and follow the manufacturer’s instructions and guidelines for cleaning each specific electronic device. Different devices may have different cleaning requirements and precautions, so it’s important to refer to the official instructions.
- Avoid excessive moisture: While it may be necessary to use some moisture during cleaning, use it sparingly. Do not spray liquid directly onto the device or its components. Instead, apply cleaning solutions to a cloth or swab and then gently wipe the surface.
- Use appropriate cleaning tools: Use soft, lint-free cloths, microfiber cloths, or brushes specifically designed for electronics. Avoid using abrasive materials or harsh chemicals that can scratch or damage the device’s surfaces.
- Protect sensitive areas: Be cautious and take measures to protect sensitive areas of electronic devices, such as ports, connectors, or screens. Avoid inserting tools, cloths, or liquids into these areas to prevent damage or malfunction.
- Allow for sufficient drying time: After cleaning, make sure to let the device and its components dry thoroughly before reconnecting or turning them back on. This will help prevent short circuits or electrical issues caused by moisture.
- Store cleaning products safely: Keep your cleaning solutions, cloths, and tools in a safe place away from children and pets. Be aware of any flammable or hazardous substances in the cleaning products and handle them with caution.
- Work in a well-ventilated area: Ensure that the area where you are cleaning your electronic equipment is well-ventilated. This will help disperse any fumes or odors from cleaning solutions and prevent you from inhaling potentially harmful substances.
- Protect yourself: Consider wearing gloves or using hand sanitizer before and after cleaning to protect yourself from potential allergens, bacteria, or germs. Additionally, avoid touching your face or eyes while working with cleaning products.
Remember, if you are uncertain about cleaning certain electronic equipment or components, it’s best to consult a professional or refer to the manufacturer’s support or customer service. Following these safety precautions will help ensure that your cleaning process is effective, efficient, and safe.