
Why Change Folder Color on Mac?
Changing the folder color on your Mac can serve multiple purposes and improve your overall productivity and visual organization. Here are a few key reasons why you might consider changing folder colors on your Mac:
- Visual Organization: Color-coding your folders can provide a quick and intuitive visual cue, making it easier to find and identify specific folders at a glance. This can be particularly helpful if you have a large number of folders or if you frequently access certain folders.
- Task Prioritization: Assigning different colors to folders can help prioritize tasks and projects. For example, you can use red folders to represent urgent or high-priority tasks, yellow folders for important but non-urgent tasks, and green folders for lower-priority or completed tasks.
- Workflow Efficiency: By customizing folder colors, you can establish a personalized organizational system that aligns with your workflow. You can categorize folders based on specific projects, clients, or topics, allowing for quicker and more efficient navigation through your file system.
- Visual Appeal: Changing folder colors can also simply make your Mac experience more visually appealing. It allows you to customize your desktop and file system to reflect your personal style and preferences, making your workspace more enjoyable and inviting.
Overall, changing folder colors on your Mac adds a layer of personalization and organization to your digital workspace. It can enhance productivity, save time searching for specific folders, and make your computer usage more visually appealing and enjoyable.
Method 1: Using the Built-in Colors
Mac provides a convenient built-in feature that allows you to change folder colors using a range of predefined colors. Here’s how you can do it:
- Select the folder you want to change the color of in the Finder.
- Click on the “File” menu at the top of the screen, and then choose “Get Info” or use the shortcut Command + I.
- In the Info window that appears, click on the folder icon in the top-left corner to select it.
- Click on the “Edit” menu at the top of the screen and select “Copy” or use the shortcut Command + C.
- Now, open the “Preview” app on your Mac. You can find it in the Applications folder or search for it using Spotlight.
- In Preview, click on the “File” menu and choose “New from Clipboard” or use the shortcut Command + N.
-
In the Preview window, click on the “Tools” menu and select “Adjust Color” or use the shortcut Command + Shift + C.
- Here, you’ll find various options to adjust the color of the selected folder icon. Experiment with the sliders to find a color that suits your preferences.
- Once you’re satisfied with the color, click on the “File” menu and choose “Save” or use the shortcut Command + S. Save the file as a PNG image.
- Close Preview and return to the Info window of the folder you want to customize.
- Click on the folder icon in the Info window and press the Delete or Backspace key to remove the current icon.
- Finally, drag and drop the saved PNG image from the location where you saved it onto the folder icon in the Info window. This will set the new color for the folder.
Using the built-in colors feature on Mac is a quick and easy way to change the folder colors to your preference. With a few simple steps, you can customize the appearance of your folders and enhance your visual organization.
Method 2: Customizing Folder Colors with Tags
If you want a more flexible and dynamic way to change folder colors on your Mac, you can utilize the tagging feature. Tags allow you to assign colors to files and folders, providing a visual indication of their category or status. Follow these steps to customize folder colors using tags:
- Select the folder you want to customize in the Finder.
- Right-click on the folder and choose “Tags” from the context menu.
- In the Tags submenu, you can either select an existing tag color or create a new tag by choosing “Add New Tag”.
- If you choose to create a new tag, enter a name for the tag and select a color from the color picker.
- Once you’ve selected or created a tag, the folder will be assigned that color.
- Repeat these steps for any other folders you want to customize with different colors.
To easily locate folders with specific tags, you can use the tag sidebar in the Finder. Here’s how:
- Open a Finder window and click on the “Tags” section in the sidebar.
- You will see a list of all the tags you’ve assigned to folders. Click on a tag to display all the folders associated with that tag.
- You can also create smart folders based on tags. Right-click on the sidebar and choose “New Smart Folder”. In the smart folder window, set the search criteria to “Tags” and select the desired tag.
- The smart folder will automatically update to display all folders with that specific tag.
By leveraging the power of tags, you can easily customize folder colors and create a flexible organizational system. The ability to search for and filter folders based on tags enhances your productivity and improves overall file management on your Mac.
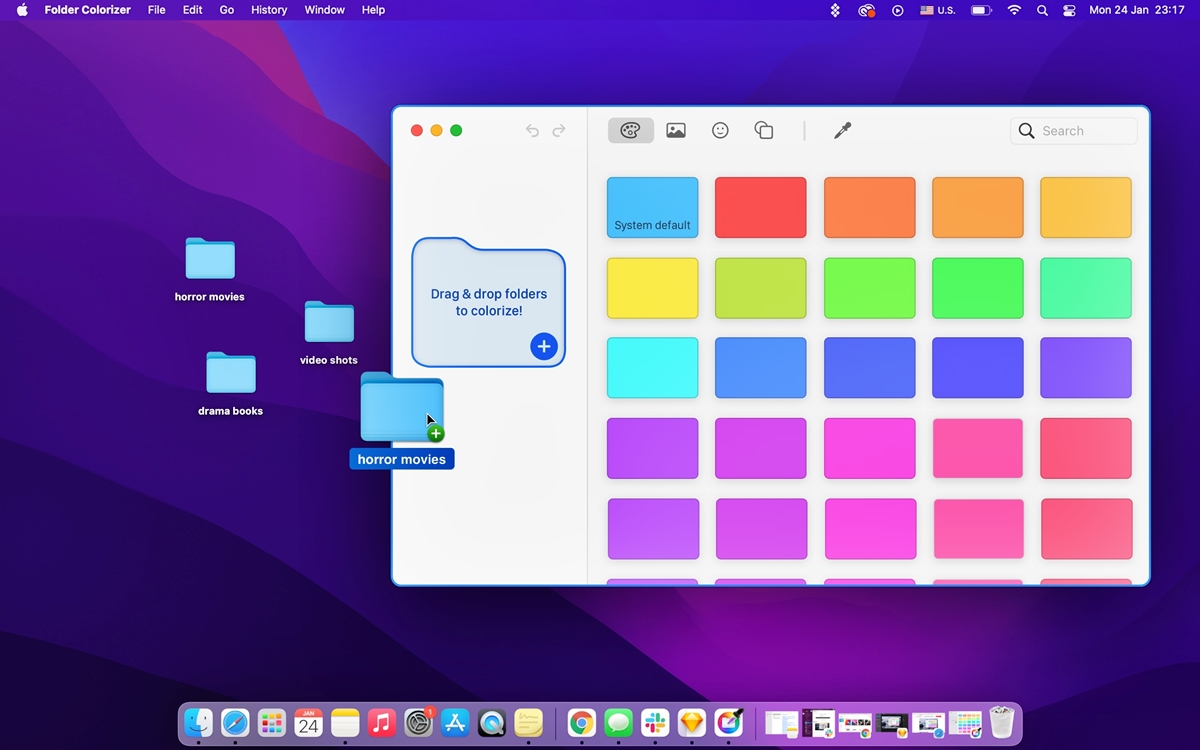
Method 3: Using Third-Party Apps
If you’re looking for more advanced customization options or a streamlined process for changing folder colors on your Mac, you can turn to third-party apps that offer dedicated tools for this purpose. Here are a few popular apps that can help you customize folder colors:
- Folderol: Folderol is a simple and intuitive app that allows you to change folder colors with ease. It offers a wide range of color options and also lets you customize folder icons. Simply select the folder you want to customize, choose the desired color, and apply the changes instantly.
- Folder Marker: Folder Marker is another highly regarded app that offers extensive folder customization features. It provides a multitude of color options, as well as the ability to add text or icons to folders. Additionally, it allows you to create custom color sets and apply them to multiple folders at once.
- Folder Color: Folder Color is a lightweight app that specializes in changing folder colors on your Mac. It offers a simple and user-friendly interface, allowing you to customize folder colors easily by selecting from a wide range of predefined colors. It also supports custom color creation.
Before installing any third-party app, make sure to read reviews and check compatibility with your macOS version. Once you’ve chosen and installed the app of your choice, follow the instructions provided by the app to customize your folder colors according to your preferences. These apps often come with additional features that can enhance your folder organization and productivity.
Using dedicated third-party apps for customizing folder colors provides you with more control and advanced options beyond what the built-in features of your Mac offer. Experiment with different apps to find the one that best suits your needs and allows you to create a visually appealing and organized file system.
Method 4: Changing Folder Icon to Change Color
If you prefer a direct and visual way to change folder colors on your Mac, you can accomplish this by changing the folder icon itself. While this method does not alter the actual color of the folder, it provides a visually distinct representation. Here’s how you can change the folder icon to change its color:
- Find an image or picture that represents the color you want to assign to the folder. It can be a solid color image or an image with a pattern or gradient that resembles the desired color.
- Open the image in Preview or any other image editing application on your Mac.
- Select the entire image or the portion that best represents the desired color using the selection tool in the image editing application.
- Copy the selected part of the image by clicking on the “Edit” menu and selecting “Copy” or using the shortcut Command + C.
- Go to the folder that you want to change the color of and select it in the Finder.
- Click on the “File” menu at the top of the screen, choose “Get Info” or use the shortcut Command + I to open the Info window.
- In the Info window, click on the folder icon at the top-left corner to select it.
- Click on the “Edit” menu and choose “Paste” or use the shortcut Command + V to paste the copied image as the new folder icon.
- The folder icon will now reflect the color or pattern from the image you pasted. You can resize or reposition the icon within the boundaries of the folder icon in the Info window if needed.
By changing the folder icon, you can visually indicate different categories or labels for your folders. While this method doesn’t alter the folder itself, it provides a clear visual cue to help you quickly identify specific folders and improve your overall organization.
Method 5: Using Terminal Commands
If you’re comfortable with using the Terminal application on your Mac, you can change folder colors using command-line instructions. Here’s how you can do it:
- Launch the Terminal application by going to Applications -> Utilities -> Terminal.
- Type the following command and press Enter to navigate to the folder whose color you want to change:
cd /path/to/folder - Replace
/path/to/folderwith the actual path to the folder you want to customize. You can also use thecdcommand to navigate to the desired folder location. - Type the following command and press Enter to change the icon color of the folder:
SetFile -a C /path/to/folder - Again, replace
/path/to/folderwith the actual path to the folder. - After executing the command, the folder should now have a blue icon color.
- If you want to restore the default color of the folder, use the following command:
SetFile -a V /path/to/folder - Once again, replace
/path/to/folderwith the actual path to the folder.
Note that the SetFile command is part of macOS and is used to set various attributes of files and folders, including the icon color. By executing the appropriate command in the Terminal, you can change the color of a folder to your desired preference.
Using Terminal commands to change folder colors provides a more advanced method for customization. However, it requires familiarity with the command line interface, so proceed with caution and double-check the commands to avoid any unintended consequences or errors.
Method 6: Using Automator to Create a Custom Folder Color Workflow
If you’re interested in creating a custom workflow to change folder colors on your Mac, you can utilize the Automator application that comes pre-installed. Automator allows you to automate repetitive tasks by creating workflows. Here’s how you can use Automator to create a custom folder color workflow:
- Open the Automator application by navigating to Applications -> Automator.
- When the Automator window appears, select “New Document” to create a new workflow.
- Choose the “Quick Action” template for your workflow and click on “Choose”.
- In the search bar on the left side of the Automator window, type “Set Folder Color”.
- Double-click on the “Set Folder Color” action to add it to your workflow.
- Now, select the color you want to assign to the folder from the options provided in the action.
- Click on “File” and choose “Save” to save your workflow. Give it a name and select the desired location to save it.
With your custom workflow created, you can now change the color of any folder easily:
- Locate the folder you want to customize in the Finder.
- Right-click on the folder and choose “Quick Actions”.
- Select your custom folder color workflow from the list of quick actions.
- The folder color will be changed based on your predefined color selection.
Automator provides a powerful and flexible way to create customized workflows for various tasks on your Mac. By creating a custom folder color workflow, you can streamline the process of changing folder colors and have the ability to apply the custom color to any folder whenever needed.
Method 7: Using Finder Alternatives to Change Folder Color
If you’re looking for alternative methods to change folder colors on your Mac, you can explore third-party Finder alternatives that offer additional customization options. These applications provide enhanced file management features, including the ability to change folder colors. Here are a few popular Finder alternatives:
- Path Finder: Path Finder is a comprehensive file management tool that offers advanced features to customize your Mac’s file system. It allows you to change folder colors and icons, providing a visually appealing and organized file browsing experience.
- XtraFinder: XtraFinder is a free extension for the native Finder app that adds extra functionalities, including the ability to change folder colors and labels. With XtraFinder, you can easily categorize and differentiate folders based on color codes, improving your overall file organization.
- Commander One: Commander One is a dual-pane file manager that offers a range of advanced features, including the ability to change folder colors. It provides an intuitive interface to customize folder colors and assign labels, allowing for efficient file navigation and organization.
When using Finder alternatives, follow the instructions provided by the specific application to change folder colors. These applications often offer user-friendly interfaces and additional features that go beyond the native Finder app, providing a more versatile and customizable file management experience.
Exploring Finder alternatives gives you access to a wide range of customization options and advanced file management features. By utilizing these applications, you can change folder colors and personalize your Mac’s file system according to your preferences and organizational needs.