
Step 1: Open Microsoft Outlook and compose a new email
Attaching a document to an email in Microsoft Outlook is a simple process that allows you to share important files and information with your recipients. Whether you need to send a report, a presentation, or any other type of document, it can be easily done through Outlook’s user-friendly interface.
To begin, open Microsoft Outlook on your computer or device. If you don’t have it installed, you can download it from the official Microsoft website and set up your email account. Once you have Outlook up and running, navigate to the main window where you typically view your inbox, and locate the option to compose a new email. Usually, this can be found in the upper-left corner of the screen, represented by a button that looks like a sheet of paper or a pencil.
Click on the “Compose” or “New Email” button to open a blank email composition window. Here, you can start typing your email message as you would in any regular email. Begin by addressing the email to the recipient(s) you wish to send it to, filling in the subject line with a brief summary of the email’s purpose or content, and adding your own email signature or other relevant details.
Before moving on to the next step, it is essential to ensure that you have a clear understanding of what you want to express in your email and the document you wish to attach. Planning your email content beforehand can help you streamline the process and ensure all necessary information is included.
Once you have composed the email to your satisfaction, you can proceed to the next step of attaching the document. This is where you will engage with the attachment feature of Outlook, allowing you to share the desired document seamlessly.
Note: The specific steps to attach a document may vary slightly depending on the version of Outlook you are using. However, the basic process covered in this guide should apply to most versions.
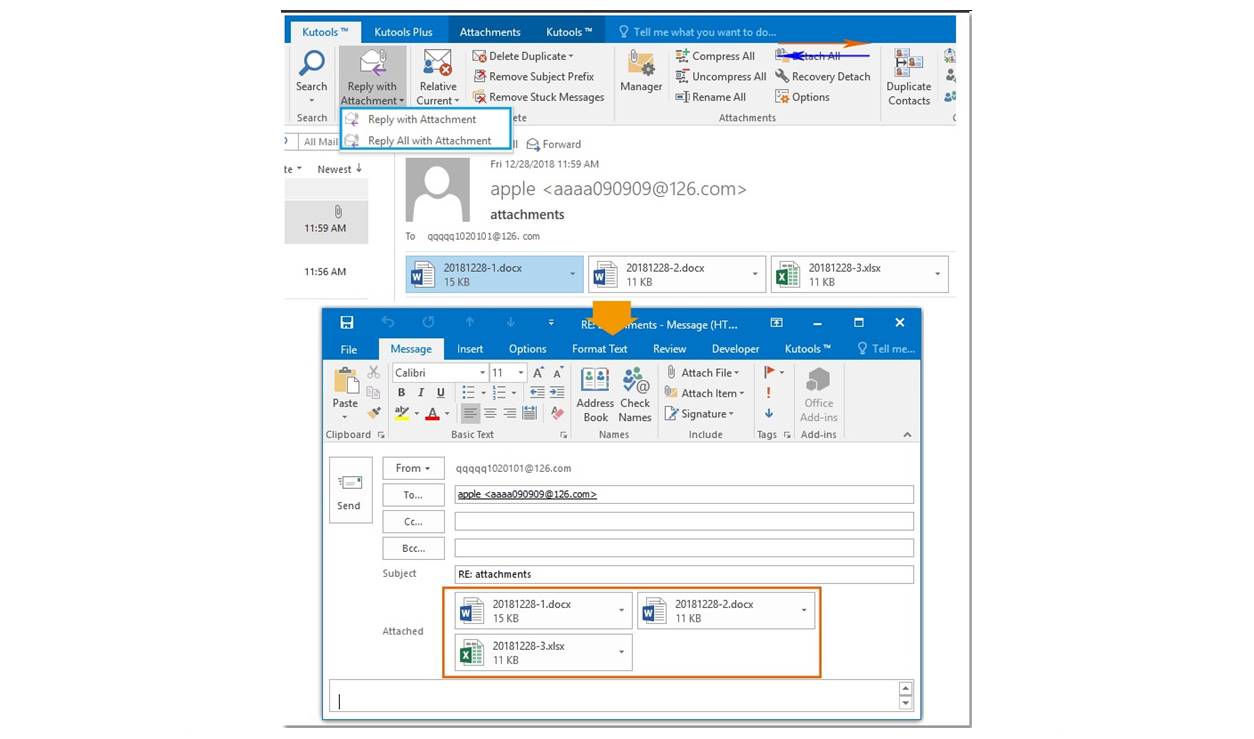
Step 2: Click on the “Attach File” button in the email composition window
Once you have composed your email message, the next step is to attach a file to the email using the “Attach File” button in the email composition window.
In the email composition window, look for the toolbar or menu options that provide various options for formatting and adding attachments. Typically, you will find the “Attach File” button represented by a paperclip icon. This button allows you to browse your computer’s files and select the document you want to attach.
Click on the “Attach File” button, and a file explorer window will open, showing the files and folders on your computer. This window will likely default to your “Documents” or “File Explorer” directory, but you can navigate to the location of your desired document by clicking through the different folders.
Browse through your files until you find the document you want to attach. You can identify the document by its name, file type, or any other specific details you remember. Once you have located the document, click on it to select it.
Note: Depending on your version of Outlook, you may be able to select multiple files to attach at once. This is convenient when you need to include multiple documents with your email. Simply hold down the Ctrl key (Cmd key on Mac) while clicking on each document you want to attach.
After selecting the document, click on the “Insert” or “Open” button in the file explorer window. The button’s label may vary depending on your version of Outlook, but it will serve the purpose of attaching the document to your email.
Once you have clicked on the appropriate button, Outlook will begin attaching the document to your email. Depending on the size of the document and your internet connection speed, this process may take a few moments.
It is important to be patient and allow Outlook to complete the attachment process. Interrupting or closing the email composition window before the attachment is fully added may result in the file not being successfully attached.
Once the attachment process is complete, you will see the document’s name or icon displayed within the email composition window, indicating that it has been successfully attached. At this point, you can proceed with sending the email or add any additional documents or content if needed.
Note: Some versions of Outlook may display attachments in a different format or location within the email composition window. However, the basic steps provided in this guide should help you locate and attach your document regardless of the specific design or layout of your version of Outlook.
Step 3: Navigate to the location of the document you want to attach
After clicking on the “Attach File” button in the email composition window, a file explorer window will open for you to navigate to the location of the document you want to attach to your email.
This file explorer window will display your computer’s files and folders, starting with a default directory such as “Documents” or “File Explorer”. From there, you can browse through the folders and drives on your computer to find the specific location of the document you wish to attach.
To navigate to the location of the document, follow the steps below:
- Use the navigation pane on the left side of the file explorer window to browse through the different drives and folders on your computer. You can click on the expand/collapse buttons next to folders to view subfolders. Additionally, you can use the search bar at the top of the window to search for specific files or folders by name.
- Click on a folder to open it and view its contents. If you need to navigate to a different location, simply click on the appropriate folder in the navigation pane or use the back/forward buttons at the top of the file explorer window.
- Continue navigating through the folders until you locate the folder that contains the document you want to attach. If you remember the specific name of the file, you can also use the search bar within the file explorer window to search for the document by its name.
Note: If the document you want to attach is saved in a cloud storage service or an external device such as a USB drive, you may need to access that specific location from the file explorer window. Look for shortcuts or options labeled “OneDrive,” “Google Drive,” “Dropbox,” or any other cloud storage service you use. For external devices, navigate to the drive letter assigned to the device (e.g., E:\ or F:\).
Once you have successfully navigated to the location of the document you want to attach, you are ready to proceed with selecting and attaching the document to your email. Please refer to the previous step for instructions on selecting the desired document and inserting it into your email.
Step 4: Select the document file and click on the “Insert” or “Open” button
Once you have navigated to the location of the document you want to attach in the file explorer window, the next step is to select the document file and insert it into your email by clicking on the “Insert” or “Open” button.
To select and attach the document, follow the steps below:
- Scan through the files displayed in the file explorer window to locate the document you want to attach. You can identify the document by its name, file type, or any other specific details you remember. Take your time to make sure you choose the correct document.
- Once you have found the desired document, click on it to select it. If you need to attach multiple documents, hold down the Ctrl key (Cmd key on Mac) while clicking on each document you want to attach. This will allow you to select multiple files at once.
- With the document(s) selected, look for the “Insert” or “Open” button within the file explorer window. The label of this button may vary depending on your version of Outlook, but its function remains the same: to attach the selected document(s) to your email.
- Click on the “Insert” or “Open” button, and Outlook will begin attaching the selected document(s) to your email. The time it takes to attach the document(s) may vary depending on their size and your internet connection speed. Be patient and allow Outlook to complete the attachment process.
Once the attachment process is complete, you will see the document(s) listed or displayed within the email composition window, indicating that they have been successfully attached to your email.
If you accidentally selected the wrong document or changed your mind about attaching it, you can remove it by clicking on the “Remove” or “X” icon next to the document’s name within the email composition window.
Note: Some versions of Outlook may display attachments in a different format or location within the email composition window. However, the basic steps provided in this guide should help you select and attach your document(s) regardless of the specific design or layout of your version of Outlook.
Step 5: Verify that the document is successfully attached to the email
After attaching the document to your email in Microsoft Outlook, it is important to verify that the attachment has been successfully added before sending the email. This step ensures that your recipients will receive the intended document along with your email message.
To verify the successful attachment, follow these steps:
- Look within the email composition window for a section or area that displays the attachments. In most versions of Outlook, this area will show the name(s) or icon(s) of the attached document(s).
- Check that the name of the document you wanted to attach is listed correctly. This confirms that you have selected the correct document during the attachment process.
- If there are multiple attachments, ensure that all the desired documents are included. You can cross-reference the displayed attachments with your initial intention of what should be attached.
Additionally, you can perform the following checks to further confirm the successful attachment:
- Double-click on the document name or icon within the email composition window. This action typically opens a preview or default application associated with the document format. Confirm that the correct document content appears and matches your expectations.
- Hover your mouse cursor over the document name or icon. In some versions of Outlook, a tooltip or information box will appear, displaying details about the document, such as file size or location.
By performing these verification steps, you can ensure that the intended document has been successfully attached to your email. Taking the time to verify the attachment ensures that you can send your message with confidence, knowing that your recipients will be able to access and review the document alongside your email.
If you find that there is an issue with the attachment, such as an incorrect document or missing file, you can remove the attachment by clicking on the “Remove” or “X” icon next to the document’s name within the email composition window. Then, you can repeat the attachment process to attach the correct document.
Note: Always double-check the document content before sending sensitive or confidential information to ensure the correct file has been attached.
Step 6: Repeat the same process to attach additional documents, if needed
In some cases, you may need to attach multiple documents to your email in Microsoft Outlook. Fortunately, Outlook allows you to repeat the attachment process to add any additional documents you want to include.
To attach additional documents, follow these steps:
- Review the email composition window to ensure that you have attached all the necessary documents from the previous steps. Make a note of any additional documents you need to attach.
- If you have completed attaching all the necessary files, simply proceed with sending your email by clicking on the “Send” button. However, if you want to attach more documents, continue to the next step.
- In the email composition window, locate the option to attach files again. This is typically represented by the “Attach File” button or a paperclip icon.
- Click on the “Attach File” button, and a file explorer window will open once more, allowing you to navigate to the location of the additional documents.
- Repeat Steps 3 and 4 for each additional document you want to attach. This includes navigating to the document’s location, selecting the document, and clicking on the “Insert” or “Open” button to attach it to your email.
- After attaching each document, verify that it appears correctly in the email composition window, following the steps outlined in Step 5. Check that the document names or icons are listed and that there are no issues with the attachments.
By repeating the attachment process for each additional document, you can ensure that all the necessary files are included in your email. This allows you to share multiple documents efficiently and effectively with your recipients.
Once you have attached and verified all the documents, you can proceed with sending your email. Simply review the content, add any additional details or recipients, and click on the “Send” button to deliver your email message along with the attached documents.
Note: Keep in mind that there may be limitations on the size or number of attachments you can include in a single email, depending on your email provider or system settings. If you encounter any issues with attachments, such as exceeding size limits, consider using a file-sharing service or compressing files into a zip folder before attaching them.