
Printing an email in Outlook desktop application
Printing an email from the Outlook desktop application is a straightforward process that allows you to have a physical copy of the email for reference or archiving purposes. Here is a step-by-step guide on how to print an email in Outlook:
- Open the Outlook application on your computer and navigate to the email you want to print.
- Once you have opened the desired email, click on the “File” tab located at the top left corner of the window.
- In the drop-down menu, select the “Print” option. Alternatively, you can press the “Ctrl” and “P” keys simultaneously as a shortcut to access the print dialog box.
- The print dialog box will appear, displaying the available print options. You can choose to print the entire email, specific pages, or a selection.
- Adjust the print settings according to your preferences, such as selecting the number of copies, orientation, and page size.
- Review your settings and click on the “Print” button to start the printing process.
Ensure that your printer is connected and properly set up before initiating the print command.
Note: You can also customize the appearance of the printed email by clicking on the “Print Options” button in the print dialog box. This allows you to choose whether to include headers, footers, or background colors when printing the email.
Printing emails from Outlook desktop application is a convenient way to have hard copies of important communications. It’s especially useful if you need to refer back to specific information or if you prefer reading and annotating physical documents.
Printing an email in Outlook.com (webmail)
If you use Outlook.com as your primary email service, you may want to print out important emails for various reasons. Luckily, printing an email in Outlook.com is a straightforward process. Here’s how:
- Login to your Outlook.com account and go to the email you wish to print.
- Open the email by clicking on it.
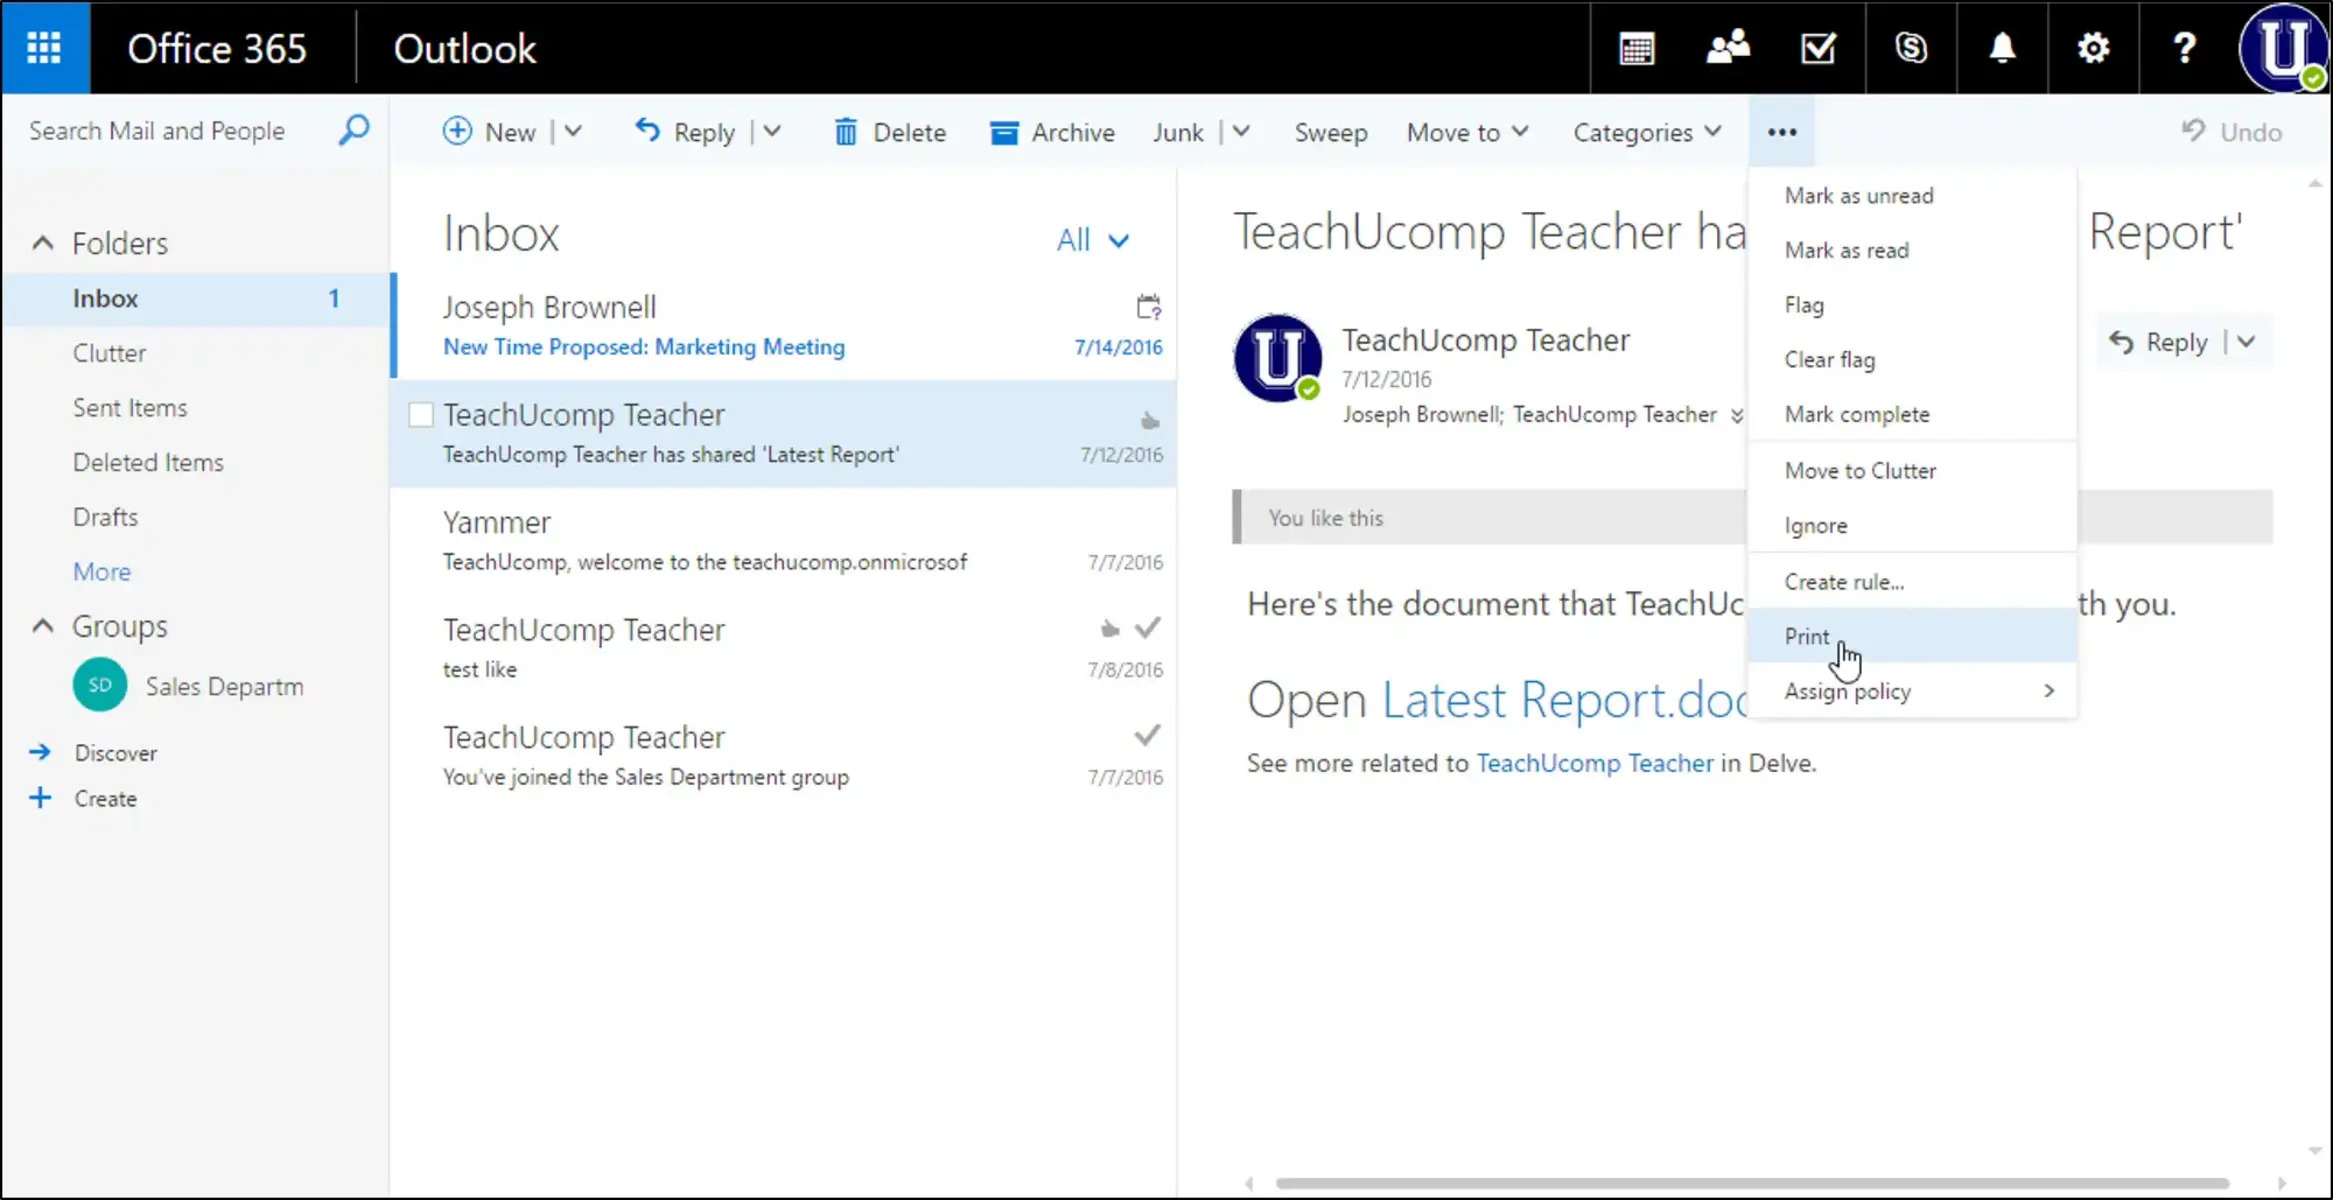
- Once the email is open, locate and click on the three-dot menu icon in the upper-right corner of the page. This will reveal a drop-down menu.
- In the drop-down menu, click on the “Print” option.
- A printing preview window will appear, displaying how the email will look when printed.
- Customize the print settings if necessary, such as selecting the number of copies, page size, or orientation.
- Review the settings and click on the “Print” button to start the printing process.
It’s important to ensure that your printer is properly connected and set up before initiating the print command.
Note: You can also use keyboard shortcuts to quickly access the print option in Outlook.com. Pressing “Ctrl” and “P” keys simultaneously will open the print preview window directly.
Printing emails in Outlook.com allows you to have hard copies for record-keeping, archiving, or offline reference. It can be particularly useful for keeping a physical copy of important communication, invoices, or other relevant information.
Remember to choose sustainable printing practices and consider the necessity of printing before doing so. It’s always good to minimize paper waste and be mindful of the environment.
Printing an email with attachments
When it comes to printing an email with attachments, incorporating those attachments into the printed copy is essential for maintaining the context and completeness of the information. Here’s how you can print an email with attachments:
- Open the email containing the attachments in your Outlook desktop application or Outlook.com.
- Click on the “File” tab in Outlook desktop application or the three-dot menu icon in Outlook.com to access the print options.
- Select the “Print” option from the drop-down menu to open the print dialog box.
- Ensure that the “Print attached files” or similar option is enabled in the print settings. This will include the attachments in the printout.
- Adjust other print settings as desired, such as the number of copies, page size, or orientation.
- Review the settings and click on the “Print” button to begin printing the email with its attachments.
Depending on the size and format of the attachments, you may need to consider the layout and formatting of the printed copy. For example, larger attachments may cause pages to overflow or require resizing to fit appropriately.
Before printing, it’s recommended to preview the email with attachments by using the print preview option. This will give you an idea of how the attachments will appear in the printed output.
Whether you’re printing emails with important documents or images, maintaining the integrity of the attachments is crucial. Make sure to check that all attachments are included and properly printed before finalizing the process.
Printing emails with attachments provides a comprehensive and tangible record of important information. It allows you to have physical copies of key documents and files for easy reference, archiving, or sharing.
Customizing the print settings in Outlook
When printing emails in Outlook, you have the option to customize various print settings according to your preferences. This allows you to optimize the printed output to meet your specific needs. Here are some ways you can customize the print settings in Outlook:
- Page Range: Choose whether to print the entire email, specific pages, or a selection. This is useful when you only need to print a specific part of a lengthy email.
- Number of Copies: Specify the number of copies you want to print.
- Page Setup: Adjust the page size, orientation, and margins to fit your printing requirements. This is particularly useful when printing emails with attachments or when formatting is crucial.
- Print Style: Outlook offers different print styles such as Memo Style, Table Style, and List Style. These styles change the layout and presentation of the printed email, making it easier to read and understand.
- Headers and Footers: Decide whether to include headers and footers in the printed email. Headers can display information like the sender, recipient, or subject, while footers can show page numbers or custom text.
- Background Colors: Choose whether to include background colors in the printed email. This can affect the appearance of the email if it contains colored elements.
- Print Attached Files: Enable this option if you want to include the attachments when printing the email.
Customizing these settings offers flexibility and ensures that the printed output meets your specific requirements. Take advantage of these options to enhance the readability and accuracy of the printed emails.
Before finalizing the print, preview the email with the selected settings to ensure everything looks as intended. This allows you to make any necessary adjustments before committing to the print job.
By customizing the print settings in Outlook, you can tailor the printed output to match your preferences and the specific needs of each email.
Troubleshooting common printing issues
While printing emails from Outlook, you may encounter some common issues that can hinder the printing process. Here are some troubleshooting tips to help you overcome these problems:
- No Response from Printer: If you click on the print button but there is no response from your printer, ensure that it is properly connected and turned on. Restarting both your computer and printer can also help resolve any temporary connectivity issues.
- Incorrect Printout: If the printed email appears distorted, cut off, or contains missing elements, check the preview before printing. Adjust the print settings, such as page size or orientation, to ensure the content fits correctly within the page boundaries.
- Blank Pages: If you encounter blank pages when printing an email, ensure that the email content is not hidden or white in color. Additionally, check the print settings for any accidental inclusion of unnecessary blank pages.
- Scaling Issues: Sometimes, the content may appear too small or too large on the printed copy. To resolve this, adjust the scaling settings in the page setup options to fit the content appropriately within the available print area.
- Missing Attachments: If the attachments are not printing with the email, ensure that the “Print Attached Files” option is enabled in the print settings. Also, verify that the attachments are accessible and properly loaded within the email before initiating the print command.
If you continue to experience issues with printing emails in Outlook, consider updating your printer drivers or seeking assistance from your printer manufacturer’s support website. Additionally, ensure that you are using the latest version of Outlook and that any necessary updates or patches are installed.
Remember to verify the print settings and preview the email before printing. This allows you to spot any potential issues and make adjustments accordingly, avoiding wasted paper and ink.
By troubleshooting common printing issues, you can ensure a smooth and hassle-free printing experience while using Outlook.
Printing multiple emails at once
Printing multiple emails individually can be time-consuming, especially if you need to print a large number of them. Fortunately, Outlook offers a convenient way to print multiple emails at once. Here’s how you can do it:
- Open your Outlook desktop application or Outlook.com and go to the folder containing the emails you want to print.
- Select the emails you want to print by holding down the “Ctrl” key (or “Cmd” key on a Mac) and clicking on each email or use the “Shift” key to select a range of emails.
- Once the emails are selected, click on the “File” tab in Outlook desktop application or the three-dot menu icon in Outlook.com.
- In the drop-down menu, choose the “Print” option to open the print dialog box.
- Review the print settings and adjust them as desired, such as choosing the number of copies or page layout.
- Click on the “Print” button to start the printing process. Outlook will print each selected email as a separate document.
This method allows you to print multiple emails in a single print job, saving you time and effort. The emails will be printed in the order you selected them, maintaining their individual content and formatting.
Before printing, make sure to review the print preview to ensure that each email is included and that the formatting is preserved correctly.
Printing multiple emails simultaneously can be particularly useful when you need to archive or reference a series of related emails, such as a conversation or a project thread.
By utilizing this feature in Outlook, you can streamline the process of printing multiple emails, making it more efficient and convenient.
Printing email conversations or threads
Printing email conversations or threads can be helpful when you want to have a complete record of a discussion or follow the flow of communication. Outlook allows you to print email conversations easily. Here’s how:
- Open the email thread or conversation you want to print in your Outlook desktop application or Outlook.com.
- Click on the “File” tab in Outlook desktop application or the three-dot menu icon in Outlook.com.
- In the drop-down menu, select the “Print” option to open the print dialog box.
- Choose the desired print settings, such as the number of copies or page orientation.
- Enable the option to print the entire conversation or thread. This will include all the emails within the conversation, arranged in chronological order.
- Review the settings and click the “Print” button to begin printing the email conversation.
It’s important to note that the printed conversation will include all the emails within the thread, displaying the sender, recipients, date, and time for each message. This provides a comprehensive overview of the discussion.
Before proceeding with the print job, preview the conversation to ensure that all the emails in the thread are included and that the formatting appears as desired.
Printing email conversations or threads is especially useful in instances where you need a hard copy for reference, archiving, or legal purposes. It allows you to easily review and analyze the entire conversation without relying solely on digital formats.
By utilizing this feature in Outlook, you can have a complete printed record of important email conversations or threads, ensuring that you have all the relevant information at your fingertips.
Tips for saving paper and ink when printing emails
While printing emails can be necessary at times, it’s important to adopt eco-friendly practices and minimize paper and ink waste. Here are some tips to help you save paper and ink when printing emails:
- Print only when necessary: Before printing an email, consider if a physical copy is truly needed. If possible, try to rely on digital formats for reference.
- Print double-sided: Set your printer’s default setting to print double-sided (also known as duplex printing). This reduces paper consumption by printing on both sides of the sheet.
- Selectively print: Print only the essential parts of the email rather than the entire conversation or thread. Focus on the key information or sections you need.
- Print in draft mode: Adjust your printer settings to print in draft or grayscale mode. This can help conserve ink by using less ink or toner for printing.
- Use print preview: Always use the print preview option before printing to ensure that the email appears as desired. This helps prevent unnecessary reprints.
- Reduce font size and formatting: Opt for smaller font sizes and reduce unnecessary formatting (such as bold or italics) to condense the content and save space on each printed page.
- Avoid unnecessary attachments: If feasible, only print the email content without the attachments, especially if they are not crucial to the information you need.
- Print multiple emails on a single page: Utilize the “multiple pages per sheet” option in your printer settings when printing multiple emails. This reduces paper usage by fitting multiple emails onto one page.
- Recycle and reuse: Recycle any printed emails that are no longer needed and consider reusing printed pages for note-taking or drafts before discarding them.
By implementing these tips, you can reduce your environmental footprint when printing emails while still obtaining the necessary information in a more sustainable manner.
Remember, every effort counts when it comes to conserving paper and ink resources, so be mindful of your printing habits and strive to make eco-friendly choices whenever possible.
Using third-party apps or add-ons for advanced printing options
While Outlook provides basic printing features, you can enhance your printing experience and gain access to advanced options by utilizing third-party apps or add-ons. These tools offer additional functionality and customization for your printing needs. Here’s how you can benefit from using them:
- Print Management Software: Third-party applications like Print Conductor, PaperCut, or PrinterLogic provide advanced print management features, including the ability to batch print multiple emails, specify print settings for different printers, and automate print workflows. They offer more control and efficiency in managing your printing tasks.
- Email to PDF Converter: Instead of printing emails, you can convert them to PDF format using tools like Adobe Acrobat or Nitro Pro. PDF conversion allows you to create digital copies that can be easily shared, archived, or accessed across devices without the need for physical printing.
- Print Optimizer Extensions: Browser extensions like Print Friendly & PDF or CleanPrint can be used with web-based email clients to optimize and clean up the printing format. They remove unnecessary ads, headers, footers, and other page elements, ensuring a more streamlined and eco-friendly printout.
- PDF Print Drivers: PDF print drivers like CutePDF or PDFCreator enable you to print any document or email directly to a PDF file. This eliminates the need for physical printing and allows for easy digital storage and sharing.
Before installing any third-party apps or add-ons, ensure that they are from reputable sources and compatible with your operating system and email client. Take the time to read reviews, check the features, and consider the specific requirements of your printing needs.
Using third-party apps or add-ons offers you the freedom to explore advanced printing options beyond the built-in features of Outlook. These tools can enhance your productivity, reduce paper waste, and provide more flexibility in managing your printing tasks.
Remember to weigh the benefits and potential drawbacks of using third-party solutions, and select the ones that best align with your specific requirements and preferences.