
Why Add Groups to Your Shortcut Bar on Facebook?
Facebook groups are a valuable feature that allow users to connect, share, and engage with like-minded individuals who have similar interests or goals. By joining groups, you can find a community that shares your passions, whether it’s a hobby, a professional network, a support group, or anything in between.
Adding groups to your shortcut bar on Facebook provides easy and quick access to the communities you care about the most. Instead of having to go through several steps to find and access a group, you can simply click on the shortcut in your bar and be instantly connected. This saves you time and effort, ensuring that you stay up to date with the latest discussions and updates happening within the group.
Furthermore, adding groups to your shortcut bar helps you prioritize your online experience. With the vast amount of content available on Facebook, it’s easy to get overwhelmed by the noise and distractions. By adding groups to your shortcut bar, you create a curated and personalized feed that focuses on the topics and communities that truly matter to you. This allows you to filter out unnecessary content and optimize your social media experience.
In addition, joining groups and adding them to your shortcut bar can enhance your social connections and networking opportunities. By actively participating in group discussions, sharing your knowledge and experiences, and interacting with other group members, you can build meaningful relationships and expand your network. Whether you are looking for professional opportunities, like-minded friends, or support from a community, adding groups to your shortcut bar can open doors to new connections.
Overall, adding groups to your shortcut bar on Facebook is a valuable way to stay connected, prioritize your interests, and expand your network. By having quick and easy access to your favorite communities, you can actively engage, contribute, and benefit from the diverse range of groups available on Facebook.
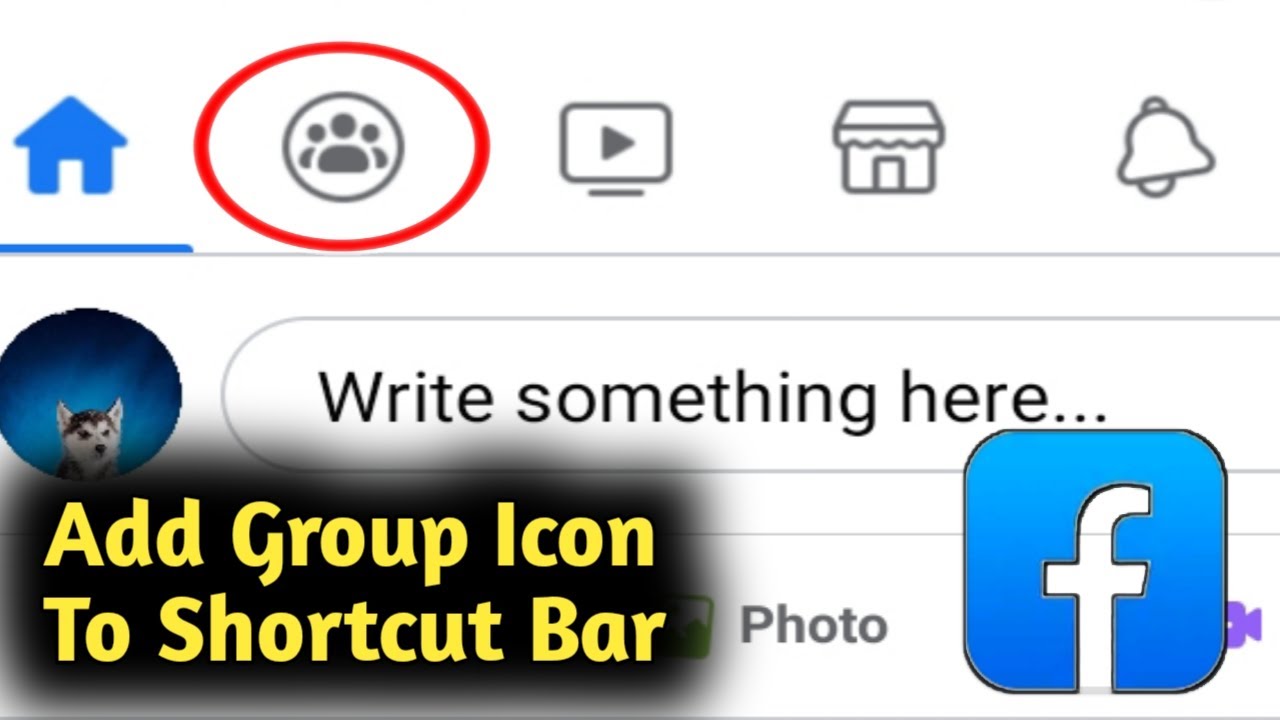
Step 1: Accessing the Shortcut Bar Settings
The first step to adding groups to your shortcut bar on Facebook is accessing the shortcut bar settings. Follow these simple instructions:
- Open the Facebook app or website on your device and log in to your account.
- Look for the navigation bar on the left-hand side of the screen. This bar usually contains icons such as News Feed, Messenger, Watch, Marketplace, and Groups.
- At the bottom of the navigation bar, you will find an option called ‘See More.’ Click on this to expand the navigation bar and reveal additional options.
- Scroll down until you see the ‘Your Shortcuts’ section. This section displays the shortcuts that are currently added to your shortcut bar.
- To access the shortcut bar settings, click on the three-dot icon located at the right end of the ‘Your Shortcuts’ section.
- A drop-down menu will appear. Click on ‘Edit Shortcut Bar’ to proceed to the shortcut bar settings.
Once you have accessed the shortcut bar settings, you are now ready to add groups to your shortcut bar and enhance your Facebook experience.
Step 2: Adding a Group to Your Shortcut Bar
After accessing the shortcut bar settings, you can start adding groups to your shortcut bar on Facebook. Follow these simple steps:
- In the shortcut bar settings, you will see a list of available shortcuts that you can add to your bar.
- Scroll through the list until you find the ‘Groups’ option. Click on the ‘+’ icon next to ‘Groups’ to begin adding a group.
- A pop-up window will appear, displaying a list of groups you are a member of or have interacted with recently. You can also search for a specific group by typing its name in the search bar at the top of the window.
- Select the group you want to add to your shortcut bar by clicking on it. You can add multiple groups if desired.
- Once you have selected the group(s), click on the ‘Add’ button to add them to your shortcut bar.
After following these steps, the selected group(s) will now appear as shortcuts in your shortcut bar. You can easily access these groups by clicking on their respective icons, saving you time and giving you quick access to the communities you are most interested in.
It’s important to note that you can customize the order of your shortcut bar by rearranging the icons, which we will cover in the next step.
Step 3: Rearranging Your Shortcut Bar
Once you have added groups to your shortcut bar on Facebook, you have the flexibility to rearrange the icons to your liking. Here’s how you can easily rearrange your shortcut bar:
- In the shortcut bar settings, locate the group icon that you want to move.
- Click and hold the icon. You will notice that your cursor changes to a four-sided arrow.
- While still holding the mouse button, drag the icon to the desired position in the shortcut bar.
- Release the mouse button to drop the icon in its new position.
By following these steps, you can easily reorganize the icons in your shortcut bar to prioritize your most frequently accessed groups. This way, the groups that matter the most to you will be prominently displayed and easily accessible.
Remember that you can rearrange the icons at any time to cater to your changing interests and preferences.
Now that you have rearranged your shortcut bar, you may also want to learn how to remove a group from your shortcut bar, which will be covered in the next step.
Step 4: Removing a Group from Your Shortcut Bar
If you no longer wish to have a specific group in your shortcut bar on Facebook, you can easily remove it. Here’s how:
- Access the shortcut bar settings by following the steps outlined in Step 1.
- Look for the group icon that you want to remove from your bar.
- Hover your cursor over the icon, and you will notice a small ‘x’ symbol appearing in the top-right corner of the icon.
- Click on the ‘x’ symbol to remove the group from your shortcut bar.
After clicking on the ‘x’ symbol, the group will be removed from your shortcut bar, and the icon will no longer be visible. However, you will still remain a member of the group, and it will not affect your participation within the community.
Remember that you can remove groups from your shortcut bar at any time, allowing you to keep your bar organized and relevant to your current interests and priorities.
Now that you know how to remove a group, let’s proceed to the next step and learn how to edit the name of a group in your shortcut bar.
Step 5: Editing the Name of a Group in Your Shortcut Bar
If you want to customize the name of a group in your shortcut bar on Facebook, you have the option to do so. Follow these steps to edit the name of a group:
- Access the shortcut bar settings as mentioned in Step 1.
- Locate the group whose name you want to edit.
- Hover your cursor over the group icon, and you will notice a small pencil icon appearing in the top-right corner of the icon.
- Click on the pencil icon to enter editing mode for the group’s name.
- A text box will appear, allowing you to modify the name.
- Enter the desired name of the group. You can be as creative or descriptive as you want.
- Once you have edited the name, press ‘Enter’ or click outside the text box to save the changes.
By following these steps, you can easily personalize the name of a group in your shortcut bar to better suit your preferences or make it easier to identify.
It’s essential to note that editing the name of a group in your shortcut bar does not affect the actual group name or your membership within it. It solely changes the display name in your shortcut bar for easier recognition.
Now that you know how to edit the name of a group, let’s move on to the next step and explore how to manage your shortcut bar on mobile devices.
Step 6: Managing Your Shortcut Bar on Mobile Devices
Managing your shortcut bar on Facebook is not limited to just desktop devices. You can also customize and organize your shortcut bar on mobile devices with ease. Follow these steps to manage your shortcut bar on mobile:
- Open the Facebook mobile app on your device and log in to your account.
- Tap on the menu icon (three horizontal lines) located in the bottom-right corner of the screen.
- Scroll down and tap on ‘Settings & Privacy’ to expand the options.
- Select ‘Settings’ from the expanded menu.
- In the settings menu, look for the ‘Shortcuts’ option and tap on it.
- A list of your current shortcuts will appear, similar to the desktop version.
- To add a group, tap on the ‘+’ icon next to ‘Groups’ and follow the same steps as mentioned in Step 2.
- To rearrange or remove a group, tap and hold the group icon, then drag it to the desired position or tap the ‘x’ symbol to remove it, similar to the desktop version.
Managing your shortcut bar on mobile devices allows you to have quick access to your favorite groups, just like on desktop. This ensures that you can stay connected and engaged with your communities, even when you are on the go.
By following these steps, you can easily customize your shortcut bar on both desktop and mobile devices, ensuring that it reflects your current interests and preferences.
Congratulations! You have successfully learned how to add, rearrange, remove, and edit the name of groups in your Facebook shortcut bar, both on desktop and mobile devices. Use this knowledge to streamline your Facebook experience and stay connected to the communities you love.