
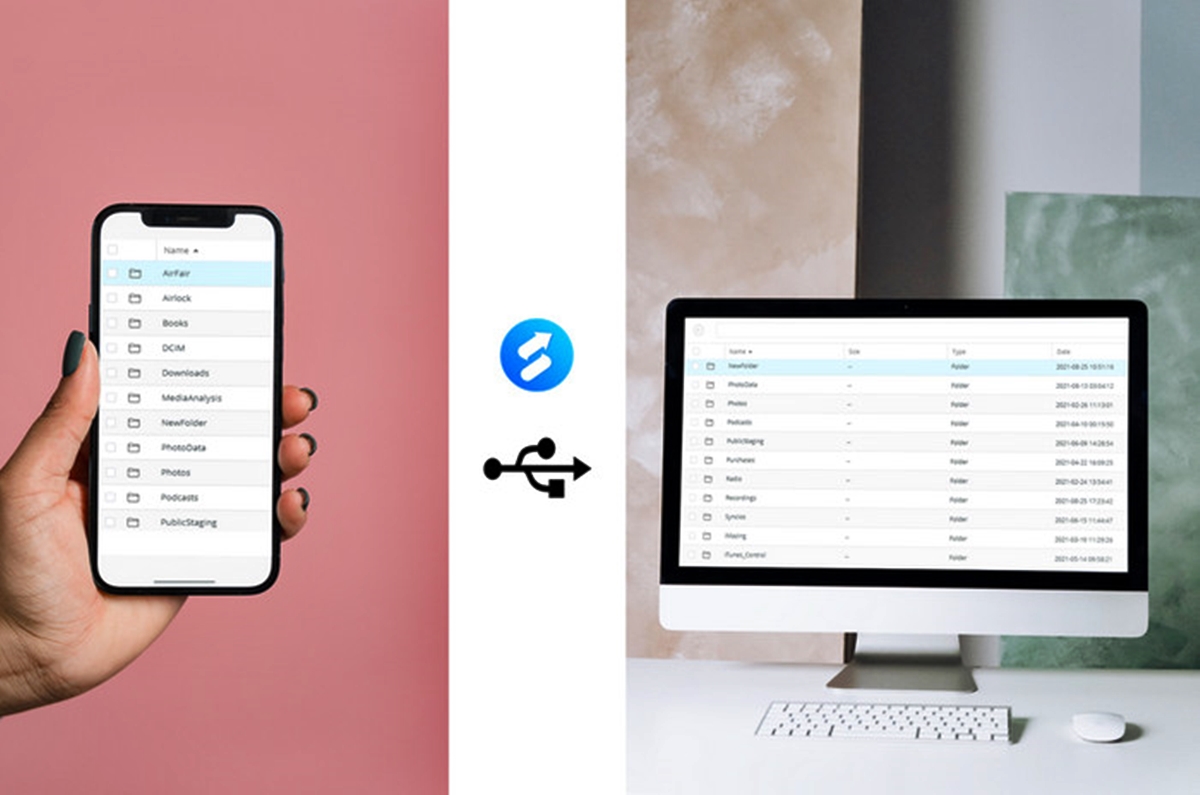
Connecting iPhone to PC via USB
Connecting your iPhone to your PC via USB is a convenient way to access and transfer files between the two devices. Follow these steps to establish a successful connection:
1. Begin by ensuring that you have a compatible USB cable that can connect your iPhone to your PC. Most iPhones utilize a lightning port, so you will need a USB to lightning cable.
2. Plug one end of the USB cable into the lightning port on your iPhone and the other end into a USB port on your PC. Make sure both devices are powered on.
3. After connecting the cable, you may see a prompt on your iPhone asking for permission to trust the connected computer. Tap “Trust” to establish the connection.
4. On your PC, open the File Explorer (Windows) or Finder (Mac) and look for your iPhone under the “Devices” or “This PC” section. You should see your iPhone listed as a connected device.
5. Double-click on your iPhone’s icon to access its files and folders. From here, you can navigate through various categories such as Photos, Music, Videos, and Documents.
6. To transfer files from your iPhone to your PC, simply locate the file you wish to transfer, right-click on it, and select “Copy” or “Cut.” Then, navigate to the desired location on your PC and right-click again, selecting “Paste” to complete the transfer.
Remember to safely eject your iPhone from your PC once you are done transferring files. This can be done by right-clicking on your iPhone’s icon in the File Explorer or Finder and selecting the “Eject” or “Disconnect” option.
Connecting your iPhone to your PC via USB allows for quick and efficient file transfers without the need for an internet connection. It is especially useful when you want to transfer large files or access files that are not stored in the cloud.
Now that you know how to connect your iPhone to your PC via USB, let’s explore other methods to access iPhone files using iTunes, iCloud, and third-party apps.
Using iTunes to Access iPhone Files
iTunes is a software developed by Apple that allows you to manage and sync your iOS devices, including accessing and transferring files. Here’s how you can use iTunes to access your iPhone files:
1. Start by downloading and installing the latest version of iTunes on your PC. You can find the official iTunes software on the Apple website.
2. Connect your iPhone to your PC using a USB cable. Ensure that your iPhone is unlocked and the “Trust This Computer” prompt is accepted.
3. Launch iTunes on your PC. If it doesn’t open automatically, you can manually open it from the Start menu or desktop shortcut.
4. In iTunes, you will see an iPhone icon at the top-left corner of the window. Click on the icon to access the summary page of your iPhone.
5. From here, you can access different categories of files, such as Music, Movies, TV Shows, Podcasts, Books, and more. Simply click on the respective tabs to view the files within each category.
6. To transfer files from your iPhone to your PC, select the desired category and locate the specific file you want to transfer. Right-click on the file, then choose “Copy to PC” or “Export” to save it to your desired location on your PC.
7. If you want to add files from your PC to your iPhone, select the category where you want to add the files. Then, click on the “File” tab in the iTunes menu bar and choose “Add File to Library” or “Add Folder to Library.” Browse and select the files or folder you want to add, and iTunes will sync them to your iPhone.
8. Once you have finished accessing and transferring files, safely disconnect your iPhone from your PC by clicking on the “Eject” button next to the iPhone icon in iTunes.
iTunes provides a comprehensive solution for managing your iPhone files, including music, videos, books, and more. It offers a user-friendly interface and a wide range of features to organize and sync your files effortlessly.
Now that you know how to use iTunes to access your iPhone files, let’s explore another method using iCloud.
Using iCloud to Access iPhone Files
iCloud is Apple’s cloud storage and synchronization service that allows you to access your iPhone files from any device with an internet connection. Here’s how you can use iCloud to access your iPhone files:
1. Ensure that iCloud is enabled on your iPhone. You can do this by going to “Settings” and tapping on your Apple ID at the top of the screen. Then, select “iCloud” and make sure the toggle switch next to the desired file categories is turned on.
2. On your PC, open a web browser and visit the iCloud website (www.icloud.com).
3. Sign in to your iCloud account using your Apple ID and password. Make sure you use the same Apple ID that is associated with your iPhone.
4. Once you are logged in, you will see various icons representing different file categories, such as Photos, Mail, Contacts, Notes, and more.
5. Click on the desired category icon to access the files within it. For example, if you want to access your iPhone photos, click on the “Photos” icon.
6. From here, you can view, download, upload, and manage your iPhone files. You can also create new folders, organize files, and perform actions specific to each file category.
7. To download files from iCloud to your PC, simply select the file you want to download and click on the “Download” button or right-click and choose “Download.” The file will be saved to your default downloads folder on your PC.
8. If you want to upload files from your PC to iCloud and access them on your iPhone, click on the “Upload” button or drag and drop the files directly into the desired category.
Using iCloud offers the advantage of accessing your iPhone files from any computer with an internet connection, eliminating the need for physical connections or cables.
Now that you know how to use iCloud to access your iPhone files, let’s explore another option – using third-party apps.
Using Third-Party Apps to Access iPhone Files
In addition to the built-in methods provided by Apple, there are various third-party apps available that can help you access and manage your iPhone files. These apps offer different features and functionalities that can cater to your specific needs. Here’s how you can use third-party apps to access your iPhone files:
1. Start by researching and choosing a reliable third-party app from the App Store that suits your requirements. Some popular options include FileExplorer, Documents by Readdle, and iExplorer.
2. Install the selected app on your iPhone by visiting the App Store, searching for the app by name, and tapping on “Install.”
3. Once the app is installed, open it on your iPhone and follow the on-screen instructions to set it up and grant necessary permissions for accessing your files.
4. Depending on the app you choose, you may have different navigation options. Some apps provide a file explorer-like interface where you can browse through folders and files, while others may categorize files based on formats such as photos, videos, documents, etc.
5. Use the app’s features to manage and transfer your iPhone files. This may include options like copying, moving, deleting, renaming, compressing, and sharing files. Some apps also offer additional features like built-in document viewers, file encryption, and cloud storage integration.
6. To transfer files between your iPhone and PC, connect your iPhone to your PC via USB or use Wi-Fi file transfer options provided by the app. Follow the app’s instructions to establish a connection and transfer files between devices.
7. Ensure that you follow the app’s guidelines and security measures to protect your files and maintain the privacy of your data.
Using third-party apps can be a flexible and customized solution for accessing and managing your iPhone files. It allows you to explore different features and functionalities beyond what is offered by Apple’s native options.
Remember to choose reputable apps from trusted developers and read reviews before downloading and using them to ensure a safe and reliable experience.
Now that you know how to use third-party apps to access your iPhone files, let’s move on to exploring specific methods for accessing different types of files, such as photos, music, videos, and documents.
Accessing Photos and Videos on iPhone from PC
When it comes to accessing and transferring photos and videos from your iPhone to your PC, there are multiple methods you can use. Here are a few options:
1. Using File Explorer (Windows) or Finder (Mac):
If you have connected your iPhone to your PC via USB, you can access your photos and videos through the native file management system of your operating system.
- Open File Explorer (Windows) or Finder (Mac) and locate your iPhone under the “Devices” or “This PC” section.
- Double-click on your iPhone’s icon to view its contents.
- Navigate to the “DCIM” folder, which stands for “Digital Camera Images.”
- Within the “DCIM” folder, you will find subfolders containing your photos and videos. Open the folders to access your media files.
- You can then drag and drop the photos and videos to your desired location on your PC.
2. Using iCloud Photo Library:
If you have enabled iCloud Photo Library on your iPhone, your photos and videos will automatically sync with your iCloud account, making them accessible from any device connected to the same iCloud account.
- Open a web browser on your PC and visit the iCloud website (www.icloud.com).
- Sign in to your iCloud account using your Apple ID and password.
- Click on the “Photos” icon to access your iCloud Photo Library.
- Here, you can browse through your photos and videos, view them, and even download them to your PC by selecting the desired files and clicking on the download button.
3. Using iTunes:
If you prefer to use iTunes, you can sync your photos and videos from your iPhone to your PC through the software.
- Connect your iPhone to your PC and launch iTunes.
- Click on the iPhone icon in iTunes to access the summary page.
- Click on the “Photos” tab and check the box next to “Sync Photos.”
- Choose the application or folder you want to sync your photos and videos from.
- Click on the “Apply” or “Sync” button to initiate the synchronization process.
By utilizing these methods, you can easily access and transfer your photos and videos from your iPhone to your PC. Whether you choose to use the native file management system of your operating system, iCloud Photo Library, or iTunes, you will be able to conveniently access and manage your media files.
Now that you know how to access photos and videos from your iPhone, let’s explore how to access music and audio files.
Accessing Music and Audio Files on iPhone from PC
If you want to access and transfer music and audio files from your iPhone to your PC, there are a couple of methods you can use. Here are the options available:
1. Using iTunes:
iTunes is the default method for managing music and audio files on your iPhone. Here’s how you can access and transfer these files using iTunes:
- Connect your iPhone to your PC and launch iTunes.
- Click on the iPhone icon in iTunes to access the summary page.
- Click on the “Music” or “Media” tab to view your music and audio files.
- Check the box next to “Sync Music” to enable syncing.
- Select the specific music and audio files you want to sync or choose to sync your entire music library.
- Click on the “Apply” or “Sync” button to initiate the synchronization process and transfer the selected files to your PC.
2. Using third-party apps:
There are also third-party apps available that can help you access and transfer music and audio files from your iPhone to your PC. These apps may offer additional features and flexibility compared to iTunes. Here are a few popular options:
- FileExplorer: This app allows you to transfer music and audio files between your iPhone and PC wirelessly. You can simply connect both devices to the same Wi-Fi network, open the app, and follow the instructions to establish a connection and transfer the files.
- Documents by Readdle: This app not only provides file management capabilities but also acts as a music player. You can transfer music files from your iPhone to the app, and then connect your iPhone to your PC via USB to access and copy the files.
By utilizing either iTunes or third-party apps, you can easily access and transfer your music and audio files from your iPhone to your PC. Whether you prefer the traditional method using iTunes or opt for the flexibility offered by third-party apps, you’ll have no trouble accessing and enjoying your favorite songs and audio on your PC.
Now that you know how to access music and audio files, let’s move on to exploring how to access documents and other files on your iPhone from your PC.
Accessing Documents and Files on iPhone from PC
To access and transfer documents and other files from your iPhone to your PC, you can follow these methods:
1. iCloud Drive:
iCloud Drive is a cloud storage service provided by Apple that allows you to store and sync your documents across your devices. Here’s how you can access your documents and files using iCloud Drive:
- Ensure that iCloud Drive is enabled on your iPhone. Go to “Settings,” tap on your Apple ID, select “iCloud,” and toggle on “iCloud Drive.”
- On your PC, open a web browser and visit the iCloud website (www.icloud.com).
- Sign in to your iCloud account using your Apple ID and password.
- Click on the “iCloud Drive” icon to access your files.
- Here, you can browse through your folders and files, open and edit documents using compatible applications, and even upload and download files to and from your PC.
2. Third-party cloud storage apps:
There are several cloud storage apps available, such as Google Drive, Dropbox, and Microsoft OneDrive, that offer cross-platform accessibility for your documents and files. Here’s how you can use these apps to access your files:
- Install the cloud storage app of your choice from the App Store.
- Sign in to your account or create a new account if you don’t have one.
- On your iPhone, upload the documents and files you want to access on your PC to the cloud storage app.
- On your PC, open the web browser or the desktop app for the cloud storage service.
- Sign in to your account using your credentials.
- Navigate to the folder or location where you uploaded your documents and files from your iPhone.
- From there, you can download, edit, and manage your documents and files on your PC.
Using iCloud Drive or third-party cloud storage apps allows you to access your documents and files from anywhere with an internet connection. Furthermore, it simplifies the process of transferring files between your iPhone and PC, as you can upload and download files seamlessly.
Both methods provide secure and convenient ways to access and manage your documents and files without the need for physical connections or cables.
Now that you know how to access documents and files on your iPhone from your PC, let’s move on to troubleshooting common issues that you may encounter during this process.
Troubleshooting Common Issues when Accessing iPhone Files on PC
While accessing iPhone files on your PC can be a straightforward process, you may encounter some common issues along the way. Below are some troubleshooting tips to help you overcome these challenges:
1. USB Connection Issues:
If you’re using a USB cable to connect your iPhone to your PC and facing connection problems, try these steps:
- Make sure the USB cable is properly connected to both the iPhone and the PC.
- Try connecting the USB cable to a different USB port on your PC.
- Restart your iPhone and PC and try connecting again.
- Check if the USB driver is up-to-date on your PC by visiting the manufacturer’s website.
2. Trusting the Computer:
If you see a prompt on your iPhone asking to trust the connected computer, but you accidentally tapped on “Don’t Trust,” follow these steps:
- Disconnect your iPhone from the PC.
- Reconnect your iPhone to the PC and ensure the prompt appears again.
- This time, tap on “Trust” to establish a connection and access your files.
3. iTunes Not Recognizing iPhone:
If iTunes fails to recognize your iPhone, try the following solutions:
- Update iTunes to the latest version by visiting the Apple website or using the software update feature.
- Ensure that your iPhone is unlocked and the screen is on when connecting it to the PC.
- Restart your iPhone and PC to refresh the connections.
- Try using a different USB cable or port to connect your iPhone to the PC.
4. iCloud Syncing Issues:
If you’re experiencing problems with iCloud syncing, consider these troubleshooting steps:
- Verify that iCloud Drive and the specific file category (e.g., Photos, Music) are enabled on your iPhone by visiting “Settings” and tapping on your Apple ID.
- Check your internet connection to ensure that your iPhone can sync with iCloud.
- Sign out of iCloud on your iPhone, restart the device, and sign in again to refresh the connection.
- On your PC, ensure that you’re using the same Apple ID and that you’re signed in to iCloud using the same account.
If these troubleshooting tips do not resolve your issues, consider seeking further assistance through Apple’s support channels or consulting the documentation of the specific software or app you’re using to access your iPhone files.
By addressing these common issues, you can overcome potential obstacles and successfully access and transfer your iPhone files to your PC.
Now that you’re equipped with troubleshooting knowledge, you can confidently access and manage your iPhone files on your PC.