
Use iCloud Drive
iCloud Drive is a versatile cloud storage service provided by Apple that allows you to securely store your files, including voice memos. Here’s how to download voice memos from your iPhone using iCloud Drive:
- Make sure you have iCloud Drive enabled on your iPhone. To do this, go to Settings, tap on your Apple ID at the top, select iCloud, and check if iCloud Drive is turned on.
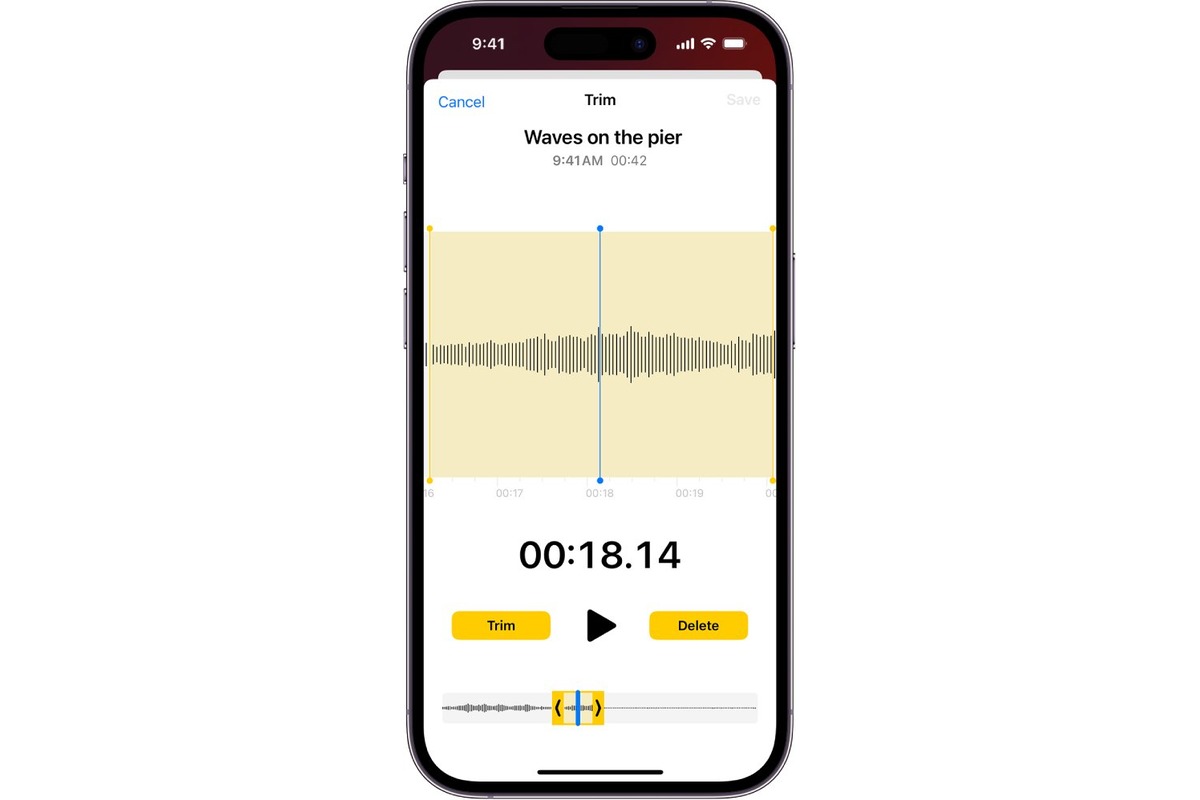
- Open the Voice Memos app on your iPhone and locate the voice memo you want to download.
- Tap on the voice memo to open it and then click on the Share icon, represented by a square with an arrow pointing up.
- From the options available, select “Save to Files”.
- Choose a location to save the voice memo. You can create a new folder or select an existing one in your iCloud Drive.
- Once the voice memo is saved in iCloud Drive, you can access it from any device that has iCloud Drive enabled.
- To download the voice memo on another device, simply open the iCloud Drive app, locate the file, and tap on it to download it.
Using iCloud Drive to download voice memos provides a convenient and seamless way to access your files across multiple devices. It ensures that your voice memos are securely stored in the cloud, so you don’t have to worry about losing them if something happens to your iPhone.
Remember to regularly back up your voice memos and other important data to iCloud Drive to keep them safe and easily accessible.
Use iTunes
If you prefer to download voice memos from your iPhone to your computer, iTunes is a reliable option. Follow these steps to download voice memos using iTunes:
- Connect your iPhone to your computer using a USB cable and launch iTunes.
- In iTunes, click on the device icon located near the top left corner of the window to access your iPhone’s settings.
- Click on the “File Sharing” option in the left sidebar.
- Scroll down and select the “Voice Memos” app from the list of apps in the “Apps” section.
- In the “Voice Memos Documents” section on the right, you will see a list of voice memos stored on your iPhone.
- Select the voice memo you want to download and click on the “Save to” button.
- Choose a location on your computer to save the voice memo file.
- Wait for the transfer to complete, and then you can access the downloaded voice memo on your computer.
Using iTunes gives you more control over the file transfer process and allows you to store your voice memos directly on your computer. This can be useful if you want to edit or organize your voice memos using third-party software or just prefer to have them saved locally.
Remember to regularly sync your iPhone with iTunes to ensure that your voice memos and other data are safely backed up on your computer.
Use a Third-Party App
If you’re looking for alternative methods to download voice memos from your iPhone, you can explore third-party apps available on the App Store. These apps offer additional features and functionality beyond the standard Voice Memos app. Here’s how you can use a third-party app to download your voice memos:
- Open the App Store on your iPhone and search for a third-party voice memo app. Some popular options include Evernote, OneNote, and Voice Recorder & Audio Editor.
- Read the app descriptions and reviews to find one that best suits your needs.
- Download and install the app on your iPhone.
- Open the third-party voice memo app and follow the on-screen instructions to set it up.
- After the app is set up, open the Voice Memos app on your iPhone and locate the voice memo you want to download.
- Tap on the voice memo to open it and look for the options to share or export the voice memo.
- Select the option to save or export the voice memo to the third-party app you installed.
- The voice memo will be saved within the third-party app, and you can access it there anytime.
Using a third-party app can provide you with additional features such as advanced audio editing, cloud storage integration, and the ability to organize your voice memos. Be sure to explore the features offered by the app you choose to maximize your experience.
Remember to check the app’s compatibility with your iPhone’s operating system version and read user reviews to ensure it is reliable and trustworthy.
Use AirDrop
AirDrop is a convenient feature available on iPhones that allows you to wirelessly transfer files between Apple devices. You can use AirDrop to download voice memos from your iPhone to another compatible device, such as a Mac or another iPhone. Here’s how to utilize AirDrop for downloading voice memos:
- Ensure that both devices have AirDrop functionality enabled. On your iPhone, swipe up from the bottom of the screen to open the Control Center and check if AirDrop is turned on. On Mac, open Finder and navigate to AirDrop in the sidebar to verify if it is enabled.
- Open the Voice Memos app on your iPhone and select the voice memo you want to download.
- Tap the Share button, represented by a square with an upward-pointing arrow.
- From the available options, you’ll see a list of nearby devices with AirDrop enabled.
- Select the device you want to download the voice memo to.
- On the receiving device, a prompt will appear asking whether to accept the incoming AirDrop file. Accept the file transfer to commence the download.
- Once the transfer is complete, the voice memo will be stored on the receiving device.
AirDrop provides a quick and hassle-free way to transfer voice memos between Apple devices. It eliminates the need for cables or additional apps, allowing for seamless file sharing.
Remember, AirDrop requires both devices to be in close proximity and have the AirDrop feature turned on. Additionally, ensure that your Apple devices are compatible with AirDrop to successfully transfer voice memos.
Use Email or Messaging Apps
Downloading voice memos from your iPhone can be as simple as sending them via email or messaging apps. By utilizing these communication platforms, you can easily transfer voice memos to yourself or others. Here’s how you can use email or messaging apps to download voice memos:
- Open the Voice Memos app on your iPhone and locate the voice memo you want to download.
- Tap on the voice memo to open it.
- Look for the Share button, typically represented by a square with an arrow pointing outwards.
- From the sharing options, choose the email or messaging app you prefer to use.
- If you select email, a new email draft will open with the voice memo attached. Enter the recipient’s email address, add a subject if desired, and send the email.
- If you choose a messaging app, select the contact or group chat you wish to send the voice memo to and send it.
- On the receiving device, open the email or messaging app and locate the sent message.
- Download the attached voice memo from the email or retrieve it from the conversation in the messaging app.
Sending voice memos via email or messaging apps provides a convenient way to transfer them directly to yourself or others. It’s particularly useful in scenarios where you only need to download specific voice memos to a specific device.
Remember that there may be limitations on the file size you can send via email or messaging apps. If your voice memo exceeds the size limit, consider compressing the file or utilizing other methods such as cloud storage or third-party apps.
Use Cloud Storage Services
Cloud storage services offer a practical and efficient way to store and access files, including voice memos, from multiple devices. By using cloud storage services, you can easily download voice memos from your iPhone and access them anytime, anywhere. Here’s how to use cloud storage services for downloading voice memos:
- Select a cloud storage service that suits your needs. Popular options include iCloud, Google Drive, Dropbox, and OneDrive.
- Ensure that the cloud storage service app is installed on your iPhone. If not, download and install it from the App Store.
- Open the Voice Memos app on your iPhone and locate the voice memo you want to download.
- Tap on the voice memo to open it and click on the Share icon, usually represented by a square with an arrow pointing up.
- From the sharing options, select the cloud storage service app you have installed.
- Sign in to your cloud storage account or create a new one if necessary.
- Choose the location or folder where you want to save the voice memo within the cloud storage service.
- Confirm the upload or save action, and the voice memo will be stored in your cloud storage.
- Access the cloud storage service from any device with the app installed or through a web browser.
- Locate the voice memo file and download it to the device you want to listen to or work with.
Utilizing cloud storage services simplifies the process of downloading and accessing voice memos. It provides a centralized and secure location for your files, ensuring that your voice memos are backed up and easily retrievable.
Remember to manage and organize your files within the cloud storage service to optimize your storage space and simplify the retrieval process.
Use a Computer with a USB Cable
If you prefer a direct and reliable method to download voice memos from your iPhone, using a computer with a USB cable is a straightforward option. With this method, you can transfer voice memos from your iPhone to your computer with ease. Here’s how you can do it:
- Connect your iPhone to your computer using a USB cable.
- Unlock your iPhone and, if prompted, choose to “Trust” the computer.
- On your computer, open a file explorer or Finder window, depending on your operating system.
- Navigate to the section where connected devices are displayed.
- Locate your iPhone and access its internal storage.
- Find the “Voice Memos” folder or a similar directory where voice memos are stored on your iPhone.
- Select the voice memo files you want to download and copy them to a folder on your computer.
- Wait for the file transfer to complete, and the voice memo files will be downloaded to your computer.
Using a computer with a USB cable provides a direct and secure way to download voice memos. It allows for easy organization and access to your voice memos on your computer, making it convenient for further editing, sharing, or backup purposes.
Remember to regularly download and backup your voice memos to your computer to prevent any accidental loss or data corruption.
Use Voice Memo Syncing with a Mac
If you own a Mac computer, you can utilize the built-in features to sync your voice memos directly from your iPhone. This seamless integration makes it convenient to download voice memos and have them readily available on your Mac. Here’s how to use voice memo syncing with a Mac:
- Ensure that both your iPhone and Mac are connected to the same Wi-Fi network.
- On your iPhone, open the Settings app and tap your name at the top to access your Apple ID settings.
- Select “iCloud” and make sure the “Voice Memos” option is enabled.
- On your Mac, open the Voice Memos app. If you don’t have it installed, you can download it for free from the Mac App Store.
- In the Voice Memos app on your Mac, sign in with the same Apple ID used on your iPhone.
- Wait for a moment, and the voice memos from your iPhone will start syncing with the Voice Memos app on your Mac.
- Once the sync is complete, you can access and play your voice memos directly on your Mac.
Using voice memo syncing with a Mac provides a seamless way to transfer and access your voice memos on a larger screen. It enables you to organize, edit, and work with your voice memos more effectively on your Mac.
Remember to keep both your iPhone and Mac updated with the latest software versions to ensure compatibility and reliable syncing between the devices.
Use Voice Memo Syncing with a Windows PC
If you have a Windows PC, you can still sync your voice memos from your iPhone using the iCloud for Windows application. By doing so, you can easily download and access your voice memos on your Windows computer. Here’s how to use voice memo syncing with a Windows PC:
- Ensure that both your iPhone and Windows PC are connected to the internet.
- On your iPhone, open the Settings app and tap your name at the top to access your Apple ID settings.
- Select “iCloud” and check if the “Voice Memos” option is enabled. If not, turn it on.
- On your Windows PC, download and install the iCloud for Windows application from the official Apple website.
- Open the iCloud for Windows application and sign in with the same Apple ID used on your iPhone.
- Ensure that the “Voice Memos” option is selected in the iCloud for Windows application.
- Click on the “Apply” button to start syncing your voice memos from your iPhone to your Windows PC.
- Once the sync is complete, you can find your voice memos in the designated iCloud Drive folder on your Windows PC.
Using voice memo syncing with a Windows PC through the iCloud for Windows application allows you to access and manage your voice memos directly on your computer. It provides a seamless way to transfer your voice memos and have them readily available for playback, editing, or sharing.
Remember to regularly check for updates for the iCloud for Windows application to ensure compatibility and to take advantage of the latest features and improvements.
Use a Voice Memo Recovery Tool
If you accidentally delete or lose voice memos on your iPhone and don’t have a backup, you can use a reliable voice memo recovery tool to retrieve them. These specialized software programs are designed to recover deleted or lost files, including voice memos, from your iPhone’s storage. Here’s how to use a voice memo recovery tool:
- Search for a reputable voice memo recovery tool online and download it onto your computer. Ensure that the tool is compatible with your iPhone model and operating system version.
- Connect your iPhone to the computer using a USB cable.
- Launch the voice memo recovery tool on your computer and follow the on-screen instructions to initiate the recovery process.
- The software will scan your iPhone’s storage for deleted or lost voice memo files.
- Once the scan is complete, the tool will display a list of recoverable voice memos.
- Preview the recovered voice memos to confirm their content and quality.
- Select the voice memos you want to restore and choose a location on your computer to save the recovered files.
- Start the recovery process, and the software will restore the selected voice memos to your computer.
- Once the recovery is finished, you can access and listen to the recovered voice memos on your computer.
Using a voice memo recovery tool can be an effective solution to restore deleted or lost voice memos from your iPhone. However, it’s important to note that the success of recovery depends on various factors such as the duration of time since the deletion and the state of your iPhone’s storage.
Remember to regularly back up your iPhone, including voice memos, to prevent accidental data loss and to have a reliable backup source in case of emergencies.