
Why Use a Nest Thermostat?
A Nest Thermostat is a powerful and innovative device that offers numerous benefits and advantages when it comes to controlling and managing your home’s temperature. If you’re still on the fence about whether or not to invest in a Nest Thermostat, here are several compelling reasons to consider:
- Energy Efficiency: One of the primary benefits of using a Nest Thermostat is its ability to improve energy efficiency in your home. It learns your schedule and adjusts the temperature accordingly to reduce wasted energy when you’re away or asleep. By optimizing your heating and cooling patterns, the Nest Thermostat can help you save significantly on your energy bills.
- Smart Learning: Unlike traditional thermostats that require manual programming, the Nest Thermostat is equipped with smart learning capabilities. It analyzes your temperature preferences, behavior patterns, and manual adjustments to create a customized schedule that automatically adapts to your lifestyle. Over time, it learns your preferences and makes adjustments to maintain optimal comfort levels without you having to constantly tweak the settings.
- Convenient Remote Control: With the Nest Thermostat, you gain the convenience of controlling your home’s temperature remotely. Whether you’re lounging on the couch or away on vacation, you can easily adjust the temperature using your smartphone, tablet, or computer. This feature allows you to ensure that your home is always comfortable, no matter where you are.
- Integration with Smart Home Devices: The Nest Thermostat seamlessly integrates with other smart home devices, such as smart speakers or virtual assistants like Amazon Alexa or Google Assistant. This means that you can control your thermostat using voice commands or automate temperature adjustments based on specific triggers or routines within your smart home ecosystem.
- Effortless Compatibility: Nest Thermostats are designed to be compatible with a wide range of heating and cooling systems. Whether you have a central HVAC system, heat pump, radiant heat, or other systems, the Nest Thermostat is likely to work with your setup. The compatibility checker on the Nest website can help you determine whether your system is compatible before making a purchase.
Check Compatibility
Before purchasing and installing a Nest Thermostat, it is important to check its compatibility with your existing heating and cooling system. Here are a few steps to ensure a seamless installation:
- Check the Compatibility Checker: Nest provides an online compatibility checker tool on their website. Enter information such as your current thermostat type, wiring, and HVAC system details to verify compatibility.
- Identify Your HVAC System: Take note of the type of heating and cooling system you have in your home. This can include central heating and cooling, heat pumps, or radiant heat. Different Nest Thermostat models may be required depending on your specific system.
- Check Your Wiring: The Nest Thermostat requires a certain number of wires for proper installation. Ensure that your current wiring setup is compatible with the Nest Thermostat. The compatibility checker will guide you on whether additional wiring adjustments are needed.
- Evaluate Your Current Thermostat: Take note of the features and functionality of your current thermostat. Consider whether the Nest Thermostat can offer the same or enhanced capabilities, such as remote control, smart learning, or integration with other smart home devices.
- Consult an HVAC Professional: If you’re unsure about your compatibility or have a complex HVAC system, it’s wise to consult with an HVAC professional. They can assess your current setup and provide expert advice on whether a Nest Thermostat is suitable for your home.
Remember, compatibility is vital to ensure that the Nest Thermostat functions effectively with your heating and cooling system. Taking these steps will not only prevent compatibility issues but also save you time and effort in the installation process.
Unboxing and Installation
Once you have determined the compatibility of the Nest Thermostat with your existing system, it’s time to unbox and install the device. Follow these steps for a successful installation:
- Unbox the Nest Thermostat: Carefully unpack the Nest Thermostat and ensure that all the necessary components, such as the thermostat, base, mounting plate, screws, and instructions, are included. Take a moment to familiarize yourself with the different parts.
- Turn Off Power: Before beginning the installation process, turn off the power to your heating and cooling system at the circuit breaker or the main electrical panel. This step is crucial to ensure your safety during the installation.
- Remove the Old Thermostat: Remove the cover of your old thermostat to expose the wiring. Take a picture or make note of the current wire connections for reference during the installation of the Nest Thermostat.
- Install the Nest Thermostat Base: Attach the base plate of the Nest Thermostat to the wall using the provided screws. Ensure that the base is level and securely mounted. Route the wires through the center of the base plate.
- Connect the Wires: Connect the wires from your HVAC system to the corresponding terminals on the Nest Thermostat base. Refer to the photo or notes you took earlier to ensure the correct connections.
- Attach the Nest Thermostat: Gently push the Nest Thermostat onto the base until it clicks into place. Ensure that the thermostat is secure and properly aligned with the base. Power can be restored once the Nest Thermostat is securely installed.
- Follow the On-Screen Instructions: The Nest Thermostat will guide you through the initial setup process on its display. Follow the on-screen instructions to connect the thermostat to your Wi-Fi network, create a Nest account, and customize settings.
- Install the Nest App: Download and install the Nest app on your smartphone or tablet. This will allow you to control and monitor your Nest Thermostat remotely, even when you’re away from home.
- Test the Functionality: Once the setup is complete, test the functionality of your Nest Thermostat by adjusting the temperature manually or setting up a schedule. Ensure that the HVAC system responds appropriately to the commands.
By following these installation steps, you can successfully set up your Nest Thermostat and begin enjoying its advanced features and energy-saving capabilities.
Connecting to Wi-Fi
To unlock the full potential of your Nest Thermostat and enjoy remote control and smart features, it is essential to connect it to your Wi-Fi network. Follow these steps to connect your Nest Thermostat to Wi-Fi:
- Access the Nest Thermostat Settings: On your Nest Thermostat, go to the main menu by pressing the display. Scroll to the right until you reach “Settings” and select it.
- Select Wi-Fi: Within the settings menu, navigate to “Wi-Fi” and select it. The Nest Thermostat will scan for available Wi-Fi networks.
- Choose Your Wi-Fi Network: Locate and select your Wi-Fi network from the list of available networks. If your network is hidden, choose “Add Network” and manually enter the network name (SSID) and password.
- Enter Wi-Fi Password: If your network is secured with a password, a prompt will appear asking you to enter the Wi-Fi password. Use the dial or touchscreen to enter the password accurately.
- Establish Connection: Once you have entered the password, the Nest Thermostat will attempt to connect to your Wi-Fi network. This process may take a few moments.
- Verify Connection: After the Nest Thermostat successfully connects to Wi-Fi, a message confirming the connection will appear on the screen. At this point, the Nest Thermostat will be ready for remote control and access through the Nest app.
- Download the Nest App: To monitor and control your Nest Thermostat remotely, download the Nest app on your smartphone or tablet. The app is available for both iOS and Android devices.
- Log into Your Nest Account: Launch the Nest app and log into your Nest account. If you don’t have an account, create one by following the prompts on the app.
- Pair with Your Thermostat: Once you’re logged in, the app will guide you through the process of pairing your Nest Thermostat with the app. This will allow you to control the thermostat, view temperature data, and adjust settings from anywhere.
By connecting your Nest Thermostat to Wi-Fi, you can conveniently control and monitor your home’s temperature from your smartphone or tablet, whether you’re inside the house or miles away.
Creating a Nest Account
In order to fully utilize the features and functionality of your Nest Thermostat, you will need to create a Nest account. Follow these steps to create your Nest account:
- Access the Nest App or Web Portal: Launch the Nest app on your smartphone or tablet. If you prefer to create your account on a computer, visit the Nest website and navigate to the account creation page.
- Select “Create Account”: On the login screen, locate the option to create a new account. This will typically be labeled as “Sign Up” or “Create Account.” Click or tap on this option to proceed.
- Enter Your Information: Provide the required information to create your Nest account. This typically includes your name, email address, and password. Make sure to choose a secure password to protect your account.
- Verify Your Email: After providing the necessary information, you may receive an email from Nest asking you to verify your email address. Click the verification link in the email to complete the verification process.
- Agree to Terms and Conditions: Review the terms and conditions of using Nest products and services. If you agree, check the box or click the button to indicate your acceptance.
- Complete Account Setup: Once you have agreed to the terms and conditions, proceed through any additional steps that may be required to complete the setup process. This may include choosing notification preferences or customizing your account settings.
- Link Your Nest Thermostat: After creating your Nest account, you will need to link your Nest Thermostat to your account. Open the Nest app and follow the on-screen instructions to pair your thermostat with the app. This will allow you to control and monitor your thermostat remotely.
- Explore the Nest Account Features: Once your Nest account is created and your Nest Thermostat is linked, take some time to explore the various features and settings available. This may include setting up schedules, adjusting temperature settings, and exploring additional integrations with other smart home devices.
By creating a Nest account, you gain access to a variety of features and functions that enhance your overall experience with the Nest Thermostat. It enables you to tailor your settings, receive alerts and notifications, and monitor your home’s temperature with ease.
Familiarizing with the Nest Thermostat
Before you start using your Nest Thermostat to control the temperature in your home, it’s important to familiarize yourself with its features and functions. Understanding how the Nest Thermostat works will allow you to make the most of its capabilities. Here are the key aspects to be aware of:
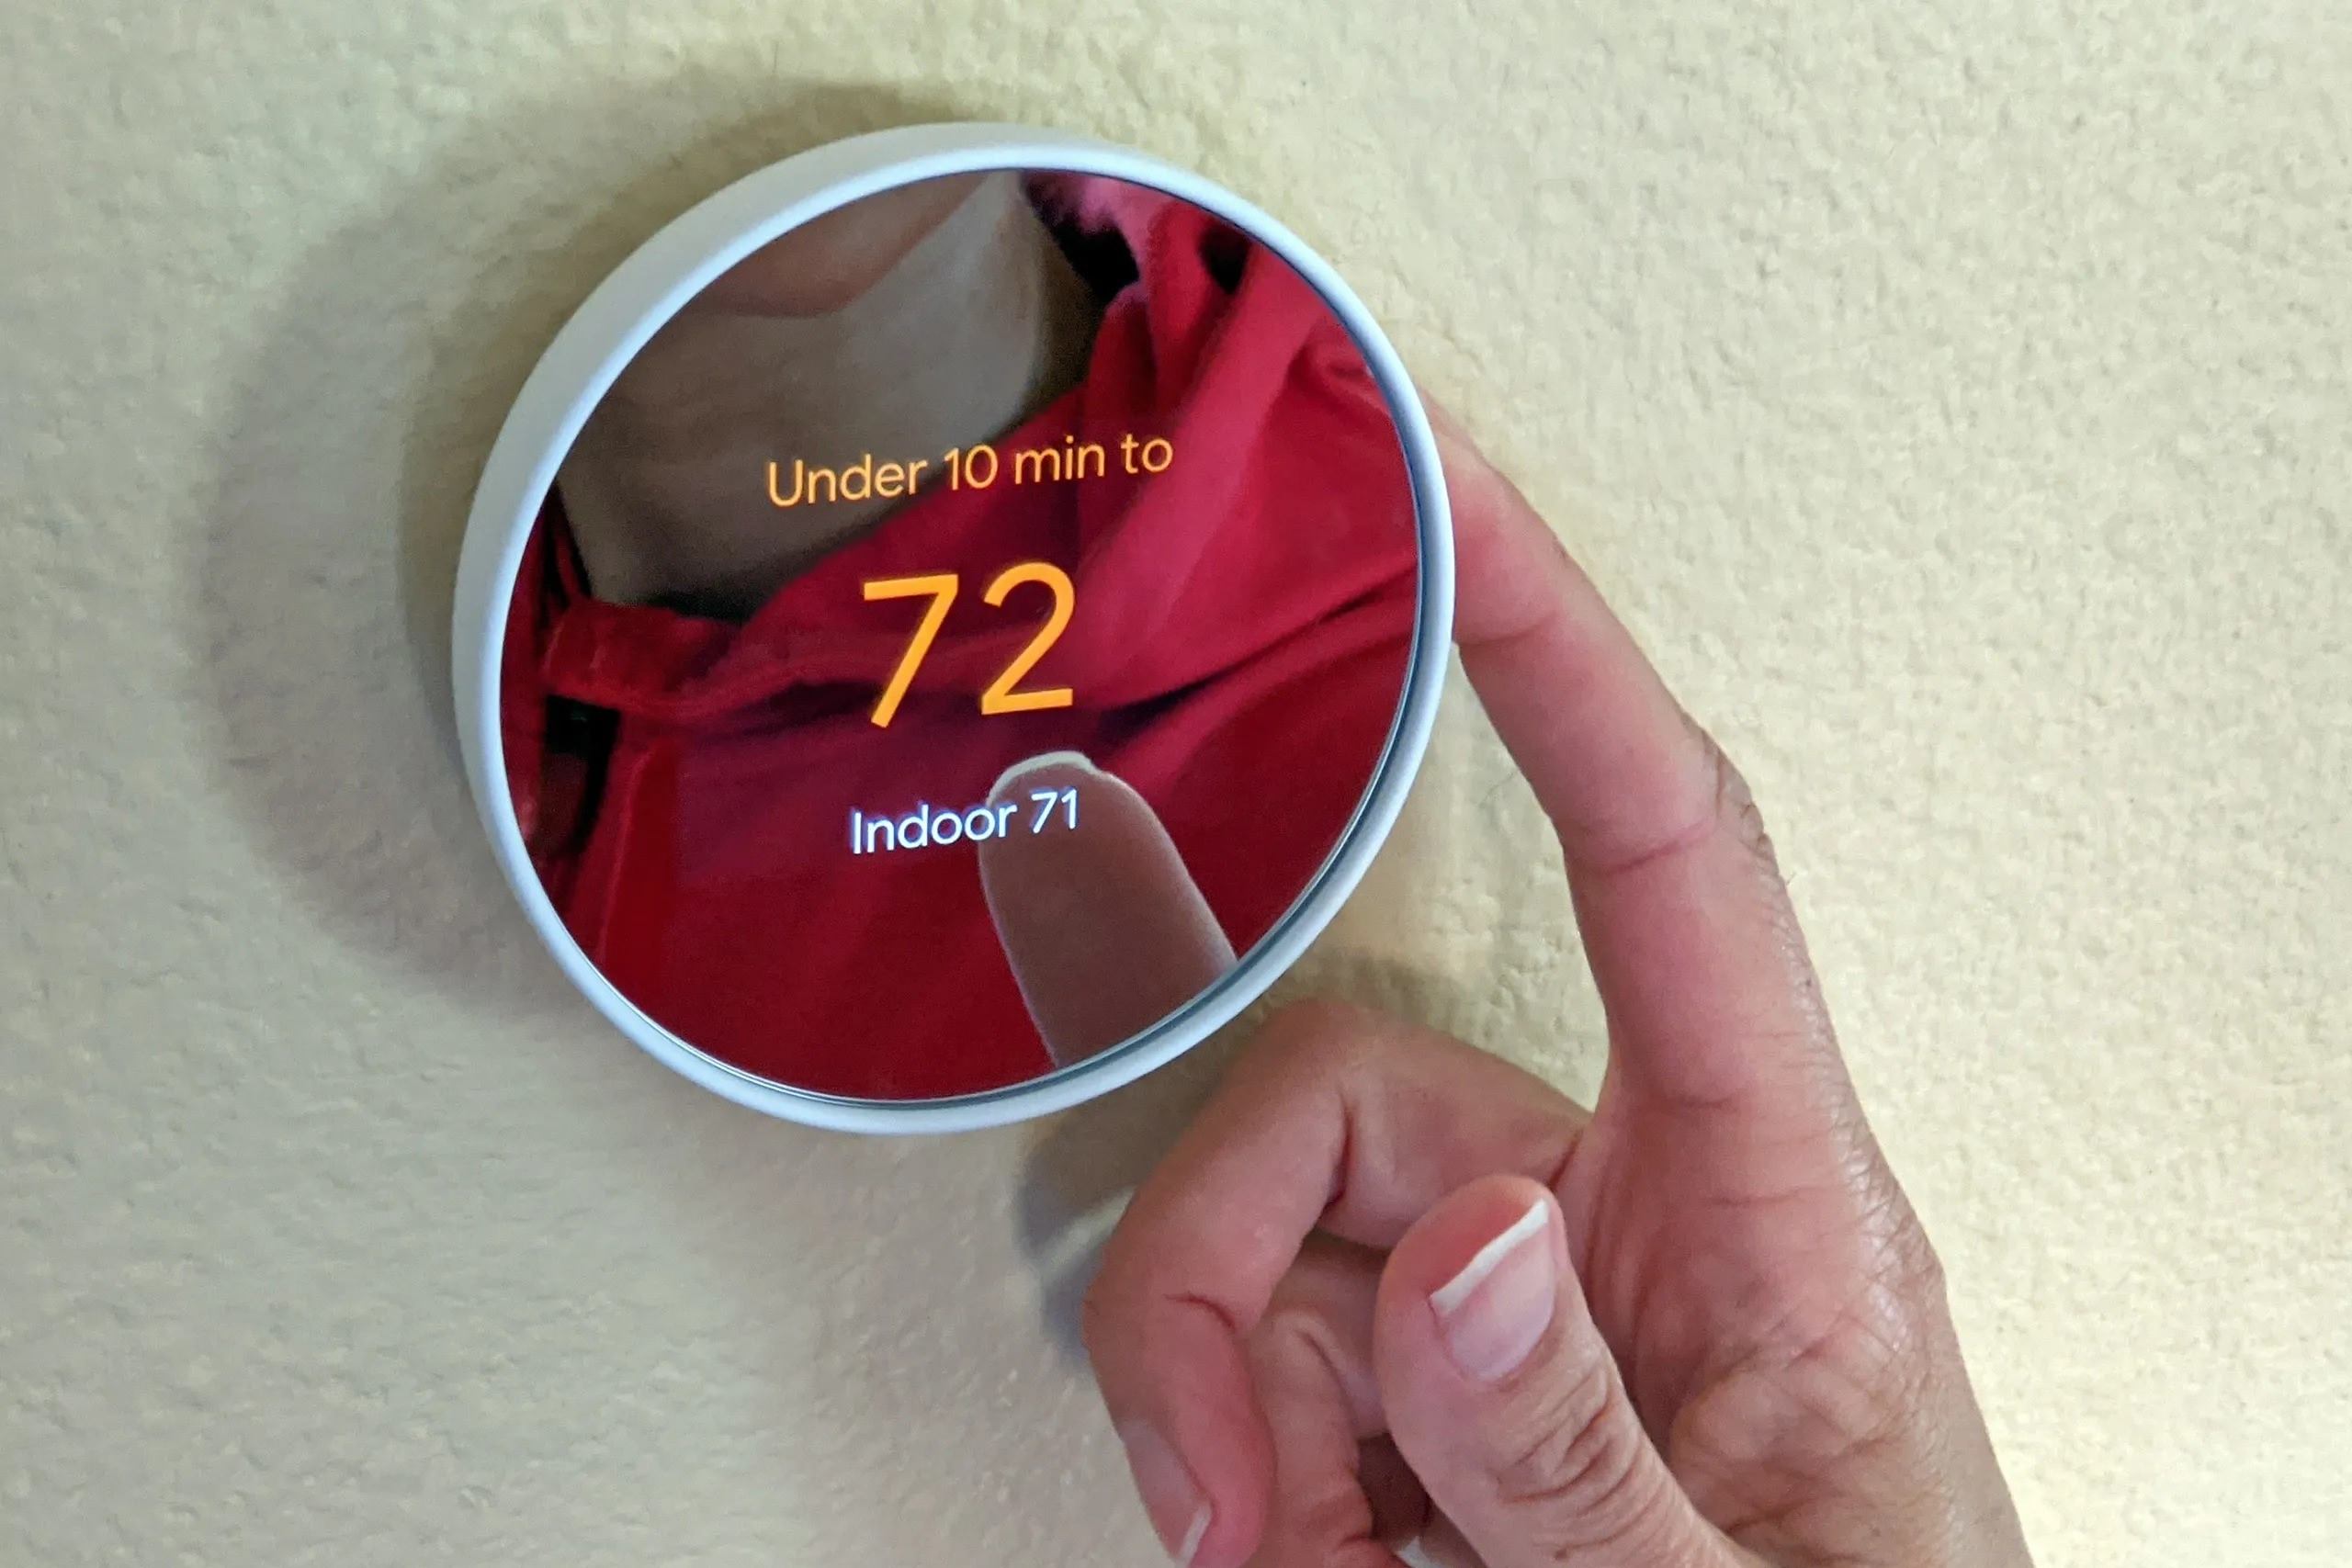
- Display and Interface: The Nest Thermostat features a clear and intuitive display that shows the current temperature, target temperature, and other relevant information. It can be controlled using the touchscreen or by rotating the outer ring, known as the “dial.”
- Temperature Adjustments: To adjust the temperature, simply rotate the outer ring clockwise or counterclockwise. The display will show the new target temperature, and the thermostat will work to reach and maintain that temperature.
- Mode Selection: The Nest Thermostat offers different operating modes, such as “Heat,” “Cool,” and “Off.” Depending on your HVAC system and preferences, you can select the appropriate mode using the thermostat’s interface or the Nest app.
- Auto-Schedule: The Nest Thermostat utilizes smart learning technology to automatically create a customized schedule based on your temperature adjustments. Over time, it learns your routine and adjusts the temperature accordingly, maximizing energy efficiency and comfort.
- Sensors and Proximity: The Nest Thermostat comes equipped with built-in occupancy and proximity sensors. It can detect when you’re nearby and adjust the display accordingly. Additionally, these sensors help the thermostat optimize energy savings when you’re away from home.
- Compatibility with External Sensors: Depending on the model, the Nest Thermostat may be compatible with external temperature and humidity sensors. These sensors can provide additional data to fine-tune the thermostat’s performance and ensure optimal comfort levels.
- Integration with Smart Home Devices: The Nest Thermostat easily integrates with other smart home devices and platforms, such as Amazon Alexa, Google Assistant, and Apple HomeKit. This allows for voice control and seamless automation within your smart home ecosystem.
- Remote Control and Monitoring: Through the Nest app or web portal, you can remotely control and monitor your Nest Thermostat. This includes adjusting temperature settings, creating schedules, and receiving alerts and notifications about your home’s temperature.
- Energy History and Reports: The Nest Thermostat keeps a record of your energy usage and provides reports and insights into your heating and cooling patterns. This helps you identify opportunities for further energy savings and understand the impact of your temperature adjustments.
- Software Updates: Nest regularly releases software updates for the Thermostat to improve performance, add new features, and enhance security. It’s important to keep your Nest Thermostat up to date to benefit from the latest enhancements.
By familiarizing yourself with these key aspects of the Nest Thermostat, you can confidently take control of your home’s temperature and make informed adjustments to maximize comfort and energy efficiency.
Understanding and Adjusting Temperature Settings
One of the fundamental aspects of using a Nest Thermostat is understanding and adjusting its temperature settings. By mastering this function, you can ensure optimal comfort and energy efficiency in your home. Here’s what you need to know:
- Current Temperature Display: The Nest Thermostat displays the current temperature of your home prominently on its screen. This allows you to easily determine the existing temperature without any confusion.
- Target Temperature: The target temperature is the desired temperature you want your home to reach. You can adjust it either manually through the Nest Thermostat itself or remotely via the Nest app on your smartphone or tablet.
- Temperature Adjustment Range: The Nest Thermostat typically allows you to adjust the temperature within a certain range, often between 50°F (10°C) and 90°F (32°C). This range ensures that you can set the temperature according to your preferences and the specific requirements of your home.
- Changing Temperature Settings: To change the target temperature manually, simply rotate the outer ring of the Nest Thermostat clockwise or counterclockwise. As you turn the ring, the target temperature will be displayed on the screen, giving you real-time feedback on your adjustments.
- Fine-Tuning: If you want more precise control over the temperature, you can adjust it in half-degree increments. This allows for greater comfort customization and energy savings.
- Schedule Adjustments: The Nest Thermostat offers the convenience of setting up schedules for different times of the day or week. You can adjust the temperature settings for each period, such as “Wake,” “Leave,” “Return,” and “Sleep,” to match your daily routine and preferences.
- Auto-Schedule Functionality: The Nest Thermostat’s auto-schedule feature learns your temperature preferences and automatically adjusts them based on your past manual adjustments. This helps create a customized schedule that aligns with your lifestyle and maximizes energy efficiency.
- Temperature Hold: If you want to maintain a specific temperature without it being affected by the schedule, you can activate the “Temperature Hold” function. This feature keeps the Nest Thermostat at a constant temperature until you decide to disable the hold.
- Remote Temperature Control: The Nest app allows you to adjust the temperature settings remotely. Whether you’re away from home or simply in another room, you can use your smartphone or tablet to control the Nest Thermostat and ensure optimal comfort whenever you desire.
- Monitoring and Insights: The Nest app provides comprehensive information on your temperature settings, energy usage, and patterns. It offers insights and reports that allow you to analyze and optimize your temperature settings for greater energy savings.
By understanding and effectively adjusting the temperature settings of your Nest Thermostat, you can create a comfortable living environment while minimizing energy consumption and reducing your utility bills.
Setting Up a Schedule
One of the key features of the Nest Thermostat is the ability to set up a schedule for temperature adjustments throughout the day. By creating a schedule, you can ensure that your home is at the desired temperature at specific times, optimizing comfort and energy efficiency. Follow these steps to set up a schedule on your Nest Thermostat:
- Access the Schedule Menu: On your Nest Thermostat, go to the main menu by pressing the display. Scroll to the right until you find the “Schedule” option and select it.
- Choose a Schedule Template: Nest offers different pre-set schedule templates, such as “Home,” “Away,” or “Sleep.” Select the template that aligns with your daily routine or choose “Custom” to create a personalized schedule from scratch.
- Set Temperature for Each Period: Once you have chosen a schedule template or selected the custom option, you can define the temperature for each period of the day. Common periods include “Wake,” “Leave,” “Return,” and “Sleep.” Adjust the target temperature according to your preferences for each period.
- Refine Schedule Details: Customize the schedule further by adjusting the start and end times for each period. This allows for precise temperature changes at specific times, accommodating your daily routine.
- Review and Save: Take a moment to review the schedule you have created. Ensure that the temperature adjustments align with your desired comfort levels and energy-saving goals. Once you are satisfied, save the schedule to activate it on your Nest Thermostat.
- Make Adjustments as Needed: If your routine changes or you want to make adjustments to the schedule in the future, you can always revisit the schedule menu on your Nest Thermostat or use the Nest app to modify the existing schedule or create a new one.
- Enjoy Automated Comfort: With the schedule in place, the Nest Thermostat will automatically adjust the temperature based on the time of day and the corresponding period. This eliminates the need for manual adjustments and ensures that your home is comfortable when you wake up, return from work, or go to sleep.
- Monitor and Optimize: Use the Nest app or web portal to monitor the performance of your schedule. Analyze energy usage, temperature data, and insights to identify opportunities for further optimization and energy savings.
By setting up a schedule on your Nest Thermostat, you can enjoy automated temperature control that aligns with your daily routine. This not only enhances your comfort but also maximizes energy efficiency, helping you reduce your carbon footprint and save on energy costs.
Using the Nest App or Web Portal
To fully leverage the capabilities of your Nest Thermostat, the Nest app and web portal provide convenient and powerful tools for remote control and monitoring. Whether you’re at home or away, these platforms allow you to manage your thermostat with ease. Here’s how to use the Nest app or web portal:
- Download and Install the Nest App: If you haven’t already, download the Nest app from your device’s app store. Install it on your smartphone or tablet to gain access to your Nest Thermostat’s controls and features.
- Set Up the Nest App: Launch the Nest app and sign in to your Nest account. Follow the prompts to connect your Nest Thermostat to the app. This will enable remote control and monitoring capabilities.
- Navigation: Once you’re logged into the app, you’ll see a dashboard that displays the current temperature, target temperature, and other relevant information. Use the navigation menu to access various features and settings of your Nest Thermostat.
- Temperature Adjustments: The Nest app allows you to control the temperature settings remotely. Simply navigate to the temperature control section and adjust the target temperature using the intuitive interface. The changes will be reflected on your Nest Thermostat.
- Schedule Management: Use the Nest app to edit and manage your thermostat’s schedule. You can create, modify, or delete schedule periods, adjust temperature settings, and fine-tune the schedule to align with your daily routine.
- Away Mode: Activate the “Away” mode in the Nest app when you’re not at home for an extended period. This allows the Nest Thermostat to optimize energy savings by adjusting the temperature accordingly. Once you return, you can easily switch back to your regular schedule.
- Energy History and Reports: The Nest app provides access to energy usage history and reports. Explore this section to gain insights into your heating and cooling patterns, analyze energy consumption trends, and identify opportunities for further optimization.
- Additional Settings: In the Nest app, you’ll find a range of additional settings to customize your Nest Thermostat experience. This includes options for fan control, notifications, and integration with other smart home devices.
- Nest Web Portal: If you prefer to control your Nest Thermostat through a web browser on a computer, you can access the Nest web portal. Log in to your Nest account and navigate through the portal to access all the features and settings available on the app.
- Access from Anywhere: The Nest app and web portal allow you to access and control your Nest Thermostat from anywhere. Whether you’re in a different room, at work, or on vacation, you have the convenience of managing your thermostat remotely.
By utilizing the Nest app or web portal, you can effortlessly control and monitor your Nest Thermostat, customize settings, and optimize energy usage from the palm of your hand or the convenience of your computer.
Exploring Additional Features
While the primary function of the Nest Thermostat is to control the temperature in your home, it offers several additional features that enhance its functionality and convenience. Take a closer look at these features to make the most out of your Nest Thermostat:
- Smart Home Integration: The Nest Thermostat seamlessly integrates with other smart home devices and platforms, such as Amazon Alexa, Google Assistant, and Apple HomeKit. This enables voice control and allows you to create automated routines and interactions with other smart devices in your home.
- Remote Sensors: Some models of the Nest Thermostat are compatible with remote temperature and occupancy sensors. These sensors can be placed in different rooms to help the Nest Thermostat determine the optimal temperature for each zone, providing personalized comfort throughout your home.
- Hot Water Control: If you have a compatible hot water system, you can connect it to your Nest Thermostat and control the hot water schedule and temperature. This additional feature allows you to manage and optimize hot water usage, saving energy and costs.
- Airwave Technology: The Nest Thermostat is equipped with Airwave technology, which optimizes cooling efficiency by using the remaining cool air in your system’s ductwork after the compressor has turned off. This feature can help reduce energy consumption while maintaining comfort.
- Seasonal Savings: Nest Thermostat has a Seasonal Savings feature that uses machine learning and advanced algorithms to make small adjustments to your temperature schedule over time. These adjustments aim to help you save energy by optimizing your heating and cooling patterns based on a variety of factors.
- Energy Rebates: Depending on your location, your energy provider may offer rebates or incentives for installing and using a Nest Thermostat. Take advantage of these programs to not only save on your energy bills but also reduce your environmental impact.
- Nest Protect Integration: If you have a Nest Protect smoke and carbon monoxide detector, you can connect it to your Nest Thermostat. In the event of a smoke or carbon monoxide alert, the Nest Thermostat can automatically turn off your HVAC system to prevent the spread of smoke or harmful gases.
- Family Accounts: With the Nest family accounts feature, you can grant access to multiple users in your household. Each person can have their own login credentials and preferences, allowing for personalized control and monitoring of the Nest Thermostat.
- Sunblock: If your Nest Thermostat is exposed to direct sunlight, you can enable the Sunblock feature. This feature helps the thermostat adjust its temperature readings to prevent direct sunlight from interfering, ensuring accurate temperature control.
- Continuous Updates: Nest regularly releases software updates for the Thermostat to improve performance, introduce new features, and enhance security. Keep an eye out for these updates and ensure your Nest Thermostat is always running the latest version of its firmware.
By exploring and utilizing these additional features, you can enhance the functionality of your Nest Thermostat, maximize energy savings, and create a more comfortable and intelligent home environment.
Troubleshooting Common Issues
While the Nest Thermostat is designed to be user-friendly and reliable, occasional issues may arise. Understanding how to troubleshoot common problems can help you quickly resolve any issues you encounter. Here are some common issues and troubleshooting steps:
- No Power: If your Nest Thermostat is not receiving power, check the circuit breaker or the main electrical panel to ensure that power is reaching the thermostat. If the breaker has tripped, reset it. Make sure the Nest Thermostat is securely mounted on the base and properly connected to the wiring.
- Poor Wireless Connection: If your Nest Thermostat is experiencing connectivity issues, ensure that your Wi-Fi network is working properly. Check the signal strength on your thermostat and try moving it closer to your Wi-Fi router. Restarting your router can also help resolve connection problems.
- Inaccurate Temperature Readings: If you notice that the temperature readings on your Nest Thermostat seem inaccurate, perform a manual temperature calibration. Go to the settings menu and select “Calibration” to adjust the displayed temperature to match a reliable external thermometer.
- Erratic Behavior: If your Nest Thermostat is behaving erratically or not responding as expected, try restarting it by turning the power off and then back on. If the issue persists, you may need to perform a reset. Refer to the Nest Thermostat documentation for specific reset instructions.
- Compatibility Issues: If you’re experiencing compatibility issues with your HVAC system, consult the Nest Thermostat’s compatibility checker on the Nest website. It will guide you in determining whether your system is fully compatible or if additional wiring modifications are necessary.
- Scheduling Problems: If your schedule is not working as expected or your Nest Thermostat is not following the programmed temperature adjustments, review your schedule settings to ensure they are correctly configured. Clearing and reprogramming the schedule can also help resolve scheduling issues.
- Wi-Fi Disconnecting Frequently: If your Nest Thermostat frequently disconnects from your Wi-Fi network, make sure your network has a stable connection. Check for any Wi-Fi interference or congestion in your area, and consider changing the Wi-Fi channel on your router for better connectivity.
- Malfunctioning Display: If the display on your Nest Thermostat is not functioning properly or is unresponsive, perform a hard reset by pressing and holding the thermostat’s display for 10 seconds. This will restart the thermostat and may resolve display issues.
- Unresponsive App: If the Nest app is not responding or not connecting to your thermostat, ensure that your mobile device is connected to the internet. Restarting the app or reinstalling it can also help resolve app-related issues.
- Wiring Problems: If you’re experiencing wiring issues or your Nest Thermostat is not detecting the HVAC system properly, double-check that the wiring is securely connected and in the correct terminals. Refer to the Nest Thermostat installation guide or consult a professional if you need assistance with wiring troubleshooting.
Remember, if you encounter persistent issues with your Nest Thermostat that you’re unable to resolve, don’t hesitate to reach out to Nest customer support for further assistance. They can provide guidance and help troubleshoot more complicated issues specific to your situation.
Tips for Optimizing Energy Savings
Maximizing energy savings is one of the key benefits of using a Nest Thermostat. With a few simple tips and adjustments, you can optimize energy efficiency and reduce your utility bills. Here are some tips to help you get the most out of your Nest Thermostat:
- Set a Schedule: Utilize the scheduling feature of your Nest Thermostat to create a temperature schedule that aligns with your daily routine. By adjusting the temperature based on when you’re typically away or asleep, you can avoid unnecessary heating or cooling, leading to significant energy savings.
- Enable Eco Mode: Activate the Eco Mode on your Nest Thermostat when you’re away from home for extended periods. It will automatically adjust the temperature to a more energy-efficient level, helping to conserve energy and reduce heating and cooling costs.
- Utilize Temperature Ranges: Instead of setting your thermostat to a specific temperature, consider using temperature ranges. For example, instead of setting the target temperature to 72°F, try setting it between 70°F and 74°F. This allows your HVAC system to operate within a broader range, reducing unnecessary cycling and saving energy.
- Take Advantage of Sunlight: During the winter months, keep your curtains and blinds open during the day to allow sunlight to naturally warm your home. In the summer, close them during the hottest parts of the day to prevent heat gain and reduce the workload on your cooling system.
- Use Ceiling Fans: Pairing your Nest Thermostat with ceiling fans can enhance energy efficiency. In the summer, use ceiling fans to create a breeze that makes you feel cooler, allowing you to set your thermostat a few degrees higher. In the winter, switch the direction of your ceiling fan to clockwise to help circulate warm air and distribute heat evenly.
- Keep Vents Clear: Ensure that vents and registers are not blocked by furniture, rugs, or other objects. Clear airflow allows your HVAC system to operate more efficiently, reducing energy consumption and ensuring consistent temperature distribution throughout your home.
- Regularly Maintain HVAC System: Remember to schedule regular maintenance for your HVAC system, such as changing air filters, cleaning coils, and checking for leaks. A well-maintained system operates more efficiently, resulting in energy savings.
- Monitor Energy Usage: Use the energy usage history and reports provided by the Nest app to track your energy consumption patterns. Analyze the data and identify opportunities to adjust your temperature settings or behaviors to further optimize energy savings.
- Take Advantage of Seasonal Savings: Activate the Seasonal Savings feature on your Nest Thermostat. This automated feature adapts your temperature schedule based on historical data and external factors, optimizing energy savings while maintaining comfort.
- Be Mindful of Temperature Adjustments: Avoid making frequent drastic temperature adjustments. Gradual and moderate adjustments help your HVAC system work more efficiently and prevent unnecessary energy usage.
By implementing these energy-saving tips, you can optimize the performance of your Nest Thermostat, reduce your carbon footprint, and enjoy significant savings on your energy bills.
Final Thoughts
The Nest Thermostat is a powerful tool for controlling and managing the temperature in your home. By utilizing its advanced features and following the tips mentioned, you can optimize energy savings, enhance comfort, and reduce your carbon footprint. The convenience of remote control, smart learning capabilities, and seamless integration with other smart home devices make the Nest Thermostat a valuable addition to any home.
As you explore and familiarize yourself with the Nest Thermostat, make sure to take advantage of all the features it offers. Create a personalized schedule that aligns with your routine, enable Eco Mode when away, and take advantage of the automation and energy-saving functions. Regularly monitor your energy usage and make adjustments as needed to further optimize efficiency.
Remember, compatibility with your HVAC system is crucial, so ensure that you properly check your system’s compatibility before installation. If you encounter any issues or need assistance, Nest provides comprehensive customer support to help troubleshoot and resolve any problems you may encounter.
Overall, the Nest Thermostat provides an innovative and user-friendly solution for controlling your home’s temperature while saving energy and reducing costs. Through its smart learning capabilities, remote control options, and integration with other smart home devices, it offers a modern and convenient way to create a comfortable and energy-efficient living environment.
So, go ahead and take the first step towards an energy-efficient home by installing a Nest Thermostat and experience the benefits of intelligent temperature control and energy savings.