
Testing the Power Supply Using a Multimeter
Testing the power supply in your computer is an essential step when troubleshooting hardware issues. One effective method is to use a multimeter, a versatile tool for measuring voltage, current, and resistance. By following these steps, you can determine if your power supply is functioning correctly:
- Ensure your computer is unplugged and turned off before starting the process.
- Locate the 24-pin or 20-pin connector that connects the power supply to the motherboard.
- Set your multimeter to DC voltage mode and choose a range that covers 0-20 volts.
- Connect the black probe of the multimeter to a ground point, preferably a metal part of the computer case.
- With caution, touch the red probe to each pin on the motherboard connector.
- Look for the +5V (red), -5V (white), +12V (yellow), -12V (blue), and +3.3V (orange) pins on the motherboard connector.
- Typically, any voltage within a 5% range of the specified value is considered acceptable.
- If the voltage readings are significantly off or no voltage is detected, it is an indication of a faulty power supply.
- Replace the power supply if the voltage readings are out of range or if no voltage is detected.
Now, you will measure the voltages that indicate whether the power supply is providing the correct amount of power:
Testing the power supply using a multimeter is an effective way to diagnose power-related issues in your computer. Remember to exercise caution when working with electrical components and always ensure the computer is powered off and unplugged during the testing process.
Checking for Physical Damage or Loose Connections
When encountering power supply issues in your computer, it’s important to check for physical damage or loose connections. These issues can often cause power-related problems and can be easily identified and resolved. Here are some steps to follow:
- Turn off your computer and unplug it from the power source.
- Open the computer case and visually inspect the power supply unit (PSU) for any signs of physical damage, such as burnt or swollen components, loose cables, or scorch marks.
- If you notice any physical damage, it is likely that the power supply needs to be replaced. Consult a professional technician or refer to the manufacturer’s instructions for further guidance.
- Check the connections between the power supply and other components, including the motherboard, hard drives, and graphics card. Ensure that all cables are securely plugged in and that there are no loose connections.
- Inspect the motherboard for any visible signs of damage, such as bulging capacitors or burnt traces. If you identify any issues, it is advisable to seek professional assistance.
- Consider cleaning the inside of your computer to remove dust or debris, as these can obstruct proper power supply connections and ventilation.
By checking for physical damage or loose connections, you can identify and resolve power-related issues in your computer. Remember to exercise caution when working with computer components and seek professional help if you are unsure about any repairs.
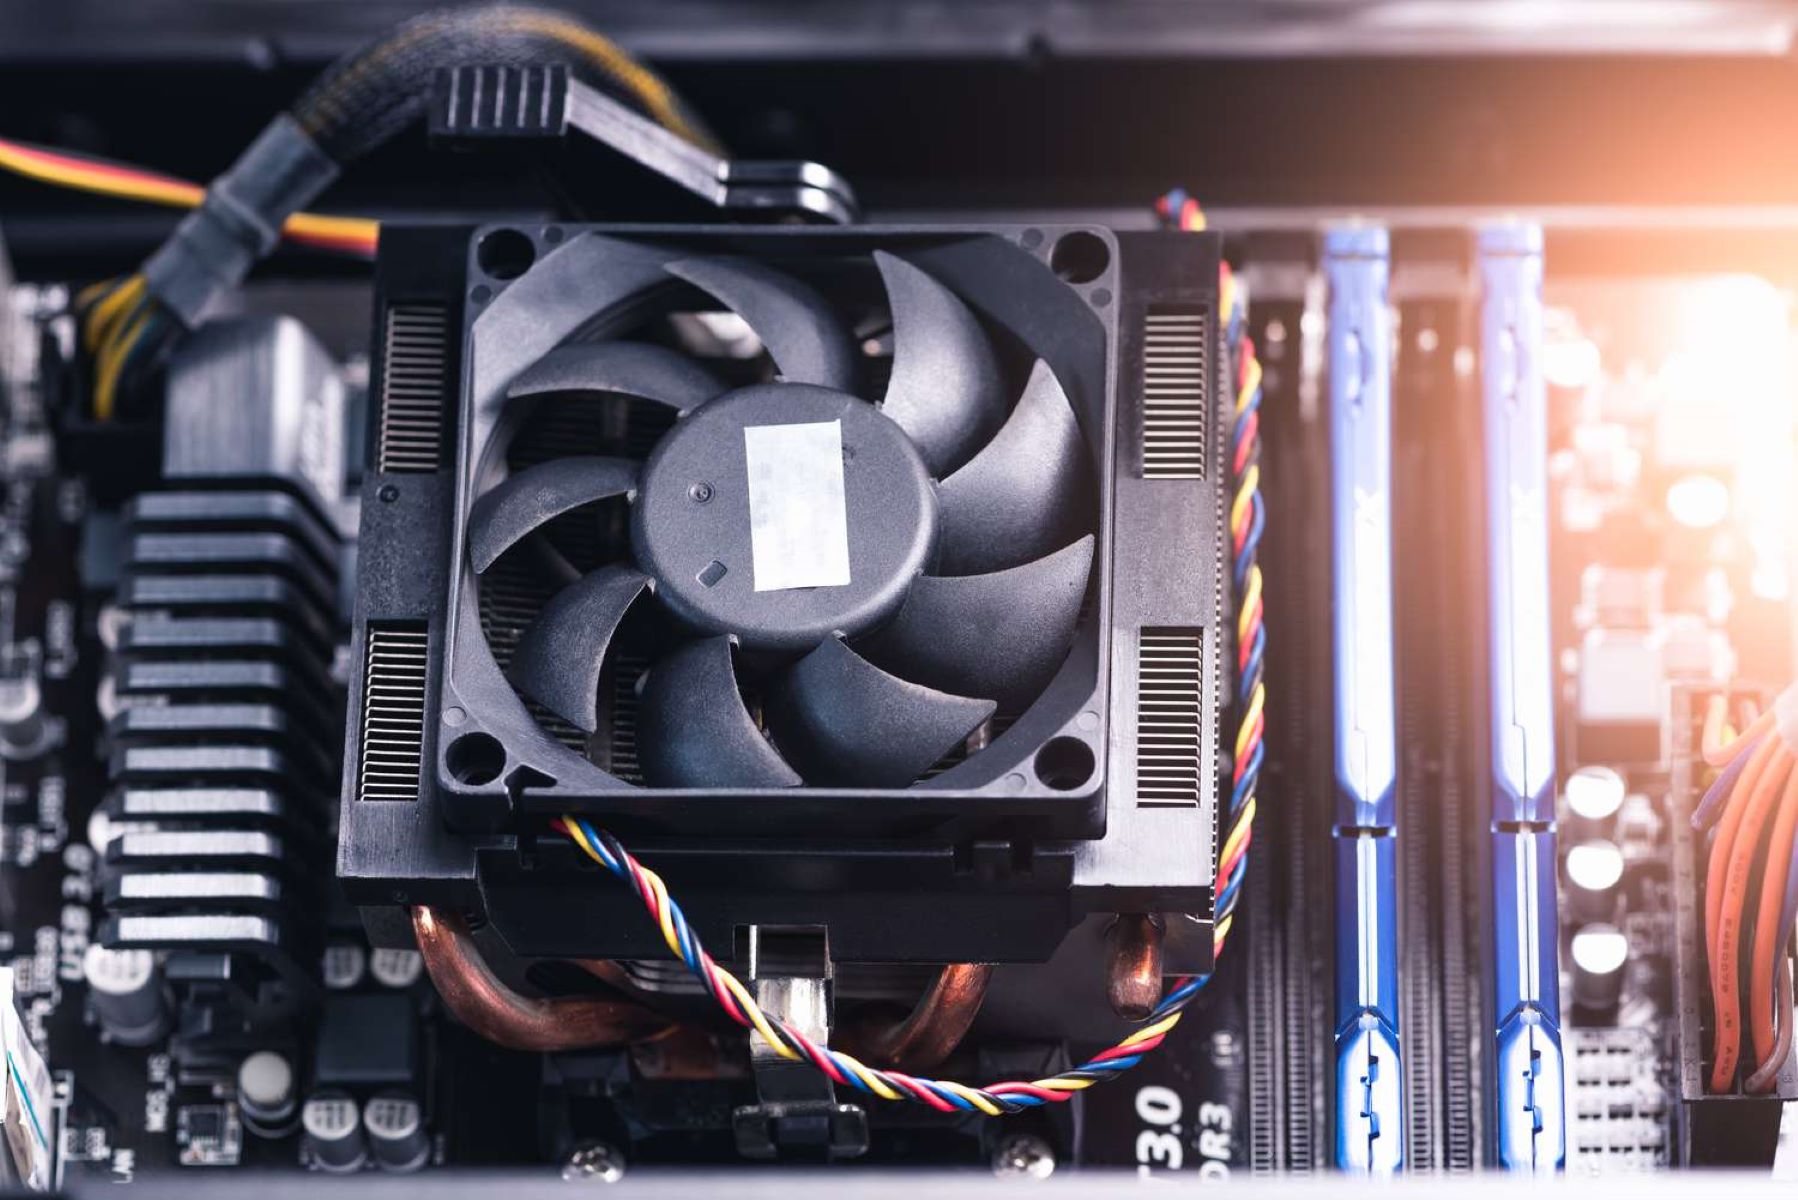
Verifying the Fan Functionality
The power supply in your computer contains a built-in fan that helps to keep the components cool. If the fan stops functioning properly, it can lead to overheating issues and potentially damage your hardware. To ensure the fan is working correctly, follow these steps:
- Power off your computer and unplug it from the power source.
- Open up the computer case and locate the power supply unit (PSU).
- Inspect the fan for any visible obstructions, such as dust or debris.
- If you notice any obstructions, gently clean the fan using a can of compressed air or a soft brush.
- Ensure that the fan is spinning freely without any hindrance. If it feels stuck or is not rotating smoothly, it may need to be replaced.
- Connect the power supply to a power source, but do not turn on the computer.
- Observe the fan to see if it starts spinning as soon as power is supplied to the PSU.
- Listen for any unusual sounds, such as grinding or rattling noises, which may indicate a faulty fan.
- If the fan does not spin or makes abnormal noises, it is likely that the fan is malfunctioning and needs to be replaced.
Verifying the functionality of the power supply fan is crucial to prevent overheating and ensure the proper cooling of your computer’s components. If you encounter any issues, it is recommended to seek professional assistance or consult the manufacturer’s instructions.
Testing the Power Supply Without a Multimeter
If you don’t have access to a multimeter, there are alternative methods to test the power supply in your computer. While not as precise as using a multimeter, these techniques can still provide valuable insights into the functionality of your power supply. Here are a few methods you can try:
- Visual inspection: Start by examining the power supply for any physical damage, such as bulging capacitors or burnt components. If you notice any visible issues, it may be an indication of a faulty power supply.
- Listen for sounds: Power on your computer and listen carefully for any unusual noises coming from the power supply. A buzzing or clicking sound might suggest a malfunctioning unit.
- Check for power indicator lights: Most power supplies have a built-in LED indicator light. If the light turns on when the power supply is plugged in and switched on, it indicates that the unit is receiving power. However, this doesn’t necessarily confirm the functionality of the power supply itself.
- Perform a paperclip test: This method is for advanced users and should be done with caution. First, unplug the power supply from the computer. Straighten out a paperclip and insert one end into the green wire pin of the 24-pin or 20-pin connector, and the other end into any black wire pin. This will simulate a power-ON signal to the power supply. If the power supply fan starts spinning, it suggests that the power supply is receiving power and may be functioning properly. However, this test does not provide information on voltage levels or stability.
While testing the power supply without a multimeter may not provide precise measurements, it can still offer valuable indications of the power supply’s functionality. If you have any doubts or suspect a fault, it is recommended to consult a professional technician or consider investing in a multimeter for more accurate testing.
Using a Power Supply Tester
A power supply tester is a convenient tool specifically designed to check the functionality of a power supply unit (PSU). It helps to quickly and accurately assess the power supply’s voltage outputs and detect any potential issues. Here’s how you can use a power supply tester:
- Turn off your computer and unplug it from the power source.
- Locate the 24-pin or 20-pin connector that connects the power supply to the motherboard.
- Disconnect the motherboard connector from the power supply.
- Connect the power supply tester to the motherboard connector, ensuring it is securely attached.
- Plug in the power supply and turn it on.
- Observe the readings displayed on the power supply tester.
- The power supply tester will show voltage levels for different power lines, such as +3.3V, +5V, +12V, and -12V. Compare these readings to the expected values stated on the power supply tester or refer to the manufacturer’s specifications.
- If the voltage readings are within an acceptable range, it indicates that the power supply is functioning correctly. However, if the readings are significantly off or not detected at all, it suggests a faulty power supply that may need to be replaced.
- Disconnect the power supply tester and reconnect the motherboard connector to the power supply once the testing is complete.
A power supply tester provides a quick and reliable method for evaluating the performance of a power supply. It eliminates the need for manual voltage measurements and offers a more accurate assessment. However, keep in mind that it may not identify all power supply issues, so it’s advisable to consult a professional technician if you still experience problems with your computer’s power supply.
Checking the Outputs of the Power Supply
Checking the outputs of your power supply is crucial to ensure that it is delivering the correct voltage levels to your computer’s components. By verifying the outputs, you can identify any potential issues with the power supply. Here’s how you can check the outputs:
- Turn off your computer and unplug it from the power source.
- Locate the 24-pin or 20-pin connector that connects the power supply to the motherboard.
- Disconnect the motherboard connector from the power supply.
- Inspect the connector for any signs of damage or loose pins. Ensure that all pins are properly aligned.
- Refer to the documentation provided by the power supply manufacturer or consult the label on the power supply to identify the different voltage outputs.
- Use a multimeter set to DC voltage mode and choose a range that covers the expected voltage levels.
- Connect the black probe of the multimeter to a ground point, such as a metal part of the computer case.
- With caution, touch the red probe of the multimeter to each pin of the motherboard connector, one at a time, corresponding to the specified voltage outputs.
- Compare the measured voltage readings with the expected values. Typically, a small deviation, usually within a 5% range, is considered acceptable.
- If any of the voltage readings are significantly off or no voltage is detected, it indicates a potential issue with the power supply.
- Replace the power supply if the voltage readings are consistently out of range or if no voltage is detected on specific pins.
- Reconnect the motherboard connector to the power supply once the testing is complete.
Checking the outputs of your power supply is an essential step to ensure that your computer’s components are receiving the correct voltage levels. By performing this test, you can identify any potential issues with the power supply and take necessary actions to maintain the stability and performance of your system.
Ensuring Proper Voltage Levels from the Power Supply
Ensuring proper voltage levels from your power supply is crucial for the stable and reliable operation of your computer. Incorrect voltage levels can cause various issues, including system instability, hardware failures, and data loss. Follow these steps to ensure that your power supply is providing the appropriate voltage:
- Turn off your computer and unplug it from the power source.
- Locate the 24-pin or 20-pin connector that connects the power supply to the motherboard.
- Disconnect the motherboard connector from the power supply.
- Identify the different voltage outputs specified by the power supply manufacturer. Common voltage outputs include +3.3V, +5V, +12V, and -12V.
- Use a multimeter set to DC voltage mode and choose a range that covers the expected voltage levels.
- Connect the black probe of the multimeter to a ground point, such as a metal part of the computer case.
- With caution, touch the red probe of the multimeter to each pin of the motherboard connector, one at a time, corresponding to the specified voltage outputs.
- Compare the measured voltage readings with the expected values. Typically, a small deviation within a 5% range is considered acceptable.
- If any of the voltage readings are significantly outside the expected range, it indicates a potential issue with the power supply.
- Check the power supply’s documentation or consult the manufacturer’s specifications to determine the appropriate voltage tolerance levels for your specific model.
- Replace the power supply if the voltage readings consistently exceed the tolerance levels or if there is no voltage detected on specific pins.
- Reconnect the motherboard connector to the power supply once the testing is complete.
Ensuring proper voltage levels from your power supply is essential for the optimal performance and longevity of your computer. By verifying the voltage outputs, you can detect and address any potential issues with the power supply, ensuring the stability and reliability of your system.
Utilizing a Power Supply Load Tester
A power supply load tester is a specialized tool designed to assess the performance and capacity of a power supply unit (PSU). It helps determine whether the power supply can handle the required electrical load without experiencing issues such as voltage drops or instability. Here’s how you can utilize a power supply load tester:
- Turn off your computer and unplug it from the power source.
- Locate the 24-pin or 20-pin connector that connects the power supply to the motherboard.
- Disconnect the motherboard connector from the power supply.
- Connect the power supply load tester to the motherboard connector, ensuring it is securely attached.
- Plug in the power supply and turn it on.
- Activate the power supply load tester according to its proper operating instructions.
- The load tester will simulate a range of electrical loads on the power supply, measuring its performance at different levels of power consumption.
- Observe the load tester’s display or readout to assess the power supply’s ability to maintain stable voltage outputs under varying load conditions.
- If the power supply exhibits voltage drops, fluctuations, or fails to meet the load tester’s requirements, it indicates potential issues with the power supply’s capacity or performance.
- Consider replacing the power supply if it consistently fails to meet the load tester’s standards or if voltage output instability is observed.
- Reconnect the motherboard connector to the power supply once the testing is complete.
Utilizing a power supply load tester provides a comprehensive evaluation of the power supply’s capability to handle different workloads. It can help identify potential deficiencies or limitations of the power supply, ensuring the reliability and stability of your computer system.
Troubleshooting Common Power Supply Issues
Power supply issues can cause various problems in your computer. Understanding and troubleshooting common power supply issues can help you identify and resolve these issues promptly. Here are some common power supply problems and their possible solutions:
- No power: If your computer does not turn on at all, ensure that the power supply is properly connected to the motherboard and that the power cable is securely plugged in. Check if the power outlet is functioning correctly by testing it with another device. If necessary, try a different power cable or outlet.
- Random shutdowns or restarts: If your computer randomly shuts down or restarts, it might be due to an unstable power supply. Check if the power supply fan is functioning correctly and not obstructed. Examine the motherboard for any visible damage or loose connections. If the issue persists, consider replacing the power supply.
- Overheating: If your computer is experiencing overheating issues, it may be caused by inadequate cooling from the power supply fan or insufficient power capacity. Clean the power supply fan and ensure that it is spinning properly. If the overheating continues, you may need to upgrade to a higher-wattage power supply or improve the overall system cooling.
- Electrical noise or distortion: If you hear unusual buzzing, crackling, or humming sounds coming from the power supply, it may indicate a problem. Ensure that all cables are properly connected and not causing interference. If the noise persists, it could be a sign of a fault in the power supply, and it should be replaced.
- Frequent hardware failures: If you experience frequent hardware failures, such as a malfunctioning motherboard, graphics card, or storage device, it may be due to an unstable power supply. Inadequate power delivery can damage sensitive components. Consider upgrading to a higher-quality power supply with sufficient wattage to meet your system’s requirements.
- Inconsistent voltage levels: If you notice that your computer is experiencing unstable performance or random crashes, check the voltage levels from the power supply. Use a multimeter or a power supply tester to measure the voltages and ensure they are within the acceptable range specified by the manufacturer. If the voltage levels are consistently off, you should replace the power supply.
Troubleshooting power supply issues can be challenging, but by following these steps, you can identify and resolve common problems effectively. If you are unsure about any repairs or if the issues persist, it is recommended to seek professional assistance or contact the power supply manufacturer for further guidance.
Taking Safety Precautions When Testing the Power Supply
When testing the power supply in your computer, it’s important to prioritize safety to prevent any accidents or damage. Here are some essential safety precautions to take when testing the power supply:
- Turn off and unplug: Before starting any testing procedures, ensure that your computer is turned off and unplugged from the power source. This eliminates the risk of electric shock or short circuits.
- Proper grounding: To prevent electrostatic discharge (ESD), wear an anti-static wrist strap or periodically touch a grounded metal surface to discharge any static build-up. This protects sensitive electronic components from damage.
- Use insulated tools: When handling any components or connections inside your computer, use insulated tools to minimize the risk of electric shock or short circuits.
- Avoid water and liquids: Keep liquids away from your computer and the testing area. Liquids can cause electrical damage and increase the risk of accidents or electrical shock.
- Know your limits: If you are not familiar with hardware components or unsure about any procedures, it’s best to seek professional assistance or consult the manufacturer’s instructions. Improper handling can lead to damage or even injury.
- Check for visible damage: Inspect the power supply and connections for any signs of physical damage or loose connections. If you notice any issues, do not attempt to test the power supply and consider seeking professional help.
- Be mindful of heat: When working with the power supply or any components, be aware of heat. Allow sufficient time for components to cool down and always handle them with care to avoid burns.
- Follow manufacturer’s guidelines: Refer to the power supply manufacturer’s instructions or documentation for specific safety precautions and testing procedures. Adhering to their guidelines ensures the correct use of the power supply and reduces the risk of accidents.
- Replace faulty components: If you identify any issues during the testing process, such as damaged cables or a malfunctioning power supply, replace them with suitable and certified replacements. Using faulty components can lead to further damage or safety hazards.
By following these safety precautions when testing your power supply, you can minimize the risk of accidents, protect your computer components, and ensure a safe testing environment.