
Choosing the Right Single Board Computer
When it comes to creating a phone using a single board computer, selecting the right board is crucial. With several options available in the market, it’s important to consider a few key factors in order to make an informed decision.
The first thing to consider is the processing power of the board. Look for a single board computer that is equipped with a powerful and efficient processor. This will ensure smooth operation and the ability to handle various tasks and applications seamlessly.
Next, consider the memory capacity of the board. Make sure it has enough RAM and storage space to accommodate the operating system, apps, and other files. This will prevent any performance issues and allow for smooth multitasking.
Connectivity is another crucial aspect to consider. Look for a board that offers ample options for connectivity, such as USB ports, Ethernet ports, and HDMI outputs. This will allow you to connect peripherals and external devices to enhance the functionality of your phone.
Compatibility is also important. Ensure that the single board computer you choose is compatible with the operating system you plan to install. This will save you from any potential compatibility issues and ensure optimal performance.
Power consumption is a factor that shouldn’t be ignored. Consider a board that requires low power consumption while still delivering high performance. This will help prolong the battery life of your phone and ensure it can be used for extended periods without having to recharge frequently.
Last but not least, consider the size and form factor of the single board computer. Look for a compact and small-sized board that can easily fit into a phone casing. This will allow you to create a sleek and portable phone without compromising on performance.
By taking these factors into account, you can choose the right single board computer for your phone project. Remember to weigh the pros and cons of each board and consider your specific requirements before making a final decision.
Gathering the Necessary Equipment
Before you can start building your phone using a single board computer, it’s important to gather all the necessary equipment. Having everything prepared will ensure a smooth and efficient assembly process. Here are the essential items you’ll need:
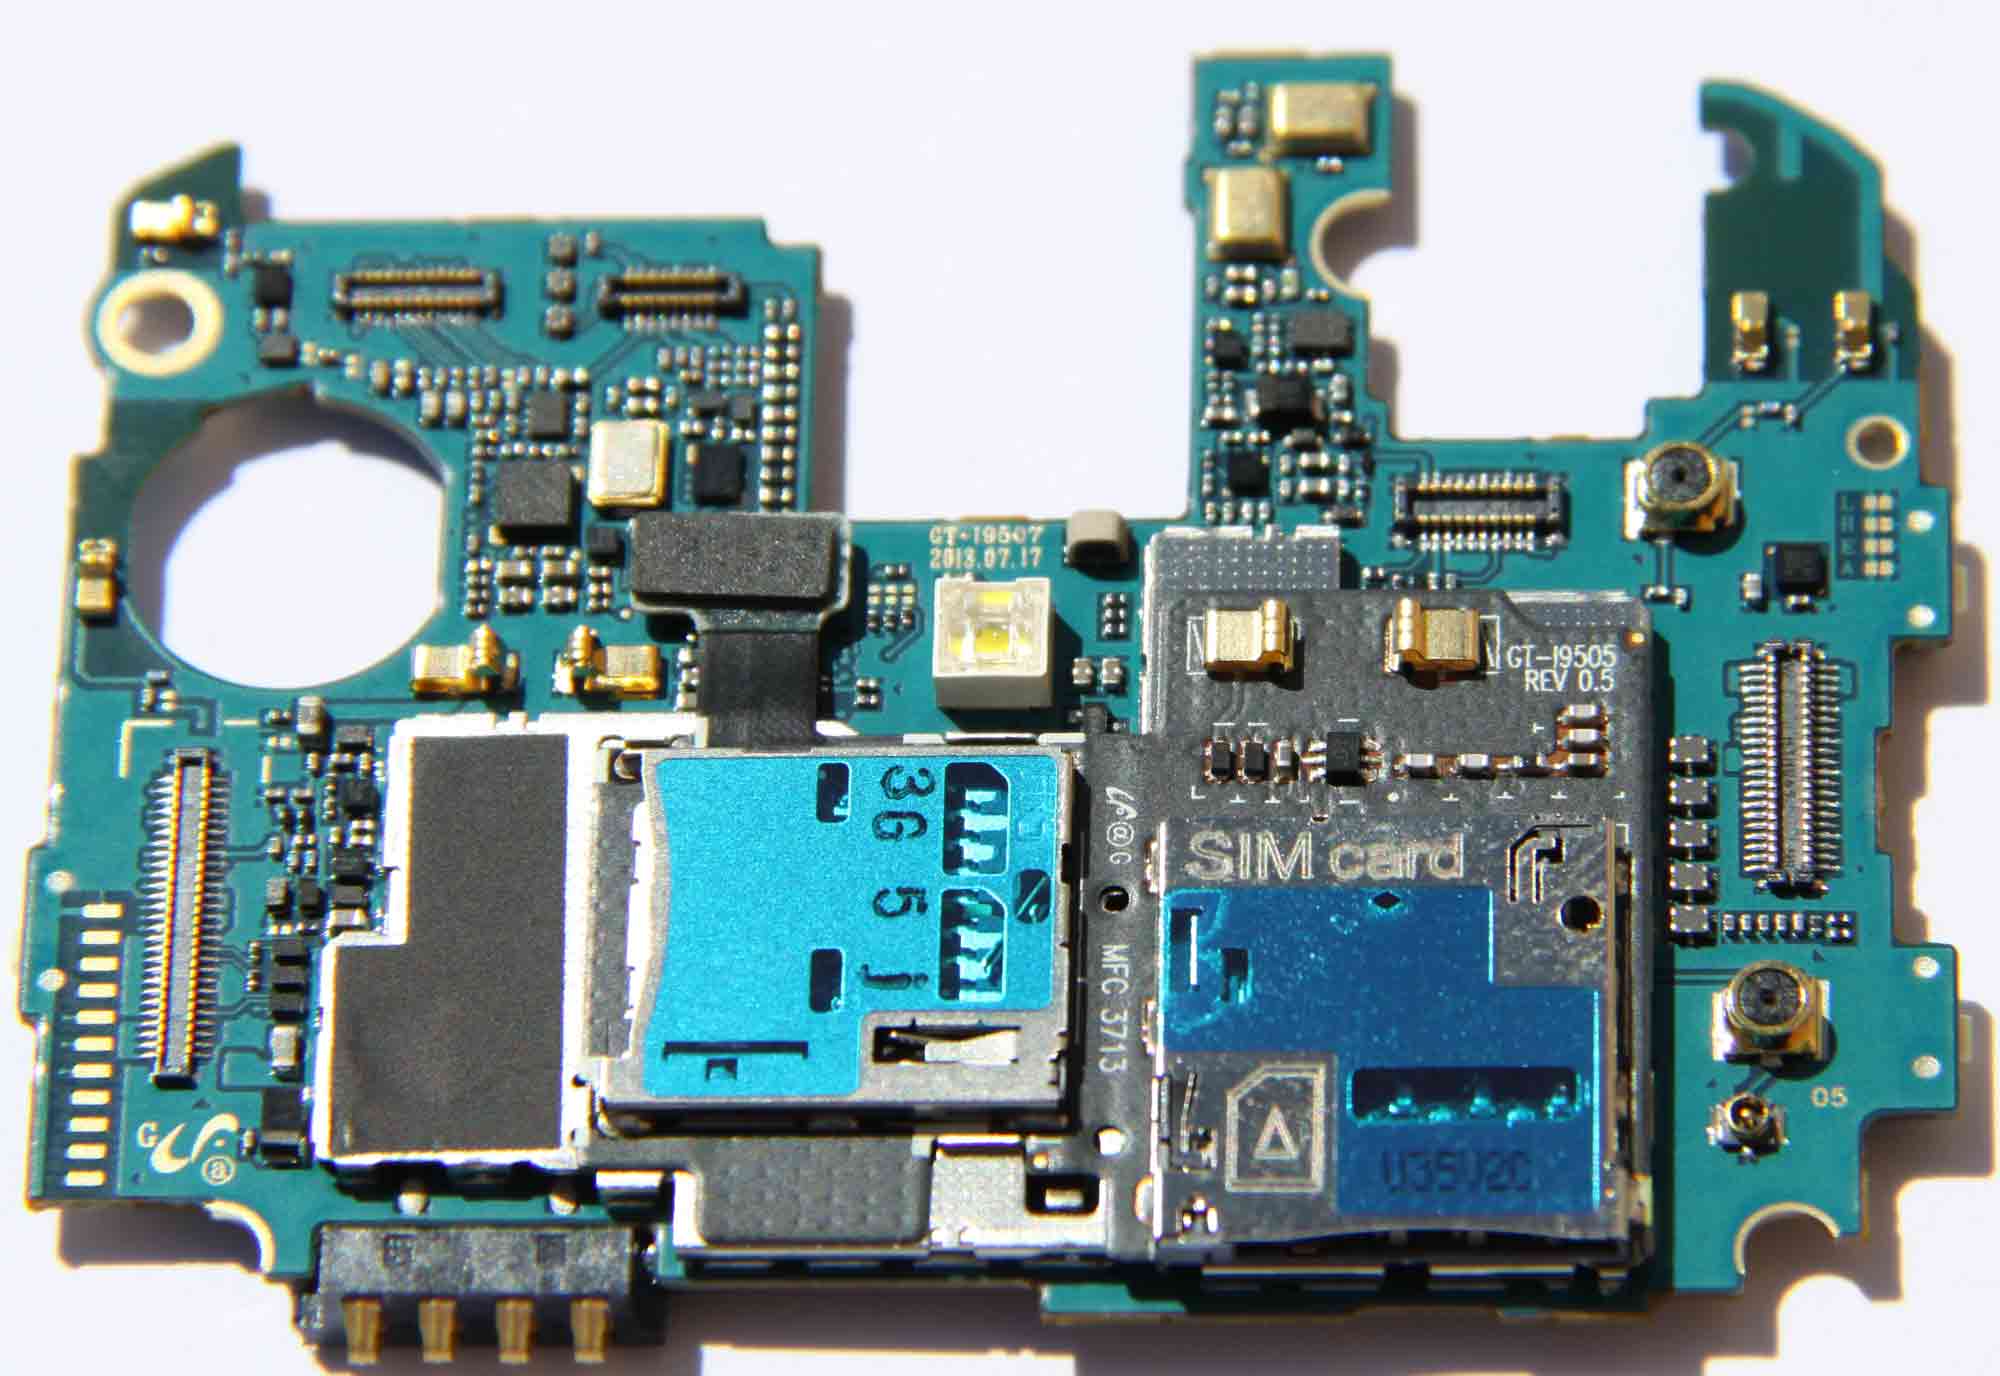
1. Single Board Computer (SBC): This is the heart of your phone. Choose the SBC that you have researched and selected in the previous step. Make sure it meets your desired specifications.
2. Display: Look for a compatible display that suits the size and resolution requirements of your phone. Consider factors such as touchscreen capability and display connectors that are supported by your SBC.
3. Audio System: Select an audio system that can be integrated with your SBC. This can include speakers, a microphone, or even a headphone jack. Make sure it is compatible with the audio capabilities of your chosen SBC.
4. Power Supply: Choose a reliable power supply that can adequately power your SBC and all its peripherals. Look for a power supply with the appropriate voltage and current ratings to ensure stable and safe operation.
5. Battery: If you want your phone to be portable, you’ll need a battery. Select a battery that provides sufficient capacity and fits within the physical constraints of your phone casing. Ensure compatibility with your SBC and consider safety features like overcharge protection.
6. Input and Output Devices: Depending on your preference and phone features, you may need input and output devices such as a keyboard, mouse, or gamepad. Choose the appropriate peripherals that can be connected to your SBC’s available ports.
7. Connectivity Modules: To enable wireless communication, consider adding Wi-Fi and Bluetooth modules. Check for compatibility with your SBC and ensure they meet your desired specifications for range and transfer speeds.
8. Phone Casing: Find a suitable casing that can accommodate all the components and provide protection for your phone. Consider the dimensions of the SBC, display, battery, and any additional modules you will be using.
9. Tools: Lastly, gather the necessary tools for assembly, such as screwdrivers, wire cutters, and pliers. Having the right tools on hand will make the assembly process easier and more convenient.
By gathering all the necessary equipment upfront, you’ll be well-prepared to start building your phone using a single board computer. Make a checklist of the items you need and ensure they are compatible with each other and your chosen SBC.
Installing the Operating System
Once you have the necessary equipment ready, the next step in building your phone using a single board computer is to install the operating system (OS). The OS will serve as the interface and underlying software that powers your phone’s functionality. Here are the steps to install the OS:
1. Choose the Right OS: Select an OS that is compatible with your single board computer. There are various options available, including Linux-based distributions specifically designed for SBCs. Look for an OS that suits your needs and has good community support.
2. Download the OS Image: Visit the official website of the chosen OS and download the image file. Ensure you choose the version that is compatible with your specific single board computer. Check for any installation instructions or guides provided by the OS developer.
3. Prepare an SD Card: Most single board computers use an SD card to store the OS and other files. Insert the SD card into your computer and format it using a suitable tool. Ensure that it is formatted using a compatible file system, typically FAT32 or ext4.
4. Flash the OS Image to the SD Card: Use a tool like Etcher or Win32 Disk Imager to flash the downloaded OS image onto the SD card. This process will copy all the necessary files and set up the bootable SD card for your single board computer.
5. Insert the SD Card into the SBC: Locate the SD card slot on your single board computer and insert the prepared SD card. Ensure it is inserted securely to avoid any connectivity issues.
6. Power Up the SBC: Connect the power supply to your single board computer, either through a USB port or a dedicated power input. Turn on the power, and the SBC will start booting up using the OS on the inserted SD card.
7. Follow the OS Installation Wizard: Once the SBC is powered up, follow the on-screen instructions to complete the OS installation. This may involve setting up your preferred language, configuring network settings, and creating user accounts.
8. Update the OS and Install Drivers: After the installation is complete, it’s important to update the OS to the latest version. Additionally, check for any specific drivers or firmware updates that may be required for optimal functionality of your single board computer.
By following these steps, you can successfully install the operating system on your single board computer. Remember to refer to the specific documentation provided by the OS developer for any additional installation steps or troubleshooting tips.
Setting Up the Display and Audio
Now that you have installed the operating system on your single board computer, the next step in building your phone is to set up the display and audio components. These elements are essential for interacting with your phone and enjoying multimedia content. Here’s how you can do it:
1. Connect the Display: Identify the appropriate display port on your single board computer and connect the display. Depending on your SBC and display, you may use HDMI, DVI, or VGA ports. Ensure a secure connection and proper alignment of the pins.
2. Configure Display Settings: Once the display is connected, access the system settings on your SBC and configure the display resolution, orientation, and other relevant settings. Follow the instructions provided by the operating system or consult the user manual for your specific SBC model for guidance.
3. Test the Display: After configuring the display settings, test the display by launching various applications and navigating through the user interface. Check for any abnormalities, such as incorrect colors or display artifacts. Adjust the settings if necessary.
4. Connect the Audio System: Depending on the capabilities of your single board computer and your desired audio setup, connect the appropriate audio components. This can include speakers, headphones, or even a microphone. Ensure compatibility with the audio ports on your SBC.
5. Configure Audio Settings: Access the audio settings in the operating system and configure the input and output devices as desired. Adjust the volume levels, audio enhancements, and other settings according to your preferences. Test the audio output by playing multimedia files or making voice recordings.
6. Check Hardware Compatibility: In some cases, you may need to install specific audio drivers or firmware updates to ensure full compatibility and optimal performance of your audio system. Consult the documentation provided by the audio component manufacturer or the operating system developer if needed.
7. Test Audio Playback and Recording: Once the audio system is connected and configured, test the audio playback and recording capabilities of your phone. Play music or videos to check the sound quality and ensure there are no distortions or issues. Use an audio recording application to ensure the microphone is functioning correctly.
By following these steps, you can successfully set up the display and audio components of your phone using a single board computer. Remember to consult the documentation provided by your SBC manufacturer and the operating system developer for any specific guidance or troubleshooting tips.
Connecting Power and Battery
After setting up the display and audio components of your phone using a single board computer, it’s time to connect the power supply and battery. This step is essential to ensure proper functionality and portability. Here’s how you can do it:
1. Identify Power Requirements: Review the specifications of your single board computer to determine its power requirements. Look for the recommended voltage and current ratings. This information will help you select an appropriate power supply.
2. Select a Power Supply: Choose a power supply that meets the voltage and current requirements of your single board computer. Consider the connector type and ensure compatibility with the power input of your SBC. Opt for a reliable and efficient power supply to ensure stable performance.
3. Connect the Power Supply: Plug the power supply into a suitable power outlet. Connect the other end of the power supply to the power input port on your single board computer. Ensure a secure connection to avoid any power interruptions or loose connections.
4. Power On the SBC: Once the power supply is connected, turn on the power switch or button on your single board computer. The device should start booting up using the installed operating system. Pay attention to any indication lights or display messages that confirm successful power connection.
5. Choose a Battery: If you wish to make your phone portable, you’ll need a compatible battery. Select a battery that provides sufficient capacity to meet your needs. Consider factors like battery life, dimensions, and weight to ensure it fits within the constraints of your phone casing.
6. Connect the Battery: Identify the battery connector on your single board computer and connect the battery. Ensure the positive and negative terminals are correctly aligned to avoid any short circuits or damage to the battery or SBC. Make sure the connection is secure.
7. Test Battery Operation: After connecting the battery, test its operation by disconnecting the power supply. The battery should power the single board computer, allowing it to function independently. Monitor the battery level and charging status in the operating system to ensure proper battery operation.
8. Charge the Battery: To charge the battery, reconnect the power supply while the battery is connected to the single board computer. Make sure the charging process is indicated on the screen or through indicator lights. Follow the manufacturer’s recommendations for proper battery charging procedures.
By following these steps, you can successfully connect the power supply and battery to your single board computer phone. This will provide the necessary power for your phone’s operation and allow you to use it either plugged in or on the go.
Adding Wi-Fi and Bluetooth Capabilities
Adding Wi-Fi and Bluetooth capabilities to your phone using a single board computer is essential for wireless connectivity and communication. By incorporating these features, you can connect to networks, transfer files, and utilize a wide range of wireless peripherals. Here’s how you can do it:
1. Select Compatible Modules: Look for Wi-Fi and Bluetooth modules that are compatible with your single board computer. These modules can be in the form of USB dongles, add-on boards, or integrated circuits. Ensure they support the desired Wi-Fi and Bluetooth standards.
2. Check Supported Operating Systems: Confirm that the chosen Wi-Fi and Bluetooth modules are supported by the operating system installed on your single board computer. Check for any specific drivers or software packages required for proper functionality.
3. Configure Network Settings: Access the network settings in your operating system and configure the Wi-Fi connection. Enter the necessary network information, such as SSID and password, to connect to available Wi-Fi networks. Ensure that the Wi-Fi module is enabled and actively scanning for networks.
4. Pair Bluetooth Devices: Enable Bluetooth on your single board computer and put the module into pairing mode. Follow the instructions provided by your operating system to pair with other Bluetooth-enabled devices such as headphones, speakers, or keyboards. Ensure that the pairing process is completed successfully.
5. Test Connectivity: Once the Wi-Fi and Bluetooth modules are configured, test their connectivity by connecting to a Wi-Fi network and pairing with a Bluetooth device. Verify stability and reliability by performing tasks such as browsing the internet, streaming media, or transferring files between devices.
6. Optimize Signal Strength: If you experience weak Wi-Fi signal strength or limited Bluetooth range, consider optimizing the placement of your single board computer or using external antennas or signal boosters. This can help improve the wireless performance and stability of your phone.
7. Update Firmware and Drivers: Regularly check for firmware updates or driver releases for your Wi-Fi and Bluetooth modules. Updating to the latest versions can provide bug fixes, performance improvements, and compatibility enhancements. Follow the instructions provided by the module manufacturer or the operating system developer for the update process.
8. Secure Wireless Connections: To protect your phone and data, ensure that Wi-Fi connections are encrypted using WPA2 or higher security protocols. Use strong and unique passwords for network authentication. Additionally, be cautious when pairing with Bluetooth devices and only connect to trusted and secure devices.
By following these steps, you can successfully add Wi-Fi and Bluetooth capabilities to your phone using a single board computer. Enjoy the convenience and freedom of wireless connectivity and explore the possibilities of connecting to a wide range of devices and networks.
Configuring Inputs and Outputs
Configuring the inputs and outputs of your phone using a single board computer is crucial for a seamless user experience and optimal functionality. By configuring the various input and output devices, you can interact with your phone and utilize its capabilities effectively. Here’s how you can do it:
1. Identify Input and Output Devices: Take stock of the input and output devices available on your single board computer. This can include components such as a touchscreen, keyboard, mouse, camera, and various sensors. Identify the specific functionalities and features of each device.
2. Access System Settings: Open the system settings in your operating system to access the configuration options for input and output devices. Depending on your SBC and OS, this may be located under a “Hardware” or “Devices” section.
3. Configure Touchscreen: If your phone has a touchscreen, calibrate it to ensure precise touch accuracy. Adjust the sensitivity settings and test the responsiveness by tapping and swiping across the screen. Make any necessary adjustments to improve its performance.
4. Set Up Keyboard and Mouse: If you are using a physical keyboard and mouse, connect them to your single board computer. Ensure they are detected and functioning correctly. Adjust keyboard and mouse settings, such as layout, key repeat rate, and pointer speed, as per your preferences.
5. Configure Camera and Sensors: If your phone has a built-in camera or other sensors, access the relevant settings to adjust parameters like resolution, exposure, focus, and sensitivity. Test the camera and sensors to ensure they are working properly.
6. Enable Voice Input and Output: If your single board computer supports voice input and output, enable and configure the voice recognition and synthesis features. Set up voice commands and test the voice output to ensure clear and natural speech playback.
7. Customize Function Keys: Some single board computers may have function keys or programmable buttons. Customize these keys to perform specific actions or launch frequently used applications. Assign shortcuts or macros based on your preferences.
8. Configure Audio Output: Access the audio settings on your single board computer to configure the output channels and audio enhancements. Adjust the equalizer, volume levels, and spatial sound settings to optimize the audio output quality.
9. Test Input and Output Functionality: After configuring the inputs and outputs, test their functionality by performing various tasks. Try typing, using the touchscreen, capturing photos or videos, interacting with sensors, and listening to audio output. Make any necessary adjustments to enhance the user experience.
By following these steps, you can successfully configure the inputs and outputs of your phone using a single board computer. Customize the settings to match your preferences and make the most out of the available input and output devices for a seamless and enjoyable user experience.
Installing and Testing Phone Apps
Installing and testing phone apps on your device created using a single board computer is a crucial step to expand its functionality and personalize your user experience. By selecting and installing the right apps, you can customize your phone to suit your needs and preferences. Here’s how you can do it:
1. App Store or Repository: Identify a reliable app store or software repository that is compatible with your single board computer’s operating system. This can be an official app store provided by the OS developer or a trusted third-party repository.
2. Browse and Select Apps: Browse through the available apps and carefully select the ones that meet your requirements. Consider factors such as functionality, user ratings, reviews, and compatibility with your single board computer’s architecture.
3. Download and Install Apps: Once you have chosen the desired apps, download and install them on your single board computer. Follow the instructions provided by the app store or repository to ensure a successful installation.
4. Configure App Settings: After installing the apps, open each app and configure the settings as per your preferences. This may include adjusting display options, notifications, login credentials, and other app-specific settings.
5. Test App Functionality: Once the apps are installed and configured, test their functionality by using their various features. Ensure that the apps work smoothly and perform their respective functions without any glitches or compatibility issues.
6. Check for Updates: Regularly check for updates for the installed apps. Updates often include bug fixes, feature enhancements, and security patches. Stay up-to-date to ensure optimal performance and security of your phone apps.
7. Uninstall or Replace Apps: If you find that certain apps are not meeting your requirements or are causing performance issues, uninstall them from your single board computer. Alternatively, you can replace them with alternative apps that better suit your needs.
8. Explore Third-Party App Options: In addition to the app store or repository, consider exploring third-party app sources such as GitHub or developer websites. These sources often provide free and open-source apps that can further enhance the functionality of your phone.
Remember to exercise caution when downloading and installing apps from third-party sources. Verify the authenticity and reputation of the sources to prevent any issues related to security or malware.
By following these steps, you can successfully install and test phone apps on your device created using a single board computer. Enjoy the expanded functionality and customization options that these apps provide, enhancing your overall user experience.
Customizing the Phone Interface
Customizing the phone interface allows you to personalize the look and feel of your device created using a single board computer. By making aesthetic and functional adjustments, you can create a unique and tailored user experience. Here are some steps to customize the phone interface:
1. Choose a Launcher: Consider using a custom launcher that offers more customization options than the default launcher provided by your operating system. Look for launchers that allow you to change themes, icons, and home screen layouts.
2. Themes and Wallpapers: Install themes or wallpapers that match your style and preferences. Customizing the background wallpaper can instantly give your phone a fresh new look, while themes can change the color scheme and overall visual style of the interface.
3. Icon Packs: Install icon packs to change the appearance of app icons. Icon packs often offer a wide range of styles, shapes, and colors, allowing you to create a cohesive and personalized look across all the apps on your device.
4. Widgets and App Shortcuts: Add widgets and app shortcuts to your home screen for quick access to information or frequently used apps. Experiment with different sizes and arrangements to create a layout that is both functional and visually appealing.
5. Navigation and Gestures: Explore the navigation and gesture settings of your operating system. Customize the navigation bar, gesture controls, and swipe actions to match your preferences and optimize the user experience.
6. Lock Screen: Customize the lock screen by choosing a unique lock screen wallpaper or enabling features such as fingerprint or facial recognition. Adjust lock screen notifications and shortcuts to gain quick access to frequently used apps or functions.
7. Fonts: Change the system font to one that suits your preference. Many operating systems offer the option to install custom fonts, allowing you to add a personal touch to the text displayed throughout your phone.
8. Sound and Vibration: Customize the ringtone, notification sounds, and vibration patterns. Use unique and pleasing sounds to personalize your phone and enhance the user experience.
9. App Drawer Organization: Organize your installed apps in the app drawer or home screen to fit your workflow and make it easier to find and access your desired apps. Group similar apps into folders and consider removing any unused or unnecessary apps.
10. System Settings: Dive into the system settings to explore and adjust various interface settings including animations, screen timeout, display density, and more. Experiment with different settings to find the optimal balance between aesthetics and performance.
Remember to explore the customization options specific to your operating system and single board computer. The possibilities for customization are vast, allowing you to create a phone interface that truly reflects your style and preferences.
By following these steps, you can successfully customize the phone interface of your device created using a single board computer. Enjoy the satisfaction of having a unique and personalized user experience.
Troubleshooting and Support
While building and using your phone created with a single board computer can be an exciting experience, occasional issues may arise that require troubleshooting and support. It’s important to be prepared with some strategies to tackle these challenges effectively. Here are some tips for troubleshooting and seeking support:
1. Documentation and Online Resources: Consult the documentation and online resources provided by the single board computer manufacturer and the operating system developer. They often contain troubleshooting guides, FAQs, and forums where you can find solutions to common issues.
2. Community Forums: Join online forums and communities dedicated to the single board computer and operating system you are using. These forums are filled with knowledgeable users and experts who can provide guidance and solutions to a wide range of issues.
3. Check for Updates: Ensure that your single board computer’s operating system, drivers, and firmware are up to date. Updates often include bug fixes and performance improvements that can potentially resolve the issues you are experiencing.
4. Identify the Problem: Take the time to identify and narrow down the problem you are facing. Isolate the issue to a specific hardware component, software application, or configuration setting. This will help you focus your troubleshooting efforts and seek specific guidance or support.
5. Restart and Reboot: Sometimes, a simple restart or reboot can resolve minor software or connection issues. Power off your single board computer, disconnect any peripherals, and restart the device. This can reset the system and clear temporary glitches.
6. Check Connections: Ensure that all cables and connectors are properly connected and secure. Loose connections can cause various issues, including display or audio problems. Recheck and reseat all critical connections to eliminate this possibility.
7. Diagnostic Tools: Utilize diagnostic tools available for your single board computer. These tools can help diagnose hardware issues, check system health, and provide error logs that aid in troubleshooting. Refer to the manufacturer’s documentation for guidance on these tools.
8. Contact Manufacturer Support: If you are unable to find a solution through online resources or community forums, reach out to the manufacturer’s support team for assistance. They can provide technical guidance, answer specific questions, and help resolve complex issues.
9. Backup and Restore: In some cases, it may be necessary to perform a backup of your data and restore the operating system to its default settings. This can resolve persistent software issues caused by conflicting configurations or corrupted files.
10. Professional Help: If you have exhausted all troubleshooting options without success, consider seeking professional help. There may be specialized technicians or repair centers that can assist you in diagnosing and fixing the issue.
Remember to document any troubleshooting steps you have taken and the outcomes. This information will be valuable if you need to seek further assistance or escalate the issue.
By following these tips, you can effectively troubleshoot issues and seek the necessary support to ensure the smooth operation of your phone created using a single board computer.