
What is an ECM?
An ECM, or Engine Control Module, is a critical component in modern vehicles. It is a type of electronic control unit (ECU) that manages and regulates various engine functions. The ECM is responsible for controlling fuel injection, ignition timing, idle speed, emission systems, and other vital engine parameters.
The ECM receives input from sensors scattered throughout the engine and makes real-time adjustments to optimize performance and efficiency. It uses complex algorithms and pre-programmed settings to ensure the engine operates within specified limits. In essence, the ECM is the brain of the engine, constantly analyzing data and making necessary adjustments to keep the vehicle running smoothly.
ECMs are typically found in gasoline-powered vehicles, but they are also present in diesel engines, although they may be called differently, such as Electronic Diesel Control (EDC) or Engine Control Unit (ECU).
Over time, ECMs may experience issues due to normal wear and tear, electrical faults, or software glitches. In some cases, manufacturers release updated firmware or software versions to address these issues or improve performance. This is where flashing an ECM becomes necessary.
Flashing an ECM involves updating or replacing the existing firmware or software with a newer version. It is essentially reprogramming the ECM to ensure it has the latest features and bug fixes. This process is often done by automotive professionals, but with the right tools and knowledge, it is possible to flash an ECM on a single board computer.
In the next sections, we will delve into why you might need to flash an ECM, choosing the right single board computer for the task, preparing for the flashing process, and the steps involved in flashing an ECM successfully.
Why Flash an ECM?
Flashing an ECM can offer several benefits for vehicle owners and enthusiasts. Here are a few reasons why you might consider flashing your ECM:
1. Performance Enhancement: One of the main reasons to flash an ECM is to improve the performance of your vehicle. Manufacturers often release firmware updates that address issues or enhance engine performance, such as increasing power output or improving throttle response. By flashing the ECM, you can take advantage of these updates and enjoy a more responsive and efficient engine.
2. Fuel Efficiency: ECM firmware updates may include optimizations for fuel efficiency. These updates can help your vehicle operate more efficiently, resulting in better mileage and savings at the pump. With rising fuel costs, flashing the ECM to maximize fuel efficiency can be a wise investment.
3. Emission Compliance: ECM updates can also address emissions regulations and compliance issues. As emission standards become stricter, manufacturers release updates to ensure their vehicles meet the latest requirements. Flashing the ECM with the latest firmware can help ensure your vehicle remains compliant and minimizes its carbon footprint.
4. Customization: Flashing the ECM provides an opportunity for customization. Some aftermarket tuning companies offer custom firmware that can unlock additional performance potential or specific features tailored to your needs. If you’re looking to modify your vehicle’s parameters or optimize it for a particular use case, flashing the ECM with custom firmware can help achieve these goals.
5. Troubleshooting and Bug Fixes: In some cases, the ECM may experience software glitches or known issues. Manufacturers release firmware updates to address these bugs and improve the reliability of the ECM. By flashing the ECM with the latest firmware, you can ensure that any known issues or bugs are resolved, leading to a more stable and reliable engine system.
6. Future Compatibility: As vehicle technology advances, older ECM firmware may become incompatible with new software updates or diagnostic tools. Flashing the ECM ensures that it remains compatible with the latest software and diagnostic equipment, allowing for easier maintenance and future software updates.
Flashing an ECM can offer numerous advantages, from performance improvements to compliance with regulations. However, it’s essential to understand the process and choose the right single board computer and software for the flashing process. In the next sections, we’ll explore these aspects in more detail to help you get started with ECM flashing.
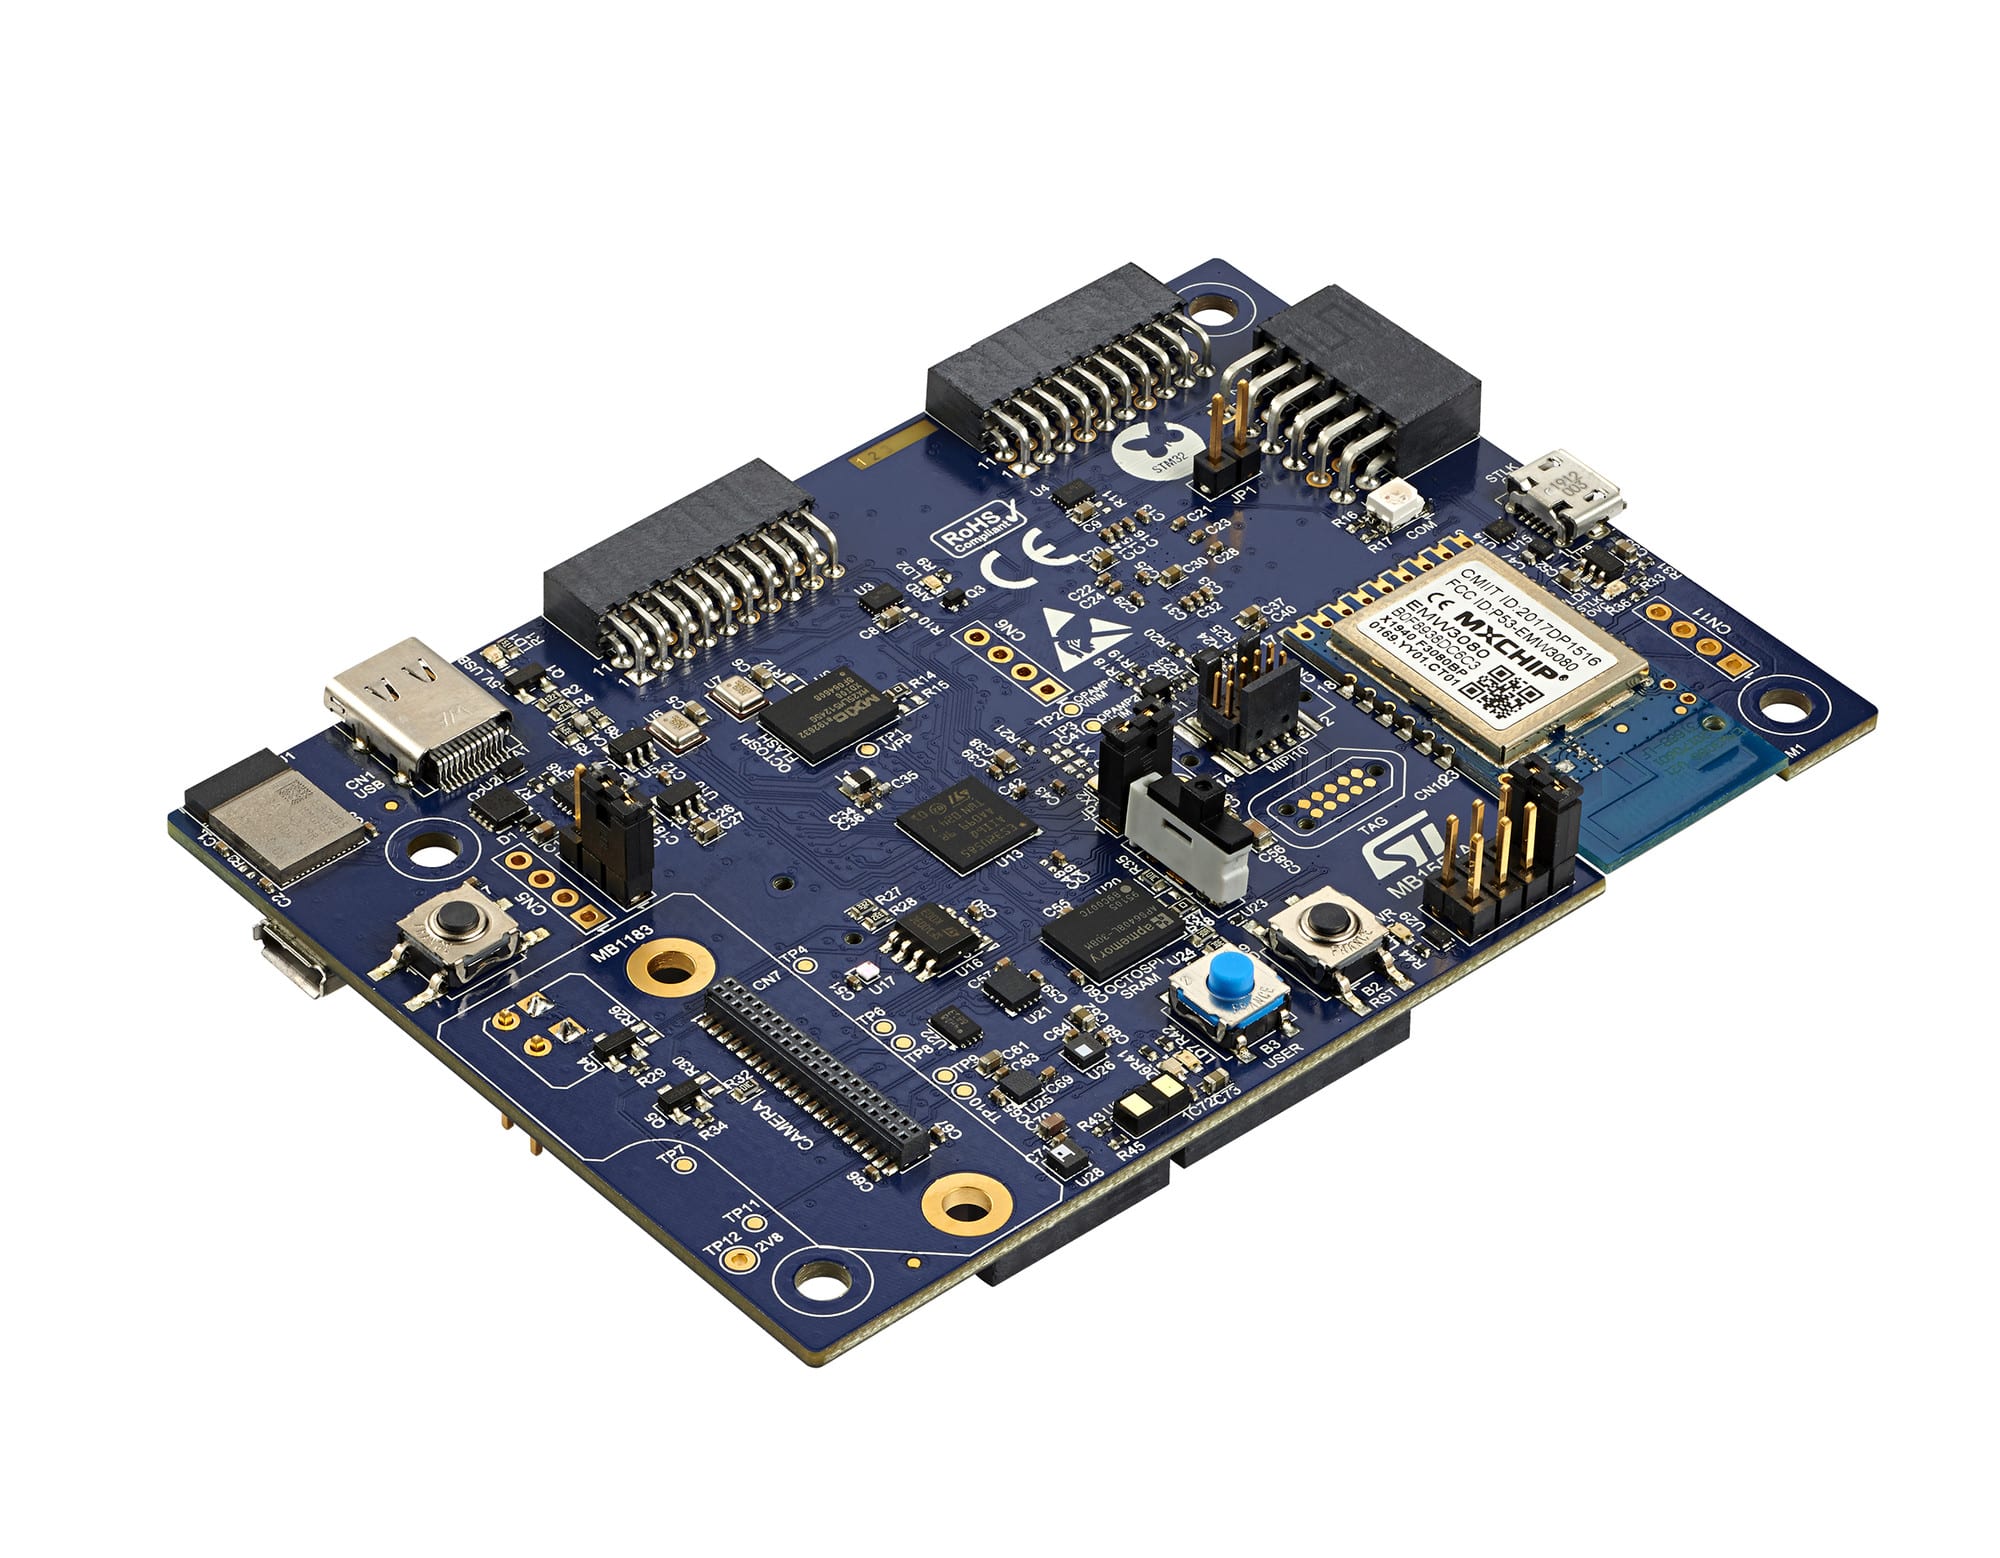
Choosing the Right Single Board Computer
When it comes to flashing an ECM on a single board computer, selecting the appropriate hardware is crucial for a successful flashing process. Here are some key factors to consider when choosing the right single board computer:
1. CPU Performance: ECM flashing requires significant processing power, especially when dealing with large firmware files. Look for a single board computer with a capable CPU that can handle the demanding tasks involved in flashing an ECM. Higher clock speeds and multiple cores will ensure a smoother and faster flashing experience.
2. RAM and Storage: Sufficient RAM and storage space are essential for handling the ECM firmware files and running the flashing software. Ensure that the single board computer has enough RAM to accommodate the flashing process and ample storage space to store the firmware files and backups.
3. Connectivity Options: The single board computer should provide connectivity options to interface with the ECM. Common interfaces include USB, serial, or CAN bus connections. Make sure the single board computer has the necessary ports or expansion slots to connect to the ECM and other peripherals.
4. Operating System Support: Check if the single board computer supports the operating system required by the ECM flashing software. The compatibility of the single board computer with the flashing software and operating system is crucial to ensure a seamless flashing process.
5. Expansion Possibilities: Consider future expandability when selecting a single board computer. Some ECM flashing processes may require additional hardware, such as EEPROM adaptors or specific connectors. Choosing a single board computer with expansion slots or GPIO pins can provide flexibility for any future requirements.
6. Community and Support: Look for single board computers with an active community and ample documentation. A vibrant community can provide valuable support, troubleshooting assistance, and a wealth of resources that can help you navigate through any challenges encountered during the ECM flashing process.
By carefully considering these factors, you can select a single board computer that is well-suited for flashing an ECM. Remember to research and compare different models to find the one that best meets your requirements and budget.
With the right single board computer in hand, it’s time to prepare for the ECM flashing process. In the next section, we will discuss the crucial steps involved in preparing for flashing the ECM on a single board computer.
Preparing for ECM Flashing
Before proceeding with ECM flashing on a single board computer, it’s important to make necessary preparations to ensure a smooth and successful flashing process. Here are the key steps to take when preparing for ECM flashing:
1. Gather Necessary Tools: Ensure that you have all the required tools and equipment for ECM flashing. This includes the single board computer, necessary cables and connectors for connecting to the ECM, and any additional hardware or adapters that may be needed. It’s also essential to have a reliable power source to avoid any interruptions during the flashing process.
2. Obtain ECM Firmware: Obtain the updated ECM firmware from the manufacturer or a trusted source. Make sure that you have the correct firmware version for your specific vehicle make, model, and year. It’s recommended to download the firmware from the official manufacturer’s website to ensure authenticity and compatibility.
3. Backup Original ECM Firmware: Before flashing the ECM, it’s crucial to create a backup of the original firmware. This backup will serve as a safety net in case anything goes wrong during the flashing process. Follow the instructions provided by the ECM manufacturer or consult the single board computer’s documentation on how to create a backup of the ECM firmware.
4. Familiarize Yourself with Flashing Software: Take the time to familiarize yourself with the ECM flashing software that you’ll be using. Read the user manual or any documentation provided by the software developer to understand the flashing process, options, and any specific requirements. This will help you navigate through the software interface and make informed decisions during the flashing process.
5. Create a Backup of Important Data: As a precautionary measure, create a backup of any important data stored in the vehicle’s ECM or related systems. Although rare, there is a slight risk of data loss during the flashing process. Having a backup ensures that you can restore any lost data without any hassle.
6. Ensure Stable Power Supply: It’s crucial to have a stable power supply during the ECM flashing process. Sudden power interruptions or fluctuations can lead to complications or even permanent damage to the ECM. Connect the single board computer to a stable power source, preferably using an uninterruptible power supply (UPS) or surge protector to safeguard against power interruptions.
7. Clear any Error Codes: Before flashing the ECM, it’s advisable to clear any existing error codes present in the vehicle’s system. This helps ensure that the flashing process is not interrupted by any pre-existing issues and allows for a clean slate in the ECM’s memory for the new firmware.
8. Follow Safety Precautions: Always prioritize safety when working with vehicle electronics. Ensure that the ignition is turned off and that all safety precautions and guidelines provided by the vehicle manufacturer and single board computer documentation are followed. Take necessary precautions to prevent electrostatic discharge (ESD) and handle all hardware and cables with care.
By following these preparation steps, you can minimize the risks associated with ECM flashing and increase the chances of a successful flash. With the preparations complete, you’re ready to proceed with the flashing process. In the next section, we’ll explore the key steps involved in flashing the new firmware onto the ECM using a single board computer.
Understanding the Flashing Process
Flashing an ECM involves reprogramming the existing firmware with a new version. It is crucial to understand the flashing process to ensure a successful outcome. Here are the key steps involved in flashing the ECM using a single board computer:
1. Connect the Single Board Computer: Start by connecting the single board computer to the ECM using the appropriate cables and connectors. Ensure that the connections are secure and free from any loose contacts or interference that could disrupt the flashing process.
2. Launch the Flashing Software: Open the ECM flashing software on the single board computer. This software enables communication with the ECM and facilitates the flashing process. Follow the software’s instructions to establish a connection with the ECM.
3. Select the Firmware: Locate and select the new firmware file that you obtained from the manufacturer. Verify that the firmware file matches your vehicle’s make, model, and year to ensure compatibility. Confirm the selected firmware before proceeding with the flashing process.
4. Backup the Original ECM Firmware: Before proceeding with the actual flash, it’s important to create a backup of the original ECM firmware. This backup serves as a safety measure in case any issues arise during the flashing process. Follow the software’s instructions to back up the original firmware file.
5. Begin the Flashing Process: Once the backup is complete, initiate the flashing process by following the prompts provided by the flashing software. Pay close attention to any instructions or options presented during the process. Keep in mind that flashing times may vary depending on the size of the firmware file and the single board computer’s processing power.
6. Monitor the Flashing Process: During the flashing process, it’s essential to monitor the progress closely. The flashing software will provide status updates and progress indicators. Pay attention to any error messages or warnings that may require intervention or troubleshooting.
7. Verify the Flashed ECM: Once the flashing process is complete, the software will indicate a successful flash. Take the time to verify that the flashed ECM is functioning as expected. Some flashing software may offer verification options or methods to confirm that the firmware flash was successful.
8. Documentation and Test Drive: After successful verification, document the details of the flashed ECM, including firmware version and any other relevant information. Additionally, take the vehicle for a test drive to ensure that the ECM is performing as expected and that any desired changes, such as improved performance or fuel efficiency, are noticeable.
It’s essential to follow the instructions provided by the ECM manufacturer and the flashing software developer explicitly. Any deviations or mistakes during the flashing process can lead to irreversible damage to the ECM.
By thoroughly understanding the flashing process, you can proceed with confidence when flashing the ECM using a single board computer. However, it’s important to be aware of common issues that may arise during the flashing process. In the next section, we’ll explore some troubleshooting tips to help you navigate any potential challenges.
Connecting the Single Board Computer to a Computer
Before you can begin flashing an ECM using a single board computer, you need to establish a connection between the single board computer and your computer. This connection allows for data transfer and communication during the flashing process. Here are the key steps to connect the single board computer to a computer:
1. Identify the Required Connection: Determine the type of connection needed to link the single board computer to your computer. Common connection options include USB, Ethernet, or Wi-Fi. Refer to the single board computer’s documentation to identify the appropriate connection method for your specific board model.
2. Connect USB or Ethernet Cable: If USB or Ethernet connectivity is available on the single board computer, connect the corresponding cable to the appropriate ports on the single board computer and your computer. For USB connections, use a reliable USB cable. For Ethernet connections, use an Ethernet cable to connect both devices to the same local network.
3. Connect Wi-Fi Module or Adapter: If your single board computer supports Wi-Fi connectivity, you can connect a Wi-Fi module or adapter to the board. Follow the manufacturer’s instructions to attach and configure the Wi-Fi module or adapter. Once connected, you can establish a wireless connection between the single board computer and your computer.
4. Enable the Connection on the Single Board Computer: Depending on the single board computer and its operating system, you may need to enable the connection manually. This could involve modifying network settings or enabling specific software features. Refer to the single board computer’s documentation for instructions on how to enable the connection.
5. Ensure Proper Drivers and Software: Ensure that your computer has the necessary drivers and software installed to recognize and communicate with the single board computer. Some single board computers require specific drivers, while others may rely on generic drivers provided by the operating system. Install the required drivers or software as instructed by the single board computer’s documentation or manufacturer’s website.
6. Test the Connection: Once the physical connection is established and drivers or software are installed, test the connection between the single board computer and your computer. Check for proper recognition of the single board computer in your computer’s device manager or network settings. If the connection is successful, you’re ready to proceed with the ECM flashing process.
7. Maintain Stable Connection: Throughout the ECM flashing process, it is crucial to maintain a stable connection between the single board computer and your computer. Avoid moving or disconnecting the cables or adapters during the flashing process, as interruptions or disconnections can lead to errors or failed flashing attempts.
By following these steps, you can establish a reliable connection between the single board computer and your computer for ECM flashing. Once the connection is established, you can proceed with installing and configuring the flashing software. In the next section, we will delve into the necessary steps to install and configure the flashing software.
Installing and Configuring Flashing Software
Once you have connected the single board computer to your computer, the next step in flashing an ECM is to install and configure the flashing software. This software enables communication with the ECM and facilitates the actual flashing process. Here are the key steps to install and configure the flashing software:
1. Research Compatible Software: Begin by researching and identifying the recommended flashing software that is compatible with your single board computer and the ECM you are working with. Look for reliable and trusted software that supports the specific make, model, and firmware version of your ECM.
2. Download the Software: Visit the official website or trusted sources to download the flashing software. Ensure that you download the appropriate version and ensure it is compatible with your single board computer’s operating system.
3. Install the Software: Run the installation file and follow the on-screen prompts to install the flashing software on your computer. Be attentive during the installation process to select any necessary options or settings specific to your single board computer and ECM.
4. Connect the ECM to the Single Board Computer: Connect your single board computer to the ECM using the appropriate cables or connectors as specified by the flashing software’s instructions. Ensure the connection is secure and properly established before proceeding.
5. Launch the Flashing Software: Once the flashing software is installed, launch the application on your computer. Take a moment to familiarize yourself with the software’s interface and options, as this will help you navigate the flashing process more effectively.
6. Configure Software Settings: Configure the flashing software settings based on the requirements of your ECM and the desired flashing process. These settings may include options such as communication protocols, baud rates, or specific ECM parameters. Refer to the flashing software’s documentation or user manual for guidance on configuring these settings.
7. Establish Connection with the ECM: Using the flashing software, establish a connection between the single board computer and the ECM. Follow the software’s instructions to establish the proper communication link and ensure that the flashing software recognizes your ECM.
8. Test the Connection: Verify that the connection between the single board computer and the ECM is functioning correctly. The flashing software should indicate a successful connection and provide the necessary feedback for further steps.
9. Backup Existing ECM Firmware: Before proceeding with the actual flashing process, it is essential to create a backup of the existing ECM firmware. The flashing software should provide an option to back up the original firmware, allowing you to restore it in case of any issues during the flashing process.
10. Proceed with ECM Flashing: With the flashing software installed, configured, and connection established, you are ready to proceed with the ECM flashing process. Follow the flashing software’s instructions carefully to ensure a successful and error-free flashing.
By installing and configuring the flashing software correctly, you can ensure smooth communication between your single board computer and the ECM. With these preparations complete, you are now ready to back up the original ECM firmware and proceed with flashing the new firmware onto the ECM. In the next section, we will explore the importance of backing up the original ECM firmware.
Backing up the Original ECM Firmware
Before proceeding with flashing the new firmware onto the ECM, it is crucial to create a backup of the original ECM firmware. This backup serves as a safety net in case any issues arise during the flashing process. Here are the key steps to back up the original ECM firmware:
1. Locate the ECM Firmware: Identify the location of the original ECM firmware within your single board computer. This may vary depending on the flashing software and the specific make and model of your ECM. Typically, the firmware can be found in a specific folder or file within the flashing software.
2. Follow the Flashing Software Instructions: Refer to the documentation or user manual of the flashing software for instructions on how to back up the ECM firmware. The flashing software should provide a specific option or command to initiate the backup process.
3. Select Backup Location: Choose a suitable location within your computer or external storage device to store the backup of the original ECM firmware. It is crucial to select a location that is easily accessible and can be retrieved if needed in the future.
4. Start the Backup Process: Initiate the backup process by following the prompts provided by the flashing software. The software will begin copying the original ECM firmware to the selected backup location. This process may take some time, depending on the size of the firmware.
5. Verify the Backup: Once the backup process is complete, verify the integrity of the backup file. Compare the file size and checksum (if available) of the backup with the original firmware to ensure that the backup was successful and no data corruption occurred.
6. Store the Backup Safely: Store the backup of the original ECM firmware in a safe and secure location. Consider using an external storage device or cloud storage to prevent data loss in case of computer failure or data corruption. Label the backup file clearly for easy identification and future reference.
7. Document the Backup Details: Make a note of the backup details, including the date, time, and location of the backup file. Additionally, record any relevant information about the ECM firmware version, vehicle make, model, and year. This documentation will be helpful if you need to restore the original firmware or refer to it in the future.
8. Test the Backup: Once the backup is complete and securely stored, it’s a good practice to test the backup by attempting to restore the original ECM firmware from the backup file. This test ensures that the backup file is functional and can be used for restoration, if necessary.
By backing up the original ECM firmware, you provide a safety net in case any issues arise during the flashing process. This backup ensures that you can revert to the original firmware configuration and restore the ECM to its previous state if needed. With the original firmware securely backed up, you can proceed with confidence to flash the new firmware onto the ECM. In the following section, we will explore the process of flashing the new firmware onto the ECM.
Flashing the New Firmware onto the ECM
Once the necessary preparations have been made, such as connecting the single board computer, installing the flashing software, and backing up the original ECM firmware, you are ready to proceed with flashing the new firmware onto the ECM. Here are the key steps to follow:
1. Launch the Flashing Software: Open the flashing software on your computer that you installed and configured earlier. Ensure that the connection between the single board computer and the ECM is established and recognized by the software.
2. Select the New Firmware: In the flashing software, locate and select the new firmware file that you obtained from the manufacturer or a trusted source. Double-check that you have selected the correct firmware version for your specific ECM, as flashing the wrong firmware can result in malfunctions.
3. Start the Flashing Process: Once the new firmware file is selected, begin the flashing process by following the prompts and instructions provided by the flashing software. The software will initiate the transfer of the new firmware to the ECM.
4. Monitor the Flashing Progress: During the flashing process, closely monitor the progress displayed by the flashing software. It will indicate the status and progress of the flashing operation. Be patient, as the flashing process can take several minutes to complete.
5. Wait for Flashing to Complete: Allow the flashing process to complete uninterrupted. Do not disconnect or power off any devices involved in the flashing process. It is crucial to maintain a stable power supply and connection throughout for a successful flashing operation.
6. Verify the Flashed ECM: After the flashing process is finished, the flashing software will usually provide a confirmation message that the new firmware has been successfully flashed onto the ECM. Ensure that the flashing software recognizes the newly flashed firmware version.
7. Perform Functionality Checks: Test the ECM’s functionality after the flashing process. Start the vehicle and check if all systems are operating correctly, including the engine management, emissions controls, and other functions controlled by the ECM. Take note of any unexpected behavior or issues that may require further attention.
8. Document the Flashed Firmware Details: Make a record of the flashed firmware details, including the version number, date of flashing, and any other relevant information about the firmware. This documentation will be useful for future reference, troubleshooting, or potential updates.
It’s important to follow the instructions provided by the flashing software and to exercise caution during the flashing process. Any interruptions or errors during this process can result in an incomplete or faulty firmware flash, potentially causing issues with the ECM’s performance.
Note that some ECMs may require additional steps or precautions unique to their make and model. Always refer to the ECM manufacturer’s guidelines and documentation for specific instructions pertaining to your ECM.
Once the new firmware has been successfully flashed onto the ECM and functionality checks confirm its proper operation, you can proceed with confidence, knowing that your ECM is updated with the latest firmware. However, it is important to be aware of common issues that may occur during the flashing process. In the next section, we will discuss some troubleshooting tips to help you address potential challenges.
Verifying the Flashed ECM
After you have successfully flashed the new firmware onto the ECM, it is crucial to verify that the flashing process was completed accurately. Verifying the flashed ECM ensures that the new firmware is functioning as intended and that the ECM is operating optimally. Here are the key steps to verify the flashed ECM:
1. Perform Initial System Checks: Start the vehicle and perform basic system checks to ensure that all engine functions and components are operating correctly. Pay attention to any warning lights, unusual sounds, or performance issues that may indicate a problem with the flashed ECM.
2. Visual Inspection: Conduct a visual inspection of the engine bay and ECM to check for any physical signs of damage, loose connections, or abnormalities. Ensure that all cables, connectors, and hoses are properly connected and securely fastened.
3. Diagnostic Scan Tool: Use a diagnostic scan tool that is compatible with your ECM to perform a comprehensive scan and read any diagnostic trouble codes (DTCs) stored in the ECM. Pay close attention to any codes related to the ECM or engine system that may indicate a problem.
4. Compare Parameters: Compare the parameters and readings displayed by the diagnostic scan tool to the expected values for your vehicle’s make, model, and engine specifications. Ensure that the readings are within the normal range and that there are no significant deviations from the expected values.
5. Functional Testing: Conduct functional tests on different engine functions and features to ensure that they are operating as expected. Test things like throttle response, idle speed control, emissions controls, and other relevant functions specific to your vehicle.
6. Performance Evaluation: Take the vehicle for a test drive to evaluate its overall performance. Assess factors such as acceleration, fuel efficiency, responsiveness, and any other criteria specific to your vehicle and the updates brought by the flashed ECM. Note any improvements or issues that arise during the test drive.
7. Continuous Monitoring: After verifying the flashed ECM, continue to monitor the vehicle’s performance and any warning lights or abnormal behavior that may arise. Address any concerns promptly and seek professional assistance if necessary.
8. Learn and Adapt: Familiarize yourself with any new features or adjustments made by the flashed firmware. Understand the changes the new firmware brings and adapt your driving habits or maintenance practices accordingly to ensure optimal performance of the ECM and the vehicle.
Verifying the flashed ECM is crucial to ensure that the new firmware is functioning as intended and that the ECM is operating optimally. If any issues or concerns are noticed during the verification process, consult with a professional technician or your vehicle manufacturer for further guidance and assistance.
Remember that proper maintenance and periodic checks are essential for the ongoing performance and longevity of the ECM and the vehicle in general. Regularly monitoring the ECM and performing routine maintenance will help ensure the optimal performance and reliability of your vehicle.
In the event that you encounter any issues or difficulties during the ECM flashing process, don’t hesitate to consult with professional automotive technicians who specialize in ECM flashing or reach out to the manufacturer for technical support.
Troubleshooting Common Issues
While flashing an ECM can usually be a straightforward process, there are some common issues that may arise during the flashing process. Troubleshooting these issues can help ensure a successful ECM flash. Here are some common problems and corresponding troubleshooting steps:
1. Connection Issues: If you encounter connection issues between the single board computer and the ECM, it’s essential to check the physical connections. Ensure that the cables and connectors are securely attached and not loose or damaged. Also, verify that the correct communication protocol and settings are configured in the flashing software.
2. Software Compatibility: If you experience compatibility issues between the flashing software and the single board computer or ECM, ensure that you have installed the correct versions of the software that are compatible with your hardware and firmware. Check for any software updates or patches released by the software developer that may address compatibility issues.
3. Firmware Verification Failure: If the flashing software indicates a failure in verifying the flashed firmware, double-check the accuracy of the firmware file and ensure that you have selected the correct version for your ECM. Verify the integrity of the firmware file by comparing its size and checksum (if available) against the original firmware file.
4. Failed Flashing Process: In the event of a failed flashing process, double-check the integrity of the connection and the power supply. Ensure that the ECM has stable power throughout the flashing process and that there are no interruptions or sudden power loss. If the issue persists, try using a different USB port or cable, or restart the flashing process from the beginning.
5. Malfunction After Flashing: If the vehicle exhibits malfunctions or issues after the flashing process, perform a diagnostic scan using compatible software to identify any diagnostic trouble codes (DTCs). Review the DTCs related to the ECM or the specific issue to determine the cause. If needed, consult with a professional technician who specializes in ECMs for further troubleshooting and assistance.
6. Unresponsive ECM: If the ECM becomes unresponsive or fails to boot up after flashing the new firmware, try performing a reset or power cycle. Disconnect power from the ECM and reconnect it after a few minutes. If the problem persists, consult the ECM manufacturer or a professional technician for further guidance.
7. Incomplete Functionality: If certain features or functions of the ECM are not working as expected after the flashing process, double-check the compatibility of the firmware with your vehicle’s make, model, and year. Verify that the flashing software has successfully read and written all relevant sections of the ECM firmware. If necessary, restore the original firmware using the backup created before flashing the new firmware.
Always refer to the documentation provided by the single board computer manufacturer, flashing software developer, and ECM manufacturer for specific troubleshooting steps and guidance. It’s also recommended to consult with professional automotive technicians who specialize in ECMs if you encounter persistent issues or require further assistance.
Remember that improper handling of the ECM or any modifications to your vehicle’s engine control system may void warranties or violate local regulations. It’s crucial to follow guidelines and instructions provided by the ECM manufacturer and adhere to legal and safety requirements to ensure a successful and compliant ECM flashing process.
By following proper troubleshooting steps and seeking assistance when needed, you can resolve common issues and achieve a successful ECM flash, optimizing the performance and functionality of your vehicle’s engine control system.