
Common Windows Problems
Windows operating system is highly versatile and widely used, but it is not immune to various issues and glitches. Here are some of the most common Windows problems that users encounter:
- Blue Screen of Death (BSOD): This daunting issue appears when the system encounters a critical error and is unable to recover. It can be caused by various factors such as hardware failure, incompatible drivers, or corrupt system files.
- Slow Performance: Over time, your Windows system may become sluggish and unresponsive. This can be caused by excessive background processes, insufficient RAM, or the accumulation of unnecessary files and applications.
- Startup Problems: Sometimes, your Windows system may fail to boot properly, leaving you stuck at the startup screen or displaying error messages. This can happen due to corrupt system files, incompatible drivers, or faulty hardware.
- Internet Connectivity Issues: Windows users often encounter problems with their internet connection, such as slow speeds, intermittent connectivity, or the inability to connect to certain websites. These issues can be caused by router or modem problems, outdated network drivers, or malware.
- Software Compatibility Problems: Certain software applications may not work correctly or crash on your Windows system. This can be due to compatibility issues between the software and your operating system version, or between different software applications.
If you are experiencing any of these common Windows problems, don’t worry. There are several troubleshooting steps you can take to resolve them and get your system back on track. In the following sections, we will explore different methods to automatically repair these issues and restore your Windows system’s functionality without the need for advanced technical knowledge.
Using Windows Troubleshooter
Windows Troubleshooter is a built-in tool in Windows operating systems that can help diagnose and resolve various common issues. It offers automated solutions for a wide range of problems, making it a convenient first step in troubleshooting Windows issues. Here’s how to use Windows Troubleshooter:
- Click on the Start menu and open the Settings app.
- Go to the Update & Security section.
- From the left-hand side menu, select Troubleshoot.
- Scroll down and choose the specific troubleshooter that matches your problem. For example, if you are facing internet connectivity issues, select the Internet Connections troubleshooter.
- Click on the Run the troubleshooter button.
- Follow the on-screen instructions provided by the troubleshooter. It will attempt to automatically identify and fix the problem.
The Windows Troubleshooter will go through a series of diagnostic steps to identify the root cause of the issue you are encountering. Once it has analyzed the problem, it will either provide a solution or recommend further actions to resolve the issue manually.
For example, if you are experiencing slow internet connectivity, the Internet Connections troubleshooter may detect and fix the problem by resetting the network adapter or repairing network settings. If the troubleshooter is unable to automatically resolve the issue, it will provide you with guidance on manual troubleshooting steps you can take.
Windows Troubleshooter is a helpful tool for resolving common Windows problems quickly and efficiently. It provides a user-friendly interface and offers automated solutions that can save you time and effort. However, keep in mind that not all issues can be fixed by the troubleshooter. If the problem persists or if you encounter more complex issues, you may need to explore other methods to repair your Windows system.
Checking for Windows Updates
Regularly installing Windows updates is crucial for maintaining the security, stability, and performance of your operating system. Microsoft releases updates that fix bugs, patch security vulnerabilities, and introduce new features. Therefore, if you are experiencing Windows problems, one of the first steps you should take is to check for and install any available updates. Here’s how to do it:
- Click on the Start menu and open the Settings app.
- Go to the Update & Security section.
- In the Windows Update tab, click on the Check for updates button.
- Windows will now check for any available updates. If updates are found, they will be downloaded and installed automatically.
- Restart your computer if prompted to complete the installation process.
Checking for Windows updates ensures that your system is equipped with the latest fixes and improvements. Many Windows problems can be resolved by installing these updates, as they often include patches for known issues and bugs.
It’s important to note that Windows updates can sometimes cause compatibility issues with certain software or drivers. If you suspect that a recent update is causing the problem, you can try uninstalling the update to see if it resolves the issue. To do this:
- Go to the Start menu and open the Settings app.
- Go to the Update & Security section.
- Click on the View update history link.
- In the new window, click on the Uninstall updates link.
- Locate the problematic update, right-click on it, and select Uninstall.
- Follow the on-screen instructions to complete the uninstallation.
After uninstalling the update, restart your computer and check if the Windows problem has been resolved. If not, you can try other troubleshooting methods to fix it.
By regularly checking for Windows updates and installing them, you can ensure that your operating system is up to date and minimize the occurrence of common Windows problems.
Running System File Checker (SFC)
If you are encountering issues with your Windows system, such as crashes, errors, or missing system files, running the System File Checker (SFC) tool can help resolve these problems. SFC is a built-in utility that scans your system for corrupted or missing system files and replaces them with the correct versions. Here’s how to run the SFC tool:
- Open the Command Prompt as an administrator. You can do this by typing “cmd” into the Windows search bar, right-clicking on Command Prompt, and selecting “Run as administrator.”
- In the Command Prompt window, type the command “sfc /scannow” and press Enter.
- Wait for the scan to complete. This may take some time, so be patient.
- If SFC detects any corrupted or missing files, it will attempt to repair them automatically. You may be prompted to restart your computer to complete the repairs.
The SFC tool is effective in fixing many common Windows issues caused by corrupted system files. By replacing the damaged files with the correct ones, it can restore your system’s stability and functionality.
If the System File Checker is unable to repair the corrupted files, you may need to use additional tools or methods to resolve the issue. One option is to run the SFC tool in Safe Mode, which prevents certain drivers and services from loading and allows for a more thorough scan of your system. To access Safe Mode, restart your computer and press the F8 key repeatedly until the Advanced Boot Options menu appears. From there, choose Safe Mode with Command Prompt and follow the steps above to run the SFC tool.
By regularly running the System File Checker, you can help maintain the integrity of your Windows system files and prevent or fix various common Windows problems. However, it’s important to note that SFC may not be able to address all issues, especially those caused by hardware failures or other underlying factors. If the problem persists after running the SFC tool, you may need to consider other troubleshooting methods or seek professional assistance to resolve the issue.
Running Deployment Image Servicing and Management (DISM)
In addition to the System File Checker (SFC) tool, Windows also has another built-in utility called the Deployment Image Servicing and Management (DISM) tool. DISM is a powerful command-line tool that can be used to repair the Windows system image, especially when SFC is unable to fix the issue. It is particularly useful for resolving more complex Windows problems. Here’s how to run the DISM tool:
- Open the Command Prompt as an administrator. To do this, type “cmd” into the Windows search bar, right-click on Command Prompt, and select “Run as administrator.”
- In the Command Prompt window, type the following command and press Enter:
dism /online /cleanup-image /restorehealth - Allow the DISM tool to scan and repair your system. This process may take some time, so please be patient.
- If DISM detects any issues with the Windows system image, it will attempt to restore it by downloading the necessary files from the Windows Update servers. Make sure you have an active internet connection during this process.
- After the repair process is complete, restart your computer to apply the changes.
The DISM tool can help fix a wide range of Windows issues, including system crashes, errors, and component store corruption. It is particularly useful in situations where the System File Checker (SFC) tool fails to resolve the problem.
If the DISM tool is not able to repair the issue, you can try using alternative DISM commands, such as /source to specify a known good source of the Windows image or /scanhealth to check for component store corruption without making any repairs. Consult the official Microsoft documentation or other reliable sources for more information on advanced DISM commands.
Running the DISM tool in combination with the System File Checker (SFC) tool can help ensure the integrity and stability of your Windows system. By utilizing these built-in utilities, you can effectively troubleshoot and repair various common Windows problems. However, it’s important to keep in mind that more complex issues may require additional advanced troubleshooting methods or professional help.
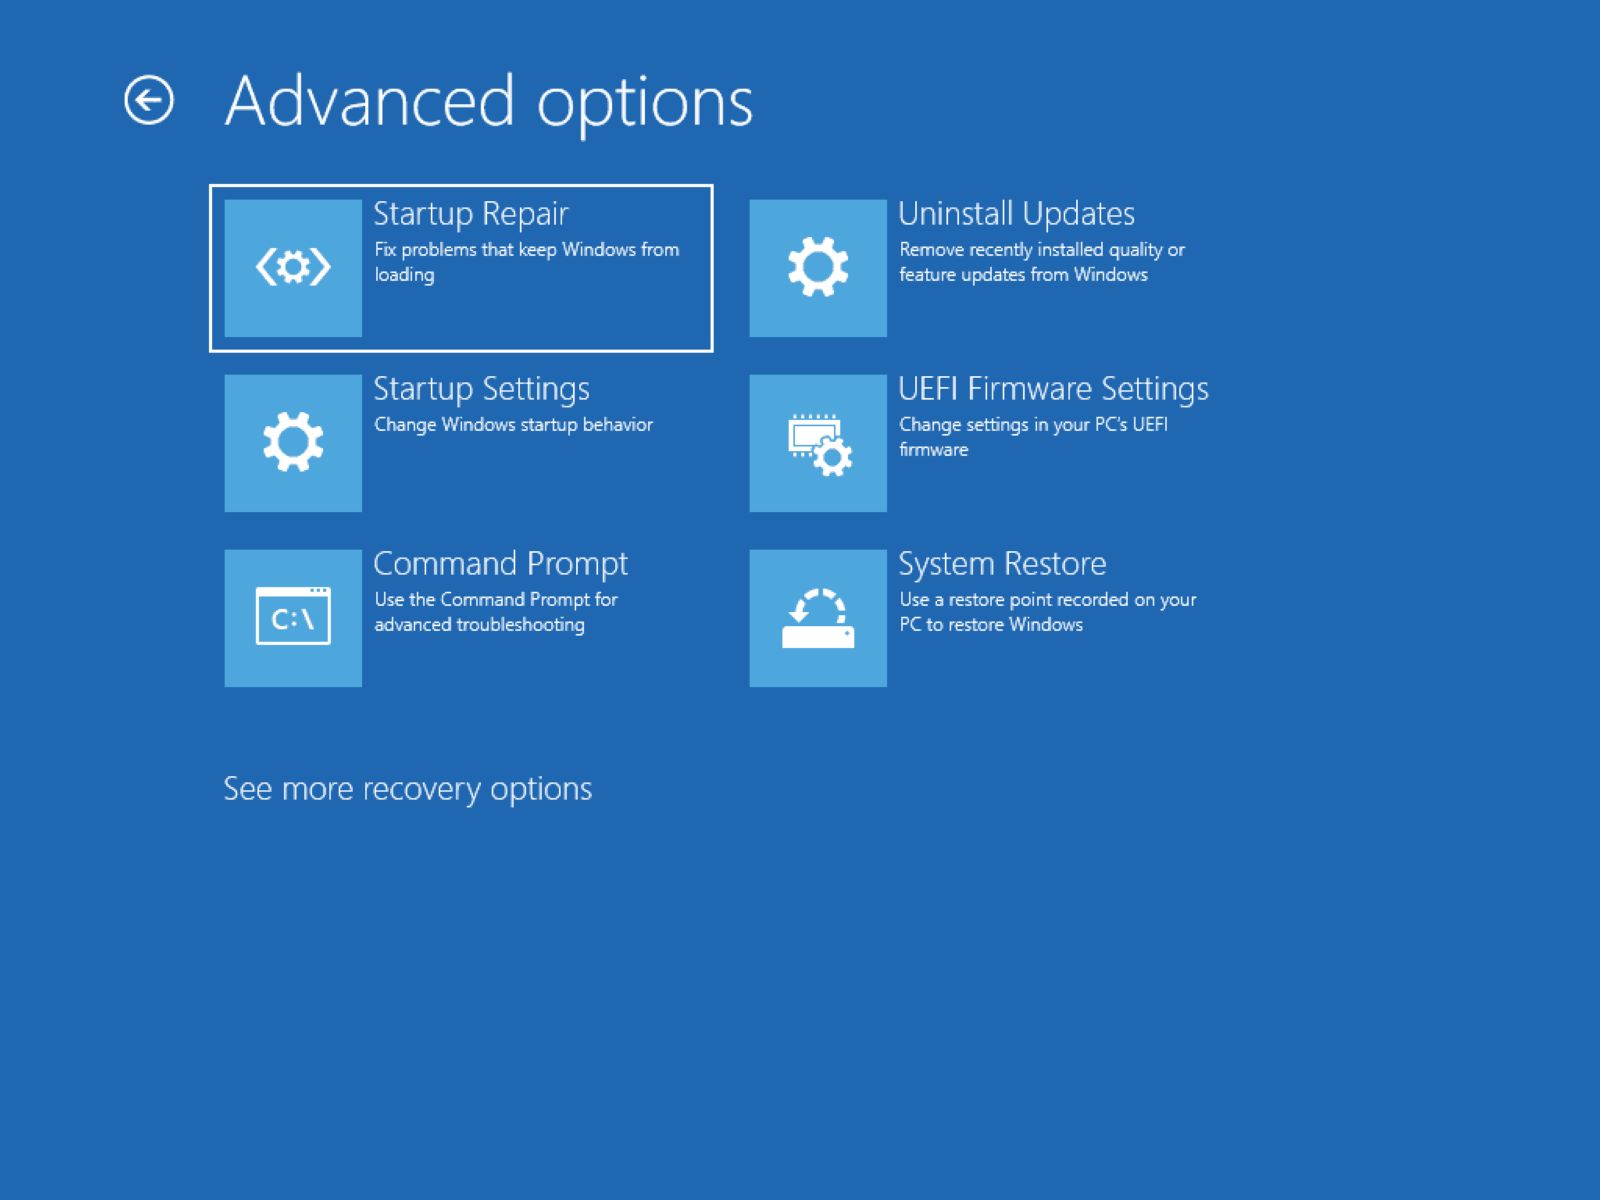
Restoring your PC to a Previous Restore Point
If you are facing persistent Windows problems and suspect that recent changes or updates may be the cause, restoring your PC to a previous restore point can be an effective solution. Restore points are created automatically by Windows or manually by the user during certain events, such as software installations or system updates. Restoring your PC to a previous restore point allows you to revert your system back to a stable state. Here’s how to do it:
- Click on the Start menu and open the Control Panel.
- Go to the System and Security section and click on “System.”
- In the System window, click on “System protection” in the left-hand sidebar.
- In the System Properties window, click on the “System Restore” button.
- Follow the on-screen instructions provided by the System Restore wizard.
- Select a restore point from the available list (usually with a date and description) and click “Next.”
- Review the details of the selected restore point and click “Finish” to start the restoration process.
- Wait for the process to complete. Your PC will restart during this process.
Restoring your PC to a previous restore point allows you to undo system changes that may have caused the Windows problems you are experiencing. It can help in situations where other troubleshooting methods have failed, or when you specifically suspect that a recent installation or update is causing the issue.
It’s important to note that restoring your PC to a previous restore point will revert system settings, installed applications, and Windows updates to the state they were in at that time. Any changes made after the selected restore point will be lost. Therefore, it is advisable to backup important files and data before proceeding with a system restore.
If you do not have any available restore points or if the restore point does not resolve the issue, you may need to explore other troubleshooting methods or consider a more extensive solution, such as reinstalling or repairing Windows.
By utilizing the system restore feature, you can potentially resolve common Windows problems by returning your PC to a stable and functional state. It is a helpful tool to have in your troubleshooting arsenal and can save you time and effort in identifying and resolving the root cause of the issue.
Reinstalling or Repairing Windows
If you have exhausted all other troubleshooting methods and are still experiencing persistent Windows problems, reinstalling or repairing the operating system may be necessary. This process allows you to start with a fresh installation of Windows or repair the existing installation without losing your personal files and data. Here are the steps to reinstall or repair Windows:
- Before proceeding, ensure that you have a backup of all your important files and data. This is crucial as the reinstallation or repair process can potentially overwrite or delete your files.
- If you want to preserve your personal files, you can choose to repair your existing Windows installation. To do this, insert the Windows installation media (DVD or USB drive) into your computer and restart it. Press the appropriate key to boot from the installation media, then select your language preferences and click “Repair your computer.” Follow the on-screen instructions to initiate the repair process.
- If you prefer to perform a clean installation of Windows, follow the same steps as above to boot from the installation media. Instead of selecting “Repair your computer,” choose the option to install Windows. During the installation process, select the appropriate options for preserving your personal files.
- Follow the on-screen instructions to complete the reinstallation or repair process. This may involve formatting your hard drive, selecting the installation location, and configuring your preferences.
- After the process is complete, your PC will restart, and you can set up your user account and customize your settings.
- Once Windows is reinstalled or repaired, reinstall your applications, restore your files from backup, and ensure that all drivers and software are up to date.
Reinstalling or repairing Windows is a more involved process and should be considered as a last resort when other troubleshooting methods have been exhausted. It can help resolve persistent Windows problems, especially those caused by major system errors or conflicts.
Before proceeding, it is essential to note that reinstalling or repairing Windows will remove any software and settings that are not a part of the default Windows installation. Therefore, make sure you have adequate backups and copies of your important files and software license keys to reinstall necessary applications.
If you are unsure about the reinstallation or repair process, it is recommended to seek expert assistance or refer to official Microsoft documentation for detailed instructions based on your Windows version.
Remember that reinstalling or repairing Windows should be a last resort, and it’s essential to explore other troubleshooting methods and consult with professionals if needed before proceeding with such drastic measures.
Performing a Clean Install of Windows
If you are experiencing severe and persistent Windows problems that cannot be resolved by other troubleshooting methods, a clean install of Windows may be necessary. This process involves wiping your hard drive and installing a fresh copy of Windows, which can help eliminate any underlying issues or corrupted system files. Here’s how to perform a clean install of Windows:
- Before proceeding, back up all your important files and data. A clean install will erase all data on your hard drive.
- Create a bootable Windows installation media. This can be a USB drive or DVD containing the Windows setup files.
- Insert the bootable installation media into your computer and restart the system.
- Boot from the installation media by pressing the appropriate key (usually F12 or Delete) during startup and selecting the boot device option.
- Follow the on-screen instructions to set up the language preferences, time and currency format, and keyboard layout.
- Click on the “Install now” button and accept the license terms.
- Choose the “Custom” installation option, which allows you to clean the hard drive and perform a fresh installation of Windows.
- Select the partition on which you want to install Windows, or create a new partition if necessary.
- Format the partition and proceed with the installation process.
- Follow the remaining on-screen instructions to complete the installation.
- After the installation is complete, reinstall your applications, restore your files from backup, and ensure that all drivers and software are up to date.
A clean install of Windows can help resolve persistent Windows problems that cannot be fixed through other troubleshooting methods. This method provides a fresh start by removing any accumulated system errors, malware, or software conflicts.
It is important to note that performing a clean install will remove all files and programs from your hard drive. Therefore, it is crucial to back up your important data beforehand and ensure that you have the necessary software installation files and license keys for reinstalling your applications.
If you are uncertain about performing a clean install of Windows, it is recommended to seek assistance from a professional or refer to the official Microsoft documentation for detailed instructions specific to your Windows version.
Performing a clean install should be considered a last resort after exhausting all other troubleshooting methods. It is a more extensive process, but it can provide a clean and stable Windows environment, free from persistent issues.