
What is Home View?
Home View is a feature available on the Google Home Hub that allows you to control and manage all your compatible smart home devices in one place. It acts as a central command center, giving you a convenient and intuitive way to interact with your devices without having to use multiple apps or devices.
With Home View, you can easily see the status of your devices at a glance, such as whether your lights are on or off, the temperature in different rooms, or if your security cameras are active. You can also control these devices directly from the Home View interface, making it a seamless and efficient way to manage your smart home ecosystem.
The Google Home Hub integrates with a wide range of smart home devices, including lights, thermostats, cameras, door locks, and more. It supports popular smart home platforms like Google Assistant, Nest, Philips Hue, and Samsung SmartThings, allowing you to connect and control devices from different manufacturers.
One of the key advantages of Home View is its simplicity and ease of use. The interface is designed to be user-friendly, with a visually appealing layout that highlights device status and provides quick access to commonly used controls. Navigating through different rooms or devices is straightforward, and you can easily customize the organization to suit your preferences.
Furthermore, Home View provides a seamless integration with other Google services and features. For example, you can use voice commands with Google Assistant to control your devices, ask for weather updates, or play music. You can also create routines to automate tasks and set up personalized actions based on specific triggers or schedules.
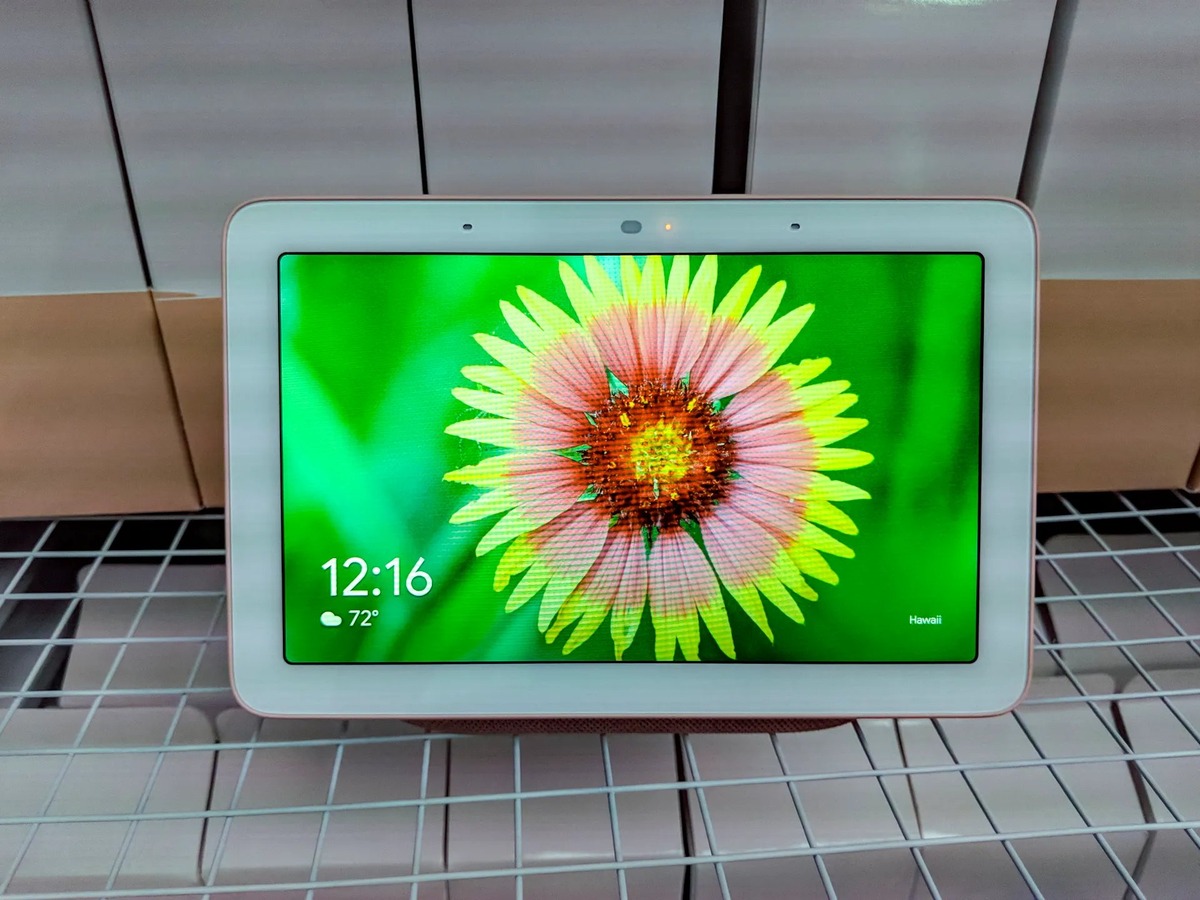
To access Home View on the Google Home Hub, simply swipe down from the top of the screen, and you will be greeted with an overview of your connected devices. From there, you can explore all the functionality and features that Home View has to offer.
Setting up Home View
Setting up Home View on your Google Home Hub is a straightforward process that can be done in a few easy steps. Here’s how to get started:
- Ensure that your Google Home Hub is connected to the same Wi-Fi network as your smart home devices.
- Open the Google Home app on your smartphone or tablet.
- Tap on the “Settings” tab at the bottom right corner of the screen.
- Scroll down and select “Home View”.
- Tap on “Set up Home View”.
- Follow the on-screen instructions to connect your compatible smart home devices to Home View.
- Once the setup is complete, you will see a list of all your connected devices in the Home View interface.
During the setup process, the Google Home app will automatically detect and list the compatible devices available in your home. You can add or remove devices from Home View as needed, giving you full control over which devices are displayed in the interface.
It’s important to note that not all smart home devices may be compatible with Home View. Make sure to check the list of supported devices and platforms to ensure compatibility before attempting to set up Home View.
In some cases, you may need to link your smart home devices to the Google Assistant before they can be added to Home View. This can usually be done by opening the corresponding manufacturer’s app and going through the linking process.
Once you have set up Home View and added your devices, you can start enjoying the convenience of controlling and managing all your smart home devices from one central location. From adjusting the temperature to turning on the lights, Home View gives you quick and easy access to all the controls you need.
Remember to periodically check for updates and firmware upgrades for your Google Home Hub and smart home devices to ensure optimal performance and compatibility with Home View.
Adding Devices to Home View
Adding your compatible smart home devices to Home View on the Google Home Hub is a simple process. Here’s how you can add devices:
- Make sure your Google Home Hub is connected to the same Wi-Fi network as your smart home devices.
- Swipe down from the top of the screen to access the Home View interface.
- Tap on the “+” icon in the top right corner of the screen to start the device setup process.
- Choose the type of device you want to add from the list of options. This can include lights, thermostats, cameras, locks, and more.
- Follow the on-screen instructions to connect and configure the device.
- Once the device is successfully added, it will appear in the Home View interface.
When adding devices, it’s important to ensure that they are compatible with the Google Home Hub and are supported by Home View. Not all devices may be compatible, so it’s a good idea to check the list of supported devices and platforms before adding them.
If your device requires additional setup outside of the Google Home app, such as linking it to the manufacturer’s app or hub, make sure to complete those steps before attempting to add it to Home View.
Once a device is added to Home View, you can control it directly from the interface. For example, you can turn lights on or off, adjust the temperature, lock or unlock doors, or view live feeds from security cameras.
In addition to adding individual devices, you can also organize them into specific rooms or create groups for easier control. For example, you can have a “Living Room” room with devices like a TV, lights, and a thermostat, making it convenient to control everything in that room with a single tap.
Remember to regularly update the firmware and software of your smart home devices to ensure compatibility and access to the latest features. Additionally, if you make any changes to your Wi-Fi network or replace a device, you may need to remove and re-add them to Home View for proper functionality.
Removing Devices from Home View
If you no longer need a particular smart home device to be displayed in Home View on your Google Home Hub, you can easily remove it from the interface. Here’s how:
- Swipe down from the top of the screen to access the Home View interface.
- Find the device you want to remove.
- Press and hold the device card until a pop-up menu appears.
- Select “Remove device” from the menu.
- Confirm your choice by tapping “Remove” in the confirmation dialog.
Once the device has been successfully removed, it will no longer be visible in the Home View interface. However, please note that removing a device from Home View does not disconnect it from your smart home ecosystem or prevent you from controlling it through other means, such as the manufacturer’s app or other smart home hubs you may have.
If you ever need to add the device back to Home View, you can follow the steps outlined in the “Adding Devices to Home View” section of this guide.
Removing devices from Home View can be useful if you have devices that are no longer in use, have been replaced with newer models, or if you simply want to declutter the interface. By removing unnecessary devices, you can streamline and customize your Home View to display only the devices that are most relevant to you and your daily routines.
It’s important to note that removing a device from Home View does not remove the device from your connected smart home services. You may still need to manage the device and its settings through the manufacturer’s app or other external management interfaces.
Keep in mind that removing and adding devices to Home View does not affect the device’s connectivity or functionality. It simply adjusts the visibility of the device within the Home View interface on your Google Home Hub.
Controlling Devices in Home View
Home View on the Google Home Hub provides a convenient and intuitive way to control your smart home devices. Once you have added your devices to Home View, you can easily interact with them directly from the interface. Here’s how:
To control a device in Home View:
- Swipe down from the top of the screen to access the Home View interface.
- Find the device you want to control.
- Tap on the device card to expand it and view more details and controls.
- Depending on the device, you may have options to turn it on or off, adjust settings, change modes, or view live feeds.
- Make the desired changes or adjustments.
- Once you’re done, you can either collapse the device card or swipe up to return to the main Home View interface.
Controlling devices in Home View is designed to be quick and intuitive. You can easily toggle lights on or off, adjust thermostat settings, lock or unlock doors, or view live feeds from security cameras, all from one central location.
In addition to controlling individual devices, you can also manage groups and rooms. By organizing your devices into rooms or creating custom groups, you can control multiple devices with a single tap. For example, you can create a “Bedroom” group that includes the lights, thermostat, and smart speaker in your bedroom, allowing you to control all of them at once.
Home View also integrates with voice commands through Google Assistant. You can use the “Hey Google” wake word followed by a command to control your devices by voice. For example, you can say “Hey Google, turn off the living room lights” or “Hey Google, set the thermostat to 72 degrees.”
With the ability to control your devices right from the Home View interface or with voice commands, managing your smart home has never been easier or more convenient. Whether it’s adjusting the ambience, setting the perfect temperature, or ensuring your home security, Home View provides seamless control over all your connected devices.
It’s important to note that the availability of controls may vary depending on the device and its compatibility with Home View. Some devices may have limited controls or require additional setup through the manufacturer’s app or hub.
Organizing and Customizing Home View
One of the great features of Home View on the Google Home Hub is the ability to organize and customize the interface to suit your preferences. Here are some ways you can make Home View work best for you:
Create Rooms: In Home View, you can organize your devices into different rooms. For example, you can have a “Living Room” room that includes the lights, TV, and thermostat in that area. This allows you to easily control all the devices in a specific room with a simple tap. To create a room, open the Home View interface, swipe down, and tap on the “+” icon. Then, select “Room” and follow the prompts to add devices to the room.
Create Groups: In addition to rooms, you can also create custom groups for even more convenient control. For example, you can create a “Good Night” group that includes the lights, thermostat, and security system that you want to activate before going to bed. To create a group, follow the same steps as creating a room, but select “Group” instead.
Reorder Devices: By default, devices in Home View are ordered alphabetically or based on the room they are assigned to. However, you can customize the order of devices to match your preferences. To reorder devices, open the Home View interface, swipe down, and tap on the “Reorder” icon (looks like two lines). Then, simply drag and drop the devices to the desired position.
Remove Unused Devices: If you have devices in Home View that you no longer use or no longer wish to see, you can easily remove them. To remove a device, swipe down to access Home View, find the device card, press and hold it until a pop-up menu appears, and select “Remove device”. Confirm your choice, and the device will be removed from Home View.
Customize Room Icons: To make your Home View even more visually appealing, you can customize the icons for rooms. Gone are the days of generic icons for every room. Simply open the Home View interface, swipe down, tap on the room card you want to customize, and select “Edit Room”. From there, you can choose from a variety of pre-set icons or even upload your own custom icon.
Add Shortcuts: If you have routines set up in the Google Home app or frequently used commands, you can add shortcuts to Home View for quick and easy access. To add a shortcut, open the Home View interface, swipe down, tap on the “+” icon, and select “Shortcut”. Follow the prompts to add the desired routine or command.
With the ability to create rooms, groups, reorder devices, customize icons, and add shortcuts, you can truly tailor Home View to match your smart home setup and preferences. Take advantage of these customization options to make Home View your own and enhance the usability and efficiency of managing your smart home.
Using Routines with Home View
Routines are a powerful feature that allows you to automate tasks and create personalized actions based on specific triggers or schedules. With Home View on the Google Home Hub, you can easily incorporate routines into your smart home setup. Here’s how to use routines with Home View:
Create Routines: Open the Google Home app on your smartphone or tablet and navigate to the “Routines” section. Here, you can create custom routines by selecting the triggers, actions, and conditions you desire. For example, you can create a routine that turns off all the lights and lowers the thermostat when you say “Goodnight” to your Google Home Hub. Once you have created the routine, it will be available in Home View.
Access Routines in Home View: To access your routines in Home View, swipe down from the top of the screen to open the interface. Scroll through the device cards until you find the “Routines” section. Tap on it to view all your available routines. From here, you can trigger your routines with a simple tap or voice command.
Trigger Routines with Voice Commands: With Google Assistant integration, you can easily trigger your routines using voice commands. Simply say “Hey Google” followed by the name of your routine. For example, you can say “Hey Google, start my morning routine” to have your selected actions performed, such as turning on the coffee maker and adjusting the lights.
Schedule Routines: If you prefer, you can also schedule your routines to run automatically at specific times or days. In the Google Home app, when creating or editing a routine, you will have the option to set a schedule. This allows you to define when the routine should be triggered, such as every weekday at 7:00 AM or every evening at sunset.
Customize Routine Actions: When creating or editing a routine in the Google Home app, you can customize the actions that are performed. This includes controlling devices in Home View, adjusting the volume of your Google Home Hub, playing music, setting alarms, and much more. Feel free to experiment and create routines that suit your specific needs and preferences.
Using routines with Home View not only adds convenience to your smart home experience but also allows you to create a seamless and personalized environment. Whether it’s automating your morning routine, setting the mood for an evening at home, or implementing energy-saving actions, routines help streamline and simplify your daily tasks.
Remember to periodically review and update your routines to ensure they continue to serve your changing needs, and if you ever want to remove a routine from Home View, you can delete or disable it in the Google Home app.
Troubleshooting Home View Problems
While Home View on the Google Home Hub is designed to be user-friendly and seamless, you may encounter some issues or difficulties along the way. Here are some common troubleshooting steps to help resolve Home View problems:
Check for Updates: Make sure that your Google Home Hub, Google Home app, and smart home devices are all running the latest firmware and software versions. Regular updates can often fix bugs and improve compatibility with Home View. Check for updates in the respective apps or device settings.
Ensure Proper Connectivity: Double-check that your Google Home Hub and smart home devices are all connected to the same Wi-Fi network. Inconsistent or weak Wi-Fi signals can cause problems with device visibility and control in Home View. Consider moving your devices closer to the router or using Wi-Fi range extenders if necessary.
Restart Devices: Sometimes, a simple restart can resolve temporary glitches. Try restarting your Google Home Hub, smart home devices, and your router. This can help refresh their connections and clear any temporary issues that may be affecting Home View.
Re-Add Devices: If a particular device is not showing up or behaving correctly in Home View, try removing and re-adding it to Home View. This can help re-establish the connection and refresh the device’s settings. Follow the steps outlined in the “Removing Devices from Home View” and “Adding Devices to Home View” sections of this guide.
Check Device Compatibility: Confirm that your smart home devices are compatible with Home View and supported by Google Assistant. Refer to the manufacturer’s documentation or the Google Home website for a list of compatible devices. If a device is not officially supported, you may have limited or no control capabilities in Home View.
Reset Home Hub: As a last resort, you can perform a factory reset on your Google Home Hub. However, be aware that this will erase all your personalized settings and data. To perform a reset, find the physical reset button on the device or follow the instructions in the Google Home app. After the reset, set up the Home Hub again and try adding your devices to Home View.
Contact Customer Support: If you have tried all the troubleshooting steps and are still experiencing issues with Home View, it may be helpful to reach out to customer support for further assistance. Contact the support teams of your Google Home Hub, the Google Home app, and the manufacturers of your smart home devices. They may be able to offer specific troubleshooting steps or identify any known issues.
Remember, technology can be complex, and sometimes issues arise that are beyond your control. It’s important to remain patient and persistent when troubleshooting Home View problems. With the right steps and resources, you can usually overcome any obstacles and enjoy the full benefits of Home View on your Google Home Hub.