
Assessing the Damage
Before embarking on the task of fixing a broken phone case, it’s essential to thoroughly assess the extent of the damage. This initial step will provide crucial insights into the required repairs and help determine whether a replacement might be necessary. Here’s a detailed guide on how to effectively assess the damage:
- Evaluate the Severity: Carefully examine the case to identify the severity of the damage. Look for cracks, breaks, or any other signs of wear and tear. Note the areas that require immediate attention.
- Check for Loose Components: Inspect the case for any loose or detached components, such as buttons, clips, or decorative elements. These may need to be reattached or replaced during the repair process.
- Assess the Structural Integrity: Determine whether the structural integrity of the case has been compromised. A thorough assessment will reveal any potential weaknesses or vulnerable areas that need reinforcement.
- Examine the Impact on Device Protection: Consider how the damage to the case may impact its ability to protect the phone. Assess whether the broken areas leave the device susceptible to further damage or if they compromise its overall protection.
- Document the Findings: Take note of all identified issues and document the specific areas that require attention. This documentation will serve as a valuable reference throughout the repair process.
By meticulously evaluating the damage and documenting your findings, you’ll be better equipped to proceed with the necessary repairs. This comprehensive assessment sets the stage for a successful restoration of the phone case, ensuring that all areas of concern are effectively addressed.
Gathering Materials
Once the damage to the phone case has been thoroughly assessed, the next crucial step is to gather the necessary materials for the repair process. Having the right tools and supplies at hand will streamline the restoration and ensure a successful outcome. Here’s a comprehensive guide on gathering the essential materials:
- Replacement Case or Repair Kit: Depending on the severity of the damage, consider whether a replacement case or a specialized repair kit is required. Assess whether a complete replacement is necessary or if the damage can be effectively repaired.
- Cleaning Supplies: Prepare cleaning supplies such as a soft cloth, rubbing alcohol, or gentle cleaning solution to thoroughly clean the case before initiating the repair. A clean surface is essential for ensuring proper adhesion during the repair process.
- Adhesive or Epoxy: Select a high-quality adhesive or epoxy specifically designed for bonding the material of the phone case. Ensure that the adhesive is suitable for the type of material the case is made of, whether it’s plastic, silicone, or another composite.
- Clamps or Clips: Depending on the repair method, gather clamps or clips that can be used to hold the case together during the adhesive application and drying process. These tools are essential for ensuring a secure and uniform bond.
- Protective Gear: Prioritize safety by acquiring protective gear such as gloves and safety glasses, especially if the repair process involves handling sharp edges or toxic adhesives. Safety should always be a top priority during any repair work.
- Additional Decorative Elements: If the phone case features decorative elements such as stickers, decals, or embellishments, consider sourcing replacements or alternatives to restore the case’s original aesthetic appeal.
By meticulously gathering the required materials, you’ll be well-prepared to commence the repair process with confidence. Having the necessary tools and supplies at your disposal is a critical aspect of ensuring a successful restoration of the phone case, ultimately prolonging the lifespan of the device’s protective cover.
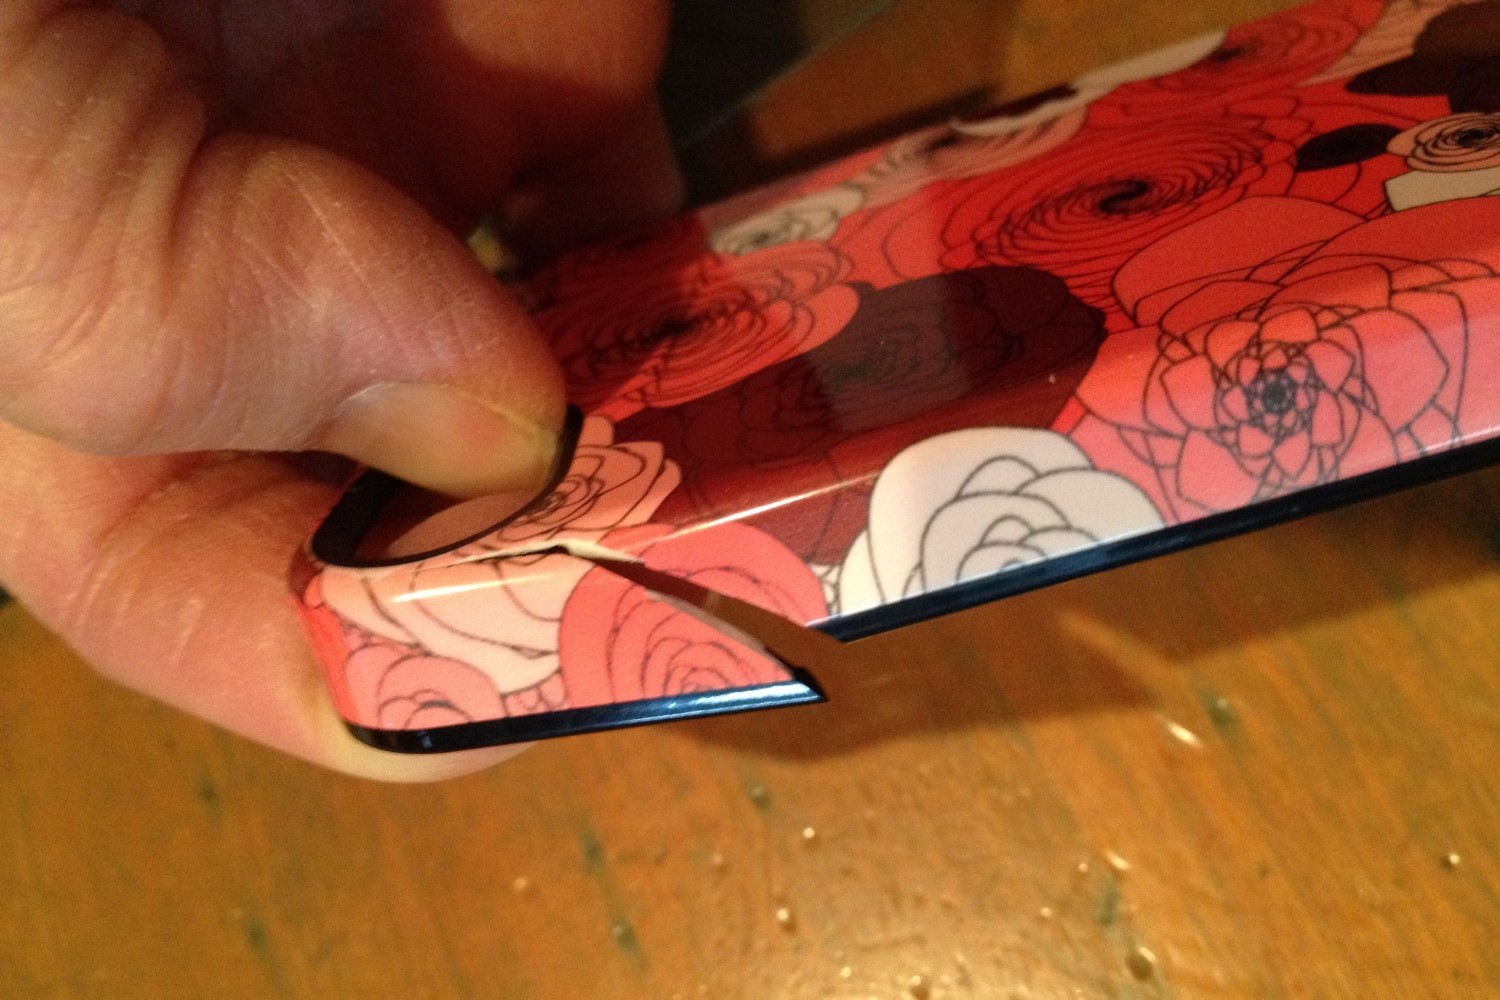
Removing the Old Case
Before initiating the repair of a broken phone case, it’s essential to safely remove the old, damaged case from the device. This process requires careful attention to prevent any further damage to the phone or the case itself. Here’s a step-by-step guide on effectively removing the old case:
- Power Off the Device: Begin by powering off the phone to minimize the risk of accidental damage during the case removal process. This precautionary step ensures the safety of the device and the individual performing the repair.
- Inspect for Attachment Points: Carefully examine the case to identify any attachment points, such as clips, screws, or adhesive areas. Understanding how the case is secured to the device will guide the removal process.
- Follow Manufacturer Guidelines: If available, refer to the manufacturer’s guidelines for removing the phone case. Some cases may have specific instructions or mechanisms for safe removal.
- Use Gentle Pressure: Apply gentle and even pressure to gradually detach the case from the device. Avoid using excessive force, as this can lead to unintended damage to the phone or the case itself.
- Utilize Safe Removal Tools: If necessary, use safe removal tools such as plastic pry tools or non-abrasive implements to aid in separating the case from the device. Exercise caution to avoid scratching or denting the phone.
- Inspect for Residue: After removing the case, inspect the phone for any adhesive residue or debris that may have accumulated on the device. Clean the phone’s surface using gentle cleaning solutions to ensure a clean bonding surface for the new case.
By meticulously following these steps, the old phone case can be safely and effectively removed, setting the stage for the subsequent repair or replacement process. Taking the time to remove the old case with care helps preserve the integrity of the device and ensures a smooth transition to the restoration phase.
Repairing the Cracks or Breaks
Once the old case has been safely removed, the focus shifts to repairing the cracks or breaks that have compromised the integrity of the phone case. This critical step involves meticulous attention to detail and the application of appropriate repair techniques. Here’s a detailed guide on effectively repairing the cracks or breaks in the phone case:
- Clean the Damaged Areas: Begin by thoroughly cleaning the cracked or broken areas of the case to remove any debris, dust, or residue. A clean surface is essential for ensuring a strong and durable repair.
- Assess the Extent of Damage: Evaluate the extent of the cracks or breaks to determine the appropriate repair method. Minor cracks may require a different approach than extensive breaks or fractures in the case.
- Select the Repair Method: Depending on the material of the case and the nature of the damage, choose the most suitable repair method. Options may include using adhesive, epoxy, or specialized repair materials designed for the specific type of case material.
- Realign and Secure the Components: If the damage has caused components of the case to become misaligned, carefully realign them before proceeding with the repair. Use gentle pressure to ensure a snug fit before applying the repair solution.
- Apply the Repair Solution: Following the manufacturer’s instructions, apply the chosen repair solution to the cracked or broken areas of the case. Ensure that the solution penetrates the damaged areas and forms a strong bond to restore the case’s structural integrity.
- Allow Sufficient Drying Time: After applying the repair solution, allow the case to dry thoroughly as per the product’s recommended drying time. Avoid handling the case during this period to prevent disruptions to the repair process.
By meticulously following these steps, the cracks or breaks in the phone case can be effectively repaired, restoring its functionality and protective capabilities. This meticulous approach to repair ensures that the case is structurally sound and capable of safeguarding the device from potential damage.
Applying the Adhesive
Applying the adhesive is a crucial step in the process of repairing a broken phone case. The proper application of adhesive ensures a strong and durable bond, restoring the structural integrity of the case. Here’s a comprehensive guide on effectively applying adhesive to repair the phone case:
- Select the Suitable Adhesive: Choose an adhesive that is specifically formulated for the material of the phone case. Different materials, such as plastic, silicone, or composite, may require different types of adhesive for optimal bonding.
- Prepare the Work Area: Create a clean and well-ventilated work area for the adhesive application process. Ensure that the work surface is free from dust, debris, and other contaminants that could compromise the bonding process.
- Follow Manufacturer’s Instructions: Carefully review and follow the manufacturer’s instructions for the application of the chosen adhesive. Adhering to the recommended application method is essential for achieving a reliable and long-lasting bond.
- Apply Adhesive Evenly: Use a steady hand to apply the adhesive evenly to the surfaces that require bonding. Ensure that the adhesive is spread uniformly to promote a strong and consistent bond across the repaired areas of the case.
- Secure the Components: If the repair involves reattaching components of the case, such as clips or decorative elements, apply the adhesive and secure the components in their correct positions. Use gentle pressure to ensure a secure bond.
- Wipe Excess Adhesive: Carefully wipe away any excess adhesive that may have seeped out from the bonded areas. A clean and tidy finish enhances the appearance of the repaired case.
By meticulously following these steps, the adhesive can be applied effectively, facilitating a strong and reliable bond between the repaired areas of the phone case. This meticulous approach ensures that the case is restored to its original structural integrity, providing the necessary protection for the device.
Allowing the Case to Dry
After the adhesive has been applied to the repaired areas of the phone case, allowing sufficient drying time is essential to ensure a secure and long-lasting bond. This critical step in the repair process contributes to the overall durability and effectiveness of the restoration. Here’s a detailed guide on allowing the case to dry effectively:
- Refer to Manufacturer’s Drying Guidelines: Consult the manufacturer’s instructions or product specifications to determine the recommended drying time for the adhesive. Adhering to these guidelines is crucial for achieving optimal bonding strength.
- Minimize Disturbances: Place the repaired phone case in a controlled environment where it can dry undisturbed. Minimizing movements and disturbances during the drying process ensures that the adhesive sets uniformly and securely.
- Ensure Adequate Ventilation: Provide adequate ventilation in the drying area to facilitate the evaporation of solvents and promote the curing of the adhesive. Proper ventilation contributes to the overall effectiveness of the drying process.
- Monitor the Drying Progress: Periodically check the drying progress of the adhesive to ensure that it is proceeding as expected. Avoid handling the case during this time to prevent disruptions to the bonding process.
- Verify Complete Drying: Once the recommended drying time has elapsed, verify that the adhesive has fully dried and cured. Gently touch the repaired areas to ensure that they are no longer tacky or soft to the touch.
By meticulously allowing the case to dry according to the manufacturer’s guidelines, the adhesive can fully cure, resulting in a strong and durable bond between the repaired areas of the phone case. This meticulous approach ensures that the repair is completed with the utmost attention to detail, ultimately prolonging the lifespan of the restored case.
Reassembling the Phone Case
Once the repaired phone case has undergone the necessary drying period, the final step involves reassembling the case to its original form. This process ensures that all components are securely in place, and the case is ready to resume its protective function for the device. Here’s a comprehensive guide on effectively reassembling the phone case:
- Inspect the Repaired Areas: Before reassembling the case, carefully inspect the repaired areas to ensure that the adhesive has fully cured and the structural integrity has been restored. Verify that the cracks or breaks have been effectively repaired.
- Clean the Case Components: Thoroughly clean any components of the case, such as buttons, clips, or decorative elements, before reassembly. A clean surface promotes a secure and uniform fit during the reassembly process.
- Align the Components: Ensure that all components are correctly aligned and positioned for reassembly. Pay attention to the orientation of buttons, ports, and any other features to ensure proper functionality.
- Secure the Components: Use gentle pressure to secure the components back into their designated positions. If necessary, refer to the manufacturer’s guidelines for specific reassembly instructions.
- Test the Functionality: After reassembly, conduct a brief functionality test to ensure that the case components are functioning as intended. Verify that buttons are responsive, ports are accessible, and the overall fit is secure.
- Reattach the Case to the Device: Carefully reattach the repaired case to the device, following any specific attachment instructions provided by the manufacturer. Ensure a snug and secure fit to guarantee optimal protection for the device.
By meticulously following these steps, the phone case can be effectively reassembled, ready to resume its essential role in safeguarding the device. This meticulous approach ensures that the case is restored to its original functionality and appearance, providing reliable protection for the phone.