
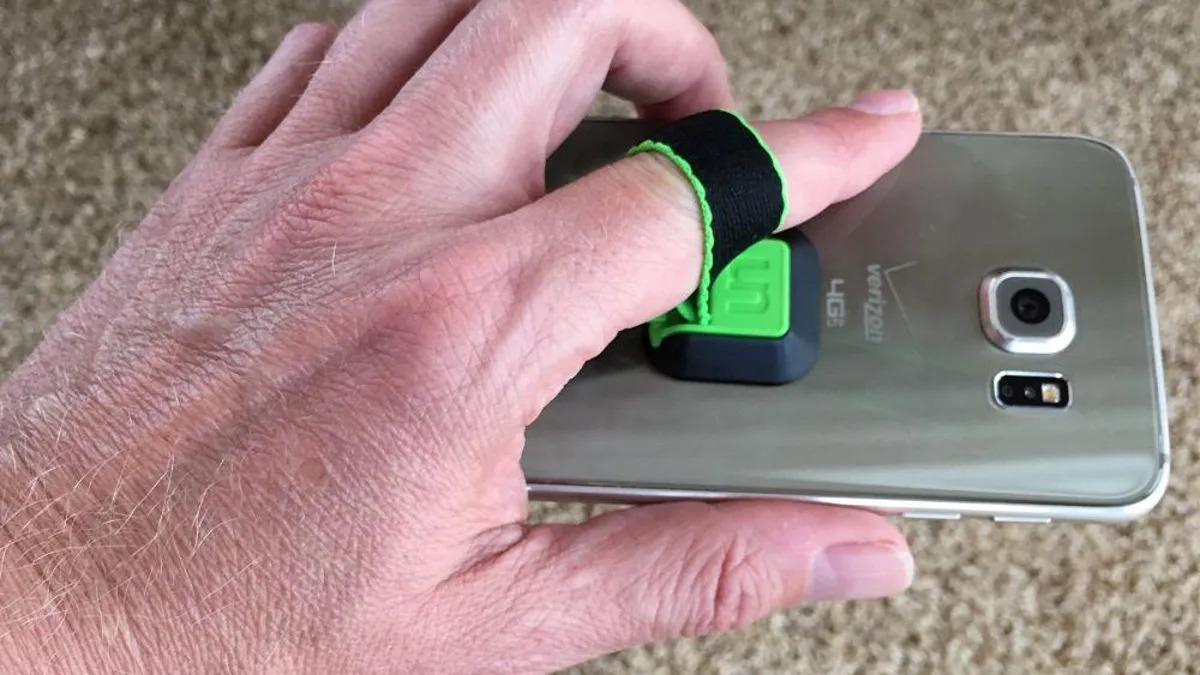
Assessing the Damage
Before diving into the repair process, it’s crucial to thoroughly assess the condition of your phone’s ring holder. This step is essential for determining the extent of the damage and the most suitable repair approach. Here’s how to effectively evaluate the situation:
- Check for Loose Parts: Carefully inspect the ring holder to identify any loose or detached components. If the ring holder is wobbly or unstable, it’s likely that the screws or adhesive securing it in place have loosened.
- Examine for Cracks or Breaks: Take a close look at the ring holder to spot any signs of damage, such as cracks or breaks. These issues can compromise the structural integrity of the holder and may require more extensive repairs.
- Assess the Range of Motion: Test the ring holder’s swivel and rotation capabilities. If it feels stiff, unresponsive, or excessively loose, there may be internal damage affecting its functionality.
- Inspect the Attachment Points: If the ring holder is attached to a case or directly to the phone, examine the attachment points for signs of wear, damage, or misalignment. This is particularly important for adhesive-mounted holders.
By thoroughly evaluating these key aspects, you’ll gain a clear understanding of the specific issues affecting your phone’s ring holder. This knowledge will guide you in selecting the most appropriate repair method, ensuring that you address the root cause of the problem effectively.
Tools and Materials Needed
Equipping yourself with the right tools and materials is essential for successfully repairing your phone’s ring holder. Here’s a comprehensive list of what you’ll need to have on hand before beginning the repair process:
- Small Screwdriver Set: Ensure you have a precision screwdriver set with interchangeable heads, as it will be indispensable for accessing and securing components of the ring holder.
- Adhesive Remover: If your ring holder is attached with adhesive, having a safe and effective adhesive remover can simplify the removal process without damaging the phone or case.
- Replacement Parts: Depending on the nature of the damage, you may need replacement parts such as screws, a new ring holder, or adhesive strips. It’s advisable to have these on hand before starting the repair.
- Clean Cloth and Isopropyl Alcohol: A clean cloth and isopropyl alcohol are essential for wiping and sanitizing the phone and its case during the repair process.
- Tweezers: Precision tweezers can be incredibly useful for handling small components and intricate tasks during the repair.
- Plastic Opening Tools: These non-conductive, durable tools are ideal for prying open the phone’s case without causing damage.
- Heat Gun or Hair Dryer: If adhesive needs to be softened for removal, a heat gun or hair dryer can be used to gently warm the area, making the process easier and reducing the risk of damage.
- Work Surface and Lighting: Prepare a well-lit, clean work surface where you can comfortably perform the repair, ensuring that you have ample space and visibility for intricate tasks.
By gathering these essential tools and materials, you’ll be well-prepared to tackle the repair process with confidence, efficiency, and precision.
Repairing a Loose Ring Holder
A loose ring holder can be a frustrating inconvenience, but with the right approach, it can be remedied effectively. Follow these steps to repair a loose ring holder on your phone:
- Assess the Attachment Method: Determine how the ring holder is attached to your phone or case. If it’s secured with screws, carefully inspect them to ensure they are tightened. For adhesive-mounted holders, proceed to the next step.
- Prepare the Adhesive Remover: If the ring holder is attached with adhesive and has become loose, apply a small amount of adhesive remover to a clean cloth or cotton swab. Gently dab the affected area to soften the adhesive without saturating the phone or case.
- Reapply Adhesive: Once the adhesive has been sufficiently softened, carefully reposition the ring holder to its desired location. Apply gentle pressure to ensure a secure bond, and allow the adhesive to set according to the manufacturer’s instructions.
- Test for Stability: After the adhesive has fully cured, test the stability of the ring holder by gently applying pressure and verifying that it remains firmly in place. If the issue persists, consider using a stronger adhesive or exploring alternative attachment methods.
- Tighten Screws (if applicable): For ring holders secured with screws, use a suitable screwdriver to tighten any loose or wobbly screws. Be cautious not to overtighten, as this can cause damage to the holder or the phone.
- Inspect and Clean: Once the repair is complete, inspect the ring holder and surrounding area for any residual adhesive or debris. Use isopropyl alcohol and a clean cloth to gently wipe the area and ensure a tidy, professional finish.
By following these steps, you can effectively address a loose ring holder, restoring stability and functionality to this essential phone accessory.
Fixing a Broken Ring Holder
Dealing with a broken ring holder on your phone can be disheartening, but with the right approach, it’s possible to address this issue effectively. Here’s a step-by-step guide to fixing a broken ring holder:
- Assess the Damage: Carefully examine the extent of the breakage. If the damage is minor, it may be feasible to repair the existing holder. However, severe damage may necessitate the replacement of the entire holder.
- Remove the Broken Holder: If the ring holder is irreparable, carefully detach and remove it from the phone or case. Take care to avoid causing further damage during this process.
- Prepare the Replacement Holder: If a replacement ring holder is required, ensure that it is compatible with your phone model and case. Familiarize yourself with the installation process and any additional components needed for attachment.
- Install the Replacement Holder: Follow the manufacturer’s instructions for installing the new ring holder, whether it utilizes adhesive or screws. Take your time to align it properly and ensure a secure attachment to prevent future issues.
- Test for Functionality: Once the replacement holder is in place, test its swivel and rotation capabilities to ensure that it functions as intended. Verify that it provides the necessary support and stability for holding your phone securely.
- Secure Attachment Points: If the replacement holder is attached with screws, ensure that they are tightened securely without over-tightening. For adhesive-mounted holders, allow sufficient time for the adhesive to set and create a strong bond.
- Inspect and Clean: After the repair or replacement process is complete, inspect the area around the ring holder for any residual adhesive, debris, or imperfections. Use isopropyl alcohol and a clean cloth to wipe the surface, leaving it clean and professional in appearance.
By following these steps, you can effectively address a broken ring holder, restoring the functionality and aesthetic appeal of this essential phone accessory.
Replacing a Damaged Ring Holder
When a ring holder on your phone is significantly damaged and beyond repair, replacing it is often the most practical solution. Here’s a detailed guide to replacing a damaged ring holder:
- Identify the Replacement Holder: Before removing the damaged holder, ensure that you have a suitable replacement that is compatible with your phone model and case. Verify that it includes any necessary attachment components.
- Remove the Damaged Holder: Carefully detach and remove the damaged ring holder from the phone or case, taking care to avoid causing further damage during the removal process.
- Clean the Attachment Area: After removing the damaged holder, thoroughly clean the attachment area to ensure that it is free from debris, adhesive residue, or any obstructions that could hinder the installation of the new holder.
- Install the Replacement Holder: Follow the manufacturer’s instructions for installing the new ring holder, whether it utilizes adhesive or screws. Take your time to align it properly and ensure a secure attachment to prevent future issues.
- Test for Functionality: Once the replacement holder is in place, test its swivel and rotation capabilities to ensure that it functions as intended. Verify that it provides the necessary support and stability for holding your phone securely.
- Secure Attachment Points: If the replacement holder is attached with screws, ensure that they are tightened securely without over-tightening. For adhesive-mounted holders, allow sufficient time for the adhesive to set and create a strong bond.
- Inspect and Clean: After the replacement process is complete, inspect the area around the new ring holder for any residual adhesive, debris, or imperfections. Use isopropyl alcohol and a clean cloth to wipe the surface, leaving it clean and professional in appearance.
By following these steps, you can effectively replace a damaged ring holder, restoring the functionality and aesthetic appeal of this essential phone accessory.
Tips for Preventing Future Damage
After repairing or replacing your phone’s ring holder, taking proactive measures to prevent future damage is essential for maintaining its functionality and longevity. Consider the following tips to safeguard your ring holder from potential issues:
- Regular Inspections: Periodically inspect the ring holder for any signs of loosening, wear, or damage. Addressing minor issues early can prevent more extensive damage in the future.
- Secure Attachment: If your ring holder is attached with adhesive, ensure that it is securely bonded to the phone or case. If it uses screws, periodically check and tighten them as needed to maintain stability.
- Avoid Excessive Force: When adjusting the ring holder or using it to support the phone, handle it gently and avoid applying excessive force that could strain the attachment points or internal components.
- Proper Cleaning: When cleaning your phone or case, take care to avoid getting excessive moisture or cleaning agents near the ring holder. Use a gentle touch to prevent accidental damage during cleaning.
- Use a Protective Case: Consider using a protective case that integrates the ring holder, providing added stability and protection for both the holder and your phone.
- Follow Manufacturer Guidelines: If using adhesive to attach the ring holder, adhere to the manufacturer’s guidelines for application and curing times to ensure a strong and durable bond.
- Seek Professional Repairs: If you encounter significant damage or issues beyond your expertise, consider seeking professional assistance to address the problem effectively and prevent further complications.
- Stay Informed: Keep abreast of any product recalls, updates, or maintenance recommendations provided by the manufacturer to proactively address potential issues with your ring holder.
By implementing these preventative measures, you can prolong the lifespan of your phone’s ring holder and minimize the likelihood of future damage, ensuring that it continues to serve its purpose effectively.