
Backing Up Your Data
Before performing a factory reset on your iPhone 14, it's crucial to back up your data to ensure that you don't lose any important information. This process involves creating a copy of your files, settings, and other vital data so that you can easily restore them after the reset. Here's how you can back up your data effectively:
-
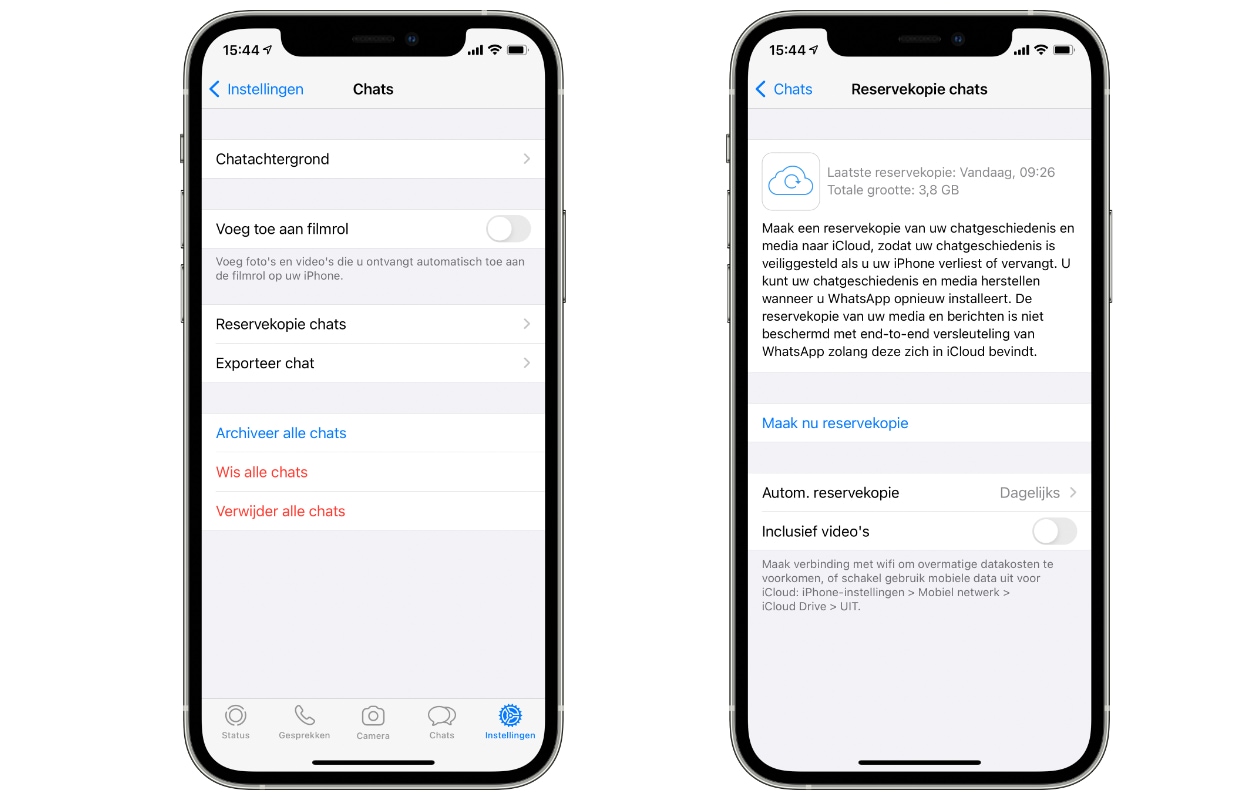
Using iCloud: iCloud offers a convenient way to back up your iPhone wirelessly. To do this, ensure that your device is connected to a Wi-Fi network and plugged into a power source. Then, navigate to "Settings," tap on your name, select "iCloud," and click on "iCloud Backup." Finally, tap "Back Up Now" to initiate the backup process. It's important to ensure that you have enough iCloud storage to accommodate the backup.
-
Using iTunes: If you prefer a more traditional approach, you can back up your iPhone 14 using iTunes. Start by connecting your device to a computer and launching iTunes. Select your iPhone when it appears in iTunes, and then click on "Back Up Now." This method allows you to create a complete backup of your device on your computer.
-
Backing Up Important Data: In addition to using iCloud or iTunes, it's a good practice to manually back up important data such as photos, videos, and documents to a cloud storage service or transfer them to your computer. This extra layer of protection ensures that your most valuable data is safeguarded.
By following these steps to back up your data, you can proceed with the factory reset of your iPhone 14 with confidence, knowing that your information is securely stored and ready to be restored once the reset is complete.
Turning Off Find My iPhone
Before initiating a factory reset on your iPhone 14, it's essential to disable the "Find My iPhone" feature. This security measure, designed to protect your device and personal information, must be turned off to ensure a smooth reset process. Here's a detailed guide on how to disable "Find My iPhone" effectively:
-
Accessing Settings: Begin by unlocking your iPhone 14 and navigating to the home screen. Locate and tap the "Settings" app, which is represented by a gear icon. This will open the device's settings menu, where you can manage various aspects of your iPhone.
-
Selecting Your Apple ID: Within the settings menu, you will find your name at the top. Tap on your name to access the Apple ID settings. This section contains a range of options related to your Apple account and device settings.
-
Navigating to iCloud: Once you are in the Apple ID settings, scroll down until you find the "iCloud" option. Tap on "iCloud" to access the iCloud settings, which include features such as iCloud Backup, iCloud Drive, and Find My iPhone.
-
Turning Off Find My iPhone: Within the iCloud settings, locate the "Find My iPhone" option. This feature is designed to help you locate and protect your device in case it's lost or stolen. To disable it, simply tap on "Find My iPhone" to access its settings.
-
Deactivating Find My iPhone: In the "Find My iPhone" settings, you will see a toggle switch next to the "Find My iPhone" option. To turn off this feature, simply tap the toggle switch, and it will change from green to gray, indicating that "Find My iPhone" has been successfully disabled.
-
Entering Apple ID Password: After turning off "Find My iPhone," you may be prompted to enter your Apple ID password for verification. This additional security step ensures that only authorized users can make changes to the device's security settings.
By following these steps, you can effectively turn off the "Find My iPhone" feature on your iPhone 14, preparing it for a factory reset. This process is crucial to ensure that the reset can be performed without any hindrances, allowing you to proceed with confidence knowing that your device is ready for the next steps in the reset process.
Performing the Factory Reset
Performing a factory reset on your iPhone 14 is a significant step that restores the device to its original settings, effectively erasing all data and settings. This process is essential in various scenarios, such as preparing the device for resale, resolving persistent software issues, or simply starting afresh with a clean slate. Here's a comprehensive guide on how to perform a factory reset on your iPhone 14:
-
Accessing Settings: Begin by unlocking your iPhone 14 and navigating to the home screen. Locate and tap the "Settings" app, represented by a gear icon. This will open the device's settings menu, where you can manage various aspects of your iPhone.
-
Selecting General: Within the settings menu, scroll down and tap on the "General" option. This section contains fundamental settings that affect the overall functionality and behavior of your device.
-
Resetting: In the "General" settings, scroll to the bottom and select the "Reset" option. This will open a menu with various reset options, including "Reset All Settings," "Erase All Content and Settings," and more.
-
Erase All Content and Settings: Tap on "Erase All Content and Settings" to initiate the factory reset process. A confirmation prompt will appear, informing you that this action will delete all media and data, and reset all settings. If you are certain that you want to proceed, tap "Erase iPhone."
-
Entering Passcode: Depending on your device's configuration, you may be prompted to enter your passcode or Apple ID password to confirm the reset. This additional security measure ensures that only authorized users can perform a factory reset on the device.
-
Waiting for Reset: Once you confirm the factory reset, your iPhone 14 will begin the process of erasing all content and settings. This may take some time, depending on the amount of data on your device.
-
Completing the Reset: After the reset is complete, your iPhone 14 will restart and display the initial setup screen, indicating that it has been restored to its factory settings.
By following these steps, you can effectively perform a factory reset on your iPhone 14, allowing you to address various software issues or prepare the device for a new user. It's important to note that a factory reset irreversibly erases all data, so it's crucial to have a backup of your important information before proceeding with this process.
Restoring Your iPhone from the Backup
After performing a factory reset on your iPhone 14, the next crucial step is to restore your device from the backup you created earlier. This process ensures that your important data, settings, and preferences are reinstated, allowing you to seamlessly continue using your device as it was before the reset. Here's a detailed guide on how to restore your iPhone from the backup:
-
Accessing Initial Setup: Upon completing the factory reset, your iPhone 14 will display the initial setup screen. Begin the restoration process by tapping "Restore from iCloud Backup" or "Restore from iTunes Backup," depending on the method you used to back up your data.
-
Signing in to iCloud: If you chose to back up your iPhone 14 using iCloud, you will be prompted to sign in to your iCloud account. Enter your Apple ID and password to access your iCloud backups.
-
Selecting the Backup: After signing in to iCloud, your device will display a list of available backups. Choose the most relevant backup based on the date and size to ensure that you restore the latest version of your data.
-
Restoring from iTunes Backup: If you opted for an iTunes backup, connect your iPhone 14 to the computer that contains the iTunes backup. Launch iTunes and select your device. Click on "Restore Backup" and choose the appropriate backup from the list.
-
Waiting for Restoration: Once you select the backup, the restoration process will commence. Your iPhone 14 will begin downloading the selected backup from iCloud or iTunes and reinstating your data, settings, and apps.
-
Completing the Restoration: Depending on the size of the backup and your internet connection speed, the restoration process may take some time. Ensure that your device remains connected to a stable Wi-Fi network or computer throughout the restoration.
-
Verifying Restored Data: After the restoration is complete, your iPhone 14 will restart, and you will be prompted to sign in with your Apple ID. Once signed in, navigate through your device to ensure that your data, apps, and settings have been successfully restored.
By following these steps, you can effectively restore your iPhone 14 from the backup, ensuring that your device is back to its previous state with all your important data intact. This process allows you to seamlessly continue using your device without losing any valuable information, providing a smooth transition after the factory reset.