
What is an IR Blaster?
An IR blaster, short for infrared blaster, is a device that allows your Android phone to act as a universal remote control for various electronic devices such as TVs, air conditioners, DVD players, and more. This nifty piece of technology essentially turns your smartphone into a versatile remote, enabling you to conveniently operate multiple devices from a single interface.
With an IR blaster-equipped Android phone, you can bid farewell to juggling multiple remote controls and say hello to a streamlined and simplified home entertainment experience. This feature empowers you to effortlessly manage your entertainment systems and other IR-controlled devices using your smartphone, providing a seamless and convenient way to interact with your electronics.
The IR blaster functions by emitting infrared signals that are recognized by the receiving device, effectively replicating the signals transmitted by conventional remote controls. This capability allows you to control a wide array of compatible devices, enhancing the convenience and accessibility of your home entertainment setup.
By integrating an IR blaster into your Android phone, you can transform it into a versatile tool that simplifies your daily interactions with various electronic devices. Whether you're adjusting the volume on your TV, switching channels, or regulating the temperature of your air conditioner, the IR blaster empowers you to do so effortlessly from the palm of your hand.
In the following sections, we will explore the benefits of installing an IR blaster on your Android phone, the materials required for the installation, the step-by-step process, testing procedures, and valuable tips for troubleshooting. So, let's delve into the world of DIY tech and unlock the potential of your Android phone by incorporating this innovative feature.
Benefits of Installing an IR Blaster on Your Android Phone
Integrating an IR blaster into your Android phone offers a myriad of advantages, enhancing the functionality and convenience of your device. Let’s explore the compelling benefits of incorporating this innovative feature:
- Unified Control: With an IR blaster, your Android phone transforms into a universal remote, enabling you to seamlessly operate multiple IR-controlled devices from a single interface. This consolidation of control eliminates the need for multiple remote controls, streamlining your home entertainment experience.
- Convenience: By harnessing the power of your smartphone as a universal remote, you can effortlessly adjust the settings of various electronic devices without the hassle of searching for individual remotes. This convenience is particularly valuable in scenarios where remote controls are misplaced or when you simply prefer the convenience of using your phone.
- Space-Saving Solution: The integration of an IR blaster eliminates the clutter caused by multiple remote controls, offering a space-saving solution that contributes to a more organized and visually appealing living space.
- Enhanced Accessibility: Individuals with mobility challenges or those who prefer a centralized control interface benefit from the accessibility offered by an IR blaster-equipped Android phone. The ability to manage electronic devices from a single device enhances accessibility and usability for a diverse range of users.
- Personalized Experience: With the flexibility of customizing and organizing the control interface on your smartphone, the IR blaster empowers you to create a personalized and intuitive control system tailored to your preferences and usage patterns.
- Technology Integration: Embracing the capabilities of an IR blaster showcases the seamless integration of advanced technology into everyday devices, elevating the functionality and versatility of your Android phone beyond traditional communication and entertainment purposes.
These compelling benefits underscore the value of installing an IR blaster on your Android phone, offering a transformative enhancement to your home entertainment setup and daily convenience. Now, let’s delve into the materials required for this DIY tech project and proceed with the step-by-step installation process.
Required Materials
Before embarking on the installation of an IR blaster on your Android phone, it’s essential to gather the necessary materials to ensure a smooth and successful process. Here’s a list of the primary components and tools required for this DIY tech project:
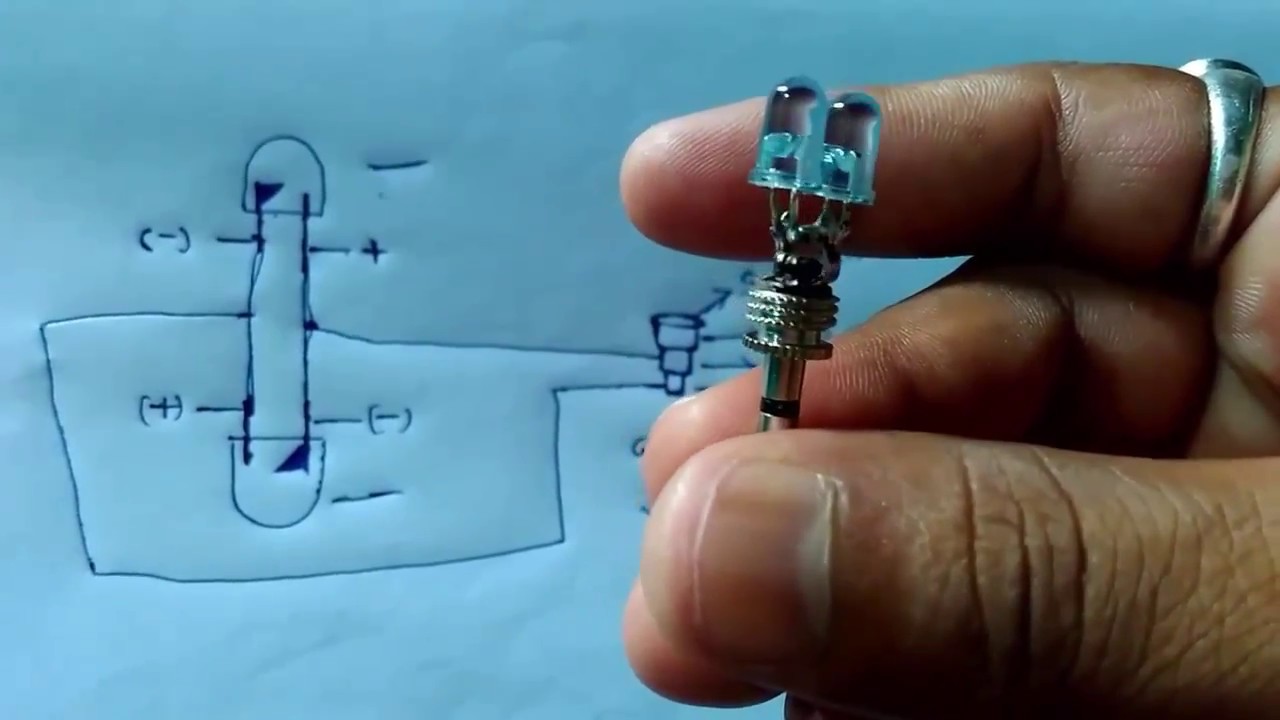
- IR Blaster Adapter: The core component of this project is an IR blaster adapter that is compatible with your Android phone model. It’s crucial to select a high-quality adapter that aligns with the specifications of your device to ensure optimal performance.
- Compatible Smartphone: An Android phone with an available headphone jack is essential for integrating the IR blaster adapter. Ensure that your smartphone is compatible with the specific adapter model you have selected.
- IR Control App: To maximize the functionality of the IR blaster, you’ll need to install a compatible IR control app from the Google Play Store. Select an app that offers a user-friendly interface and supports a wide range of IR-controlled devices.
- Internet Connection: While not directly related to the hardware components, a stable internet connection is necessary to download the IR control app and ensure seamless operation of the IR blaster features.
- Optional: Cleaning Supplies: Depending on the condition of your smartphone’s headphone jack, you may need cleaning supplies such as compressed air or cotton swabs to ensure a clean and secure connection during the installation process.
By gathering these essential materials, you’ll be well-prepared to proceed with the installation of the IR blaster on your Android phone. The next section will guide you through the step-by-step process, enabling you to unlock the full potential of your smartphone as a versatile universal remote control.
Steps to Install an IR Blaster on Your Android Phone
Embarking on the installation of an IR blaster on your Android phone opens up a world of possibilities for seamless control of various electronic devices. Follow these comprehensive steps to integrate this innovative feature into your smartphone:
- Prepare the IR Blaster Adapter: Begin by ensuring that the IR blaster adapter is compatible with your Android phone model. Carefully unpack the adapter and inspect it for any visible damage before proceeding with the installation.
- Insert the IR Blaster Adapter: Locate the headphone jack on your smartphone and gently insert the IR blaster adapter into the jack. Ensure a secure connection to facilitate reliable communication between the adapter and your phone.
- Download the IR Control App: Navigate to the Google Play Store on your Android phone and search for a reputable IR control app that is compatible with your device and the installed IR blaster adapter. Download and install the app to access the full functionality of the IR blaster.
- Launch the IR Control App: Once the app is successfully installed, launch it to initiate the setup process. Follow the on-screen instructions to configure the app and synchronize it with the IR blaster adapter for seamless operation.
- Device Setup and Customization: Within the IR control app, proceed to add and configure the electronic devices you wish to control using the IR blaster. Customize the control interface to align with your preferences and usage patterns for a personalized experience.
- Test the IR Blaster Functionality: With the setup complete, test the functionality of the IR blaster by selecting different devices from the app and sending commands to control their settings. Verify that the IR blaster effectively communicates with the devices and executes commands accurately.
- Optimize and Fine-Tune: After testing the IR blaster, take the time to optimize and fine-tune the control interface and device configurations within the app. This step ensures a tailored and efficient control system for your electronic devices.
By diligently following these steps, you can successfully install an IR blaster on your Android phone, unlocking its potential as a versatile universal remote control. The next section will guide you through the testing phase to ensure the seamless functionality of the IR blaster and offer valuable tips for troubleshooting any potential issues.
Testing the IR Blaster
After successfully installing the IR blaster on your Android phone, it’s crucial to conduct thorough testing to ensure its seamless functionality and compatibility with various electronic devices. Follow these steps to comprehensively test the IR blaster and verify its effectiveness:
- Select Test Devices: Identify a range of electronic devices in your home that are compatible with IR control, such as a TV, DVD player, sound system, or air conditioner. Ensure that the devices are within the range of the IR blaster for effective testing.
- Access the IR Control App: Launch the IR control app on your Android phone and navigate to the control interface. Select the specific device you wish to test from the app’s menu to initiate the testing process.
- Send Test Commands: Within the app, send a variety of test commands to the selected device, such as adjusting the volume, changing channels, powering the device on or off, or controlling additional features specific to the device type.
- Observe Device Response: As you send test commands from the app, carefully observe the response of the selected device. Verify that the commands are executed accurately and that the IR blaster effectively communicates with the device, eliciting the intended changes in settings or functionality.
- Test Multiple Devices: Repeat the testing process with multiple devices to assess the IR blaster’s compatibility and performance across a diverse range of electronic devices. This comprehensive testing approach ensures that the IR blaster functions seamlessly with various IR-controlled devices.
- Range and Angle Testing: Experiment with the range and angle of the IR blaster’s signal transmission to understand its optimal positioning for effective communication with different devices. Adjust the positioning as needed to maximize the range and accuracy of the IR blaster’s signals.
- Functional and Usability Assessment: Evaluate the overall functionality and usability of the IR blaster, considering factors such as response time, signal strength, and user interface intuitiveness. This assessment provides valuable insights into the practicality and convenience of using the IR blaster for daily device control.
By meticulously testing the IR blaster’s functionality and performance across a spectrum of electronic devices, you can confidently ascertain its reliability and seamless integration into your home entertainment setup. The next section will provide essential tips and troubleshooting guidance to address any potential challenges that may arise during the installation and testing phases.
Tips and Troubleshooting
As you navigate the installation and testing of an IR blaster on your Android phone, consider the following tips and troubleshooting guidance to optimize the performance and address potential challenges:
- Secure Connection: Ensure that the IR blaster adapter is securely inserted into the headphone jack of your smartphone to facilitate reliable communication with the IR control app and connected devices.
- App Compatibility: Verify that the selected IR control app is compatible with your Android phone model and the installed IR blaster adapter. Compatibility issues can impact the functionality and performance of the IR blaster.
- Signal Interference: Be mindful of potential signal interference from surrounding electronic devices or obstacles that may obstruct the IR blaster’s transmission. Position the smartphone and IR blaster for optimal signal range and clarity.
- Device Configuration: Take the time to accurately configure and customize the control interface within the IR control app to align with the specific settings and functionalities of your electronic devices. Customization enhances the efficiency and usability of the IR blaster.
- Range and Positioning: Experiment with the positioning and range of the IR blaster to identify the optimal placement for effective communication with IR-controlled devices. Adjust the positioning as needed to maximize signal range and accuracy.
- Clean Connection: If encountering connectivity issues, inspect the headphone jack of your smartphone for any debris or obstructions that may impede the connection with the IR blaster adapter. Clean the jack if necessary to ensure a clear and secure connection.
- Update and Compatibility: Regularly check for app updates and firmware compatibility to ensure that the IR control app and IR blaster adapter are operating with the latest software versions, addressing potential bugs and enhancing compatibility.
- Support and Resources: Explore online forums, user communities, and support resources related to the IR blaster and control app to seek guidance, troubleshoot issues, and discover tips for optimizing the functionality of the IR blaster.
By leveraging these tips and troubleshooting strategies, you can proactively address potential challenges and optimize the performance of the IR blaster on your Android phone. Embrace the versatility and convenience offered by this innovative feature, and enjoy the seamless control of your home entertainment devices with the power of your smartphone.