
Choosing the Right Replacement Screw
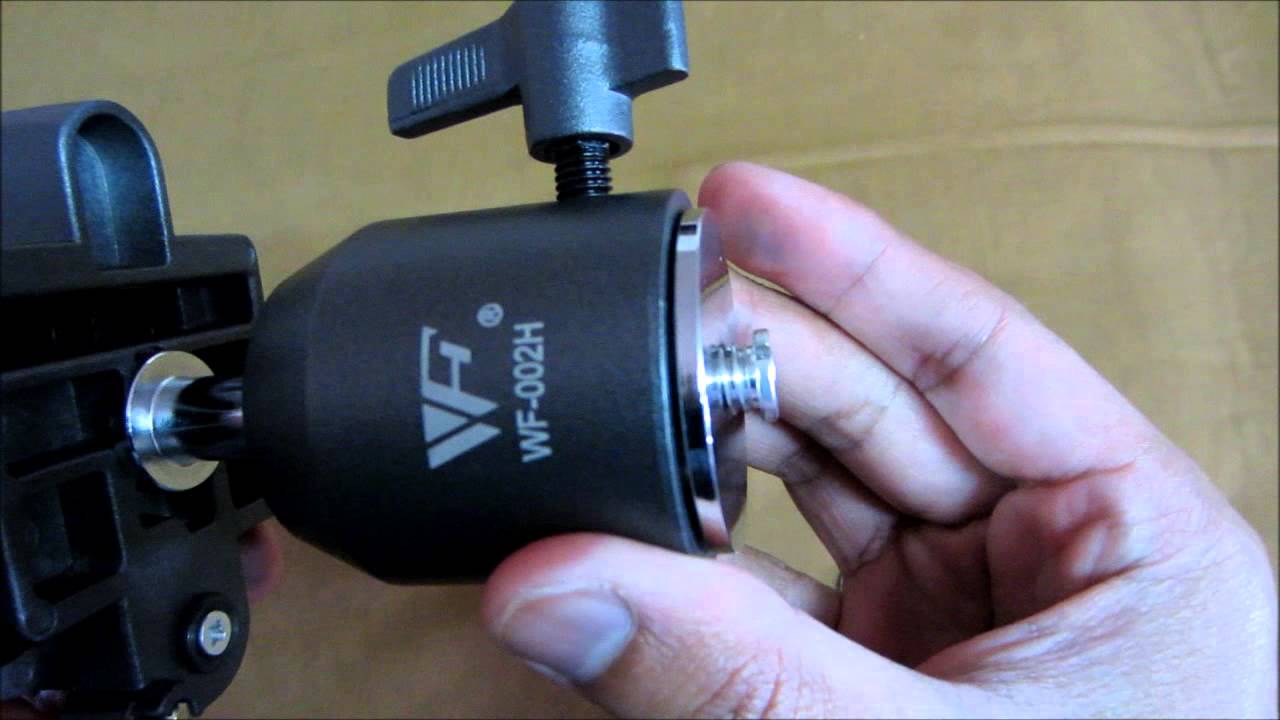
When it comes to replacing the mounting screw on top of your monopod, selecting the right replacement screw is crucial for ensuring the stability and functionality of your photography equipment. The mounting screw plays a pivotal role in securing your camera to the monopod, and choosing the wrong screw could lead to instability and potential damage to your gear. Here’s a comprehensive guide to help you navigate the process of selecting the ideal replacement screw for your monopod:
- Thread Size and Pitch: The first consideration when choosing a replacement screw is the thread size and pitch. Monopods typically use standard thread sizes such as 1/4″-20 or 3/8″-16. It’s essential to match the thread size and pitch of the original screw to ensure compatibility with your monopod’s mounting plate.
- Length: The length of the replacement screw is another critical factor. It should be long enough to securely fasten the camera to the monopod but not too long that it protrudes excessively, potentially interfering with the camera’s mounting surface.
- Material: Opt for a high-quality material such as stainless steel or brass for durability and resistance to corrosion. A durable material will provide the necessary strength to support the weight of your camera and lens while enduring the rigors of regular use.
- Head Type: Consider the head type of the replacement screw. Whether it’s a flat head, pan head, or another type, ensure that it’s compatible with your camera’s mounting socket and provides a secure connection without the risk of slippage.
- Drive Type: The drive type of the screw, such as Phillips, slotted, or hex, should be compatible with your screwdriver or camera mounting tool for easy installation and removal.
By carefully considering these factors, you can confidently select a replacement screw that seamlessly integrates with your monopod, providing a secure and reliable connection for your camera. Now that you have a clear understanding of what to look for in a replacement screw, let’s move on to the next step: removing the old mounting screw from your monopod.
Removing the Old Mounting Screw
Before you can install the new mounting screw on your monopod, you’ll need to remove the old screw carefully. Follow these steps to ensure a smooth and hassle-free removal process:
- Gather the Necessary Tools: To begin, gather the appropriate tools for the job. You’ll likely need a screwdriver that matches the head type of the old mounting screw. Ensure that the screwdriver fits securely into the screw’s head to avoid slippage and potential damage to the screw.
- Secure the Monopod: Place your monopod on a stable surface to prevent it from tipping over during the removal process. If your monopod has retractable legs, ensure that they are securely locked in place to provide stability.
- Apply Gentle Pressure: Using the appropriate screwdriver, apply gentle and steady pressure to the old mounting screw in a counterclockwise direction. It’s essential to use controlled force to avoid stripping the screw or causing damage to the mounting plate.
- Use Lubrication if Necessary: If the old screw is stubborn and difficult to loosen, consider applying a small amount of lubricant to the screw threads. This can help loosen any corrosion or debris that may be impeding the removal process.
- Inspect the Mounting Plate: Once the old screw is removed, take a moment to inspect the mounting plate for any signs of wear, damage, or debris. Clean the mounting plate if necessary to ensure a smooth and secure fit for the new screw.
By following these steps, you can safely and effectively remove the old mounting screw from your monopod, preparing the mounting plate for the installation of the new screw. With the old screw removed, you’re now ready to move on to the next step: preparing the monopod for the new screw.
Preparing the Monopod for the New Screw
Before installing the new mounting screw on your monopod, it’s essential to prepare the mounting plate and surrounding area to ensure a secure and stable attachment. Follow these steps to properly prepare your monopod for the installation of the new screw:
- Clean the Mounting Plate: Begin by thoroughly cleaning the mounting plate using a soft, lint-free cloth. Remove any dust, dirt, or debris that may have accumulated on the surface. A clean mounting plate will facilitate a secure connection between the new screw and the monopod.
- Inspect the Threads: Carefully examine the threads on the mounting plate to ensure that they are free from damage or obstruction. If any debris or residue is present, gently clean the threads using a small brush or compressed air to ensure smooth and unimpeded threading for the new screw.
- Check for Alignment: Verify that the mounting plate is properly aligned and seated within the monopod’s top assembly. Any misalignment could lead to difficulty in installing the new screw or result in an insecure connection with your camera.
- Assess the Stability: While preparing the monopod, take a moment to assess its overall stability and condition. Ensure that the monopod’s legs, locks, and other components are in good working order, as a stable foundation is essential for the safe and reliable use of your camera equipment.
- Consider Thread Locking Compound: If desired, you may opt to apply a small amount of thread locking compound to the new screw before installation. This can provide an additional layer of security by preventing the screw from loosening due to vibration or movement.
By meticulously preparing your monopod for the new screw, you can establish a solid foundation for the secure attachment of your camera. With the mounting plate cleaned, inspected, and aligned, and the overall stability of the monopod confirmed, you’re now ready to proceed with attaching the new mounting screw.
Attaching the New Mounting Screw
Now that you’ve prepared your monopod for the installation of the new mounting screw, it’s time to proceed with the attachment process. Follow these steps to securely affix the new screw to your monopod:
- Select the Correct Screwdriver: Ensure that you have the appropriate screwdriver for the new mounting screw. The screwdriver should match the drive type of the screw to prevent slippage and ensure a snug fit during installation.
- Position the New Screw: Carefully position the new mounting screw over the threaded hole on the monopod’s mounting plate. Align the screw with the threads and begin threading it in a clockwise direction by hand to prevent cross-threading.
- Apply Controlled Force: Using the screwdriver, apply controlled force in a clockwise direction to tighten the new screw. Exercise caution to avoid over-tightening, as this can potentially damage the mounting plate or the screw itself.
- Verify Secure Attachment: Once the new screw is firmly in place, verify that it provides a secure and stable attachment for your camera. Gently wiggle the monopod to check for any play or looseness, ensuring that the new screw effectively secures the camera to the monopod.
- Double-Check the Alignment: Confirm that the camera mounting plate aligns properly with the new screw. Any misalignment could lead to instability or difficulty in attaching your camera, so it’s essential to ensure a seamless connection.
By following these steps, you can confidently attach the new mounting screw to your monopod, providing a reliable and stable foundation for your camera. With the new screw securely in place, you’re now ready to test the stability of your monopod with the attached camera.
Testing the Stability of the Monopod
After replacing the mounting screw and attaching your camera to the monopod, it’s crucial to assess the stability of the setup to ensure the safety of your equipment and the quality of your photography. Follow these steps to thoroughly test the stability of your monopod:
- Check for Wobbling: Gently nudge the monopod to detect any wobbling or instability. A stable monopod should remain steady and resist excessive movement when lightly pushed from different angles.
- Assess Tilt and Rotation: Verify that the camera and monopod assembly maintain their position without tilting or rotating unexpectedly. This is particularly important when using heavier camera equipment, as any tilt or rotation could lead to instability and potential damage.
- Perform a Tilt Test: Tilt the monopod at various angles to simulate different shooting positions. Ensure that the monopod and camera remain secure and stable without any slippage or shifting of the mounting screw.
- Test Under Load: If possible, simulate the weight of your typical camera setup by gently applying downward pressure on the monopod. Verify that the new mounting screw effectively supports the weight without compromising stability.
- Observe for Any Play: Pay close attention to any play or movement between the camera and the monopod. A secure mounting screw should minimize any play, providing a solid connection between the camera and the monopod.
By thoroughly testing the stability of your monopod after replacing the mounting screw, you can ensure that your camera equipment is securely supported and ready for use in various shooting scenarios. A stable monopod setup not only enhances the quality of your photography but also minimizes the risk of accidental damage to your valuable gear.