
Checking the Package Contents
When you unbox your brand-new iPhone 11, it's essential to ensure that all the necessary components are included. This not only guarantees a smooth setup process but also helps in identifying any missing items that may require immediate attention.
Here's a comprehensive list of items to check within the iPhone 11 package:
-
iPhone 11: The star of the show, your iPhone 11, should be nestled securely within the packaging. It's advisable to inspect the device for any physical damage or irregularities before proceeding further.
-
Documentation: Look for the included documentation, which typically consists of a quick start guide, warranty information, and Apple stickers. While the stickers may seem like a small addition, they are a fun way to showcase your Apple pride.
-
Charging Cable: The package should contain a Lightning to USB cable for charging and data transfer. This cable is essential for powering up your iPhone 11 and connecting it to other devices.
-
Power Adapter: Ensure that the package includes a power adapter for charging your device. The iPhone 11 is compatible with Apple's 18W, 20W, or 30W USB-C power adapters for fast charging capabilities.
-
EarPods with Lightning Connector: Apple often includes a pair of EarPods with a Lightning connector in the package. These earphones provide a convenient way to enjoy audio content and make calls right out of the box.
-
SIM Ejector Tool: Look for the SIM ejector tool, a small metal pin used to access the SIM card tray. This tool is essential for inserting or replacing the SIM card in your iPhone 11.
By meticulously checking the package contents and ensuring that each item is present and in good condition, you can kickstart your iPhone 11 setup with confidence. If any components are missing or damaged, it's advisable to reach out to the retailer or Apple support promptly to address the issue.
This attention to detail sets the stage for a seamless activation process, allowing you to dive into the exciting world of your new iPhone 11 without any hiccups.
Powering On Your iPhone 11
After ensuring that all the components are present and in good condition, the next step in the exhilarating journey with your new iPhone 11 is to power it on. This simple yet pivotal action marks the beginning of your personalized experience with the device. Here's a step-by-step guide to seamlessly power on your iPhone 11:
-
Locate the Power Button: The power button, also known as the side button, is situated on the right side of the iPhone 11. It is distinguishable by its oblong shape and is easily accessible with your thumb or index finger.
-
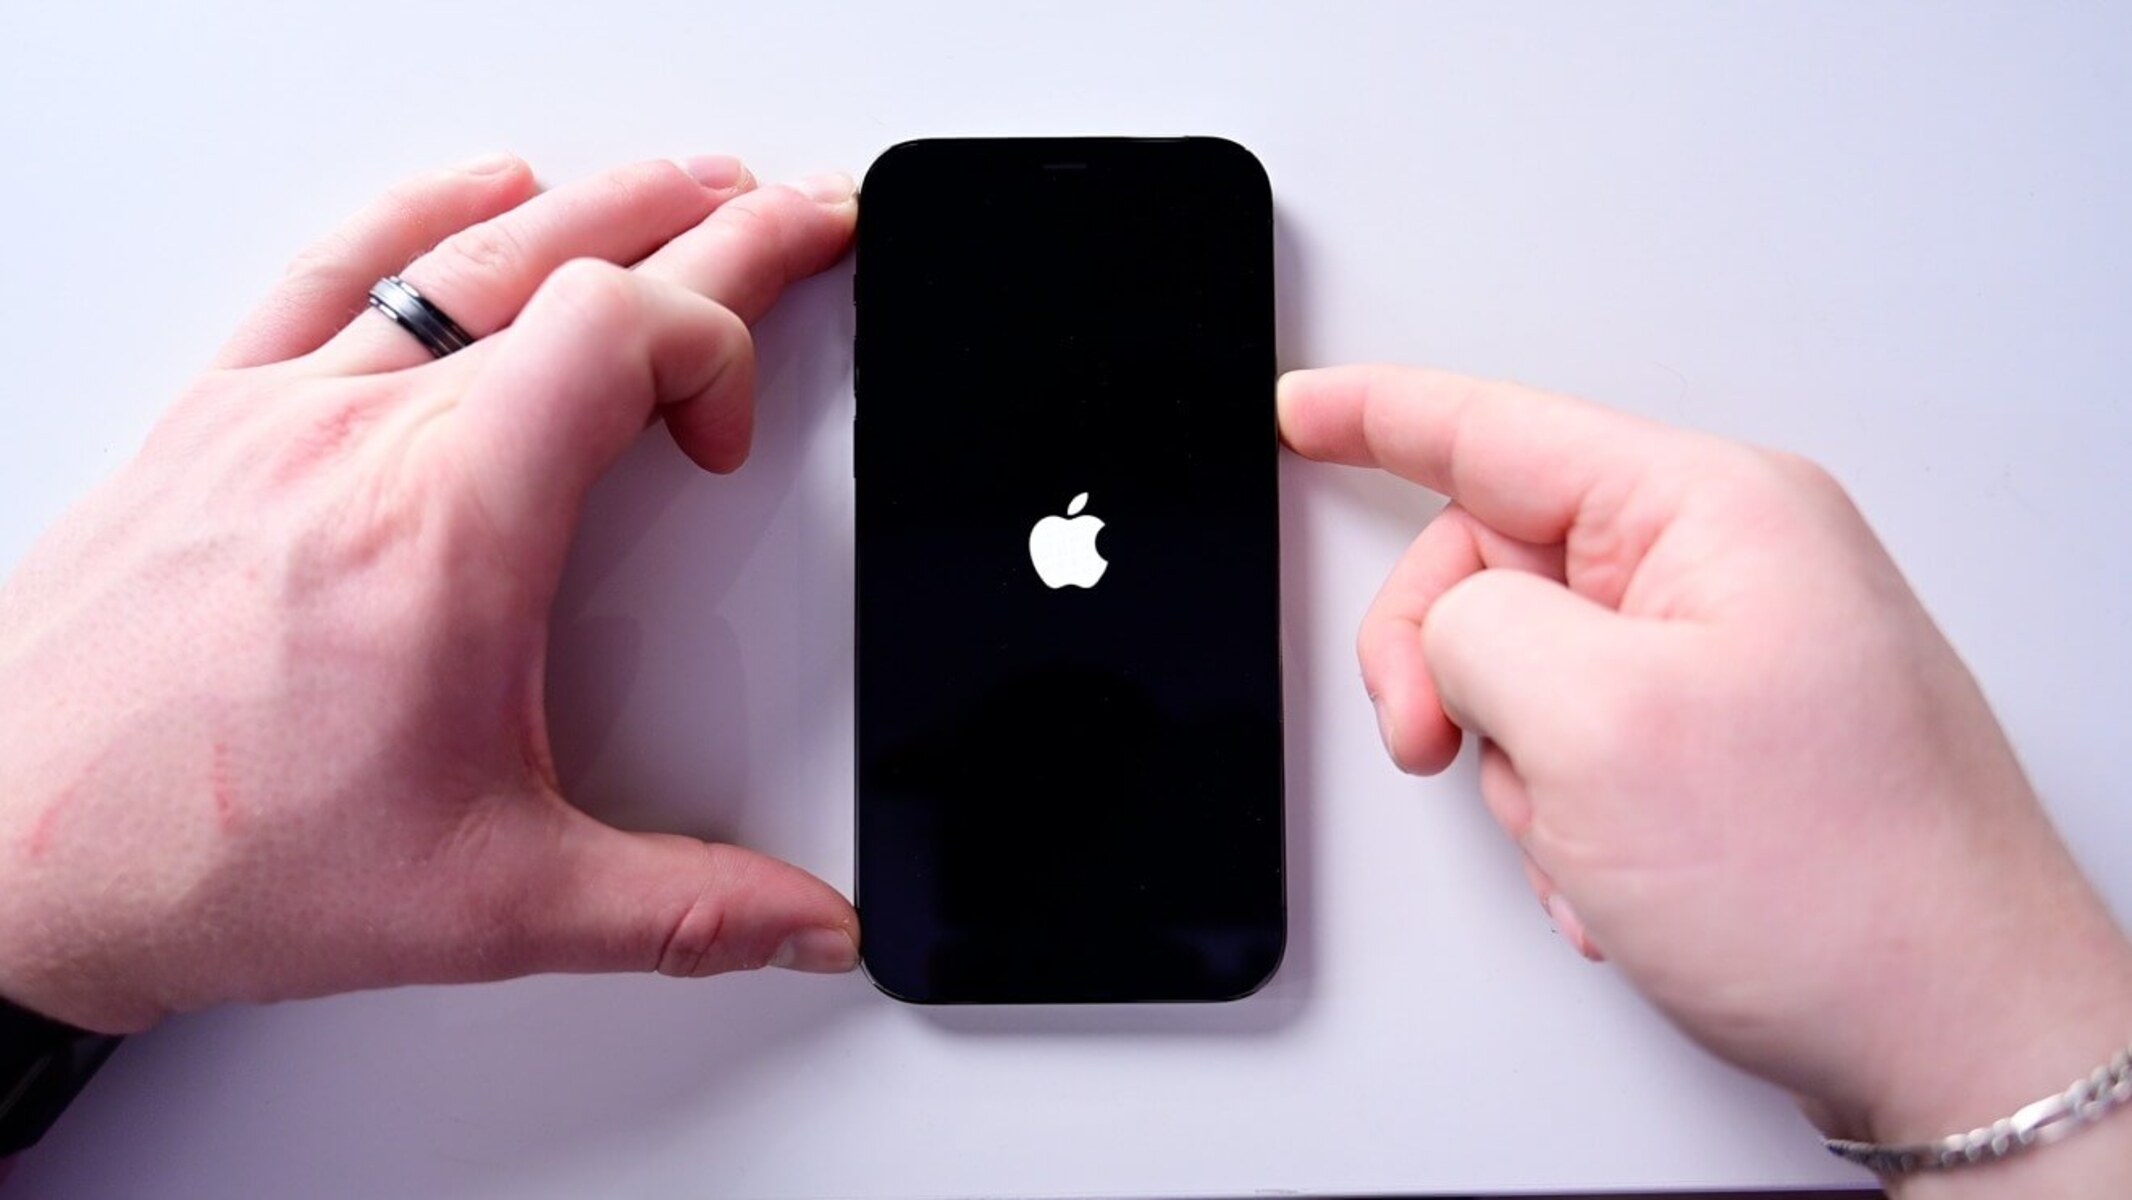
Press and Hold the Power Button: To turn on your iPhone 11, press and hold the power button for a few seconds. As you do this, you will notice the iconic Apple logo appearing on the screen, indicating that the device is booting up.
-
Release the Power Button: Once the Apple logo appears, release the power button and allow the device to complete the startup process. This typically takes a few moments, during which the iPhone 11 initializes its system and prepares to welcome you.
-
Welcome Screen: After the startup process is complete, you will be greeted by the welcome screen, prompting you to begin the setup process. This screen signifies that your iPhone 11 is now powered on and ready for configuration.
By following these straightforward steps, you have successfully powered on your iPhone 11, setting the stage for the exciting setup and customization phase. This initial interaction with your device marks the commencement of a seamless and personalized journey tailored to your preferences and needs.
The act of powering on your iPhone 11 is more than a mere technical step; it symbolizes the start of a relationship with a device designed to seamlessly integrate into your lifestyle. With the device now powered on, you are poised to embark on a captivating exploration of its features and capabilities, setting the stage for a truly immersive and personalized experience.
Setting Up Language and Region
Upon powering on your iPhone 11, the initial setup process begins with the pivotal step of selecting your preferred language and region. This foundational configuration not only personalizes your device but also ensures that it aligns with your linguistic and geographical preferences from the outset.
To commence this essential setup phase, follow these intuitive steps:
-
Selecting Language: The first prompt you encounter will invite you to choose your preferred language. This selection determines the language used throughout the device's interface, including menus, settings, and system notifications. With a diverse array of languages available, you can seamlessly opt for the one that best resonates with your linguistic comfort.
-
Choosing Region: Following the language selection, you will be prompted to choose your region. This setting influences various aspects of the device, including date and time formats, currency, and regional-specific features. By aligning your iPhone 11 with the correct region, you ensure that it seamlessly integrates with your local customs and standards.
This meticulous attention to language and region settings sets the stage for a tailored and immersive user experience, reflecting your unique preferences and geographical context. By seamlessly aligning your iPhone 11 with your language and region of choice, you pave the way for a personalized journey with a device that effortlessly adapts to your individual needs and cultural nuances.
As you proceed through the language and region setup, the intuitive interface of the iPhone 11 ensures a seamless and engaging experience, setting the stage for the subsequent steps in the device activation process. This foundational configuration not only reflects your individuality but also underscores the device's adaptability to diverse linguistic and regional contexts, ensuring a truly inclusive and personalized user experience.
Connecting to a Wi-Fi Network
Connecting your iPhone 11 to a Wi-Fi network is a fundamental step in the activation process, enabling access to a myriad of online services, seamless software updates, and enhanced connectivity. This pivotal step ensures that your device is equipped to harness the full spectrum of its capabilities, from browsing the web to enjoying streaming content and leveraging cloud-based services.
To initiate the process of connecting to a Wi-Fi network, follow these intuitive steps:
-
Accessing Wi-Fi Settings: Upon reaching the Wi-Fi setup screen during the initial device configuration, tap on the "Wi-Fi" option to access the available networks.
-
Selecting a Network: A list of nearby Wi-Fi networks will be displayed, including both private and public options. Choose your preferred network from the list by tapping on its name.
-
Entering Password (if applicable): If the selected Wi-Fi network is secured with a password, a prompt will appear for you to enter the password. Carefully input the password to ensure a successful connection.
-
Connecting to the Network: Once the correct password is entered, tap on the "Join" or "Connect" button to initiate the connection process.
-
Verification and Connection: Your iPhone 11 will verify the provided password and attempt to establish a connection to the selected Wi-Fi network. Upon successful verification, the device will seamlessly connect to the network, enabling access to online services and content.
By meticulously following these steps, you ensure that your iPhone 11 is seamlessly integrated into your preferred Wi-Fi network, setting the stage for a robust and reliable online experience. This connection not only facilitates internet access but also enables the device to leverage the full spectrum of its capabilities, from iCloud synchronization to app downloads and software updates.
The act of connecting your iPhone 11 to a Wi-Fi network is more than a technical configuration; it symbolizes the device's integration into your digital ecosystem, ensuring that you can harness its full potential in a connected and dynamic online landscape. With the device now seamlessly connected to your preferred Wi-Fi network, you are poised to explore the boundless possibilities that await within the digital realm, setting the stage for a truly immersive and connected experience.
Activating Your iPhone 11
Activating your iPhone 11 is a pivotal step that marks the transition from a brand-new device to a personalized digital companion tailored to your preferences and needs. This essential process not only establishes the device's connectivity and functionality but also sets the stage for a seamless and immersive user experience.
To initiate the activation of your iPhone 11, follow these intuitive steps:
-
Welcome Screen: Upon powering on your iPhone 11, you will be greeted by the welcome screen, prompting you to begin the setup process. This screen signifies that your device is ready to be activated and personalized according to your preferences.
-
Select Language and Region: As discussed earlier, choosing your preferred language and region during the initial setup process lays the foundation for a tailored user experience. By aligning the device with your linguistic and geographical context, you ensure that it seamlessly integrates with your individual preferences and local customs.
-
Connect to Wi-Fi or Cellular Network: Establishing a connection to a Wi-Fi network or cellular service is crucial for enabling the device to access online services, perform software updates, and facilitate seamless communication. This step ensures that your iPhone 11 is equipped to harness the full spectrum of its capabilities in a connected and dynamic digital landscape.
-
Insert SIM Card (if applicable): If your iPhone 11 utilizes a SIM card for cellular connectivity, carefully insert the SIM card into the designated tray using the provided SIM ejector tool. This enables the device to establish a cellular connection, ensuring comprehensive connectivity and communication capabilities.
-
Follow On-Screen Prompts: The intuitive on-screen prompts will guide you through the remaining activation steps, including essential configurations such as setting up Face ID or Touch ID, creating or signing in with your Apple ID, and customizing additional settings and preferences.
By meticulously following these steps, you seamlessly activate your iPhone 11, transforming it from a pristine device into a personalized digital companion ready to cater to your unique needs and preferences. This activation process not only establishes the device's functionality but also symbolizes the commencement of a captivating journey filled with boundless possibilities and tailored experiences.
With your iPhone 11 successfully activated, you are poised to explore its diverse features, seamless integration with the Apple ecosystem, and the myriad of possibilities that await within its intuitive interface. This activation marks the beginning of a dynamic and personalized relationship with a device designed to seamlessly adapt to your lifestyle, ensuring a truly immersive and connected user experience.
Setting Up Face ID or Touch ID
Setting up Face ID or Touch ID on your iPhone 11 is a pivotal step that enhances the security and convenience of accessing your device. These advanced biometric authentication features not only provide a seamless and secure method of unlocking your iPhone 11 but also enable effortless authorization for various tasks, such as app purchases and password autofill. Whether you opt for the facial recognition capabilities of Face ID or the fingerprint-based authentication of Touch ID, the setup process is intuitive and ensures a personalized and secure user experience.
Face ID Setup Process
If you choose to set up Face ID, the process involves capturing a detailed facial map to enable accurate and secure authentication. To initiate the Face ID setup, follow these intuitive steps:
-
Access Face ID Settings: Navigate to the "Settings" app on your iPhone 11 and select "Face ID & Passcode" to commence the setup process.
-
Enroll Your Face: Tap on "Set Up Face ID" and position your face within the designated frame on the screen. The device will then capture a series of images to create a comprehensive facial map, ensuring accurate recognition across various angles and lighting conditions.
-
Complete Face ID Enrollment: Once the facial mapping process is complete, you will be prompted to move your head in a circular motion to capture additional data. This step further enhances the accuracy and reliability of Face ID authentication.
-
Face ID Ready: Upon successful completion of the enrollment process, your iPhone 11 is now equipped with the advanced facial recognition capabilities of Face ID, ensuring secure and seamless access to your device and authorized tasks.
Touch ID Setup Process
Alternatively, if you opt for Touch ID, the setup process involves registering your fingerprint to enable swift and secure authentication. To initiate the Touch ID setup, follow these straightforward steps:
-
Access Touch ID Settings: Navigate to the "Settings" app on your iPhone 11 and select "Touch ID & Passcode" to commence the setup process.
-
Enroll Your Fingerprint: Tap on "Add a Fingerprint" and carefully position your finger on the Touch ID sensor. The device will prompt you to lift and reposition your finger to capture different parts of your fingerprint, ensuring comprehensive and accurate enrollment.
-
Complete Touch ID Enrollment: Once the fingerprint enrollment process is complete, you can add additional fingerprints if desired, enabling seamless access for trusted individuals.
-
Touch ID Ready: With the successful enrollment of your fingerprint, Touch ID is now activated on your iPhone 11, providing a secure and convenient method of unlocking your device and authorizing various tasks with a simple touch.
By meticulously following these steps, you seamlessly set up Face ID or Touch ID on your iPhone 11, enhancing the security and convenience of accessing your device. These advanced biometric authentication features not only ensure a personalized and secure user experience but also symbolize the seamless integration of cutting-edge technology into your digital lifestyle.
Restoring from iCloud or iTunes Backup
Restoring your iPhone 11 from an iCloud or iTunes backup is a seamless and efficient way to transfer your previous device's data, settings, and preferences to your new device. Whether you rely on the cloud-based convenience of iCloud or the comprehensive backup capabilities of iTunes, the restoration process ensures that your iPhone 11 mirrors the familiar and personalized environment of your previous device. This not only streamlines the transition to your new device but also preserves your valuable data and configurations, ensuring a smooth and uninterrupted continuation of your digital experience.
Restoring from iCloud Backup
If you opt to restore from an iCloud backup, the process involves accessing your iCloud account and initiating the transfer of data to your iPhone 11. Follow these intuitive steps to seamlessly restore from an iCloud backup:
-
Initial Setup: During the initial setup process of your iPhone 11, you will encounter the option to restore from an iCloud backup. Select this option to proceed with the restoration process.
-
Sign in to iCloud: Enter your Apple ID and password to sign in to your iCloud account. This step ensures access to your cloud-based backup and facilitates the seamless transfer of data to your new device.
-
Choose Backup: After signing in, select the specific iCloud backup from which you wish to restore your iPhone 11. The available backups will be listed based on their creation date, enabling you to choose the most relevant and recent backup for restoration.
-
Initiate Restoration: Once you select the desired iCloud backup, the restoration process begins, transferring your previous device's data, settings, app configurations, and other relevant information to your iPhone 11.
-
Completion and Verification: Upon successful completion of the restoration process, your iPhone 11 will reboot and apply the transferred data. This comprehensive restoration ensures that your new device mirrors the familiar environment of your previous device, seamlessly integrating your digital ecosystem into the iPhone 11.
Restoring from iTunes Backup
Alternatively, if you prefer to restore from an iTunes backup, the process involves leveraging the comprehensive backup capabilities of iTunes to transfer your previous device's data to your iPhone 11. Follow these straightforward steps to seamlessly restore from an iTunes backup:
-
Connect to Computer: Using a USB cable, connect your iPhone 11 to a computer with the latest version of iTunes installed. This connection enables the seamless transfer of data from the iTunes backup to your new device.
-
Access iTunes: Launch the iTunes application on your computer and select your iPhone 11 from the device list. This step ensures that you can manage the restoration process and initiate the transfer of data from the iTunes backup.
-
Choose Backup: Within iTunes, select the option to restore your iPhone 11 from a specific iTunes backup. The available backups will be listed based on their creation date, allowing you to choose the most relevant and recent backup for restoration.
-
Initiate Restoration: Once you select the desired iTunes backup, initiate the restoration process within iTunes. This comprehensive transfer ensures that your iPhone 11 inherits the data, settings, and configurations from your previous device, seamlessly integrating your digital ecosystem into the new device.
-
Completion and Verification: Upon successful completion of the restoration process, your iPhone 11 will reboot and apply the transferred data. This meticulous restoration ensures that your new device reflects the personalized environment of your previous device, ensuring a seamless and uninterrupted continuation of your digital experience.
By meticulously following these steps, you seamlessly restore your iPhone 11 from an iCloud or iTunes backup, ensuring a smooth transition and preserving your valuable data and configurations. This comprehensive restoration process not only mirrors the familiar and personalized environment of your previous device but also underscores the seamless integration of your digital ecosystem into the iPhone 11, ensuring a truly immersive and uninterrupted continuation of your digital journey.
Setting Up Apple ID and iCloud
Setting up your Apple ID and iCloud on your iPhone 11 is a pivotal step that lays the foundation for a seamless and interconnected digital experience. Your Apple ID serves as the gateway to a myriad of Apple services, including the App Store, iCloud, Apple Music, and more. Meanwhile, iCloud provides a comprehensive suite of cloud-based services, encompassing data storage, synchronization, and seamless integration across your Apple devices. By meticulously configuring your Apple ID and iCloud settings, you ensure that your iPhone 11 seamlessly integrates into the Apple ecosystem, enabling effortless access to a wealth of features and functionalities.
To initiate the setup of your Apple ID and iCloud, follow these intuitive steps:
-
Accessing Apple ID Settings: Navigate to the "Settings" app on your iPhone 11 and select your name at the top of the screen. This action grants access to your Apple ID settings, enabling you to manage and configure various aspects of your account.
-
Signing in or Creating an Apple ID: If you already have an Apple ID, sign in using your credentials to link your existing account to your iPhone 11. If you are new to the Apple ecosystem, you can create a new Apple ID directly from your device, ensuring seamless access to Apple's diverse array of services.
-
Enabling iCloud Services: Within the Apple ID settings, navigate to the "iCloud" section and enable the specific iCloud services you wish to utilize. These services encompass iCloud Drive, Photos, Contacts, Calendars, Notes, and more, providing a comprehensive suite of cloud-based functionalities to enrich your digital experience.
-
Managing iCloud Storage: If necessary, you can manage your iCloud storage settings to ensure that your iPhone 11 has adequate space for data backup, synchronization, and seamless access to your content across devices. This step ensures that your iCloud storage aligns with your usage and preferences, facilitating a seamless and uninterrupted digital experience.
-
Configuring iCloud Backup: Enable iCloud Backup to automatically back up your iPhone 11's data, ensuring that your important information, settings, and app data are securely stored in the cloud. This proactive measure safeguards your data and simplifies the restoration process in the event of device migration or data loss.
By meticulously configuring your Apple ID and iCloud settings, you seamlessly integrate your iPhone 11 into the Apple ecosystem, ensuring effortless access to a wealth of features and functionalities. This foundational setup not only facilitates seamless synchronization and data access but also underscores the cohesive and interconnected nature of the Apple ecosystem, ensuring a truly immersive and integrated digital experience.
Customizing Settings and Preferences
Customizing the settings and preferences of your iPhone 11 is a pivotal step that empowers you to tailor the device to align with your unique needs, preferences, and usage patterns. This comprehensive customization not only enhances the device's functionality but also ensures a personalized and intuitive user experience that resonates with your individuality.
Personalization and Accessibility
The Settings app on your iPhone 11 serves as the gateway to a diverse array of customization options, enabling you to fine-tune various aspects of the device to suit your preferences. From adjusting display brightness and text size to configuring accessibility features such as VoiceOver and Magnifier, the customization options cater to a broad spectrum of user needs, ensuring an inclusive and personalized experience for all users.
Display and Sound
Within the Settings app, you can delve into the display and sound settings to refine the visual and auditory aspects of your iPhone 11. This includes adjusting the display's color temperature, enabling dark mode for enhanced visual comfort, and fine-tuning sound preferences such as volume levels and vibration settings. These customization options empower you to create an immersive and tailored multimedia experience that aligns with your sensory preferences.
Privacy and Security
The privacy and security settings of your iPhone 11 are paramount in safeguarding your personal data and ensuring a secure digital environment. Within the Settings app, you can manage privacy settings for apps, control location services, and configure security features such as passcodes and Face ID or Touch ID authentication. This meticulous customization ensures that your device prioritizes privacy and security, providing peace of mind as you navigate the digital landscape.
App and System Preferences
The Settings app offers granular control over app-specific settings and system preferences, enabling you to fine-tune notifications, background app refresh, and cellular data usage. Additionally, you can manage app permissions, configure Siri preferences, and customize the behavior of system features such as Do Not Disturb, Screen Time, and Battery Health. This level of customization empowers you to optimize the device's performance, manage app interactions, and tailor system behaviors to suit your lifestyle and usage habits.
iCloud and Device Management
In the Settings app, you can seamlessly manage your iCloud account, ensuring that data synchronization, backup, and storage settings align with your preferences. Furthermore, device management options enable you to monitor and control device usage, configure VPN and network settings, and manage device-specific preferences such as VPN and device name. This comprehensive customization ensures that your iPhone 11 seamlessly integrates into your digital ecosystem, facilitating effortless data access and device management.
By meticulously customizing the settings and preferences of your iPhone 11, you not only enhance the device's functionality but also ensure a personalized and intuitive user experience that resonates with your individuality. This comprehensive customization empowers you to tailor the device to align with your unique needs, preferences, and usage patterns, setting the stage for a truly immersive and tailored digital experience.