
Reasons to Copy PowerPoint Slides to Another Presentation
Copying PowerPoint slides from one presentation to another can be a handy tool in a variety of situations. Whether you’re creating a new presentation from scratch or updating an existing one, here are a few reasons why you might find it beneficial to copy slides to another presentation:
- Reusing existing content: If you have slides in a previous presentation that are relevant to your current topic, why start from scratch? By copying them over, you can save time and effort, especially when the content is still accurate and applicable.
- Consistency: Maintaining consistency across multiple presentations is important, particularly for branding purposes or when delivering similar information to different audiences. By copying slides, you can ensure a consistent look, feel, and messaging throughout your presentations.
- Customization: Sometimes, a presentation requires a mixture of new and old slides. By copying existing slides, you can easily customize them to fit the specific needs of your new presentation, making it more relevant and engaging for your audience.
- Team collaborations: When working on a group project or collaborating with colleagues, sharing and copying slides can streamline the process. Each team member can contribute their own slides to a master presentation, enabling everyone to work seamlessly together.
- Revision and updates: Presentations often need updates or revisions over time. Instead of starting from scratch, copying slides from a previous version allows you to retain valuable content while incorporating new information or making necessary changes.
These are just a few of the reasons why you might consider copying PowerPoint slides to another presentation. Now that we’ve explored the benefits, let’s dive into the step-by-step process of how to actually copy slides from one presentation to another.
Step 1: Open Both Presentations
Before you can start copying slides from one PowerPoint presentation to another, you need to have both presentations open on your computer. Follow the steps below to open the presentations:
- Locate the presentations: Find the original presentation from which you want to copy slides, as well as the new presentation where you want to paste the slides. Make sure you know the file names and their saved locations on your computer.
- Launch PowerPoint: Open Microsoft PowerPoint on your computer by double-clicking the PowerPoint icon on your desktop or searching for it in your computer’s applications menu.
- Open the original presentation: In PowerPoint, go to the “File” tab in the top left corner of the screen. Click on “Open” from the dropdown menu and navigate to the location where the original presentation is saved. Select the file and click “Open” to open it in PowerPoint.
- Open the new presentation: With the original presentation open in PowerPoint, go back to the “File” tab and click on “Open” again. This time, navigate to the location where the new presentation is saved. Select the file and click “Open” to open it alongside the original presentation.
By following these steps, you will have both the original presentation and the new presentation open, ready for you to copy slides from one to the other. Now that you have both presentations opened, we can move on to the next step in the process.
Step 2: Select the Slides to be Copied
Once you have both presentations open in PowerPoint, it’s time to select the specific slides that you want to copy from the original presentation. Follow these steps to select the slides:
- Navigate to the slide sorter: In PowerPoint, locate the slide sorter view. You can find it at the bottom of the PowerPoint window, represented by a series of small thumbnails of your slides. Click on the slide sorter view icon to switch to this view.
- Identify the slides: Scroll through the slide thumbnails in the slide sorter view to locate the slides you want to copy. Take note of the slide numbers or visually identify the slides based on their content or layout.
- Select multiple slides: To select multiple slides, click and hold the Ctrl key (or Command key on a Mac) while clicking on the slide thumbnails one by one. This allows you to select non-consecutive slides. If you want to select a consecutive range of slides, click on the first slide, hold down the Shift key, and click on the last slide in the range.
By following these steps, you will be able to select the desired slides from the original presentation. Once you have made the selection, you can move on to the next step, which involves copying the slides.
Step 3: Copy the Slides
After selecting the slides you want to copy from the original presentation, it’s time to make a copy of them. There are multiple methods you can use to copy the slides, depending on your preference and the desired outcome. Here are three common options:
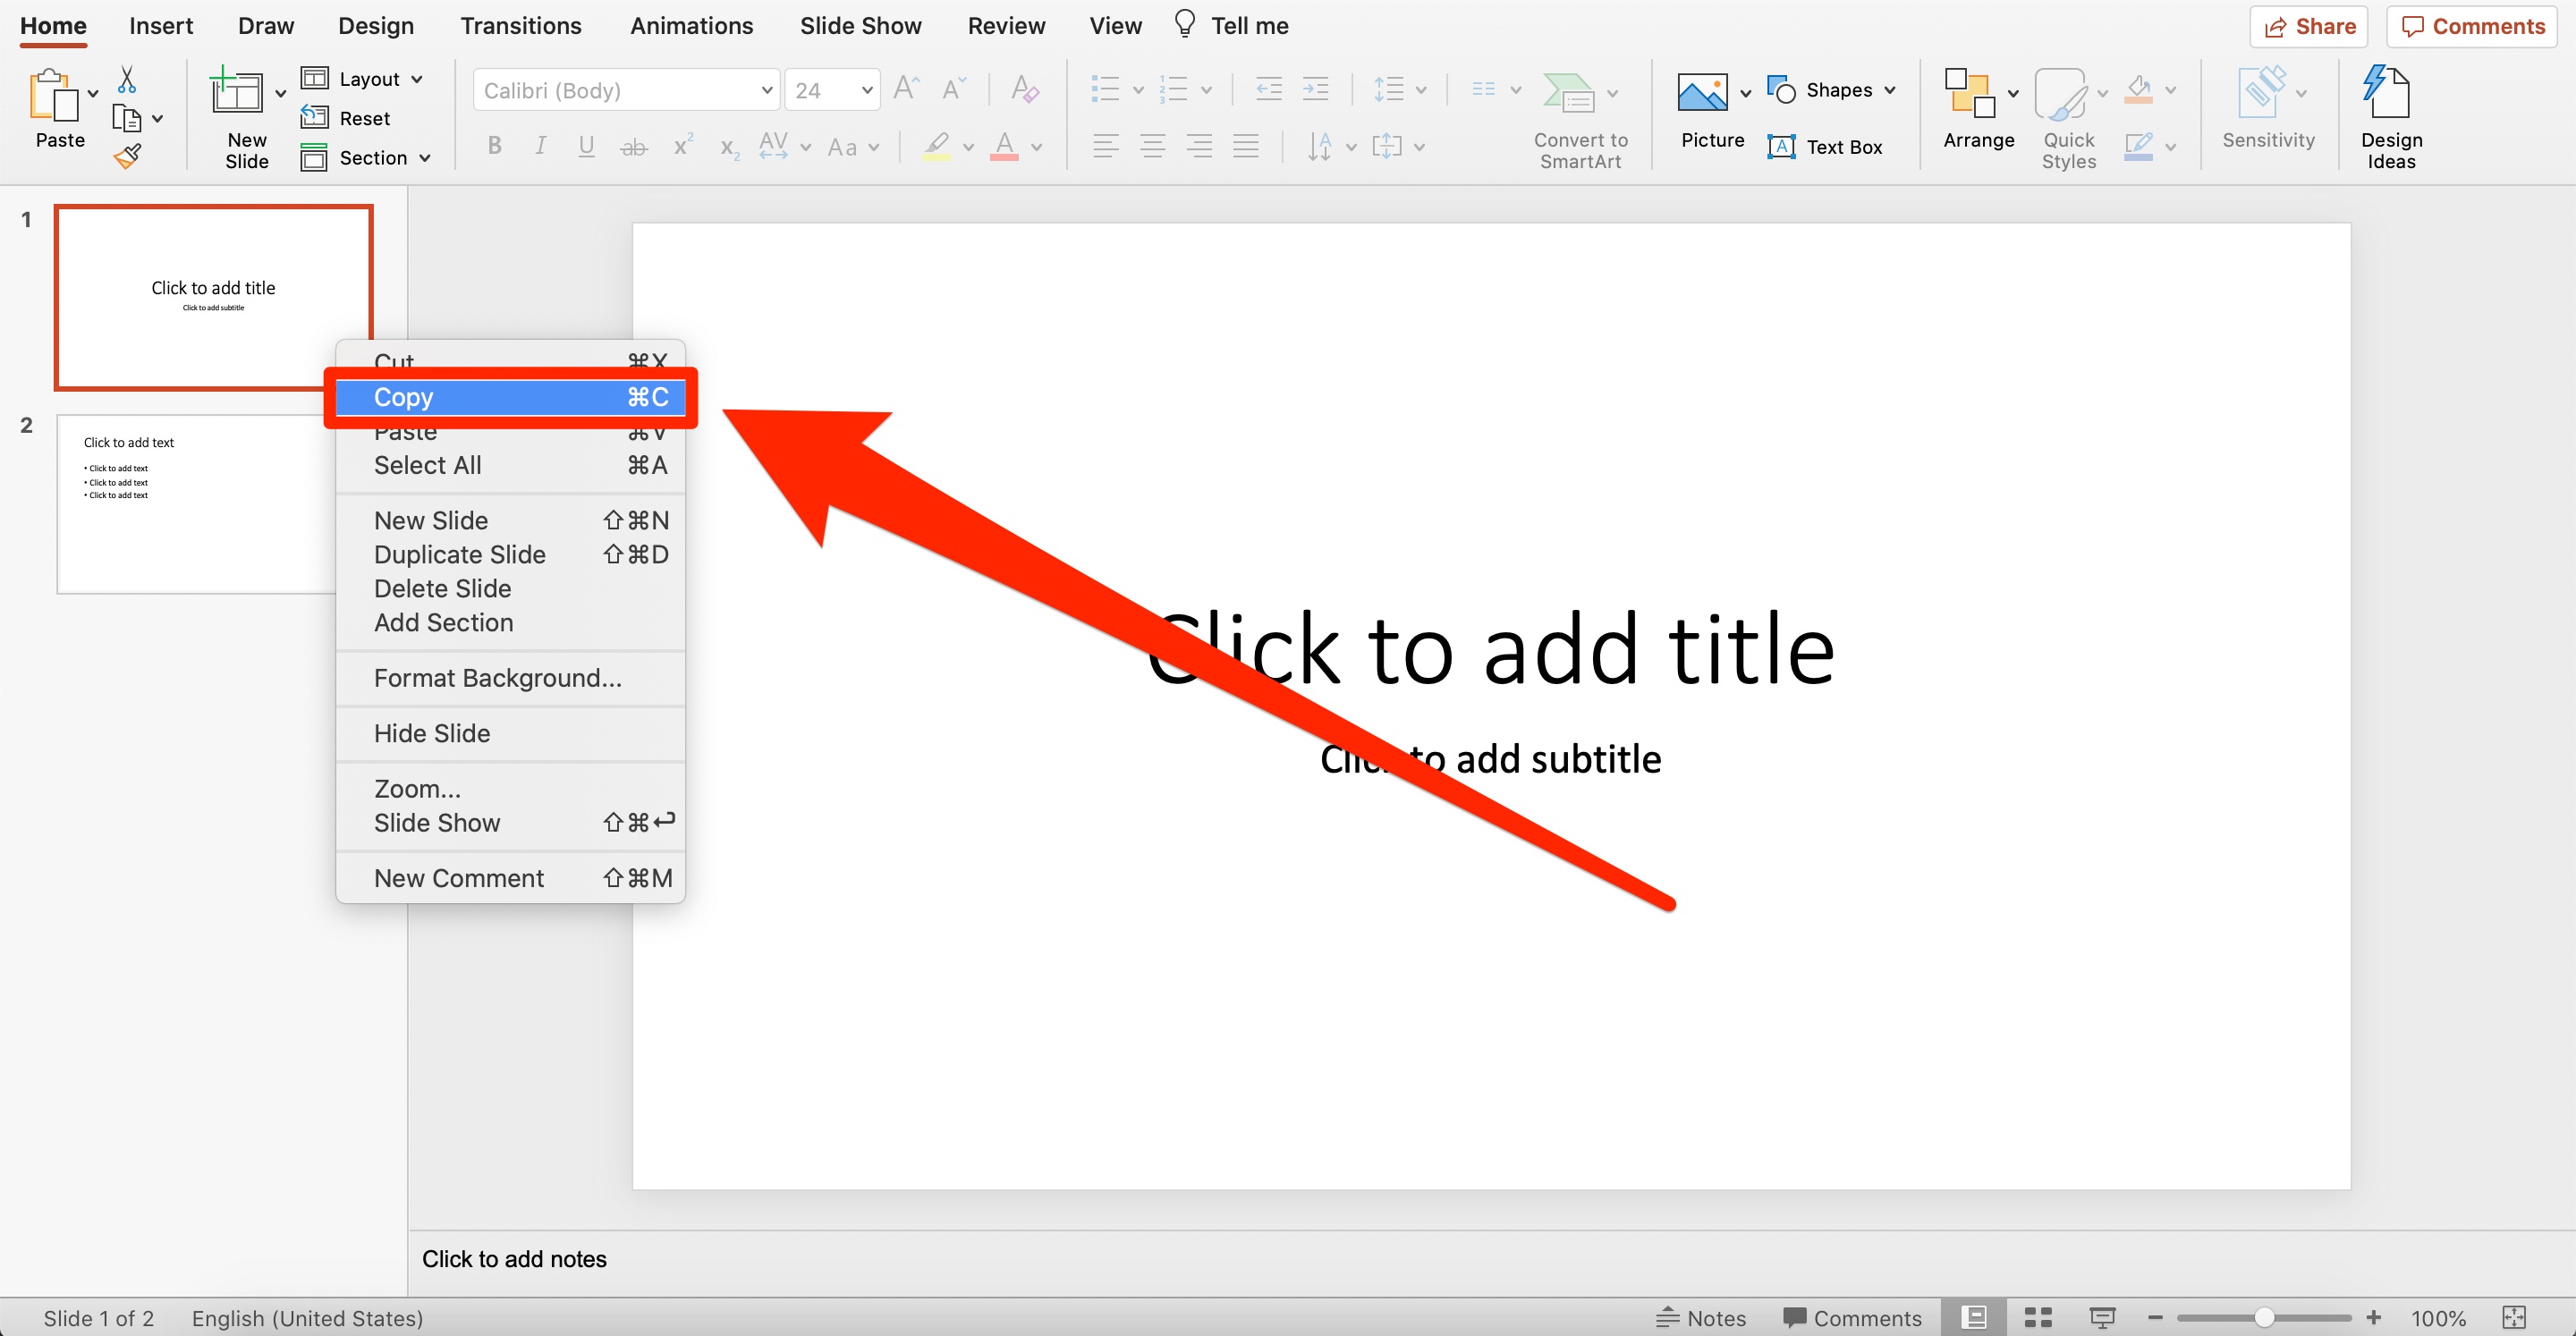
- Option 1: Copy and Paste Method: Once you have selected the slides, you can use the traditional copy and paste method. Right-click on any of the selected slides and choose the “Copy” option from the context menu. Then, navigate to the new presentation, right-click on the desired location where you want to paste the slides, and choose “Paste” from the context menu to copy the slides into the new presentation.
- Option 2: Drag and Drop Method: Another way to copy the slides is by using the drag and drop method. With the selected slides still highlighted, click and hold on one of the selected slides, then drag and drop them onto the slide pane of the new presentation. The slides will be copied to the new presentation at the desired location.
- Option 3: Copy Slide Layout Method: If you only want to copy the layout of the selected slides and not the actual content, you can use the “Copy Slide Layout” method. Right-click on any of the selected slides, choose “Copy” from the context menu, then right-click on the desired location in the new presentation and choose “Paste” > “Paste Special” > “Paste Slide Layout”. This option is useful when you want to maintain a consistent design across multiple presentations.
Choose the method that best suits your needs and the desired outcome. Once you have copied the slides, you can proceed to the next step, which involves pasting the slides into the new presentation.
Option 1: Copy and Paste Method
One of the simplest and most straightforward methods to copy slides from one presentation to another is by using the copy and paste method. This method allows you to easily duplicate the selected slides into the desired location in the new presentation. Follow these steps:
- Select the slides to be copied: In the original presentation, locate and select the slides you want to copy. To select multiple slides, hold down the Ctrl (Command on Mac) key and click on each slide you want to include.
- Copy the slides: Right-click on any of the selected slides and click on “Copy” from the context menu. Alternatively, you can use the keyboard shortcut Ctrl+C (Command+C on Mac) to copy the slides.
- Paste the slides into the new presentation: Switch to the new presentation where you want to paste the slides. Right-click on the desired location or slide thumbnail where you want the copied slides to be inserted. Click on “Paste” from the context menu. Alternatively, you can use the keyboard shortcut Ctrl+V (Command+V on Mac) to paste the slides.
By following these steps, you will successfully copy the selected slides from the original presentation and paste them into the new presentation using the copy and paste method. This option is ideal when you want to transfer the exact content and formatting of the slides from one presentation to another.
Now that you have familiarized yourself with the copy and paste method, you can explore other methods like the drag and drop or copy slide layout methods to copy and customize slides in different ways. Remember to save your new presentation regularly to ensure that your work is not lost.
Option 2: Drag and Drop Method
If you prefer a more interactive approach to copying slides, the drag and drop method provides a convenient way to transfer selected slides from one presentation to another. This method allows you to visually move slides between presentations using your mouse. Follow these steps:
- Select the slides to be copied: Open the original presentation and navigate to the slide sorter view. Locate and select the slides you want to copy by clicking and dragging your mouse over them. You can select multiple slides at once by holding down the Ctrl (Command on Mac) key.
- Drag the selected slides: With the selected slides still highlighted, click and hold your mouse button on any of the selected slides. While holding the mouse button, drag the slides to the slide pane of the new presentation.
- Drop the slides in the new presentation: Release the mouse button to drop the selected slides into the new presentation. You can position them by dragging them to the desired location within the slide pane.
By following these steps, you will be able to copy the selected slides from the original presentation and insert them into the new presentation using the drag and drop method. This option offers an intuitive and visual way to transfer slides, making it easy to rearrange and organize your presentation as needed.
Remember to save your work regularly to ensure that your changes are preserved. Additionally, be mindful of any potential formatting inconsistencies, such as misaligned text or image positioning, that may occur when using the drag and drop method. Review and adjust the copied slides as necessary to maintain a polished and professional presentation.
Option 3: Copy Slide Layout Method
If you want to maintain a consistent design across multiple presentations but don’t necessarily need to copy the specific content of the slides, the “Copy Slide Layout” method is a useful option. This method allows you to copy the layout and formatting of selected slides to the new presentation. Follow these steps:
- Select the slides to copy the layout: Open the original presentation and select the slides whose layout you want to copy. You can select multiple slides by holding down the Ctrl (Command on Mac) key while clicking on the desired slides.
- Copy the slide layout: Right-click on any of the selected slides and click on “Copy” from the context menu. Alternatively, you can use the keyboard shortcut Ctrl+C (Command+C on Mac) to copy the slides.
- Paste the slide layout in the new presentation: Switch to the new presentation where you want to apply the copied slide layout. Right-click on the desired location or slide thumbnail and click on “Paste” > “Paste Special” > “Paste Slide Layout” from the context menu. Alternatively, you can use the keyboard shortcut Ctrl+Alt+V (Command+Option+V on Mac) to access the paste special options and choose “Paste Slide Layout.”
By following these steps, you will copy the layout and formatting of the selected slides from the original presentation to the new presentation. This method is particularly helpful when you want to maintain a consistent design scheme or template across various presentations.
After pasting the slide layout into the new presentation, you can customize the content of the slides according to your needs. Update the text, insert images or charts, and make any necessary adjustments to the layout to ensure that the slides align with the overall goal and content of your new presentation.
Remember to save your progress regularly to preserve your work and have a backup in case of any unexpected disruptions. Additionally, be aware that using the copy slide layout method may result in minor adjustments in position and formatting of the copied layout. It’s always a good practice to review and fine-tune the layout to ensure a polished and cohesive presentation.
Step 4: Paste the Slides to the New Presentation
Once you have selected and copied the desired slides from the original presentation, it’s time to paste them into the new presentation. Follow these steps to paste the slides:
- Switch to the new presentation: If you haven’t already, navigate to the new presentation in PowerPoint. You can do this by clicking on the new presentation’s tab on the taskbar or selecting it from the list of open presentations.
- Select the location to paste the slides: Decide where in the new presentation you want to place the copied slides. You can choose to paste them at the beginning, in the middle, or at the end of the presentation. Alternatively, you can select a specific slide where you want to insert the copied slides.
- Paste the slides: Right-click on the chosen location or the specific slide where you want to insert the copied slides. From the context menu, click on “Paste” or use the keyboard shortcut Ctrl+V (Command+V on Mac) to paste the slides into the new presentation.
- Review and adjust the pasted slides: Once the slides are pasted, take the time to review them and ensure that everything looks as desired in the new presentation. Make any necessary adjustments, such as reordering the slides or modifying the content as needed to fit the context of the new presentation.
By following these steps, you will successfully paste the copied slides into the new presentation. Remember to choose a suitable location to insert the slides and review them to ensure a smooth transition and a cohesive flow within the new presentation.
Now that the slides are successfully pasted into the new presentation, you can proceed to the next step, which involves rearranging and customizing the slides to create a cohesive and engaging presentation.
Step 5: Rearrange and Customize the Slides
After pasting the copied slides into the new presentation, it’s time to rearrange and customize them to create a seamless and engaging flow. Follow these steps to make adjustments:
- Review the order of the slides: Take a moment to assess the order in which the slides are pasted into the new presentation. Consider the logical flow of your content and whether any slides need to be rearranged for better coherence and understanding.
- Rearrange the slides: To rearrange the order of the slides, simply click and drag them to the desired location within the slide pane. You can also use the “Cut” (Ctrl+X or Command+X) and “Paste” (Ctrl+V or Command+V) commands to move slides to a different position.
- Customize the content: Edit the content of the pasted slides to make them relevant and aligned with the new presentation’s topic and objectives. Update text, replace images, modify charts, and make any necessary revisions to ensure consistency and coherence with the overall presentation.
- Modify the design and formatting: Adjust the design and formatting aspects of the slides to match the visual style of the new presentation. This includes updating fonts, colors, backgrounds, and applying consistent formatting across all slides for a cohesive appearance.
- Add transitions or animations: Enhance the visual appeal and flow of your presentation by adding appropriate slide transitions and animations. Use these effects sparingly and purposefully to avoid distractions and ensure that they complement the content.
By following these steps, you can effectively rearrange and customize the pasted slides to create a well-organized and visually appealing presentation. The goal is to ensure that the content and design of the slides align with the overall theme and message you want to convey to your audience.
Remember to take your time with this step, as it is crucial for developing a polished and impactful presentation. Regularly review your progress and make necessary adjustments to optimize the flow and visual coherence of your slides.
Now that you have rearranged and customized the slides, you can proceed to the final step—saving the new presentation.
Step 6: Save the New Presentation
After putting in the effort to copy, paste, rearrange, and customize the slides in the new presentation, it’s important to save your work to ensure that your progress is preserved. Follow these steps to save the new presentation:
- Go to the “File” menu: Click on the “File” tab located in the top left corner of the PowerPoint window. This will open the file menu with a variety of options.
- Select “Save As”: In the file menu, click on the “Save As” option. This will open the save dialog box.
- Choose a location: Navigate to the folder or directory where you want to save the new presentation. You can select an existing folder or create a new folder to keep your presentations organized.
- Provide a filename: Enter a descriptive and meaningful filename for the new presentation. This will help you easily identify and locate it in the future.
- Select a file format: Choose the appropriate file format for your presentation. The default format, .pptx (PowerPoint Presentation), is widely compatible and recommended for most situations.
- Click “Save”: Once you have chosen the location, filename, and file format, click on the “Save” button to save the new presentation.
By following these steps, you will successfully save the new presentation with all the copied, rearranged, and customized slides. It’s always a good idea to save your progress periodically throughout the creation process to avoid losing any changes or data.
Remember to regularly back up your presentations by saving them to external storage devices or cloud storage platforms for added security and peace of mind.
Now that you have saved the new presentation, you can confidently proceed to rehearsing and delivering your impactful slideshow.
Additional Tips and Tricks
While following the steps to copy PowerPoint slides to another presentation, here are some additional tips and tricks to enhance your workflow and optimize the overall process:
- Use slide layouts: Instead of copying entire slides, consider creating reusable slide layouts with placeholders for content. This way, you can easily apply consistent formatting and design elements to new slides in different presentations without the need for extensive copying and pasting.
- Check for compatibility: Before copying slides from one presentation to another, ensure that both presentations are using compatible versions of PowerPoint. This will prevent any potential formatting or content issues that may arise from compatibility conflicts.
- Trim unnecessary elements: When copying slides, you may encounter unnecessary elements like hidden slides or speaker notes. Take the time to trim out any extraneous content to keep your presentation streamlined and focused.
- Double-check formatting: After pasting the slides into the new presentation, review the formatting and ensure that elements such as fonts, colors, and alignment are consistent throughout. This attention to detail will contribute to a polished and professional presentation.
- Consider file size: If your presentation includes media files or large images, be mindful of the resulting file size. Compress images and optimize media to keep the file size manageable, which can be beneficial when sharing or delivering the presentation.
- Save a copy of the original presentation: Prior to making any changes or copying slides, it’s a good practice to save a copy of the original presentation as a backup. This way, you can always refer back to the original if needed.
- Proofread and edit: As you rearrange and customize the slides, take the opportunity to proofread and edit the content for clarity, grammar, and accuracy. A well-edited presentation will leave a positive impression on your audience.
By utilizing these additional tips and tricks, you can streamline the process of copying PowerPoint slides to another presentation and create impactful presentations efficiently.
Remember, practice makes perfect. Explore different methods, experiment with layouts and designs, and find what works best for your specific needs and style. With time and experience, you’ll become more proficient in copying and customizing slides, allowing you to create visually appealing and engaging presentations.