
Overview of Printing Options in PowerPoint
PowerPoint is a powerful presentation software that allows users to create visually engaging slideshows. However, there may be times when you need to print your PowerPoint slides for various purposes. Whether you’re preparing handouts for a meeting or creating physical copies for distribution, PowerPoint provides several printing options to meet your needs.
One of the most common printing options is to print slides with speaker notes. This is especially useful for presentations that require detailed explanations or for speakers who want to have reference material during their presentations. PowerPoint allows you to print the slides with the speaker notes directly, ensuring that you have all the necessary information at your fingertips.
Another printing option is to print handouts with multiple slides per page. This is ideal for situations where you want to provide a condensed version of your presentation to the audience. By printing multiple slides on a single page, you can save paper and make it easier for your audience to follow along.
If you want to share your presentation digitally, you can print your slides in PDF format. PDFs are widely supported and can be easily shared and viewed across different devices and operating systems. This is particularly helpful when sending your presentation to someone who may not have PowerPoint installed on their computer.
Sometimes, you may need to print your slides in black and white, either due to printing restrictions or personal preference. PowerPoint offers the option to print your slides without color, ensuring that they are clear and easy to read, even in grayscale.
For those who have designed their slides with visually appealing backgrounds or graphics, PowerPoint allows you to print slides with background graphics. This ensures that you get a true representation of your slides when you print them, without losing any of the design elements.
Additionally, PowerPoint offers the flexibility to print slides in custom sizes. This is beneficial if you need to print large posters or banners for presentations or events. By adjusting the dimensions of your slides, you can create high-quality prints that meet your specific requirements.
Before printing your slides, it’s always a good idea to preview them to ensure they look exactly how you want them to. PowerPoint provides a preview option that allows you to review your slides before sending them to the printer, helping you catch any potential formatting or layout issues.
If you encounter any issues while printing your PowerPoint slides, there are troubleshooting options available to help you resolve them. PowerPoint offers guidance on common printing problems and provides solutions to ensure that you can successfully print your slides without any hiccups.
Overall, PowerPoint provides a range of printing options that allow you to customize and optimize your printed slides. Whether you’re looking to print slides with speaker notes, create handouts, or share your presentation digitally, PowerPoint has you covered.
Printing Slides with Speaker Notes
When preparing for a presentation, it can be helpful to have speaker notes available to guide you through each slide. PowerPoint allows you to print your slides along with the accompanying speaker notes, ensuring that you have all the information you need during your presentation.
To print slides with speaker notes, follow these simple steps:
- Open your PowerPoint presentation and go to the “File” tab.
- Select “Print” from the dropdown menu.
- In the print settings, choose the “Full Page Slides” option.
- Under “Print Layout,” select the “Notes Pages” option.
- Click on “Print” to start the printing process.
By choosing the “Notes Pages” option, you ensure that each slide is printed with its corresponding speaker notes, providing you with a comprehensive reference document for your presentation.
If you prefer to customize the layout of the printed slides with speaker notes, PowerPoint offers additional options. You can adjust the size and placement of the speaker notes to fit your preferences.
Printing slides with speaker notes is particularly useful for presenters who require detailed explanations or for those who want a handy reference tool during their presentations. Having a physical copy of the slides with the accompanying notes can help you stay organized, maintain a smooth flow during your presentation, and ensure that you cover all the important points.
Furthermore, printing slides with speaker notes can be valuable for audience members who may want to follow along with your presentation or refer back to it later. By providing handouts that include the speaker notes, you offer a more complete and informative resource for your audience.
Keep in mind that when printing slides with speaker notes, it’s essential to review the content beforehand. Make sure that the speaker notes are accurate, clear, and concise. Adjust them if necessary to enhance readability and guide your presentation effectively.
Printing slides with speaker notes is just one of the many printing options that PowerPoint offers. Whether you’re preparing for a business meeting, a conference, or an educational presentation, taking advantage of this feature can contribute to a successful and well-organized presentation.
Printing Handouts with Multiple Slides Per Page
In some situations, you may need to provide handouts of your PowerPoint presentation to your audience. Printing handouts with multiple slides per page is an effective way to condense the content and save paper, while still providing a clear and concise resource for your audience.
To print handouts with multiple slides per page in PowerPoint, follow these steps:
- Open your PowerPoint presentation and go to the “File” tab.
- Select “Print” from the dropdown menu.
- In the print settings, choose the “Full Page Slides” option.
- Under “Print Layout,” select the “Handouts” option.
- From the dropdown menu next to “Slides per page,” choose the desired number of slides per page. Options include 1, 2, 3, 4, 6, or 9 slides per page.
- Click on “Print” to start the printing process.
By selecting the desired number of slides per page, you can control the layout and reduce the size of each slide, allowing for more content to fit on a single page.
This printing option is particularly useful when you want to provide a condensed version of your presentation to your audience. It allows them to follow along with the main points of each slide without overwhelming them with excessive detail.
Printing handouts with multiple slides per page also saves paper, making it an eco-friendly choice. This is especially important when you are presenting to a large audience or conducting multiple presentations.
However, when printing handouts with multiple slides per page, it’s important to consider the readability of the slides. Ensure that the font size and visuals remain clear and legible, even when reduced in size. You may need to adjust the font size or other elements of your slides to optimize their appearance as handouts.
Additionally, it is advisable to provide ample white space and organize the slides in a logical manner to enhance readability. Consider grouping related slides together to provide a cohesive flow of information for your audience.
Remember to review the handouts before distributing them to ensure that they accurately represent your presentation and convey the intended message. If necessary, make any adjustments or revisions to maintain the overall coherence and effectiveness.
Printing handouts with multiple slides per page is a practical option in situations where you want to provide a concise and condensed version of your presentation to your audience. It enables you to save paper, control the layout, and offer a valuable takeaway for your audience to refer back to after the presentation.
Printing Slides in PDF Format
When sharing your PowerPoint presentation with others, it can be convenient to convert it into a PDF format. PDFs are widely supported and can be easily viewed on different devices and operating systems, ensuring that your presentation can be accessed by a wider audience. PowerPoint allows you to print your slides in PDF format directly from the application.
To print slides in PDF format, follow these simple steps:
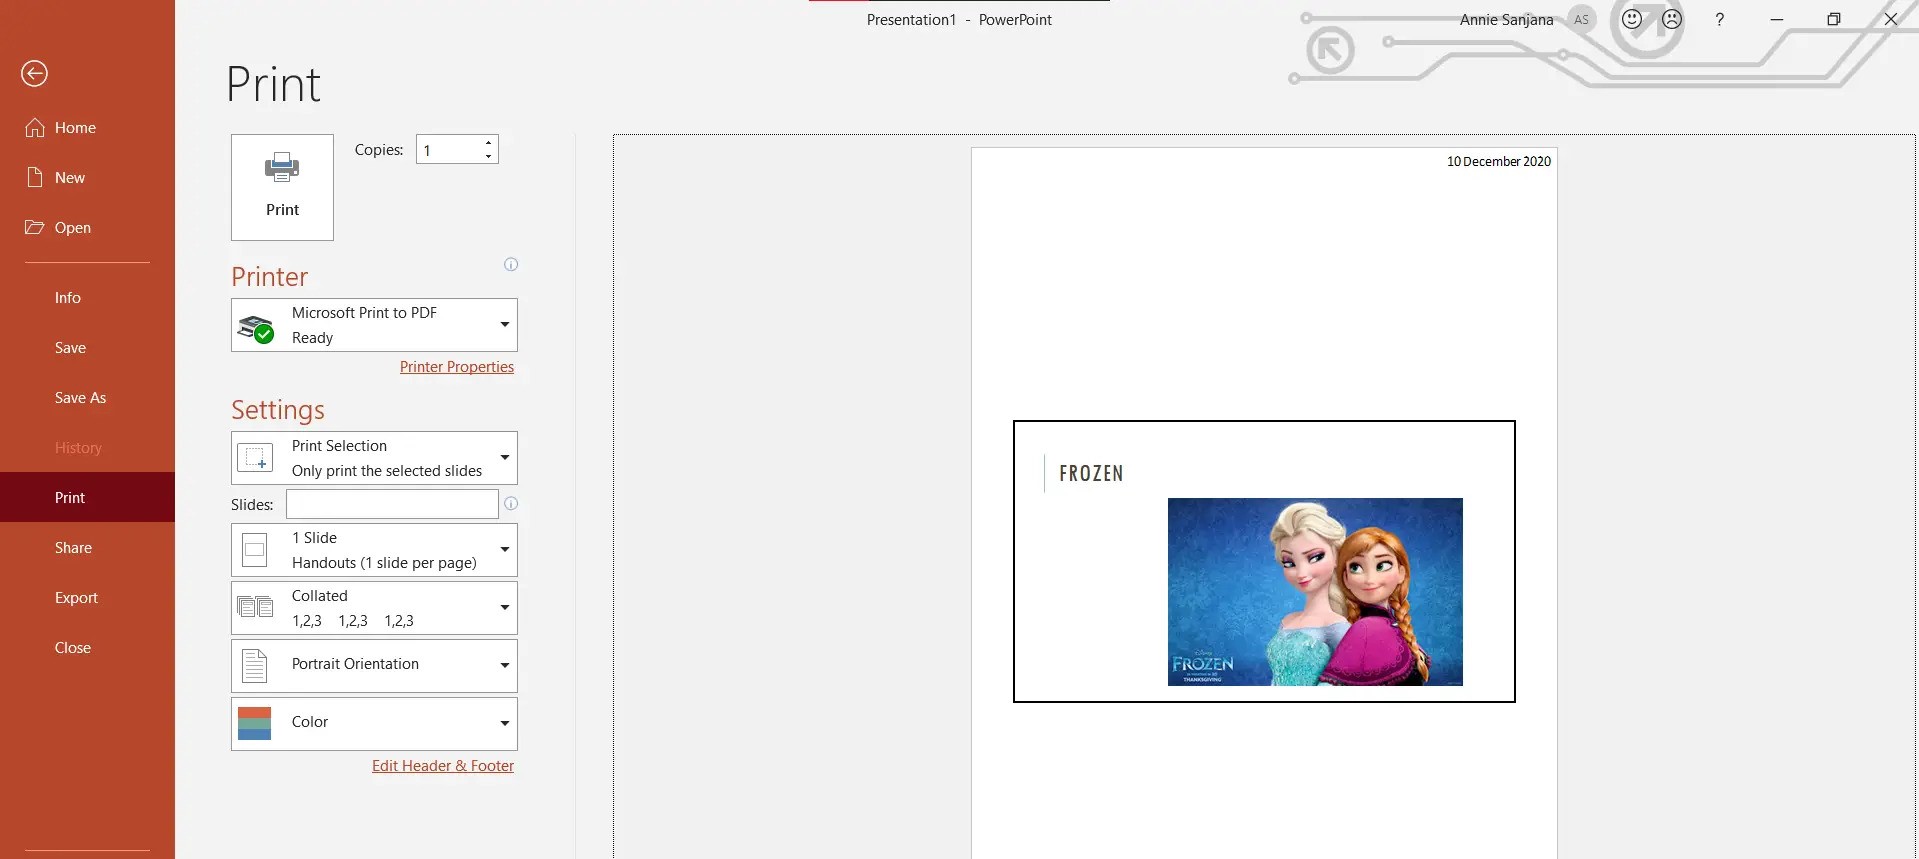
- Open your PowerPoint presentation and go to the “File” tab.
- Select “Print” from the dropdown menu.
- In the print settings, choose the “Full Page Slides” option.
- Under “Printer,” select “Microsoft Print to PDF” or any other PDF printer installed on your computer.
- Click on “Print” to start the printing process.
- In the “Save As” dialog box, choose a location to save the PDF file and provide a name for the file.
- Click “Save” to generate the PDF file.
By selecting the PDF printer option, PowerPoint converts your slides into a PDF file with each slide on a separate page. This ensures that the formatting, layout, and design of your slides are preserved in the PDF version.
Printing slides in PDF format has several advantages. Firstly, PDF files are universally compatible, making them easy to share with others. Whether you’re sending the PDF via email, uploading it to a website, or distributing it on a USB drive, recipients can view the presentation without the need for PowerPoint software.
Furthermore, PDFs allow you to maintain the integrity of your slides, ensuring that your fonts, images, and formatting remain consistent across different devices and platforms. Your audience will see your presentation exactly as intended, regardless of the software or device they are using.
PDFs also offer security and protection for your presentation. You can apply password protection or restrict certain actions, such as editing or copying, to prevent unauthorized access or modification of your content.
When printing slides in PDF format, it’s essential to review the PDF file after generating it to ensure that everything appears as expected. Check for any missing fonts, distorted images, or other formatting issues that may have arisen during the conversion process. Make any necessary adjustments or revisions to ensure the PDF version accurately reflects your original presentation.
Printing slides in PDF format provides a versatile and accessible way to distribute your PowerPoint presentation to a wider audience. By converting your slides into PDF files, you can ensure compatibility, maintain design integrity, and enhance the usability and security of your presentation.
Printing Slides in Black and White
While PowerPoint presentations often feature vibrant colors and visually appealing designs, there may be instances where you need to print slides in black and white. Whether it’s due to printing restrictions or personal preference, PowerPoint provides the option to print your slides without color, allowing you to create clear and readable black and white printouts.
To print slides in black and white, follow these steps:
- Open your PowerPoint presentation and go to the “File” tab.
- Select “Print” from the dropdown menu.
- In the print settings, choose the “Full Page Slides” option.
- Under “Color,” select the “Black and White” option.
- Click on “Print” to start the printing process.
By selecting the “Black and White” option, PowerPoint removes all the colors from your slides and prints them using only grayscale. This ensures that your slides are easily readable, even without the vibrancy of colors.
Printing slides in black and white can be advantageous in several situations. Some printers may not have color capability, or you may be working with limited ink or toner resources. By printing in black and white, you can still produce professional-looking handouts or visual aids without the need for color printing.
In addition, printing in black and white can provide increased legibility, especially for audiences with vision impairments or those who prefer a simpler, more straightforward presentation style. By removing colors, you eliminate any potential distractions and allow your content to take center stage.
It’s worth noting that when printing in black and white, certain design elements may get affected. Graphics, charts, or images that heavily rely on color may lose some details or visual impact. Therefore, it’s recommended to review your slides in black and white before printing to ensure that the content remains clear and understandable.
By printing slides in black and white, you can create accessible and printer-friendly versions of your PowerPoint presentation. Whether you’re distributing handouts, creating training materials, or printing slides for internal use, this option allows you to focus on the content and ensure that your message comes across effectively, regardless of the absence of color.
Printing Slides with Background Graphics
PowerPoint presentations often utilize visually appealing background graphics to enhance the overall design and aesthetics. If you have incorporated background graphics into your slides, you may be concerned about losing these elements when you print your presentation. However, PowerPoint offers the option to print slides with background graphics, ensuring that you can enjoy the complete visual experience in your printed materials.
To print slides with background graphics in PowerPoint, follow these steps:
- Open your PowerPoint presentation and go to the “File” tab.
- Select “Print” from the dropdown menu.
- In the print settings, choose the “Full Page Slides” option.
- Under “Settings,” select the “Print Background Colors and Images” option.
- Click on “Print” to start the printing process.
By selecting the “Print Background Colors and Images” option, PowerPoint ensures that your slides are printed with the full fidelity of their background graphics. This allows you to preserve the visual impact and cohesiveness of your presentation, even in printed form.
Printing slides with background graphics can be beneficial in many scenarios. It is particularly useful when you want to distribute handouts or create physical copies of your presentation for marketing or promotional purposes. By including the background graphics, your printed materials will closely resemble the original slides, creating a cohesive and visually appealing package.
Additionally, when presenting to an audience, providing handouts with background graphics can help reinforce your message and make a lasting impression. It adds an extra layer of professionalism and attention to detail, making your materials stand out from the crowd.
However, before printing slides with background graphics, it’s important to consider the readability of your content. Ensure that the text and other elements stand out clearly against the background graphics, especially if they are complex or visually busy. You may need to adjust the font color or size to ensure optimal legibility, preserving the visual appeal of the background graphics without sacrificing the readability of your content.
By printing slides with background graphics, you can extend the visual impact of your PowerPoint presentation beyond the digital realm. Whether you’re creating handouts, marketing materials, or other printed collateral, this option allows you to maintain the integrity of your design and deliver a cohesive and visually captivating experience.
Printing Slides in Custom Sizes
PowerPoint provides the flexibility to print slides in custom sizes, allowing you to tailor your prints to specific requirements. Whether you need to create large posters or resize your slides for a unique printing project, PowerPoint’s custom size printing option can accommodate your needs.
To print slides in custom sizes in PowerPoint, follow these steps:
- Open your PowerPoint presentation and go to the “File” tab.
- Select “Print” from the dropdown menu.
- In the print settings, choose the “Full Page Slides” option.
- Click on the “Slide Size” dropdown menu and select “Custom Slide Size.”
- In the “Custom Slide Size” dialog box, enter the width and height dimensions for your custom print size.
- Click on “OK” to apply the custom size.
- Click on “Print” to start the printing process.
By setting a custom slide size, PowerPoint adjusts the dimensions of your slides to match your specified requirements. This allows you to create prints of various sizes, from large format posters to smaller, more precise dimensions.
Printing slides in custom sizes can be highly advantageous in numerous contexts. For example, if you require larger prints for promotional materials or trade show displays, setting a custom size ensures that your slides maintain their visual impact and attractiveness, even when printed at a larger scale.
On the other hand, if you need smaller prints for materials like flyers, brochures, or business cards, printing slides in custom sizes enables you to create professional-looking, customized materials that align with your brand and messaging.
When printing slides in custom sizes, it’s important to keep certain factors in mind. Consider the resolution and image quality of your slides, especially when enlarging them for larger prints. Low-resolution images may appear pixelated or blurry when printed at bigger sizes, so it’s important to use high-quality graphics and adjust the resolution accordingly.
Additionally, ensure that the content on your slides remains clear and legible at the custom size you choose. Adjust the font size, spacing, and layout as needed to optimize the readability of your prints, maintaining a visually appealing presentation while ensuring easy comprehension by your audience.
By offering the option to print slides in custom sizes, PowerPoint empowers you to adapt your presentations to various printing projects and promotional materials. Whether you need larger prints for impactful visual displays or smaller prints for concise, eye-catching materials, this feature enables you to create customized prints that align with your specific needs.
Previewing Slides Before Printing
Before sending your PowerPoint slides to the printer, it’s crucial to preview them to ensure they look exactly as you intend. Previewing your slides before printing allows you to catch any potential formatting or layout issues, ensuring that your printed materials are of the highest quality.
To preview your slides in PowerPoint, follow these steps:
- Open your PowerPoint presentation and go to the “File” tab.
- Select “Print” from the dropdown menu.
- In the print settings, you will see a preview of how the slides will appear when printed.
- Scroll through the previews to review each slide.
- Make note of any issues or inconsistencies you observe.
By previewing your slides before printing, you can spot any potential problems, such as overlapping text, cut-off images, or unintended formatting changes. This allows you to make necessary adjustments to ensure your prints meet your desired standards.
During the preview, pay close attention to the overall layout and composition of your slides. Verify that the content is properly centered, aligned, and distributed, avoiding any awkward gaps or uneven distributions. Ensure that all text, images, and other elements appear as intended and are easy to read.
Additionally, take note of any potential issues with the color or contrast of your slides. Colors may appear differently when printed compared to what you see on your screen, so it’s important to ensure that the colors are accurate and consistent in the printed version. Adjustments to font colors or background elements may be necessary to maintain optimal readability.
If you notice any issues or inconsistencies during the preview, make the necessary edits or adjustments before proceeding with the printing process. This may include resizing images, repositioning text boxes or graphics, or refining the overall design elements to enhance the visual appeal.
Previewing and reviewing your slides before printing is essential for maintaining professionalism and ensuring the quality of your printed materials. It allows you to catch any errors or issues that may have been overlooked during the creation process, resulting in a polished and visually pleasing end product.
By taking the time to preview your slides, you can print with confidence, knowing that your printed materials accurately represent your original presentation and convey your intended message effectively.
Troubleshooting Printing Issues
While PowerPoint offers various printing options to create professional-looking prints, occasionally you may encounter issues during the printing process. These issues can range from formatting problems to printing errors. Understanding how to troubleshoot common printing issues can help ensure that your prints come out as intended and save you time and frustration.
Here are some troubleshooting tips to overcome common printing issues in PowerPoint:
- Check printer settings: Ensure that your printer settings are correctly configured. Check the print quality, paper size, orientation, and any other relevant settings. It’s important to match these settings with the requirements of your print project.
- Update printer drivers: Outdated printer drivers can sometimes cause printing problems. Keep your printer drivers up to date by visiting the manufacturer’s website and downloading the latest drivers for your printer model.
- Optimize slide content: If you experience issues such as cutoff text or images, ensure that your content fits within the printable area of the slide. Adjust the font size, resize images, or reposition elements as necessary to avoid any content being cropped or cut off.
- Resolve font issues: It’s crucial to use common system fonts to ensure consistency when printing across different devices. If you use unique or non-standard fonts in your presentation, consider embedding the fonts or converting the text to outlines to prevent font substitution issues during printing.
- Check printer connectivity: If your printer is not responding or you’re unable to print, ensure that your printer is properly connected to your computer and powered on. Check all cables and network connections to troubleshoot any connectivity issues.
- Clear printer queue: If you experience issues with a specific print job, try clearing the print queue. Cancel any pending print jobs, restart your computer, and then try printing the slides again.
- Resize slides: If you’re encountering issues with oversized or undersized prints, consider adjusting the slide size in PowerPoint. Choose a standard slide size or create a custom size that matches your printing requirements to achieve the desired output.
- Print in smaller batches: For larger print jobs, consider printing your slides in smaller batches rather than all at once. Printing a large number of slides can sometimes result in printing errors or delays, so breaking up the print job can help alleviate these issues.
By applying these troubleshooting techniques, you can overcome common printing issues and ensure successful printing of your PowerPoint slides. Don’t hesitate to consult your printer’s user manual or seek further assistance from the printer manufacturer if the issues persist.
Remember, it’s important to test print a sample of your slides before printing a large batch to identify and resolve any potential issues. This allows you to make any necessary adjustments before producing multiple copies.
Handling printing issues efficiently and effectively will result in professional-looking prints that accurately represent your presentation and convey your message to your audience as intended.