
Understanding the Contact Transfer Process
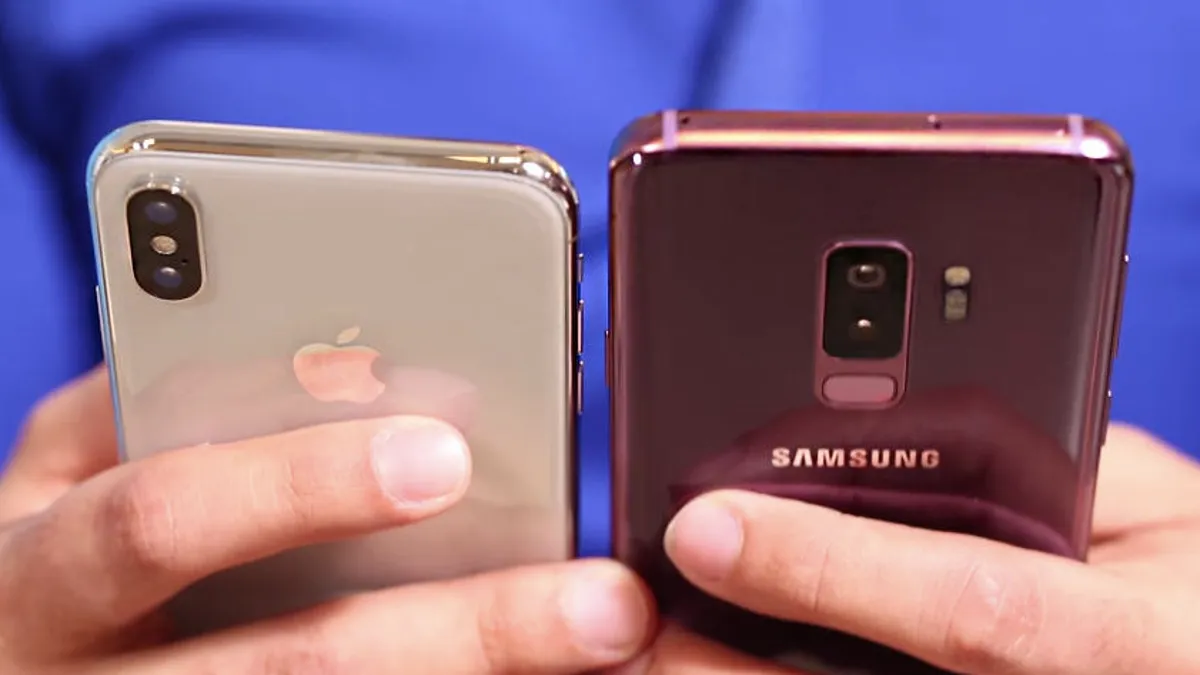
When switching from a Samsung device to an iPhone 10, one of the essential tasks is transferring contacts. This process ensures that you maintain seamless communication with your network without the hassle of manually inputting each contact. Understanding the contact transfer process is crucial to executing a smooth transition.
The contact transfer process involves moving the contact information stored on your Samsung device to your new iPhone 10. This includes names, phone numbers, email addresses, and any additional details associated with each contact. There are several methods to accomplish this, each with its own set of steps and requirements.
By comprehending the intricacies of the contact transfer process, you can effectively evaluate the available options and choose the most suitable method for your specific needs. Whether you opt for a cloud-based solution or a third-party app, understanding the underlying principles of contact transfer empowers you to make informed decisions and successfully complete the transition without losing any valuable contact information.
In the subsequent sections, we will explore various methods for transferring contacts from a Samsung device to an iPhone 10. Each method offers distinct advantages and may cater to different preferences and technical proficiencies. By gaining a comprehensive understanding of these options, you can confidently proceed with the contact transfer process, ensuring that your valuable contacts seamlessly migrate to your new iPhone 10.
Using Google Account to Transfer Contacts
Transferring contacts from a Samsung device to an iPhone 10 using a Google account is a straightforward and efficient method. This approach leverages the synchronization capabilities of Google Contacts, enabling a seamless transition of contact information between devices. Here's a detailed guide on how to utilize your Google account for contact transfer:
-
Sync Contacts on Samsung Device:
- On your Samsung device, ensure that your contacts are synced with your Google account. This can be done by navigating to "Settings," selecting "Accounts and Backup," and then choosing "Accounts." From the list of accounts, select your Google account and ensure that the "Sync Contacts" option is enabled. This action ensures that your contacts are backed up to your Google account.
-
Add Google Account to iPhone:
- On your iPhone 10, go to "Settings" and select "Passwords & Accounts." Tap on "Add Account" and choose "Google" from the list of available account types. Enter your Google account credentials and allow the iPhone to sync with your Google account.
-
Enable Contact Sync on iPhone:
- After adding your Google account, ensure that the "Contacts" option is enabled for synchronization. This can be done by accessing the account settings and verifying that the "Contacts" toggle switch is turned on.
-
Initiate Contact Sync:
- Once the Google account is added and contact synchronization is enabled, your iPhone 10 will begin syncing contacts from your Google account. This process may take some time, depending on the number of contacts being transferred.
-
Verify Contact Transfer:
- After the synchronization process is complete, navigate to the "Contacts" app on your iPhone 10 to verify that the contacts from your Google account have been successfully transferred. You should see all your contacts, including names, phone numbers, and any additional details, seamlessly integrated into your iPhone's contact list.
By leveraging the synchronization capabilities of Google Contacts, you can effortlessly transfer your contacts from a Samsung device to an iPhone 10. This method eliminates the need for manual contact entry and ensures that your entire contact list is seamlessly migrated to your new device. With a few simple steps, you can leverage the power of your Google account to facilitate a smooth and efficient contact transfer process, allowing you to stay connected with your network without any disruptions.
Using iCloud to Transfer Contacts
Transferring contacts from a Samsung device to an iPhone 10 using iCloud offers a convenient and reliable method for seamless contact migration. iCloud, Apple's cloud storage and synchronization service, provides a straightforward approach to transferring contacts while ensuring data security and accessibility across devices. Here's a comprehensive guide on how to utilize iCloud for contact transfer:
-
Backup Contacts on Samsung Device:
- On your Samsung device, ensure that your contacts are backed up to a compatible format, such as a VCF (vCard) file. This can typically be done through the Contacts app or the device's settings. Exporting your contacts to a VCF file ensures that the contact information is stored in a universally compatible format for the transfer to iCloud.
-
Import Contacts to iCloud:
- Access the iCloud website on a computer or use the iCloud app on another iOS device. Sign in with your Apple ID and navigate to the "Contacts" section. Look for the option to import contacts and select the VCF file that contains your Samsung contacts. This action uploads the contacts to your iCloud account, making them accessible from your iPhone 10.
-
Sync iCloud Account on iPhone:
- On your iPhone 10, navigate to "Settings" and select "Passwords & Accounts." Tap on "Add Account" and choose "iCloud" from the list of available account types. Enter your iCloud credentials and ensure that the "Contacts" option is enabled for synchronization.
-
Initiate Contact Sync:
- Once your iCloud account is added and contact synchronization is enabled, your iPhone 10 will begin syncing contacts from iCloud. This process seamlessly integrates the contacts from your Samsung device into your iPhone's contact list.
-
Verify Contact Transfer:
- After the synchronization process is complete, open the "Contacts" app on your iPhone 10 to verify that the contacts from your Samsung device have been successfully transferred. You should see all your contacts, including names, phone numbers, and any additional details, seamlessly integrated into your iPhone's contact list.
By leveraging iCloud's capabilities, you can efficiently transfer your contacts from a Samsung device to an iPhone 10. This method eliminates the need for manual contact entry and ensures that your entire contact list is seamlessly migrated to your new device. With a few simple steps, you can leverage the power of iCloud to facilitate a smooth and efficient contact transfer process, allowing you to stay connected with your network without any disruptions.
Using a Third-Party App to Transfer Contacts
When it comes to transferring contacts from a Samsung device to an iPhone 10, utilizing a third-party app offers a versatile and user-friendly approach. These apps are specifically designed to streamline the contact transfer process, providing a seamless transition of contact information between different devices and platforms. Here's a detailed exploration of how to leverage a third-party app for contact transfer:
-
Research and Select a Suitable App: Begin by researching and identifying a reputable third-party app that specializes in contact transfer between Android and iOS devices. There are several apps available on the Google Play Store and Apple App Store that offer intuitive interfaces and robust functionality for seamless contact migration.
-
Install and Launch the App on Both Devices: Once you've selected a suitable app, install it on both your Samsung device and iPhone 10. Launch the app on each device to initiate the contact transfer process.
-
Follow the App's Instructions for Transfer: The third-party app will typically provide clear instructions on how to initiate the contact transfer. This may involve creating an account within the app, selecting the source (Samsung) and target (iPhone 10) devices, and authorizing the transfer of contacts.
-
Initiate the Contact Transfer Process: After following the app's instructions, initiate the contact transfer process. The app will facilitate the seamless transfer of contact information from your Samsung device to your iPhone 10, ensuring that all names, phone numbers, and additional details are accurately migrated.
-
Verify Contact Transfer: Once the transfer process is complete, verify the successful transfer of contacts by accessing the contact list on your iPhone 10. You should see all your contacts seamlessly integrated into the device's contact management system, ready for seamless communication.
By leveraging a third-party app for contact transfer, you can simplify the migration process and eliminate the complexities associated with manual contact entry. These apps are designed to streamline the transfer of contact information, ensuring that your valuable contacts seamlessly migrate to your new iPhone 10 without any data loss or inconvenience.
Whether you opt for a Google account, iCloud, or a third-party app, the contact transfer process plays a crucial role in ensuring a smooth transition to your new device. Understanding the available options empowers you to make informed decisions, ultimately leading to a seamless and efficient transfer of your valuable contacts.