
Checking Compatibility
Before connecting your phone to the GPX Mini Projector, it’s essential to ensure that your phone is compatible with the projector. The compatibility largely depends on the type of phone and the capabilities of the projector. Here’s how to check the compatibility:
- Phone Compatibility: First, determine if your phone supports screen mirroring or HDMI output. Most modern smartphones, including Android and iOS devices, are equipped with screen mirroring capabilities. However, it’s crucial to verify this feature in your phone’s settings or user manual. Additionally, some phones may require specific apps or software to enable screen mirroring.
- Projector Compatibility: Check the specifications of the GPX Mini Projector to see if it supports the connection with your phone. Look for HDMI or USB connectivity options on the projector. Ensure that the projector has the necessary ports to establish a connection with your phone. Some projectors may also support wireless connectivity, allowing you to mirror your phone’s screen without physical cables.
It’s important to note that not all phones are compatible with every projector, and vice versa. If your phone or projector lacks the required connectivity options, you may need additional adapters or a different method to establish the connection. Understanding the compatibility between your phone and the GPX Mini Projector is the first step towards a seamless connection and an enjoyable viewing experience.
Gathering Necessary Cables and Adapters
Once you’ve confirmed the compatibility between your phone and the GPX Mini Projector, the next step is to gather the necessary cables and adapters for the connection. The required accessories may vary depending on the specific ports available on your phone and the input options on the projector. Here’s what you’ll need:
- HDMI Cable: If your phone supports HDMI output and the GPX Mini Projector has an HDMI input port, you’ll need an HDMI cable to establish the connection. Ensure that the cable length is sufficient to reach from your phone to the projector without causing any strain on the devices.
- USB-C to HDMI Adapter: For smartphones with USB-C ports that lack native HDMI output, you may need a USB-C to HDMI adapter. This adapter allows you to connect an HDMI cable from the projector to your phone’s USB-C port, enabling screen mirroring or content playback on the projector.
- Lightning to HDMI Adapter: If you’re using an iPhone with a Lightning port, a Lightning to HDMI adapter is necessary to link your phone to the GPX Mini Projector via an HDMI cable. This adapter serves as a bridge between the Lightning port on your iPhone and the HDMI input on the projector, facilitating seamless connectivity.
- Wireless Display Adapter: Some projectors support wireless connectivity through specific wireless display adapters or dongles. If your projector offers this feature, you may opt for a compatible wireless display adapter that allows you to mirror your phone’s screen wirelessly without the need for physical cables.
By gathering the appropriate cables and adapters based on your phone’s connectivity options and the projector’s input ports, you’ll be well-prepared to establish a reliable and efficient connection between your phone and the GPX Mini Projector.
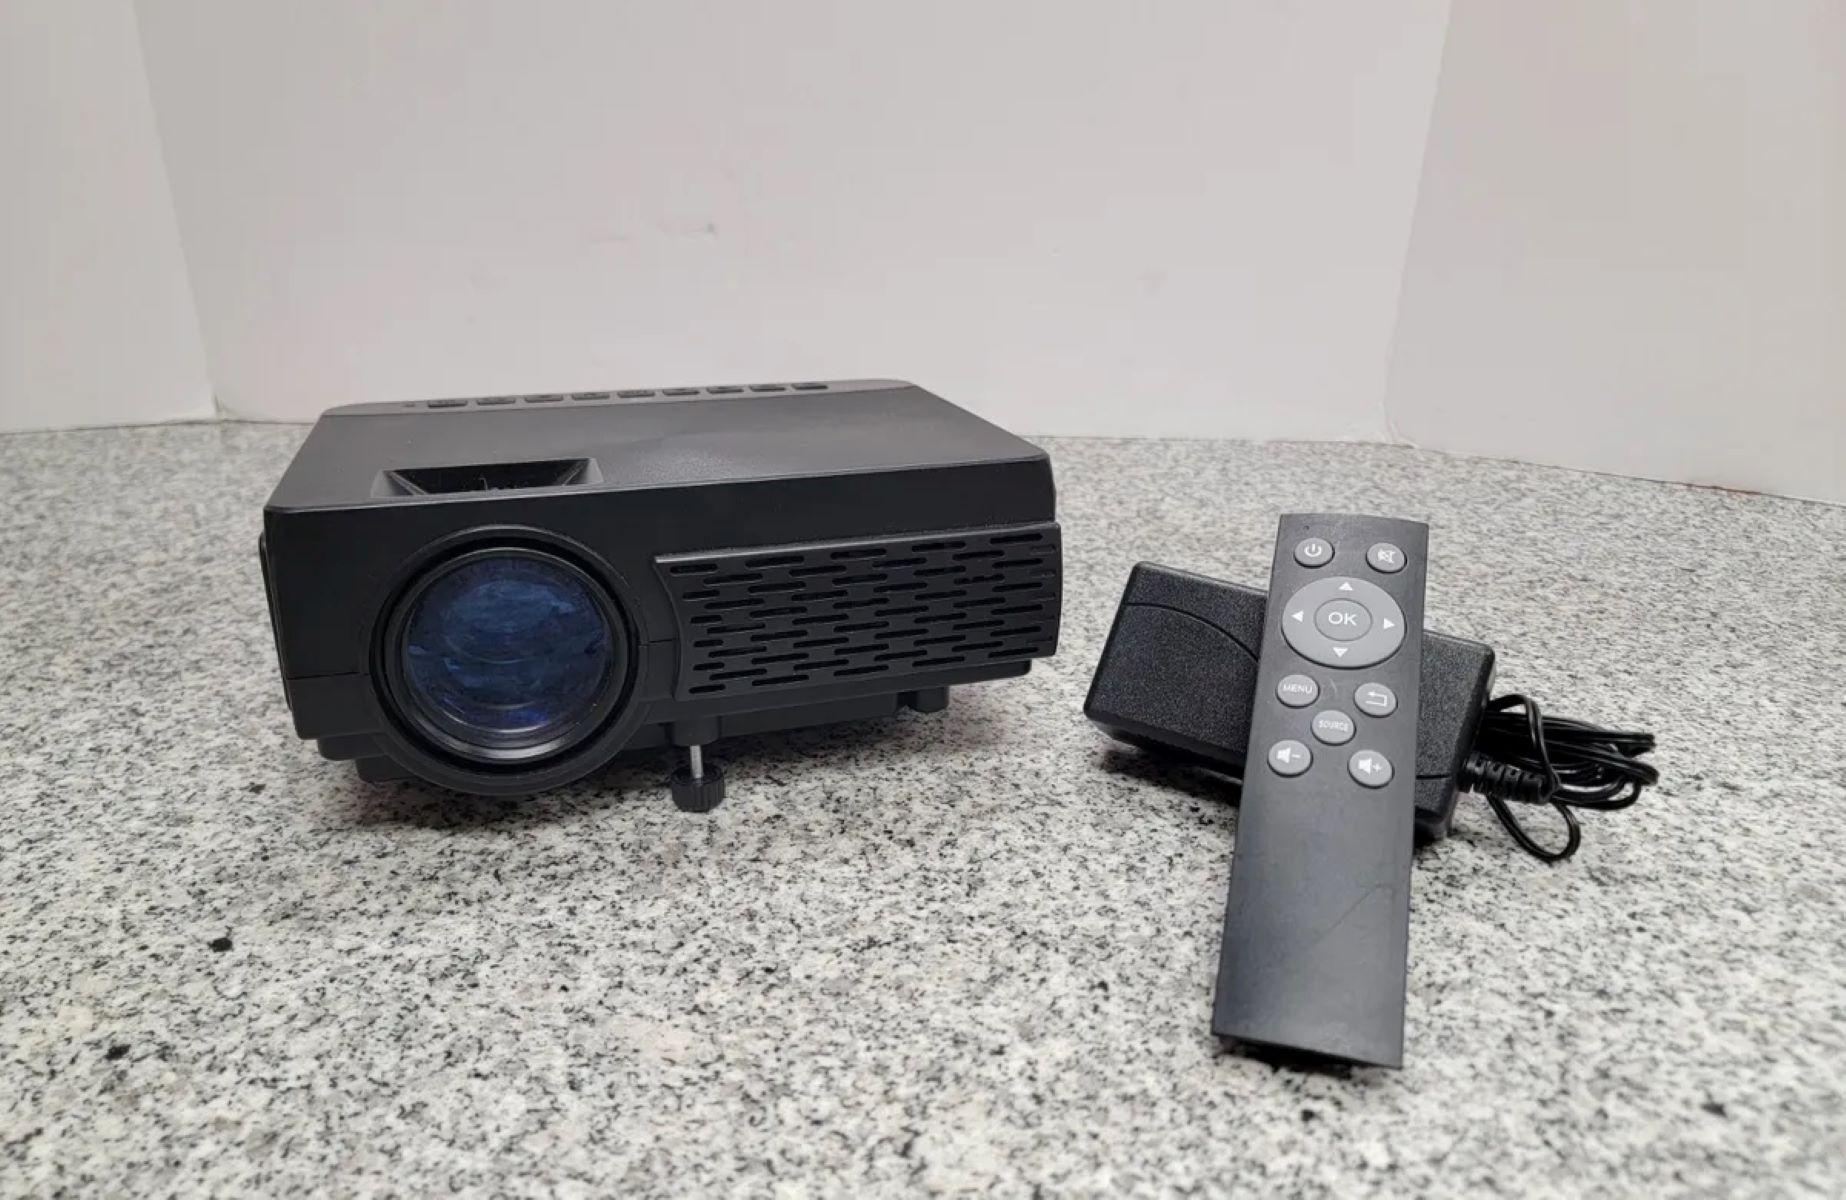
Powering On the GPX Mini Projector
Before connecting your phone to the GPX Mini Projector, it’s essential to power on the projector and ensure that it’s ready to receive the input from your phone. Follow these steps to power on the GPX Mini Projector:
- Connect the Power Adapter: Locate the power input port on the GPX Mini Projector and connect the provided power adapter. Ensure that the power source is readily available, and the power adapter is securely plugged into the projector.
- Power On the Projector: Once the power adapter is connected, locate the power button on the projector. Press and hold the power button for a few seconds to initiate the power-up sequence. Depending on the model, you may see indicator lights or a startup screen as the projector boots up.
- Wait for Initialization: Allow the GPX Mini Projector to complete its initialization process. This may involve system checks, calibration, and the loading of the projector’s interface. Be patient as the projector prepares to receive input from your phone.
- Adjust Settings (If Necessary): Depending on your preferences and the ambient lighting conditions, you may need to adjust the brightness, contrast, and other display settings on the projector. Use the projector’s remote control or onboard controls to optimize the visual output for the best viewing experience.
By following these steps, you’ll successfully power on the GPX Mini Projector and ensure that it’s ready to establish a seamless connection with your phone. Once the projector is powered on and the settings are adjusted as needed, you can proceed to connect your phone and begin enjoying your favorite content on the big screen.
Connecting the Phone to the GPX Mini Projector
After powering on the GPX Mini Projector, the next step is to establish a connection between your phone and the projector. Depending on the capabilities of your phone and the input options on the projector, you can choose the most suitable method for connecting the two devices. Here’s how to connect your phone to the GPX Mini Projector:
- Using an HDMI Cable: If your phone supports HDMI output and the GPX Mini Projector has an HDMI input port, connect one end of the HDMI cable to your phone’s HDMI port or adapter and the other end to the HDMI input port on the projector. Once the cable is securely connected, the projector should detect the input signal from your phone.
- Wireless Connectivity (If Supported): Some projectors offer wireless connectivity options, allowing you to mirror your phone’s screen without physical cables. If your projector supports wireless display, follow the manufacturer’s instructions to enable wireless mirroring on the projector. Then, navigate to the screen mirroring or wireless display settings on your phone to establish the connection with the projector.
- Adjusting Input Source: On the GPX Mini Projector, use the remote control or onboard controls to select the appropriate input source corresponding to the port to which your phone is connected. For HDMI connections, choose the HDMI input source. If using wireless connectivity, select the corresponding wireless display option from the projector’s input menu.
- Initiating Screen Mirroring (If Applicable): If your phone supports screen mirroring, navigate to the screen mirroring or casting settings in your phone’s menu. Select the GPX Mini Projector from the list of available devices to initiate screen mirroring. Once connected, your phone’s screen will be mirrored on the projector, allowing you to display content seamlessly.
By following these steps, you can successfully connect your phone to the GPX Mini Projector, whether through a physical HDMI connection or wireless mirroring. Once the connection is established, you’ll be ready to enjoy a wide range of content from your phone on the larger display provided by the projector.
Adjusting Settings on the Phone and Projector
Once the connection between your phone and the GPX Mini Projector is established, it’s important to optimize the settings on both devices to ensure an enhanced viewing experience. By adjusting the settings on the phone and projector, you can customize the display, audio output, and other parameters according to your preferences. Here’s how to adjust the settings on both devices:
- Phone Settings: On your phone, navigate to the display settings or the settings related to screen mirroring and external displays. Depending on your phone’s operating system (e.g., Android or iOS), you may find options to adjust the screen resolution, orientation, and aspect ratio for the external display. Additionally, you can adjust the volume and audio output settings to ensure that the sound is routed to the projector’s speakers or external audio system, if connected.
- Projector Settings: Using the remote control or onboard controls of the GPX Mini Projector, access the settings menu to adjust the display properties. You can modify the brightness, contrast, color temperature, and aspect ratio to optimize the visual output based on the content being displayed and the ambient lighting conditions. Additionally, if the projector features built-in audio, you can adjust the volume and audio settings to complement the visuals with clear and immersive sound.
- Keystone Correction (If Available): Some projectors, including the GPX Mini Projector, offer keystone correction to adjust the projected image and ensure that it’s perfectly aligned and rectangular. If needed, access the keystone correction settings on the projector to fine-tune the image geometry and eliminate any distortion caused by the projection angle or surface irregularities.
- Aspect Ratio Matching: Ensure that the aspect ratio settings on both the phone and projector are aligned to prevent any distortion or cropping of the displayed content. Matching the aspect ratios will preserve the original dimensions of the content and deliver a true-to-life viewing experience without any loss of visual information.
By carefully adjusting the settings on both your phone and the GPX Mini Projector, you can tailor the visual and audio output to meet your preferences and create an immersive viewing environment. These adjustments ensure that the content from your phone is presented in the best possible quality on the larger display provided by the projector.
Playing Content from the Phone on the GPX Mini Projector
With the phone successfully connected to the GPX Mini Projector and the settings optimized, you’re now ready to play a wide variety of content from your phone on the larger screen. Whether you want to enjoy movies, videos, photos, or presentations, the projector offers a versatile platform for seamless content playback. Here’s how to play content from your phone on the GPX Mini Projector:
- Video Playback: Open your preferred video streaming app or video player on your phone. Select the desired video and play it. The content will be mirrored or displayed on the projector’s screen, providing a cinematic viewing experience. You can adjust the volume and playback controls directly from your phone while the content is being projected.
- Photo Slideshows: If you want to showcase a collection of photos from your phone, access the photo gallery or a slideshow app. Navigate through the photos, and they will be displayed on the projector in high definition. You can create engaging photo presentations or relive memorable moments with friends and family on the big screen.
- Presentations and Documents: For professional or educational purposes, you can use the GPX Mini Projector to display presentations, documents, and spreadsheets from your phone. Open the desired file using the appropriate app, and the content will be projected for a clear and detailed view, making it ideal for meetings, lectures, or collaborative work sessions.
- Gaming and Apps: Enjoy mobile gaming or explore various apps on the larger display provided by the projector. Whether you’re playing immersive games, using productivity apps, or accessing multimedia content, the GPX Mini Projector offers a captivating platform to enhance the overall experience of using your phone’s applications.
By leveraging the connectivity between your phone and the GPX Mini Projector, you can seamlessly play a diverse range of content on the larger screen, unlocking new possibilities for entertainment, communication, and productivity. The projector serves as a versatile extension of your phone, delivering an immersive and visually engaging experience for various types of content.