
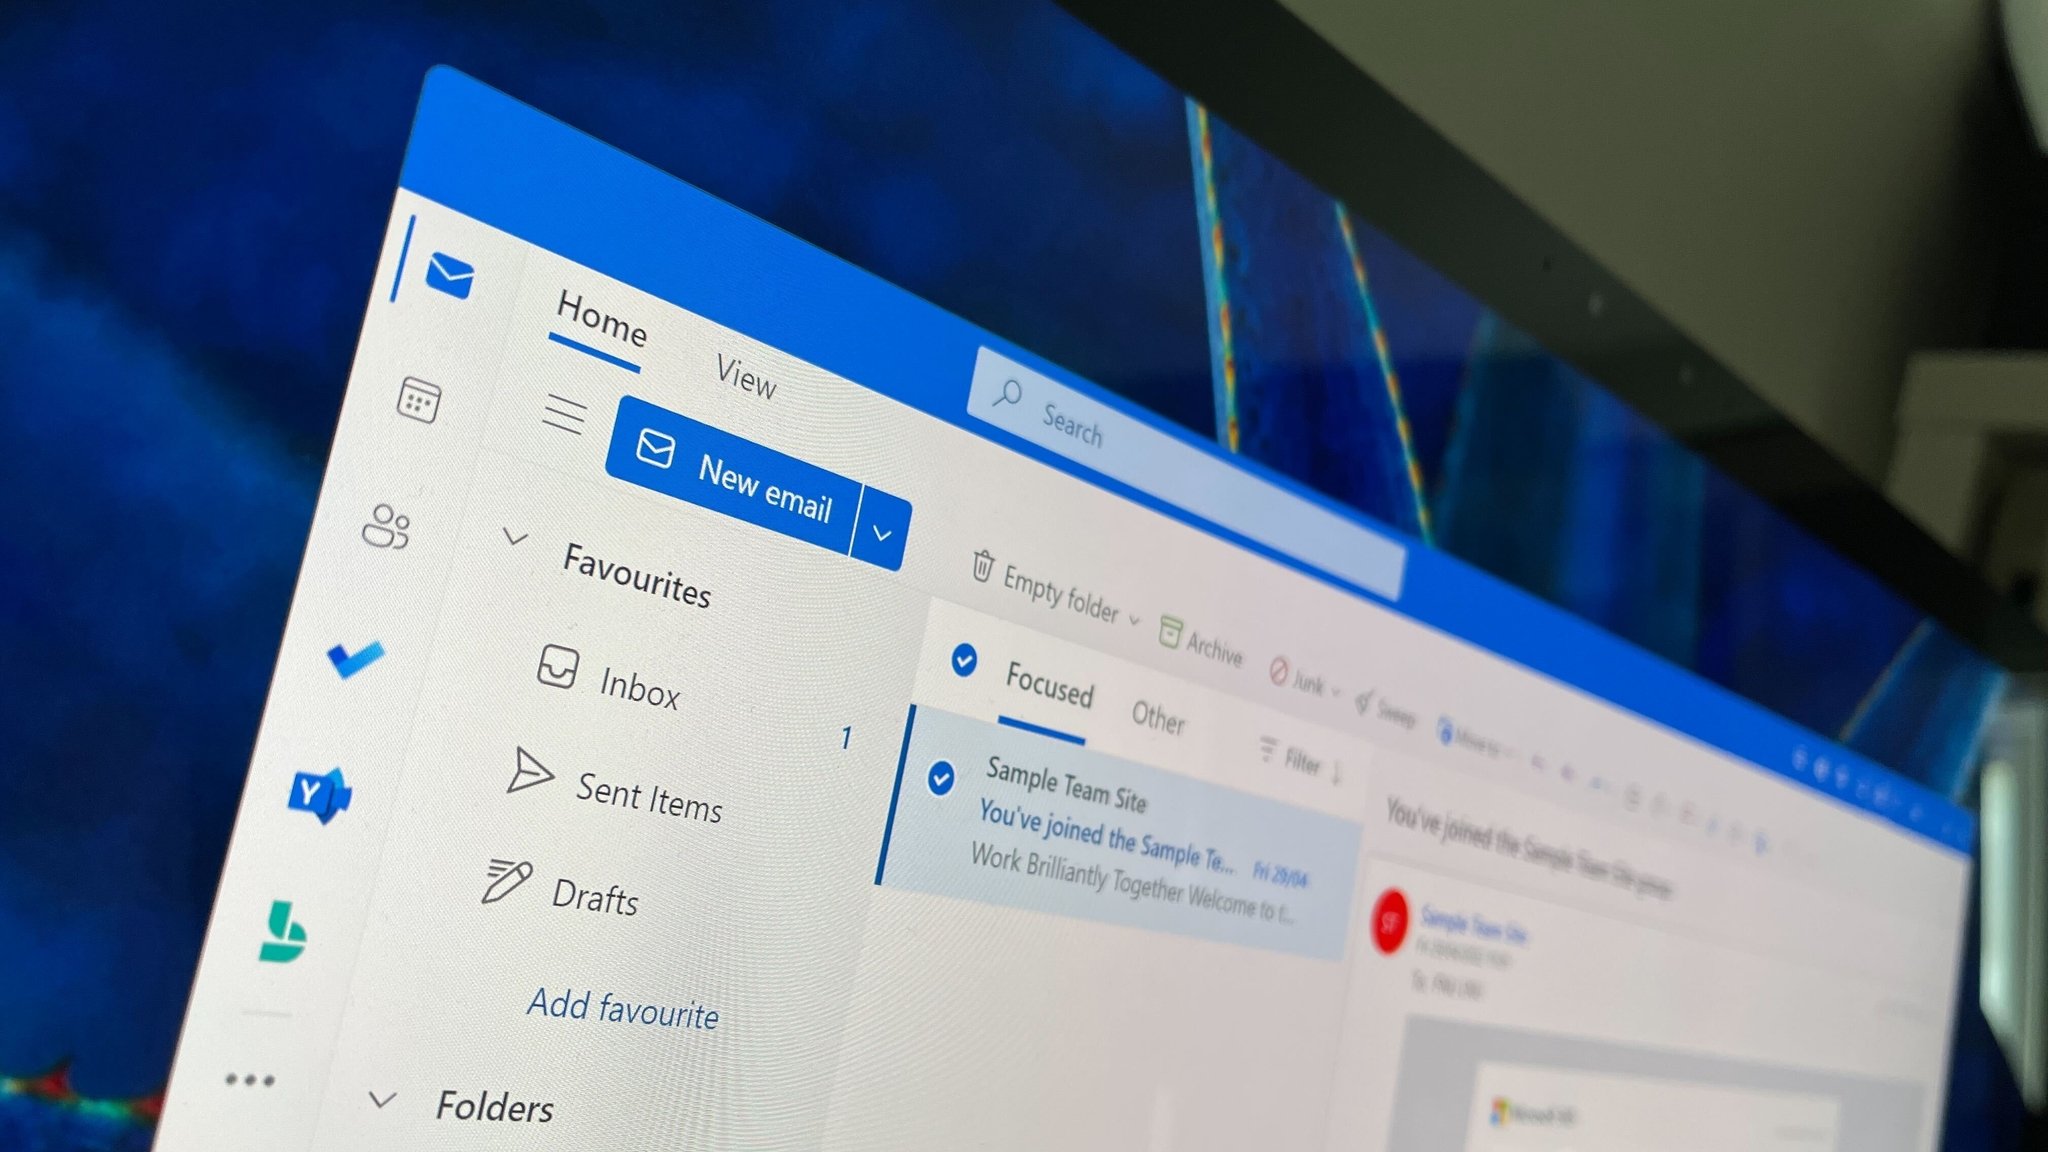
Overview of Windows Live Mail
Windows Live Mail is a popular email client developed by Microsoft. It is a part of the Windows Live Essentials suite of applications and is designed to provide users with a convenient way to manage their email accounts and stay connected. Whether you have a personal or professional email address, Windows Live Mail offers a user-friendly interface and a wide range of features to help streamline your email management process.
With Windows Live Mail, you can easily set up multiple email accounts from various providers such as Outlook.com, Gmail, Yahoo, and more. This allows you to access and manage all your emails from a single location, eliminating the need to log in to multiple websites or applications.
In addition to its email management capabilities, Windows Live Mail also provides a host of useful features. These include the ability to organize your emails into folders, create and manage multiple email signatures, send and receive attachments, and even manage your calendar and contacts. This makes it a versatile tool for both personal and professional use.
Windows Live Mail also supports synchronization with other Microsoft services, such as Outlook.com and OneDrive. This means that you can access your emails, contacts, and calendars across multiple devices, ensuring that you stay connected and organized no matter where you are.
One of the key advantages of Windows Live Mail is its offline capability. This means that you can view and compose emails even when you are not connected to the internet. Once you go online, Windows Live Mail will automatically send and receive any pending emails, ensuring that you never miss an important message.
Overall, Windows Live Mail is a reliable and user-friendly email client that offers a wide range of features to enhance your email management experience. Whether you are a casual email user or a business professional, Windows Live Mail provides the tools you need to stay organized, productive, and connected.
Setting up Windows Live Mail
Setting up Windows Live Mail is a straightforward process that allows you to start managing your email accounts efficiently. Here’s a step-by-step guide to help you get started:
- First, download and install the Windows Live Mail application from the official Microsoft website. Make sure to select the appropriate version for your operating system.
- Launch Windows Live Mail and click on the “Add Account” button to begin the setup process.
- Enter your email address and password in the provided fields. Windows Live Mail supports a variety of email providers, including Outlook.com, Gmail, Yahoo, and more.
- Choose whether you want to set up the account as an IMAP or POP account. IMAP allows you to synchronize your emails across devices, while POP downloads emails to your local computer.
- Windows Live Mail will automatically configure the server settings for popular email providers. If you’re using a custom email provider, you may need to manually enter the server settings. Consult your email provider’s documentation for the correct settings.
- Once you’ve entered the necessary information, click on the “Next” button to complete the setup process. Windows Live Mail will test the connection to your email server and verify your login credentials.
- If the setup is successful, Windows Live Mail will display a confirmation message. You can now start using Windows Live Mail to send, receive, and manage your emails.
Repeat these steps for each email account you want to add to Windows Live Mail. The application allows you to set up multiple accounts, making it convenient to manage all your emails from a single interface.
It’s important to note that some email providers may require you to enable specific options, such as enabling IMAP access or allowing less secure apps to access your account. Make sure to review your email provider’s documentation or support resources to ensure a smooth setup process.
Once you’ve set up your email accounts, you can further customize Windows Live Mail to suit your preferences. Explore the various options and settings available to personalize your email experience, such as adjusting the layout, setting up email rules, and managing your signature.
With Windows Live Mail properly set up, you can now enjoy the convenience and efficiency of managing all your email accounts in one place.
Accessing the Options Menu
Windows Live Mail offers a range of customization options to tailor the application to your preferences and needs. To access the Options menu and make these adjustments, follow the steps outlined below:
- Launch Windows Live Mail and ensure that you are on the Home tab, which is the default view when you open the application.
- Look for the Menu bar at the top of the window. If it is not visible, press the ALT key on your keyboard to display it temporarily.
- Click on the “Tools” option in the Menu bar. This will reveal a drop-down menu.
- In the drop-down menu, select “Options” to open the Options dialog box.
- The Options dialog box provides a variety of tabs that allow you to adjust different aspects of Windows Live Mail. These tabs include General, Send, Receive, Read, Compose, Spelling, and more.
- Click on the desired tab to access the corresponding options. For example, the General tab allows you to configure basic settings such as the display name, signature, default email program, and startup behavior.
- Within each tab, you can further customize settings by checking or unchecking specific options. Take your time to familiarize yourself with the available options and make changes as desired.
- Once you have made the desired changes, click on the “Apply” or “OK” button to save the changes and exit the Options menu.
The Options menu in Windows Live Mail offers a wide range of customization possibilities. You can modify how your email messages are displayed, determine how often the application checks for new emails, set up automatic replies, create message rules, specify junk email filter options, and more.
By accessing the Options menu, you can tailor Windows Live Mail to suit your specific preferences and optimize your email management experience. Take the time to explore the different tabs and options available to enhance your productivity and streamline your email workflow.
Enabling Automatic Email Checking
Windows Live Mail allows you to enable automatic email checking, ensuring that you are promptly notified when new messages arrive in your inbox. This feature saves you time and keeps you updated without the need to manually check for new emails. Here’s how you can enable automatic email checking in Windows Live Mail:
- Launch Windows Live Mail and ensure you are on the Home tab.
- Click on the “Send/Receive” button in the Ribbon menu at the top of the window. This will display a drop-down menu.
- In the drop-down menu, click on the “Send/Receive All Accounts” option.
- Windows Live Mail will now start checking for new emails in all your configured accounts.
- If you want to customize the automatic email checking settings, go to the Menu bar and select “Tools” followed by “Options”. In the Options dialog box, click on the “General” tab.
- Under the General tab, locate the “Send/Receive Messages” section. Here, you can adjust the interval at which Windows Live Mail checks for new mail.
- The default setting is to check for new messages every 30 minutes. You can change this interval by selecting a different value from the drop-down menu.
- If you want Windows Live Mail to immediately check for new messages, click on the “Send/Receive” button in the Ribbon menu or press the F5 key on your keyboard.
Enabling automatic email checking ensures that you stay up-to-date with incoming messages and can promptly respond to important emails. By customizing the frequency of checking, you can strike a balance between staying informed and minimizing distractions.
Additionally, Windows Live Mail provides visual and sound alerts to notify you when new emails arrive. You can configure these notifications by going to the “Tools” > “Options” menu and selecting the “Read” tab. Here, you can enable or disable visual and sound alerts, as well as customize the sound played for new messages.
By enabling automatic email checking and notifications in Windows Live Mail, you can efficiently manage your email inbox and ensure that you never miss an important message.
Customizing Automatic Email Checking Frequency
Windows Live Mail allows you to customize the frequency at which it automatically checks for new email messages. This feature gives you control over how often the application scans your email accounts for new incoming mail. Here’s how you can customize the automatic email checking frequency in Windows Live Mail:
- Launch Windows Live Mail and ensure you are on the Home tab.
- Click on the “Send/Receive” button in the Ribbon menu at the top of the window. This will display a drop-down menu.
- In the drop-down menu, click on the “Send/Receive All Accounts” option.
- Windows Live Mail will start checking for new emails in all your configured accounts.
- If you want to customize the automatic email checking settings, go to the Menu bar and select “Tools” followed by “Options”. In the Options dialog box, click on the “General” tab.
- Under the General tab, locate the “Send/Receive Messages” section. Here, you can adjust the interval at which Windows Live Mail checks for new mail.
- The default setting is to check for new messages every 30 minutes. You can change this interval to a value that suits your needs by selecting a different option from the drop-down menu.
- The drop-down menu offers preset values ranging from every minute to every hour. You can also select the “Custom” option to set a specific time interval.
- After adjusting the automatic email checking frequency, click on the “Apply” or “OK” button to save the changes.
Customizing the automatic email checking frequency allows you to optimize Windows Live Mail according to your email habits and preferences. If you receive a high volume of emails throughout the day, you may choose a shorter interval to stay updated more frequently. On the other hand, if you want to reduce distractions, you can set a longer interval to check for new emails less frequently.
It’s important to find a balance that works for you, taking into consideration the urgency of incoming messages and your productivity preferences. By customizing the automatic email checking frequency, you can ensure that Windows Live Mail aligns with your specific needs and helps you stay on top of your email communications.
Configuring Sound and Visual Alerts
Windows Live Mail provides sound and visual alerts to notify you when new emails arrive, ensuring that you don’t miss important messages. By customizing these alerts, you can personalize how you are notified and better manage your email workflow. Here’s how you can configure sound and visual alerts in Windows Live Mail:
- Launch Windows Live Mail and ensure you are on the Home tab.
- Go to the Menu bar and select “Tools” followed by “Options”. In the Options dialog box, click on the “Read” tab.
- Under the Read tab, you will find the “Play sound when new message arrives” option. Check this box to enable sound alerts.
- Next, click on the “Sound” button to select the sound that will play when a new email arrives. A list of available sounds will appear.
- Browse through the list and click on a sound to preview it. Once you have chosen your desired sound, click on the “OK” button to save your selection.
- Returning to the Options dialog box, you will find the “Show an alert” option. Check this box to enable visual alerts.
- Click on the “Settings” button to customize the visual alert behavior. This will open the Alert Settings window.
- In the Alert Settings window, you can choose how long the alert will be displayed and the opacity of the alert window. Adjust these settings according to your preferences.
- Click on the “OK” button to save your visual alert settings.
- Once you have finished configuring the sound and visual alerts, click on the “Apply” or “OK” button in the Options dialog box to save all your changes.
By configuring sound and visual alerts in Windows Live Mail, you can ensure that you are promptly notified of new incoming emails. The sound alerts provide an auditory cue, while the visual alerts grab your attention with a popup window. These customizable features allow you to tailor the notification experience to your liking and enhance your email management process.
It’s worth noting that you can also enable or disable specific alerts for different types of email accounts. For example, you may choose to enable sound and visual alerts for work-related email accounts while disabling them for personal email accounts. This level of customization allows you to stay focused on what matters most based on your priorities.
By leveraging sound and visual alerts in Windows Live Mail, you can optimize your email workflow and ensure that you promptly respond to important emails, ultimately improving your productivity and communication efficiency.
Troubleshooting Automatic Email Checking Issues
While Windows Live Mail’s automatic email checking feature is designed to work seamlessly, there may be instances where you encounter issues with this functionality. Here are some common troubleshooting tips to help address automatic email checking issues in Windows Live Mail:
- Check your internet connection: Ensure that you have a stable and active internet connection. Automatic email checking requires an internet connection to access your email accounts and download new messages.
- Verify account settings: Double-check the account settings for the email account that is experiencing issues. Ensure that the server information, login credentials, and other relevant settings are correct. Incorrect settings can prevent Windows Live Mail from successfully checking for new emails.
- Review antivirus and firewall settings: Antivirus software or firewall settings may interfere with Windows Live Mail’s automatic email checking. Temporarily disable your antivirus software or adjust the firewall settings to allow Windows Live Mail full access to the internet.
- Check email provider status: Occasionally, email providers may experience temporary outages or maintenance periods. Visit the website or social media channels of your email provider to check if there are any known issues that could affect automatic email checking in Windows Live Mail.
- Adjust sync settings: If you have enabled synchronization of your email accounts across multiple devices, verify that the sync settings are correctly configured. In some cases, conflicts between devices can disrupt automatic email checking. Try disabling sync and checking for new emails again.
- Restart Windows Live Mail: Sometimes, a simple restart of the Windows Live Mail application can resolve automatic email checking issues. Close the application and open it again to see if the problem is resolved.
- Update Windows Live Mail: Ensure that you are using the latest version of Windows Live Mail. Check for updates either through the application’s settings or by visiting the official Microsoft website. Updating to the latest version can fix any bugs or issues that may be affecting automatic email checking.
- Seek technical support: If you have tried the above troubleshooting steps and are still experiencing problems with automatic email checking, consider reaching out to the Windows Live Mail support community or contacting Microsoft support for further assistance.
By following these troubleshooting tips, you can address common issues with automatic email checking in Windows Live Mail. Remember to ensure proper connectivity, review account settings, adjust antivirus/firewall settings, and stay informed about any email provider-related issues. With some investigation and potential adjustments, you can get Windows Live Mail’s automatic email checking feature back up and running smoothly.
Final Thoughts
Windows Live Mail offers a user-friendly and feature-rich experience for managing your email accounts. By setting up the application, customizing automatic email checking, and configuring sound and visual alerts, you can streamline your email management process and stay on top of your inbox.
When setting up Windows Live Mail, ensure that you have the correct server settings for your email provider and take advantage of the application’s support for multiple email accounts. This allows you to access and manage all your emails from a single platform, simplifying your digital communication.
Enabling automatic email checking in Windows Live Mail ensures that you’re always aware of new messages without needing to manually refresh or check for emails. Customizing the frequency of automatic checks allows you to strike a balance between staying updated and minimizing distractions. Additionally, configuring sound and visual alerts enhances your ability to respond promptly to incoming messages.
If you encounter any issues with automatic email checking, remember to check your internet connection, verify account settings, review antivirus and firewall settings, and ensure that your email provider isn’t experiencing any outages. Restarting Windows Live Mail and keeping the application up-to-date can also resolve common problems.