
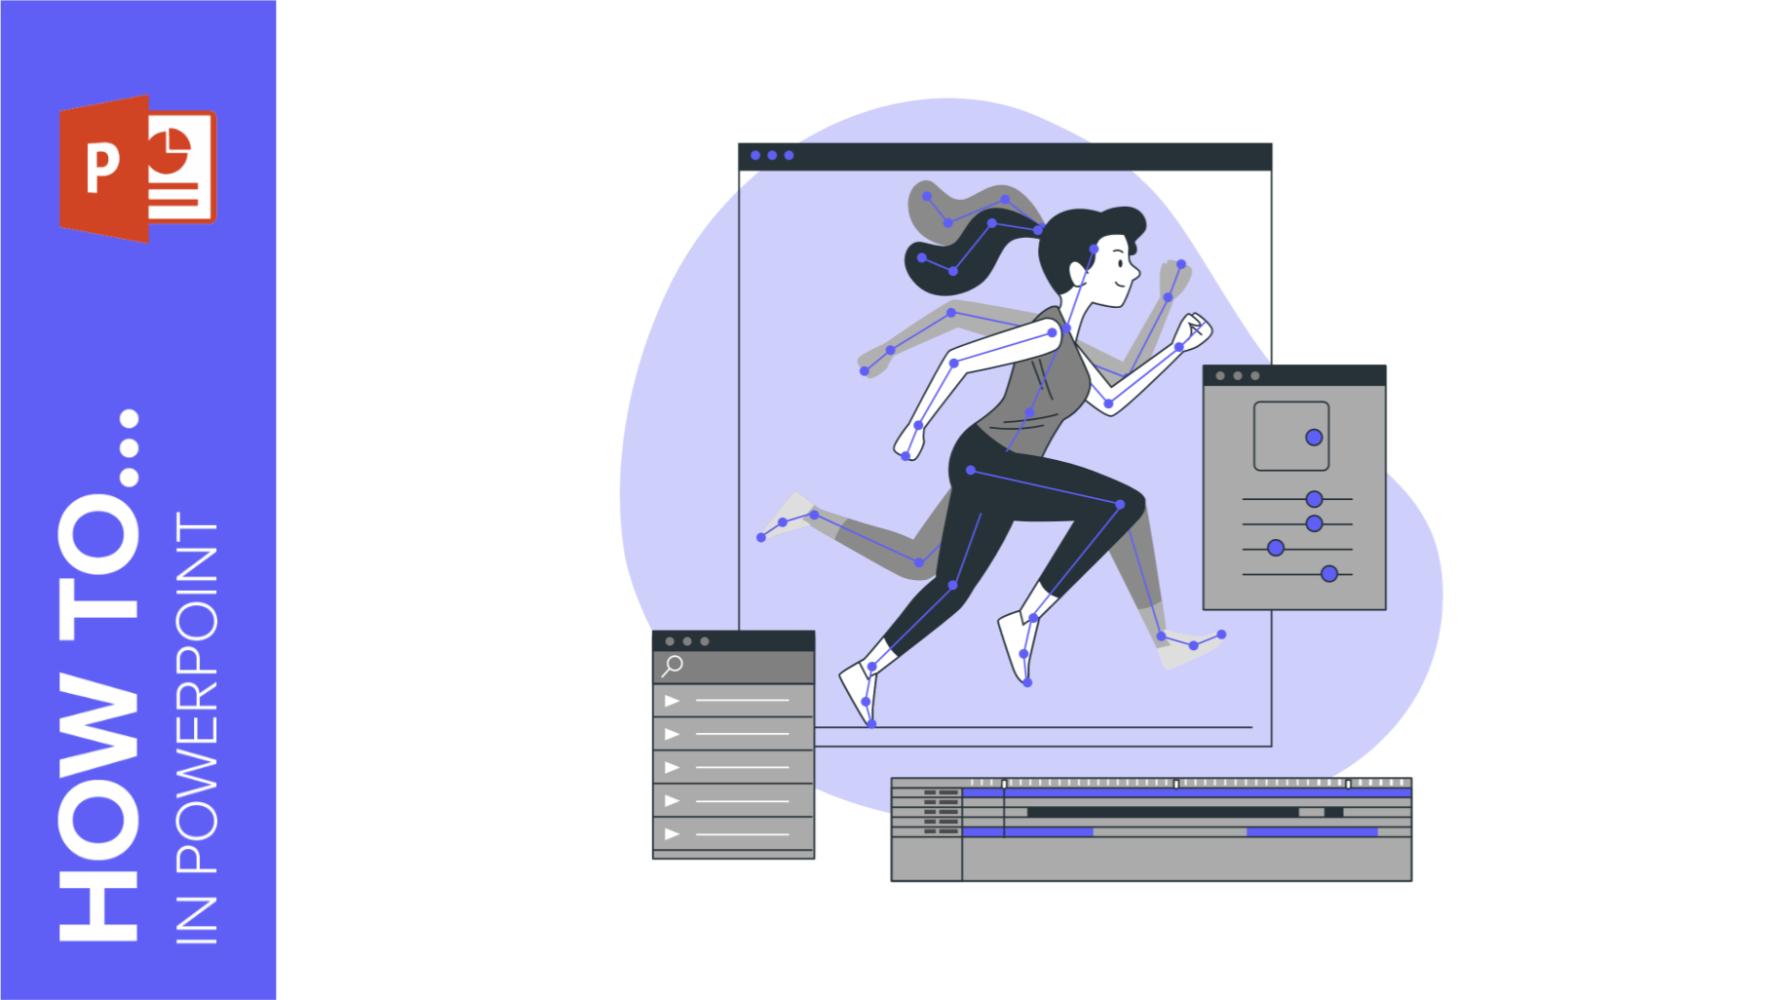
Overview of PowerPoint Animation
PowerPoint, a popular presentation software, provides a wide range of animation features that can bring your slides to life. By incorporating animations, you can emphasize key points, engage your audience, and make your presentations more memorable and visually appealing.
PowerPoint animations allow you to add movement to your slides, enhancing the overall presentation experience. There are numerous types of animations available, such as entrance, exit, emphasis, and path animations, each offering different effects and styles.
These animations can be applied to individual objects, such as text boxes, shapes, and images, as well as to entire slide transitions. Whether you want to make a bullet point appear one by one or create a dynamic transition between slides, PowerPoint animation offers versatile tools to achieve your desired effects.
Animations in PowerPoint can be controlled in various ways, including adjusting the speed and duration of individual animations and customizing the timing between animated objects. This level of control allows you to create a seamless and impactful visual narrative.
By incorporating animations strategically, you can effectively guide your audience’s attention, highlight important information, and maintain their engagement throughout your presentation. Whether you are delivering a business pitch, conducting a training session, or sharing academic research, PowerPoint animation can elevate the impact of your message.
Understanding the different animation features and how to control their speed and timing can greatly enhance the effectiveness of your presentations. In the following sections, we will explore various techniques for adjusting the speed of PowerPoint animations, optimizing their timing, and creating dynamic visual effects.
Understanding Animation Speed
Animation speed in PowerPoint refers to the rate at which an animation plays on a slide. By controlling the speed of animations, you can ensure that they are displayed at the desired pace, whether you want them to be quick and snappy or slow and smooth.
The speed of animations is measured in terms of duration, which represents the amount of time it takes for an animation to complete. It is important to note that animation speed can greatly impact the overall tone and flow of your presentation. A fast animation can create a sense of energy and urgency, while a slower animation can add emphasis and allow for better comprehension.
When determining the speed of animations, it is essential to consider the content of the slide and the purpose of the animation. For instance, if you have text points appearing one by one, a slightly slower animation speed can ensure that the audience has enough time to read and understand each point before moving on to the next.
On the other hand, for quick transitions or visual effects that do not require much time for comprehension, a faster animation speed can maintain the audience’s attention and prevent the presentation from feeling sluggish or monotonous.
It is worth mentioning that the default animation speed in PowerPoint may not always align with your specific requirements. Luckily, PowerPoint offers several ways to adjust and customize the speed of animations, allowing you to tailor the timing to your preferences.
By understanding the benefits of different animation speeds and the impact they have on the overall user experience, you can effectively utilize animation speed as a tool to enhance your presentation’s effectiveness and convey your message more effectively.
Changing the Duration of an Animation
In PowerPoint, you have the ability to adjust the duration of individual animations to control their speed. By changing the duration, you can make animations play faster or slower, depending on your desired effect.
To change the duration of an animation, follow these steps:
- Select the object or text box on the slide that contains the animation you want to modify.
- Click on the Animations tab in the PowerPoint ribbon.
- In the Advanced Animation group, click on the Animation Pane button. This will open the Animation Pane on the right side of the PowerPoint window.
- In the Animation Pane, locate the animation you want to adjust and click on it to select it.
- With the animation selected, click on the Timing button in the Animation Pane toolbar.
- The Timing dialog box will appear. Here, you can adjust the Duration slider to increase or decrease the time it takes for the animation to complete.
- Preview the animation by clicking the Play button in the Animation Pane to see how the new duration affects the animation speed.
By increasing the duration, you slow down the animation, allowing for more time to absorb the content. Conversely, decreasing the duration speeds up the animation, resulting in a quicker transition or effect.
It’s important to remember that changing the duration of an animation affects only that specific animation and not the overall timing of the slide or subsequent animations. By adjusting the duration for different animations on a slide, you can create contrasting speeds and add variety to your presentation.
Experimenting with different durations can help you find the optimal speed for each animation, ensuring that they are displayed at a pace that enhances comprehension and engagement.
By taking advantage of the customization options available in PowerPoint, you can fine-tune the duration of your animations to perfectly align with the flow and narrative of your presentation.
Modifying Transition Speed
In addition to adjusting the speed of individual animations, PowerPoint allows you to modify the speed of slide transitions. Slide transitions control the movement from one slide to another, and by modifying their speed, you can create a more dynamic and engaging presentation.
To modify the transition speed in PowerPoint, follow these steps:
- Click on the slide for which you want to modify the transition speed.
- Open the Transitions tab in the PowerPoint ribbon.
- In the Timing group, locate the Duration field. This field displays the current duration of the transition in seconds.
- Click on the dropdown arrow next to the Duration field and choose a new duration from the list, or enter a specific duration in seconds.
- Preview the transition by clicking the Preview button in the Timing group to see how the modified duration affects the transition speed.
When modifying the transition speed, keep in mind the overall flow and pace of your presentation. A shorter transition duration can create a sense of urgency and maintain the audience’s attention, while a longer transition duration can provide a smoother and more gradual change between slides.
It’s important to strike a balance between the transition speed and the content of the slides. A slow transition speed may cause the audience to lose interest or become impatient, while a fast transition speed may not allow enough time for processing information.
By customizing the transition speed, you can add a touch of professionalism and enhance the overall visual experience of your presentation. Experiment with different durations to find the sweet spot that aligns with your desired pacing and presentation style.
Remember to always consider the context and purpose of your presentation when adjusting the transition speed. The goal is to create a seamless and engaging flow that enhances the delivery of your message and captivates your audience.
Utilizing the “Delay” Option for more Control
PowerPoint provides a useful feature called the “Delay” option that allows you to introduce pauses between animations or slide transitions. This feature gives you more control over the timing and sequencing of your presentation, enabling you to create a more impactful and organized delivery.
The “Delay” option can be applied to individual animations or slide transitions and is particularly helpful when you want to create a pause before an animation starts, synchronize multiple animations, or build suspense before revealing important information.
To utilize the “Delay” option in PowerPoint, follow these steps:
- Select the object or text box with the animation you want to modify.
- Click on the Animations tab in the PowerPoint ribbon.
- In the Advanced Animation group, click on the Animation Pane button to open the Animation Pane.
- In the Animation Pane, locate the animation or slide transition you want to add a delay to and click on it to select it.
- With the animation selected, click on the Add Animation button in the Animation Pane toolbar.
- A dropdown menu will appear. Select the Delay option.
- Enter the desired delay time in milliseconds, or use the arrows to adjust the delay value.
- Preview the animation or transition to see the effect of the added delay.
By adding a delay to your animations or slide transitions, you can create a sense of anticipation, allow the audience to process information, or synchronize multiple elements for a synchronized and impactful presentation.
Utilizing the “Delay” option also helps to maintain a smooth and coordinated flow, preventing animations from overlapping or appearing too quickly. It gives you more flexibility to control the timing and pacing of your presentation and allows you to craft a more engaging and professional delivery.
Experiment with different delay values to find the right balance that enhances the effectiveness of your animations and slide transitions. By utilizing the “Delay” option, you can elevate your PowerPoint presentation and deliver a more polished and engaging experience to your audience.
Adjusting Animation Timing for Each Object
In PowerPoint, you have the ability to adjust the timing of each individual animation on a slide. This feature allows you to precisely control when each object appears, moves, or disappears, adding depth and sophistication to your presentation.
To adjust the animation timing for each object in PowerPoint, follow these steps:
- Select the object or text box that contains the animation you want to modify.
- Click on the Animations tab in the PowerPoint ribbon.
- In the Advanced Animation group, click on the Animation Pane button to open the Animation Pane.
- In the Animation Pane, locate the animation you want to adjust and click on it to select it.
- With the animation selected, click on the Timing button in the Animation Pane toolbar.
- The Timing dialog box will appear. Here, you can modify the Start and Delay options to change when the animation starts and how long it should wait before starting.
- Preview the animation by playing the slide to see how the modified timing affects the appearance and movement of the object.
By adjusting the animation timing for each object, you can create complex and synchronized visual sequences. For example, you can stagger the entrance of multiple text points or images, making them appear one by one to enhance comprehension and engagement.
Customizing the timing also allows you to choreograph movements and create visually appealing effects. You can create smooth transitions, synchronize objects with audio or narration, or build suspense by delaying the appearance of crucial information.
Timing adjustments can be especially valuable when collaborating with others on a presentation or working with professional designers. You can fine-tune the timing to ensure that the animations align with your vision and effectively communicate your message.
Experiment with different animation timings to create a dynamic and visually captivating presentation. By adjusting the animation timing for each object, you can elevate your PowerPoint slides to a new level of professionalism and engagement.
Using Slide Transitions to Enhance Animation Speed
In PowerPoint, slide transitions can be an effective tool for enhancing the speed and flow of your animations. By carefully selecting and customizing slide transitions, you can create seamless and engaging visual effects that complement your animation sequences and captivate your audience.
To utilize slide transitions to enhance animation speed in PowerPoint, follow these steps:
- Click on the slide where you want to apply the slide transition.
- Open the Transitions tab in the PowerPoint ribbon.
- Browse through the available transition options in the Transition to This Slide group.
- Select the desired transition by clicking on it. You can also adjust the transition options, such as duration and direction, by using the corresponding settings in the Timing group.
- Preview the slide transition by clicking the Preview button in the Timing group to see how it affects the animation speed and visual impact.
Slide transitions can help establish a rhythm and tempo for your presentation, effectively setting the pace for your animations. For example, a quick and snappy transition can complement fast-paced animations, while a fade or dissolve transition can create a smooth and gradual effect.
Moreover, the transition speed can influence the perception of animation speed. A faster slide transition can give a sense of momentum and energy to your animations, whereas a slower transition can create a more deliberate and contemplative atmosphere.
By matching the speed and style of your slide transitions with your animation sequences, you can create a cohesive and harmonious visual narrative. This synchronization enhances the overall viewing experience and ensures that your key messages are effectively conveyed to your audience.
Keep in mind that excessive or inconsistent use of slide transitions can be distracting and detract from the content. It’s important to strike a balance and use slide transitions judiciously to enhance the animation speed and flow without overwhelming or diverting the audience’s attention.
Experiment with different slide transitions to find the ones that best fit the tone and purpose of your presentation. By leveraging slide transitions effectively, you can optimize the animation speed and create a visually stunning and engaging PowerPoint presentation.
Animating Text and Images Simultaneously
In PowerPoint, you can animate both text and images on the same slide simultaneously, creating a visually dynamic and engaging presentation. By synchronizing the animation of text and images, you can effectively convey your message and hold your audience’s attention.
To animate text and images simultaneously in PowerPoint, follow these steps:
- Select the text box or image that you want to animate.
- Click on the Animations tab in the PowerPoint ribbon.
- In the Advanced Animation group, click on the Add Animation button to open the animation menu.
- Browse through the available animation options and select the desired animation for the text or image. You can choose from entrance, emphasis, exit, and motion path animations.
- Repeat this process for each additional text box or image that you want to animate.
- Click on the Animation Pane button in the Advanced Animation group to open the Animation Pane.
- In the Animation Pane, arrange the animations in the desired order by dragging and dropping them. This determines the sequence in which the text and images will animate.
- Preview the slide to see how the text and images animate simultaneously.
Animating text and images simultaneously provides a cohesive and powerful visual experience for your audience. It enables you to emphasize key points, guide the viewer’s attention, and add a layer of professionalism to your presentation.
When animating text and images together, it’s essential to ensure that the animations are timed appropriately and complement each other. For example, you can make the text appear first and then have an image fade in or move across the slide, highlighting the associated content.
Additionally, using simultaneous animations can create a sense of continuity on your slide. By carefully coordinating the timings and transitions between text and images, you can create a seamless and immersive experience for your audience.
Remember, while animating text and images simultaneously can be impactful, it’s important to use it sparingly and strategically. Overuse of animations may distract or overwhelm the audience. Focus on highlighting essential information or creating visual interest in key sections of your presentation.
Experiment with different combinations of animations for text and images to find the right balance that enhances the overall visual impact of your presentation. By animating text and images simultaneously, you can create a dynamic and captivating PowerPoint presentation that effectively communicates your message.
Employing Custom Animation Paths to Alter Speed
In PowerPoint, you can use custom animation paths to alter the speed and movement of objects on your slides. By creating unique animation paths, you can add a touch of creativity and control to your presentation, making it more visually interesting and dynamic.
To employ custom animation paths in PowerPoint, follow these steps:
- Select the object, such as a shape or image, that you want to animate.
- Click on the Animations tab in the PowerPoint ribbon.
- In the Motion Paths group, click on the Add Animation button to open the animation menu.
- Choose a motion path animation from the available options. These include straight lines, curves, loops, and custom paths.
- Click and drag the object along the desired path to create a custom animation path. Alternatively, you can click on a pre-defined path to apply it to the object.
- Adjust the duration and speed of the animation path by using the Timing options in the Animation Pane.
- Preview the animation to see how the custom animation path alters the speed and movement of the object.
Using custom animation paths allows you to have complete control over the speed and trajectory of objects on your slides. By utilizing these paths, you can add a sense of fluidity, energy, and excitement to your presentation.
Custom animation paths are particularly effective when you want to make an object move in a specific direction or pattern, such as having an image fly across the screen or a shape twirl in a circular motion. These dynamic animations can help draw attention to specific content or create engaging visual effects.
Moreover, the speed at which an object moves along a custom animation path can be adjusted to suit your presentation’s requirements. You can speed up or slow down the movement, depending on the intended effect and the desired emphasis on the object.
Remember, while custom animation paths can add flair and impact to your presentation, it’s important to use them judiciously and purposefully. Avoid excessive use of custom animation paths, as too many moving objects can become distracting and overwhelm the audience. Focus on highlighting essential information or creating visual interest in key areas of your slides.
Experiment with various custom animation paths and speed settings to find the combination that best enhances the overall flow and impact of your presentation. By employing custom animation paths, you can add a layer of creativity and visual appeal to your PowerPoint slides, making them more engaging and memorable.
Speeding Up or Slowing Down Animations with “Speed” Options
In PowerPoint, you have the flexibility to adjust the speed of animations using the “Speed” options. By increasing or decreasing the animation speed, you can control the pace at which objects appear, move, or disappear on your slides. This level of customization allows you to effectively convey your message and capture your audience’s attention.
To speed up or slow down animations in PowerPoint, follow these steps:
- Select the object or text box that contains the animation you want to modify.
- Click on the Animations tab in the PowerPoint ribbon.
- In the Timing group, locate the Speed options.
- Click on the dropdown arrow next to the Speed options to reveal the available choices.
- Select the desired speed for the animation – slower, medium, or faster.
- Preview the animation to see how the adjusted speed affects the object’s appearance or movement.
By utilizing the “Speed” options, you can tailor the pace of your animations to suit the content and purpose of your presentation. Speeding up an animation can create a sense of urgency or excitement, while slowing it down can add emphasis and allow for better comprehension.
Keep in mind that the “Speed” options affect the entire animation, including both the entrance and exit of an object. Thus, adjusting the speed will modify the overall timing and duration of the animation.
It’s important to strike a balance when modifying animation speed. Avoid setting the speed too fast, as it may be difficult for the audience to process the information. On the other hand, excessively slow animations may lead to a loss of engagement or interest.
Consider the context and content of your presentation when adjusting animation speed. For instance, a faster speed may be suitable for quick transitions or visual effects that don’t require much time for comprehension, while slower speed may be appropriate for text-heavy slides or complex illustrations.
Experiment with different speed settings to find the optimal balance that enhances the impact of your animations. By adjusting the speed of your animations using the “Speed” options, you can effectively control the pace of your presentation and engage your audience.
Animating Multiple Objects with Different Speeds
In PowerPoint, you have the ability to animate multiple objects on a slide, each with its own unique speed. This feature allows you to add depth and dimension to your presentations, creating dynamic visual effects and captivating your audience’s attention.
To animate multiple objects with different speeds in PowerPoint, follow these steps:
- Select the objects that you want to animate. You can hold the Ctrl key and click on each object to select multiple objects.
- Click on the Animations tab in the PowerPoint ribbon.
- In the Advanced Animation group, choose an animation effect from the options available.
- With the objects selected, click on the Animation Pane button in the Advanced Animation group to open the Animation Pane.
- In the Animation Pane, you will see each selected object listed. Click on an object in the Animation Pane to select it.
- Adjust the Timing options in the Animation Pane to customize the start time, duration, and speed of the animation for each object.
- Preview the slide to see how each object animates with its individual speed.
Animating multiple objects with different speeds can greatly enhance the visual appeal and storytelling capability of your presentations. It allows you to emphasize important elements, create contrast, and guide the viewer’s attention.
For example, by animating text boxes and images with varying speeds, you can create a visual hierarchy, drawing attention to key points while maintaining a smooth flow of information. The ability to control the speed of each object independently provides versatility and allows you to effectively convey your message.
When animating multiple objects with different speeds, it’s important to ensure that the timings are well-coordinated. Pay attention to how the animations overlap or interact with each other to avoid confusion or a cluttered visual appearance.
Experiment with different animation speeds for each object to find the right balance that enhances the overall flow and impact of your presentation. By animating multiple objects with different speeds, you can create a visually stunning and engaging PowerPoint presentation that effectively communicates your message.
Final Thoughts on Controlling Animation Speed in PowerPoint
Controlling animation speed in PowerPoint is a powerful technique that can greatly enhance the impact and effectiveness of your presentations. By adjusting the speed of animations, you can create a dynamic and engaging visual experience for your audience.
When considering animation speed, it is important to align it with the content, purpose, and desired tone of your presentation. A fast animation speed can create a sense of energy and excitement, while a slower speed allows for better comprehension and emphasis. Consider the context and the level of detail in your presentation to determine the appropriate speed.
PowerPoint offers various tools and options to control animation speed. You can change the duration of individual animations, modify the speed of slide transitions, add delays between animations, adjust animation timing for each object, utilize custom animation paths, and use the “Speed” options. Experiment with these features to find the settings that best suit your presentation’s needs.
Remember to use animation speed judiciously and purposefully. It is important to strike a balance between engaging your audience and overwhelming them with excessive animations. Animation should support and enhance your content, not overshadow it.
Additionally, consider the visual coherence and consistency of your animations. Aim for a smooth and cohesive flow that guides the audience’s attention and maintains their engagement. Ensure that animations complement each other and contribute to the overall narrative of your presentation.
Lastly, always preview your animations to fine-tune the speed and timing. Take the time to practice your presentation and make adjustments as needed. This will help you create a seamless and well-paced delivery that resonates with your audience.
By controlling animation speed in PowerPoint, you can elevate the effectiveness of your presentations, make your key points more memorable, and create a visually appealing experience for your audience. Harness the power of animation speed to captivate and engage your viewers throughout your presentation journey.