
Why would you want to move your modem to another room?
There are several reasons why you might consider moving your modem to another room in your home. Whether you’re experiencing poor Wi-Fi signal or simply want to rearrange your living space, here are some common reasons for relocating your modem:
1. Wi-Fi signal strength: If you’re struggling with weak Wi-Fi signal or dead spots in certain areas of your home, moving the modem to a central location can help distribute the signal more effectively.
2. Home office setup: If you’ve recently set up a home office or need a reliable internet connection in a specific room, moving the modem closer to your workspace can ensure a faster and more stable connection.
3. Home entertainment system: If you have streaming devices, gaming consoles, or smart TVs that require a wired internet connection, relocating the modem to your entertainment center can eliminate the need for long Ethernet cables or Wi-Fi extenders.
4. Internet speed optimization: By moving your modem to a room with fewer obstructions, such as walls or large appliances, you may be able to improve your internet speed and overall performance.
5. Interior design preferences: Sometimes, the aesthetics of a room can be disrupted by visible wires and equipment. Moving the modem to a more discreet location can help maintain the visual appeal of your living space.
6. Noise reduction: Modems can generate a low humming or buzzing sound, which can be distracting, especially in quiet rooms. Moving the modem to a different room can help minimize the noise impact.
7. Access to Ethernet ports: If you need easy access to Ethernet ports for connecting multiple devices, moving the modem to a more convenient location can provide better accessibility.
Remember, before moving your modem to another room, it’s important to assess your specific needs and ensure that the new location will result in improved performance and convenience. Additionally, it’s crucial to consider the technical requirements and potential limitations involved in the relocation process.
Is it possible to move your modem to another room?
Yes, it is generally possible to move your modem to another room in your home. However, there are a few factors to consider before making the move. Here are some important points to keep in mind:
1. Accessibility to the main internet line: The first thing to check is whether you have access to the main internet line in the new location. The modem needs to be connected to the main line, typically through a coaxial cable or a telephone line, depending on the type of internet service you have. If the new room doesn’t have an existing internet connection, you may need to hire a professional to extend the network to that area.
2. Power outlet availability: Modems require a power source to function. Ensure that there is a nearby power outlet in the new room where you plan to move your modem. If the location doesn’t have an available outlet, you may need to use an extension cord or consult an electrician to install one.
3. Length limitations of Ethernet cables: If you’re planning to connect devices directly to the modem using Ethernet cables, consider the length limitations. Ethernet cables typically have a maximum length of 100 meters or 328 feet. If the desired room is too far from the main internet line, you may need to explore alternative options, such as using Wi-Fi extenders or mesh network systems.
4. Signal interference: Moving the modem to another room can potentially introduce signal interference from walls, furniture, or other electronic devices. This interference can weaken the Wi-Fi signal, resulting in slower connections or dead spots. Before moving the modem, it’s important to test the Wi-Fi signal strength in the new location to ensure that it meets your expectations.
5. Modem compatibility: Confirm that your modem is compatible with the type of internet service you have in your new location. Different internet service providers may require specific modem models or configurations. If you’re unsure, contact your ISP (Internet Service Provider) to verify compatibility or to get guidance on any necessary changes.
While it is generally possible to move your modem to another room, it’s essential to consider these factors to avoid any potential complications or disruptions to your internet service. Consulting with your ISP or a professional installer can also provide valuable guidance to ensure a smooth transition.
Considerations before moving your modem
Before you decide to move your modem to another room, there are several important considerations to keep in mind. These factors will help ensure a successful relocation and optimal performance of your internet connection. Here are some key things to consider:
1. Internet service provider guidelines: Check with your internet service provider (ISP) to understand any specific guidelines or restrictions regarding moving your modem. Some ISPs may have limitations on the distance from the main connection point or require professional installation for certain types of services.
2. Wi-Fi signal strength and coverage: Evaluate the Wi-Fi signal strength and coverage in the new room. If you’re moving the modem to improve signal quality, use a Wi-Fi analyzer tool to determine the current signal strength and identify any potential sources of interference, such as thick walls or other electronic devices. This will help you choose the best location for the modem in the new room.
3. Accessibility and convenience: Consider the accessibility and convenience of the new location. Ensure that there’s easy access to power outlets and sufficient space to place the modem and any additional equipment, such as a router or network switch. Opt for a central location that minimizes potential obstructions and allows for better signal distribution throughout your home.
4. Wired connections: If you plan to connect devices directly to the modem using Ethernet cables, consider the number of ports available on the modem and whether they meet your requirements. Additionally, think about the length of the Ethernet cables needed to connect the devices in the new room. Plan the routing accordingly to avoid long cable runs or tripping hazards.
5. Potential interference: Be mindful of potential sources of interference in the new room. Appliances, electronics, or even physical obstructions like large furniture can degrade the Wi-Fi signal. Try to position the modem away from such sources to minimize interference and ensure optimal signal strength.
6. Modem compatibility: Verify that your modem is compatible with the internet service in your new room. Different ISPs and internet technologies may have specific modem requirements. Confirm with your ISP if any changes or upgrades are needed to ensure compatibility and a seamless transition.
7. Professional assistance: If you’re unsure about any technical aspects of moving your modem, it’s advisable to seek professional assistance. A technician or installer can provide expert advice, ensure proper setup and wiring, and address any specific requirements or challenges that may arise during the process.
Considering these factors will help you make an informed decision and avoid potential issues when moving your modem to another room. By carefully planning and preparing for the relocation, you can enjoy a reliable and efficient internet connection in your desired location.
How to move your modem to another room
Moving your modem to another room involves a few steps to ensure a successful relocation. Here’s a guide on how to move your modem:
1. Assess the new room: Evaluate the new room to determine the ideal location for your modem. Consider factors such as Wi-Fi signal strength, accessibility to power outlets, and potential sources of interference.
2. Notify your ISP: Contact your internet service provider (ISP) and inform them about your plan to move the modem. They may provide specific instructions or recommendations tailored to your service and ensure a smooth transition.
3. Disconnect and power down the modem: Before moving the modem, disconnect it from the current electrical and network connections. Power down the modem by unplugging it from the power source.
4. Prepare the new location: Set up the new location by ensuring power outlets are available nearby. If necessary, install additional outlets or use extension cords to ensure the modem can be connected to a power source.
5. Move the modem: Carefully relocate the modem to the new room. Be cautious to avoid any damage to the cables or the modem itself. Keep in mind the ideal placement for signal strength and accessibility to other devices that may need to connect to the modem.
6. Connect the modem: Once the modem is in its new location, reconnect the necessary cables. This usually includes connecting the modem to the main internet line using a coaxial cable or telephone line, and plugging it into a power outlet.
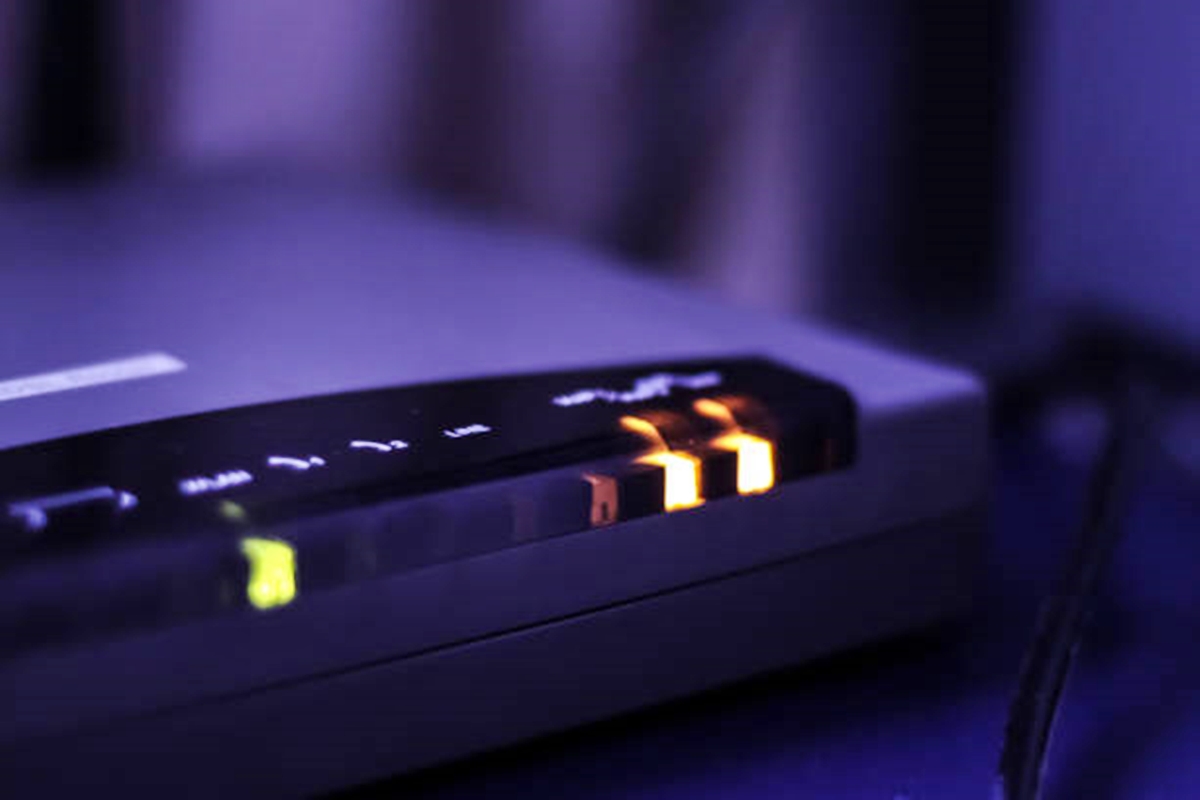
7. Power up the modem and wait for connection: Turn on the power to the modem and wait for it to fully boot up. Give it a few minutes to establish a connection with the internet service. Observe the modem’s indicator lights to ensure everything is functioning properly.
8. Test the connection: Connect a device to the Wi-Fi network or use an Ethernet cable to check if the internet connection is stable and working as expected. Run a speed test to ensure you’re getting the desired internet speed in the new location.
9. Adjust modem settings if necessary: If you experience any issues with your internet connection, such as weak signal or slow speeds, check the modem’s settings. You may need to adjust the Wi-Fi channel, encryption settings, or other configurations to optimize performance in the new room.
By following these steps, you can successfully move your modem to another room and enjoy a reliable internet connection in your desired location.
Running Ethernet cables to the new location
If you require a wired connection in the new room where you’ve moved your modem, you may need to run Ethernet cables to ensure reliable connectivity. Here are the steps to run Ethernet cables to the new location:
1. Determine the cable length: Measure the distance between the modem’s location and the new room to determine the length of Ethernet cable required. Add a little extra length to account for any bends or twists needed during installation.
2. Plan the cable route: Identify the most direct and efficient route for running the Ethernet cable. This may involve drilling holes, using cable clips or conduits, or running the cable along walls or baseboards. Take into consideration obstacles like doors, furniture, or other potential tripping hazards.
3. Prepare the cable: If the Ethernet cable is not pre-terminated, you will need to prepare the cable by stripping a small portion of the outer jacket and untwisting the pairs of wires inside. Follow the manufacturer’s instructions or seek guidance from a professional if you are unfamiliar with this process.
4. Install wall plates or sockets: In the new room, install wall plates or sockets where you want to terminate the Ethernet cable. Use a wall plate with an Ethernet jack or a surface-mounted socket. Ensure the wall plates are securely fastened and aligned with the cable route.
5. Run the cable: Carefully run the Ethernet cable along the planned route. Use cable clips or conduits to secure the cable and prevent it from hanging loosely or posing a tripping hazard. Take caution not to bend the cable too tightly or expose it to sharp objects that may damage the wires.
6. Connect the cable: Once the cable reaches the new room, connect it to the Ethernet jack on the wall plate or socket. Ensure the cable is securely plugged in and properly seated to establish a good connection.
7. Test the wired connection: Connect a device, such as a computer or game console, to the Ethernet jack in the new room using an Ethernet cable. Verify that the wired connection is working by checking for a stable network connection and performing a speed test.
8. Conceal or cover the Ethernet cable: If aesthetics are important, consider concealing or covering the Ethernet cable to maintain a tidy appearance. Use cable management tools, such as cable raceways or cord covers, to hide and protect the cable along its route.
Running Ethernet cables to the new location may require some planning and installation effort, but it can provide a fast and reliable wired connection for devices in the new room. If you’re uncomfortable with running Ethernet cables yourself, consider hiring a professional to ensure a proper and efficient installation.
Using Wi-Fi extenders or mesh network systems
If running Ethernet cables to the new location is not feasible or practical, there are alternative options to extend the Wi-Fi coverage and improve the internet connection in the desired room. Two popular solutions are Wi-Fi extenders and mesh network systems. Here’s what you need to know:
Wi-Fi Extenders:
Also known as repeaters or boosters, Wi-Fi extenders capture the existing Wi-Fi signal from your modem/router and amplify it to reach a wider area. Here’s how to use Wi-Fi extenders:
1. Find the optimal location: Place the Wi-Fi extender in a location where it can still receive a strong Wi-Fi signal from your modem/router. This allows it to effectively extend the signal to the new room.
2. Connect the extender: Follow the manufacturer’s instructions to connect the Wi-Fi extender to your existing network. This typically involves connecting it to your modem/router via Wi-Fi or Ethernet, depending on the extender model.
3. Configure the extender: Access the Wi-Fi extender’s admin panel or use a mobile app to set it up and configure its settings. This may include selecting the network you want to extend and creating a separate Wi-Fi network name (SSID) for the extender.
4. Test the extended network: Connect your devices to the extended network and test the internet connection in the new room. Ensure the connection is stable and provides satisfactory speeds.
Mesh Network Systems:
A mesh network system consists of multiple devices (nodes) that work together to create a seamless and robust Wi-Fi network throughout your home. Here’s how to set up a mesh network system:
1. Choose a mesh system: Select a mesh network system that suits your needs and budget. Popular options include Google Nest Wi-Fi, eero, Orbi, and TP-Link Deco, among others.
2. Follow the manufacturer’s instructions: Set up the primary node (main router) according to the manufacturer’s instructions. This typically involves connecting it to your modem and configuring it using a mobile app or web interface.
3. Add additional nodes: Depending on the size of your home and the coverage you need, strategically place additional nodes throughout your home. Follow the manufacturer’s instructions to add them to the mesh network and ensure they are properly connected to the primary node.
4. Configure the mesh network: Use the provided mobile app or web interface to configure the mesh network settings. This may include creating a unified Wi-Fi network name (SSID) and password for seamless roaming between nodes.
5. Test the network: Connect your devices to the mesh network and test the internet connection in the new room. Enjoy a seamless Wi-Fi experience with consistent signal coverage and fast speeds throughout your home.
Both Wi-Fi extenders and mesh network systems offer convenient solutions to extend your Wi-Fi coverage and improve the internet connection in the new location. Consider your specific needs and budget to determine which option is best for you.
Adjusting your modem settings after the move
After moving your modem to a new room, it’s important to adjust the modem’s settings to ensure optimal performance and maximize your internet connection. Here are some key settings to consider:
1. Wi-Fi channel selection: Check the Wi-Fi channel that your modem is using. If you’re experiencing interference or slow speeds, it’s possible that other Wi-Fi networks in the area are operating on the same channel. Choosing a less congested channel can help improve performance.
2. Wi-Fi encryption: Ensure that your Wi-Fi network is using a secure encryption protocol, such as WPA2 or WPA3. This helps protect your network from unauthorized access and ensures the privacy of your data.
3. Wi-Fi network name (SSID) and password: If you changed the room or location of your modem, consider updating the Wi-Fi network name and password to reflect the new surroundings. This makes it easier for you to identify your network and maintain security.
4. Quality of Service (QoS) settings: QoS settings allow you to prioritize certain types of traffic on your network, such as streaming or gaming. Adjusting QoS settings can help ensure a smooth and uninterrupted experience for specific devices or applications that require higher bandwidth.
5. Firmware updates: Check for firmware updates for your modem. Manufacturers often release updates that bring performance improvements, bug fixes, or security enhancements. Updating to the latest firmware version ensures that you’re benefiting from the most stable and secure operation of your modem.
6. Device management: Some modems offer advanced features for device management, such as parental controls, guest networks, or network scheduling. Explore and configure these settings as needed to customize your network experience.
7. Signal strength optimization: If you’re experiencing weak signals or dead spots within the new room or home, consider adjusting the placement of the modem and its antennas. Experiment with antenna positions or external antennas to improve signal strength and coverage.
8. Security settings: Review the firewall and security settings of your modem to ensure that your network is protected against potential vulnerabilities. Enable features such as intrusion detection or content filtering, if available, to enhance your network’s security posture.
When adjusting the modem settings, refer to the user manual or manufacturer’s documentation for specific instructions on accessing and modifying these settings. If you’re unsure about any specific settings, consult with your internet service provider or a technical professional for guidance.
By taking the time to appropriately adjust your modem settings after the move, you can optimize your internet connection in the new location and enjoy a seamless online experience.