
Choosing a Router and Modem
When it comes to setting up a solid internet connection in your home or office, choosing the right router and modem is crucial. These devices work hand in hand to ensure a smooth and reliable internet experience. While there are numerous options available, it’s important to consider your specific needs and budget. This section will guide you through the important factors to consider when choosing a router and modem.
The first thing you should consider is the compatibility of the router and modem with your internet service provider (ISP). Different ISPs have different requirements and specifications for their services, so it’s important to choose devices that are compatible with your provider’s network. This information can usually be found on your ISP’s website or by contacting their customer support.
Another important factor to consider is the speed and range of the router. The speed of the router is measured in megabits per second (Mbps) and determines how fast data can be transmitted over the network. Consider the number of devices that will be connected to the router and choose a router with a speed that can handle the demands of your network.
The range of the router refers to the distance over which the Wi-Fi signal can reach. If you have a large home or office space, it’s important to choose a router with a strong and far-reaching signal. Look for routers that have multiple antennas or beamforming technology, as these can improve the range and reliability of the Wi-Fi signal.
Security is another important consideration when choosing a router. Look for routers that offer advanced security features such as WPA2 encryption, a built-in firewall, and the ability to create a guest network. These features will help protect your network from unauthorized access and keep your data secure.
Budget is, of course, a crucial factor for many people when choosing a router and modem. While it’s tempting to go for the cheapest option, it’s important to invest in devices that will provide a reliable and fast internet connection. Do your research, compare prices, and read reviews to ensure you’re getting the best value for your money.
Gathering the Necessary Equipment
Before you can connect your router to a modem, you’ll need to gather the necessary equipment. Here’s a list of items you’ll typically need:
- A router: This is the device that will create your Wi-Fi network and allow multiple devices to connect to the internet.
- A modem: This is the device that connects your home or office to your internet service provider (ISP) and enables internet access.
- Ethernet cables: You’ll need at least one Ethernet cable to connect the modem to the router and potentially additional cables if you plan to connect devices directly to the router.
- A power adapter: Both the modem and router will require a power source, so make sure you have the necessary power adapters.
- Documentation: It’s always helpful to have the user manuals or setup guides for your router and modem handy, just in case you run into any issues during the setup process.
Before purchasing a router and modem, ensure that they’re compatible with each other as well as your ISP. Take note of any specific requirements or recommendations provided by the manufacturers or your ISP regarding the models or specifications.
Ensure that you have enough Ethernet cables to connect the modem to the router and any additional devices if needed. It’s always better to have extra cables on hand, just in case.
Make sure you have access to power outlets near the location where you plan to set up the modem and router. This will ensure that you can properly power both devices and maintain a stable connection.
Having the user manuals or setup guides for the router and modem is essential. They contain important information such as default usernames and passwords, troubleshooting steps, and detailed setup instructions. Keep these documents easily accessible throughout the setup process.
By gathering all the necessary equipment and documentation before starting the setup process, you’ll be well-prepared and minimize any potential delays or challenges that may arise.
Powering Off the Modem and Router
Before you begin connecting your router to the modem, it’s important to power off both devices. This ensures a clean start and prevents any potential issues during the setup process. Here’s how you can properly power off the modem and router:
- Locate the power cords of both the modem and router.
- Follow the power cord of the modem to the power outlet and unplug it. Wait for a few seconds to ensure that the modem is fully powered off.
- Repeat the same process for the router. Unplug the power cord from the power outlet and wait for a moment for the router to completely power off.
- It’s also a good idea to remove any batteries from the modem and router, if applicable.
Powering off the modem and router allows them to reset and start fresh. This can resolve any lingering issues, such as network conflicts or outdated settings.
By disconnecting the power, you ensure that any temporary data or cached information is cleared from the devices. This helps create a clean slate for the upcoming setup process.
Keep in mind to wait for a few seconds before plugging the devices back in. This brief pause allows for a complete power cycle and ensures that all lingering electrical charges are released.
Powering off the modem and router is an essential step in the setup process. It helps avoid potential conflicts and ensures a smooth transition to the next step of connecting the modem to the router.
Connecting the Modem to the Router
Once you’ve powered off both the modem and router, it’s time to connect them together. This step is crucial as it establishes the connection between your internet service provider (ISP) and the router. Follow these steps to properly connect the modem to the router:
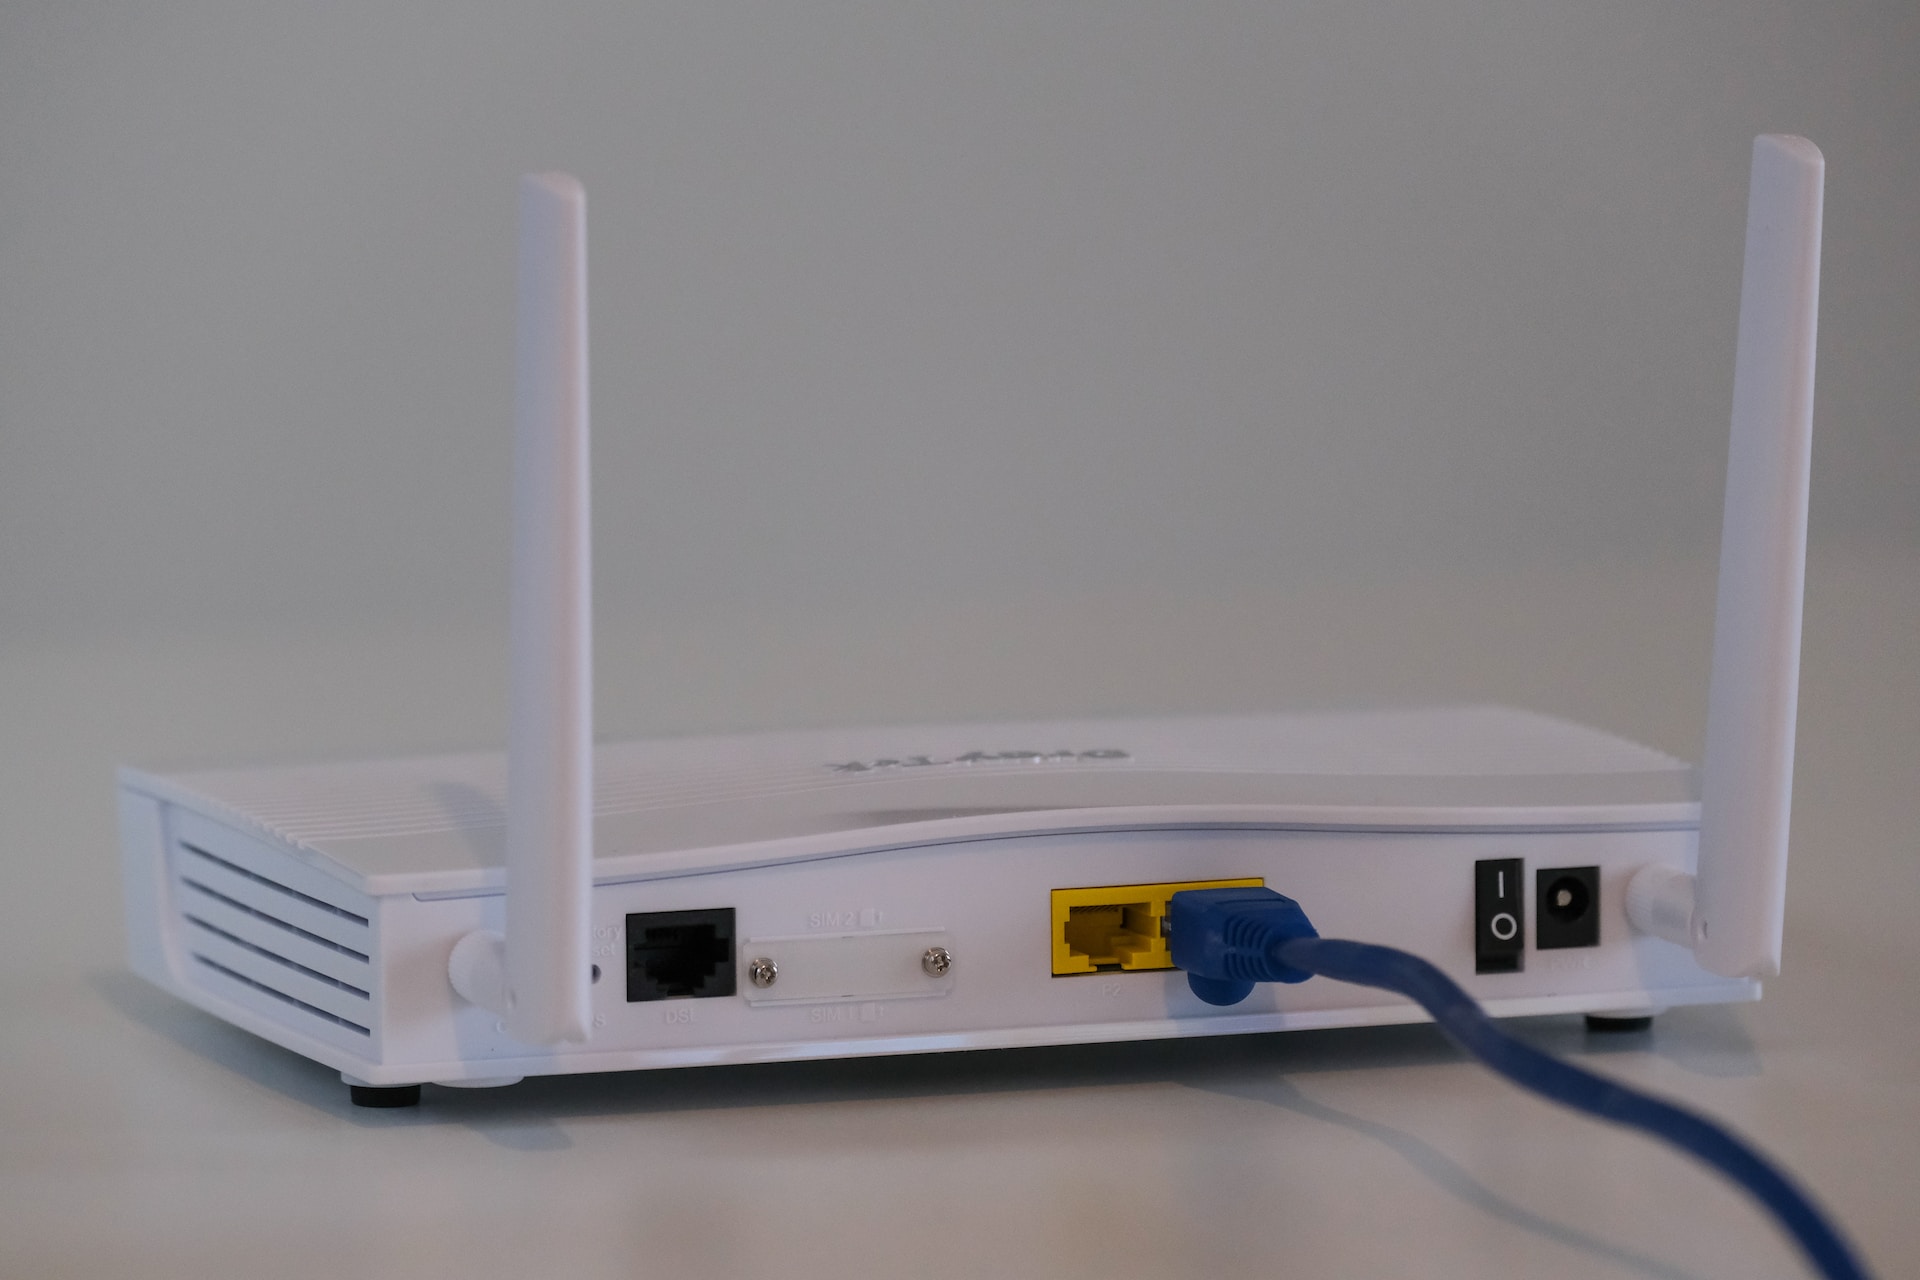
- Locate the Ethernet cable that came with your router. One end of the cable should have an Ethernet port, which is slightly larger than a telephone cable. The other end will have a smaller, rectangular-shaped connector.
- Take one end of the Ethernet cable and insert it into the Ethernet port on the back of the modem. Make sure it’s securely plugged into the Ethernet port.
- Connect the other end of the Ethernet cable into the WAN (Wide Area Network) or Internet port on the back of the router. This port is usually labeled specifically, so it should be easy to identify.
- Ensure that both ends of the Ethernet cable are securely connected to the modem and router. A loose connection can lead to intermittent or no internet connectivity.
- If you have additional Ethernet ports on your router, you can use them to connect wired devices directly. Simply plug one end of an Ethernet cable into the device you want to connect and the other end into an available port on the router.
Once you’ve made the necessary connections, it’s time to power on the modem and router. Plug the power cord of the modem back into the power outlet and wait for it to fully power up. Then, do the same for the router.
Allow a couple of minutes for the modem and router to establish a connection. During this time, the lights on both devices should start flashing or indicating activity.
By properly connecting the modem to the router, you’re establishing the foundation for a seamless internet connection. The Ethernet cable acts as the bridge between the modem and router, allowing them to communicate effectively.
With the modem and router connected, you’re now ready to move on to the next step of connecting a computer to the router and configuring the settings.
Connecting a Computer to the Router
Now that you’ve connected the modem to the router, the next step is to connect a computer to the router. This will allow you to access the router’s configuration page and make necessary changes to the settings. Follow these steps to connect your computer to the router:
- Ensure that your computer is equipped with a wireless network adapter or has an Ethernet port.
- If you’re connecting wirelessly, navigate to your computer’s network settings and locate the available Wi-Fi networks. You should see your router’s network name (SSID) listed. Click on it to connect.
- If you’re connecting via Ethernet, take an Ethernet cable and connect one end to an available Ethernet port on the router. Plug the other end into your computer’s Ethernet port.
- Once connected, your computer should automatically obtain an IP address and establish a connection with the router.
If you’re connecting wirelessly, you’ll be prompted to enter the Wi-Fi password for your router. This password can usually be found on a label on the router or in the router’s documentation.
After successfully connecting your computer to the router, open a web browser and enter the router’s IP address in the address bar. The IP address can also be found on the router or in its documentation. Press Enter to access the router’s configuration page.
On the configuration page, you will be prompted to enter a username and password. These credentials are typically set to the router’s default settings. Consult the router’s documentation or the manufacturer’s website to find the default username and password information.
Once logged in, you can now configure the router’s settings according to your preferences. This includes setting up a password for your Wi-Fi network, changing the network name (SSID), enabling security features, and more.
Remember to save any changes you make on the configuration page before closing the browser.
By connecting your computer to the router, you gain access to its configuration page, allowing you to customize the router’s settings to suit your needs.
Next, we’ll explore how to configure the router’s settings to optimize your internet connection.
Accessing the Router’s Configuration Page
Once you have connected your computer to the router, the next step is to access the router’s configuration page. This will allow you to make important settings changes and customize your network. Follow these steps to access the router’s configuration page:
- Open a web browser on your computer, such as Chrome, Firefox, or Safari.
- In the address bar of the web browser, enter the IP address of the router. The router’s IP address is typically provided on a label on the router itself or in the router’s documentation. Common IP addresses for routers are 192.168.0.1 or 192.168.1.1.
- Press Enter or Return to access the router’s login page.
- You will be prompted to enter a username and password. The default username and password can usually be found in the router’s documentation or on the manufacturer’s website.
- After entering the correct credentials, click on the Login or Submit button to log into the router’s configuration page.
Once you have successfully logged in, you will have access to the router’s configuration settings. The layout and options may vary depending on the make and model of your router, but you will typically find a wide range of settings to customize.
Some of the common settings you may encounter include:
- Wireless Settings: Here you can customize your network’s name (SSID), set a password or security key, choose a wireless channel, and enable or disable other wireless features.
- Network Settings: This section allows you to modify the router’s LAN (Local Area Network) settings, such as IP address, subnet mask, and DHCP (Dynamic Host Configuration Protocol) settings.
- Security Settings: Configure security features such as firewall settings, access control, and encryption protocols to protect your network against unauthorized access.
- Parental Controls: Set restrictions and filters to manage the internet access of specific devices or users in your network.
- Advanced Settings: Access additional advanced options, such as port forwarding, Quality of Service (QoS) settings, and Virtual Private Network (VPN) configurations.
It’s important to familiarize yourself with the various settings and options available in the router’s configuration page. Make changes according to your preferences, but be cautious and avoid modifying any settings that you are unsure of.
By accessing the router’s configuration page, you can tailor the network settings to optimize your internet connection and ensure a secure and reliable network for all your devices.
Configuring the Router’s Settings
Once you have accessed the router’s configuration page, you can begin configuring the settings to optimize your network and internet connection. This section will guide you through some of the key settings you can customize on your router.
1. Wireless Network Settings:
Customize your wireless network by changing the network name (SSID) to something unique and easily identifiable. Set a strong password or security key to prevent unauthorized access to your Wi-Fi network. You may also choose the encryption protocol, such as WPA2, for enhanced security.
2. Network and DHCP Settings:
Configure the network settings, including the IP address, subnet mask, and gateway, if necessary. Enable or disable DHCP to automatically assign IP addresses to devices on your network. You can also set up a reserved IP address for specific devices, ensuring they always receive the same IP when connected.
3. Port Forwarding:
If you need to access certain applications or services from outside your network, you can set up port forwarding. This allows incoming connections to be directed to specific devices or services within your network.
4. Quality of Service (QoS) Settings:
With QoS, you can prioritize certain types of network traffic over others. This is useful if you want to ensure a smooth and uninterrupted experience for activities like streaming, online gaming, or video conferencing.
5. Firewall and Security Settings:
Enhance the security of your network by enabling the router’s built-in firewall. You can also set up access control, MAC address filtering, or block certain websites or services to ensure a safe browsing experience for all connected devices.
6. DNS Settings:
You can configure the DNS (Domain Name System) settings on your router. This allows you to use alternative DNS servers, such as public DNS services like Google DNS or OpenDNS, which may provide better performance or additional features.
Remember to save any changes you make to the router’s settings before closing the configuration page. It’s a good practice to keep a record of the changes you make, especially the new Wi-Fi password and any custom settings you enable.
While it’s important to customize the router’s settings to suit your needs, be cautious when making changes, especially in advanced settings. Avoid modifying settings that you’re not familiar with, as it may affect the stability or performance of your network.
By configuring the router’s settings, you can optimize your network for better performance, security, and customization, ensuring a reliable and tailored internet experience for all your devices.
Verifying the Internet Connection
After configuring the router’s settings, it is essential to verify the internet connection to ensure that everything is working correctly. Follow these steps to confirm that your internet connection is up and running:
- Ensure that all cables are securely connected and that the power is on for both the modem and router. Check that the lights on both devices indicate a stable connection.
- On your computer or any other connected device, open a web browser and try to access a reliable website, such as Google or YouTube.
- If you’re able to successfully load the website, congratulations! Your internet connection is working correctly.
- If you encounter any issues, try restarting both the modem and the router. Power off both devices, wait for a few seconds, and then power them back on.
- Once the devices have restarted, repeat the process of accessing a website to check if the internet connection is now established.
- If you’re still experiencing connection issues, double-check that you have entered the correct login credentials for your internet service provider (ISP) in the router’s configuration page.
- Consider reaching out to your ISP’s customer support if you’re unable to establish a working internet connection. They can help troubleshoot the issue and provide further assistance.
It’s important to ensure that all devices connected to the router, whether wired or wireless, are able to access the internet. Test the connection on multiple devices to confirm that the issue is not specific to one device.
If you’re using a wireless connection, check the signal strength on your devices. If the signal is weak, try moving closer to the router or consider adding a Wi-Fi extender to improve coverage in areas with poor connectivity.
If your internet connection is still not working, it’s also worth double-checking the settings you’ve configured on the router. Make sure you haven’t accidentally misconfigured any of the options.
By verifying the internet connection, you can ensure that your devices are properly connected to the internet and that the configured settings are functioning as expected.
Remember that occasional network disruptions or service outages may occur, which could affect your ability to access the internet. In such cases, contacting your ISP will help you determine if the issue is related to their services.
Troubleshooting Common Connection Issues
Even with careful setup and configuration, connection issues can still occur. Here are some common problems that you may encounter while connecting your router to a modem, along with troubleshooting steps to resolve them:
1. No Internet Access:
If you’re unable to access the internet, make sure that both the modem and router are powered on and that all cables are securely connected. Restart both devices and try connecting again. If the issue persists, contact your ISP to ensure there are no outages in your area.
2. Wi-Fi Signal Issues:
If you’re experiencing weak or intermittent Wi-Fi signals, try moving your router to a central location in your home or office. Avoid placing it near objects that can interfere with the signal, such as walls, appliances, or other electronics. Additionally, consider changing the router’s wireless channel to avoid interference from neighboring networks.
3. Slow Internet Speed:
If you’re experiencing slow internet speeds, ensure that the router firmware is up to date. You can check the manufacturer’s website for any available firmware updates. Additionally, disconnect any devices that are not in use, as multiple devices simultaneously accessing the internet can affect speed. If the issue persists, contact your ISP to verify the expected speed for your plan.
4. Forgotten Router Password:
If you’ve forgotten the router’s username and password, you may need to perform a factory reset. Look for a small reset button on the router and press it using a pin or paperclip. This will reset the router to its factory default settings, including the username and password. Refer to the router’s manual for specific instructions.
5. Weak or No Signal on Wired Connections:
If you’re experiencing a weak or no signal on wired connections, check that the Ethernet cables are securely connected to both the modem and the router. Try using a different Ethernet cable to troubleshoot potential cable issues. If the problem persists, contact your ISP to verify if there is any issue with the modem or their network.
6. Device Connection Issues:
If certain devices are unable to connect to the network, ensure that you have entered the correct Wi-Fi password. Double-check that the wireless network name (SSID) is visible on the device. If necessary, restart the device and router to establish a fresh connection.
If these troubleshooting steps do not resolve the connection issues, consider contacting your ISP’s technical support for further assistance. They can provide specific guidance based on your setup and diagnose any potential issues with the network or equipment.
By troubleshooting common connection issues, you can identify and address problems that may arise during the setup and configuration process, ensuring a stable and reliable internet connection for all your devices.