
Select the Location
When it comes to installing a shelf on a wall, selecting the right location is crucial. You want to choose a spot that not only fits your needs but also complements the overall look and feel of the room. Here are some important factors to consider when selecting the location for your shelf:
- Function: Determine the purpose of the shelf. Will it be used for displaying decorative items, storing books, or holding everyday essentials? Understanding its function will help you determine the best location.
- Wall Space: Take a good look at the available wall space in the room. You want to find a spot where the shelf can be easily accessed and where it won’t interfere with doors, windows, or other furniture.
- Height: Consider the height at which you want to install the shelf. Is it meant to be at eye level for displaying artwork, or should it be within reach for easy access to items?
- Weight Capacity: Take into account the weight capacity of the shelf and the items you plan to place on it. Ensure that the wall can handle the weight without causing any damage.
- Aesthetic Appeal: Consider the overall aesthetic of the room and select a location that complements the existing decor. You want the shelf to enhance the visual appeal, not stick out like a sore thumb.
Once you have carefully considered these factors, you will be ready to move on to the next step of gathering the materials and tools needed for the installation.
Gather Materials and Tools
Before you start installing a shelf on a wall, it’s important to gather all the necessary materials and tools. Having everything on hand will ensure a smooth and efficient installation process. Here’s a list of what you’ll need:
- Shelf: Choose a shelf that suits your needs in terms of size, material, and design. Consider the weight of the items you plan to put on it and ensure that the shelf is sturdy enough to support them.
- Brackets or Mounting Hardware: Depending on the type of shelf you have, you may need brackets or specific mounting hardware. Make sure to select sturdy brackets that can support the weight of the shelf and its contents.
- Wall Anchors and Screws: If you’re installing the shelf on drywall, you’ll likely need wall anchors and screws to secure the brackets. The size and type of anchors and screws will depend on the weight capacity of the shelf and the wall material.
- Level: A level is essential to ensure that the shelf is installed straight and level. This will prevent any items placed on the shelf from sliding or falling off.
- Measuring Tape: Accurate measurements are crucial for properly positioning the shelf and brackets. A measuring tape will help you determine the appropriate height and spacing.
- Pencil or Marker: Use a pencil or marker to mark the locations for the brackets and any other measurements you need to make on the wall.
- Power Drill: A power drill will come in handy when drilling holes for wall anchors and screws. Make sure you have the appropriate drill bits for your specific hardware.
- Screwdriver: A screwdriver will be needed to tighten the screws and secure the brackets to the wall.
- Optional: Paint or Stain: If you want to match the shelf to the existing color scheme or give it a personal touch, paint or stain may be necessary.
Having all these materials and tools ready will make the installation process more efficient and ensure a successful outcome. Now that you’re prepared, it’s time to move on to measuring and marking the wall for the shelf.
Measure and Mark
Before you start installing a shelf on a wall, you need to accurately measure and mark the desired location. This step is crucial to ensure proper alignment and spacing. Here’s how to measure and mark the wall:
- Measure Height: Use a measuring tape to determine the desired height at which you want to install the shelf. Consider the items you plan to place on the shelf and their accessibility. Once you have determined the height, make a small mark on the wall.
- Measure Width: Measure the width of the shelf to determine the appropriate spacing between the brackets. Divide the width by two to find the center point. Make a mark on the wall at the center point.
- Mark Bracket Locations: Measure the distance from the center point to each end of the shelf. Use these measurements to mark the locations for the brackets on the wall. Ensure that the marks are level and evenly spaced.
- Double-Check Measurements: It’s important to double-check all the measurements and marks before proceeding. Use a level to ensure that the marks are straight and align with your desired height and width.
Once you have accurately measured and marked the wall, you will have a clear guide for the installation process. It’s important to take your time during this step to ensure accuracy. Now that you have marked the locations for the brackets, the next step is to locate the studs in the wall to provide additional support.
Locate Studs
Before installing a shelf on a wall, it’s crucial to locate the studs. Studs are the vertical framing members behind the drywall that provide structural support. Attaching the shelf brackets to the studs will ensure a stable and secure installation. Here’s how to locate studs in the wall:
- Use a Stud Finder: A stud finder is a handy tool that detects changes in density behind the wall, indicating the presence of a stud. Place the stud finder against the wall and move it horizontally until it indicates the location of a stud.
- Tap the Wall: If you don’t have a stud finder, you can try tapping the wall lightly. The sound will be different when you tap directly on a stud compared to tapping on empty wall space. This method may not be as accurate as using a stud finder but can provide some indication of stud location.
- Look for Outlets and Switches: Electrical outlets and light switches are usually mounted on studs. Removing the cover plate and inspecting the area can give you a clue about the stud’s location.
It’s essential to mark the stud locations on the wall using a pencil or marker. These marks will guide you when installing the brackets, ensuring they are attached securely to the studs. Remember to locate multiple studs along the length of the shelf to provide adequate support.
If you’re unable to locate any studs in the desired area, it’s crucial to use alternative methods for securing the shelf brackets, such as using wall anchors designed for drywall. These anchors provide additional support and can hold a significant amount of weight when installed correctly. However, it’s best to consult with a professional if you’re unsure about the integrity of the wall or the best method to secure the shelf without studs.
Now that you have located the studs or decided on an alternative method, you can proceed to measure the shelf and brackets for installation.
Measure Shelf and Brackets
Before installing a shelf on a wall, it’s crucial to measure both the shelf and the brackets accurately. This step ensures that the shelf fits properly on the brackets and aligns with your desired placement. Here’s how to measure the shelf and brackets:
- Measure Shelf Length: Use a measuring tape to determine the length of the shelf. Measure from one end to the other, ensuring you capture the entire span of the shelf. Write down the measurement.
- Measure Shelf Depth: Measure the depth of the shelf, from the front edge to the back. This measurement is important, especially if you plan to install the shelf in a narrow or limited space. Note down the measurement.
- Measure Bracket Size: Measure the size of the brackets that will support the shelf. Measure their length, width, and height. Take note of these measurements as they will guide you during the installation process.
- Consider Overhang: Consider how much overhang you want the shelf to have beyond the brackets. It’s common to have a slight overhang for aesthetic purposes. Measure and make a note of the desired overhang distance.
Once you have measured both the shelf and brackets, you can ensure they are compatible and that the shelf will fit securely on the brackets. It’s important to take accurate measurements to avoid any unnecessary adjustments during the installation. With the measurements in hand, you’re now ready to proceed to the next step of installing the shelf brackets on the wall.
Install Shelf Brackets
Installing the shelf brackets is an important step in securely supporting the shelf on the wall. Here’s a step-by-step guide on how to install the shelf brackets:
- Position the Brackets: Place the first bracket against the wall at the marked location. Ensure that it is aligned with the level and the desired placement. Hold the bracket in place.
- Mark Screw Holes: Use a pencil or marker to mark the screw holes on the wall through the bracket’s mounting holes. This will serve as a guide for drilling holes and inserting screws.
- Drill Pilot Holes: With the marked holes as a guide, use a power drill to drill pilot holes into the wall at the marked locations. The size of the pilot holes should match the size of the wall anchors or screws you’re using.
- Insert Wall Anchors or Screws: If you’re installing the brackets on drywall, insert wall anchors into the pilot holes. If you’re drilling directly into a stud, skip this step. For other wall materials, follow the manufacturer’s instructions for inserting appropriate anchors or screws.
- Attach Brackets to the Wall: Once the anchors or screws are in place, align the bracket with the pilot holes and secure it to the wall using a screwdriver or power drill. Ensure the bracket is level and tightly secured.
- Repeat for Remaining Brackets: Repeat the above steps for each bracket you need to install. Ensure proper alignment and levelness for each bracket.
Once all the brackets are securely installed on the wall, you have laid the foundation for placing the shelf. Take a moment to double-check the stability and levelness of the brackets. If any adjustments are needed, make them now before moving on to the next step of attaching the shelf to the brackets.
Now that the brackets are in place, you’re ready to proceed to the next step of attaching the shelf to the brackets.
Attach Shelf to Brackets
With the brackets securely installed on the wall, it’s time to attach the shelf to the brackets. This step finalizes the installation and ensures that the shelf is properly supported. Follow these steps to attach the shelf to the brackets:
- Position the Shelf: Hold the shelf above the installed brackets, aligning it with the brackets and the desired placement. Make sure the shelf is centered and level.
- Mark Screw Holes: Once the shelf is properly positioned, use a pencil or marker to mark the screw holes on the underside of the shelf through the holes in the brackets.
- Drill Pilot Holes: Use a power drill to drill pilot holes into the marked locations on the underside of the shelf. The size of the pilot holes should match the size of the screws provided.
- Attach Shelf to Brackets: With the pilot holes in place, align the holes in the brackets with the pilot holes in the shelf. Insert the screws through the holes and tighten them using a screwdriver or power drill. Be careful not to overtighten and damage the shelf or brackets.
Once the shelf is securely attached to the brackets, give it a gentle shake to test its stability. The shelf should be firm and not wobble or sag. If you notice any issues, such as instability or misalignment, double-check the installation and make necessary adjustments.
Now that the shelf is properly attached to the brackets, you’re almost done with the installation process. The next step is to test the shelf for stability and make any final adjustments if needed.
Test Shelf for Stability
After attaching the shelf to the brackets, it’s essential to test its stability. This step ensures that the shelf is securely installed and can support the intended weight without any issues. Follow these steps to test the shelf for stability:
- Apply Light Pressure: Start by applying light pressure to the shelf. Gently push down on different areas of the shelf to see if it feels secure. It should not wobble or shift.
- Check for Sagging: Look for any signs of sagging or bending in the middle of the shelf. If you notice any significant sagging, it may indicate that the brackets need to be adjusted or reinforced.
- Test Weight Capacity: Gradually increase the weight placed on the shelf to test its capacity. Add items one at a time, making sure to distribute the weight evenly. Monitor the shelf carefully for any signs of instability or excessive bending.
- Observe for Movement: Keep an eye out for any movement or shifting of the shelf as you place and remove items. The shelf should remain securely attached and stable throughout this process.
If you notice any issues during the stability test, such as wobbling, sagging, or instability, it’s important to address them immediately. Double-check the installation, reposition the brackets if necessary, or reinforce the support system. It’s better to make any adjustments now to prevent any accidents or damage later.
Once you are satisfied with the shelf’s stability and weight capacity, you can move on to making any final adjustments, if needed, to ensure the shelf is perfectly level and aligned in the desired position.
Testing the shelf for stability is the penultimate step in the installation process. After you have made any necessary adjustments, you’re now ready to enjoy your newly installed shelf and start using it to display or store your items.
Make Final Adjustments
After testing the shelf for stability, it’s time to make any final adjustments to ensure it is perfectly aligned and level. Paying attention to the details will enhance the overall aesthetics and functionality of the installed shelf. Follow these steps to make final adjustments:
- Check Levelness: Use a level to ensure that the shelf is perfectly horizontal. If it is slightly off, make small adjustments to the brackets as needed until the shelf is level.
- Inspect Alignment: Step back and assess the alignment of the shelf with the surrounding walls, furniture, or other elements in the room. Make minor adjustments to the brackets if necessary to ensure the shelf is positioned exactly as desired.
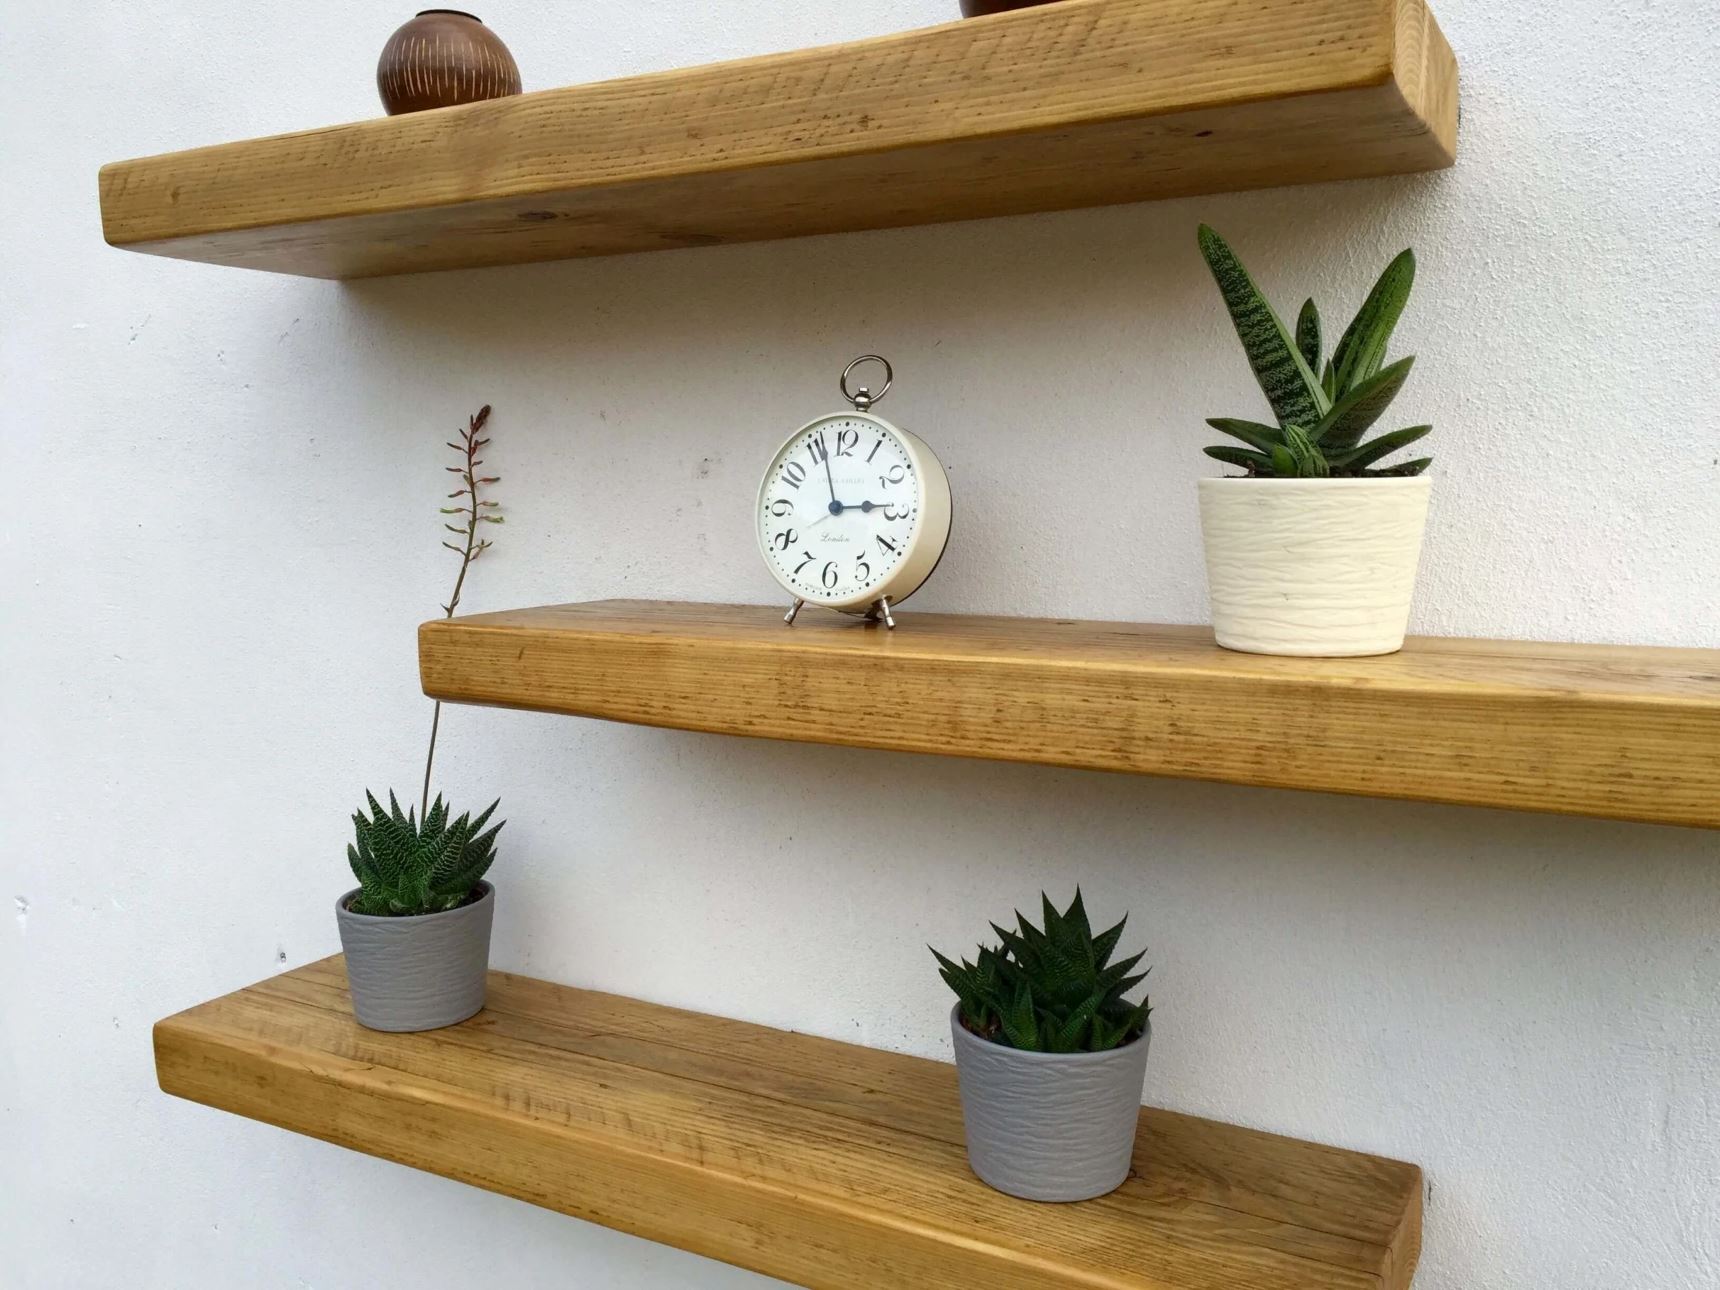
- Consider Decorative Touches: If desired, now is the time to add any decorative touches to enhance the appearance of the installed shelf. This can include painting or staining the shelf, adding trim or molding, or incorporating decorative items on top of the shelf.
- Double-Check Stability: Give the shelf another gentle shake to ensure it remains stable even after the final adjustments. Make sure the shelf doesn’t shift or wobble, and the brackets continue to securely support its weight.
By making these final adjustments, you can ensure that the installed shelf not only meets your functional needs but also enhances the overall aesthetics of the room. Taking the time to align and level the shelf properly will create a cohesive and visually pleasing result.
Once you have made the final adjustments, step back and admire your well-installed and properly aligned shelf. It’s now ready to be used for displaying your favorite items, storing important belongings, or adding an extra touch of functionality to your living space.
Remember, if you are unsure about any part of the installation process or encounter difficulties in making the adjustments, seek assistance from a professional or consult relevant resources to ensure a safe and successful installation.