
Materials Needed
Before diving into the process of hanging a floating shelf, gather the necessary materials to ensure a smooth and successful installation. Having these items on hand will save you time and frustration, allowing you to complete the task efficiently:
- Measuring tape
- Pencil
- Stud finder
- Power drill
- Drill bits
- Level
- Screwdriver
- Wall anchors (if needed)
- Mounting bracket
- Screws
- Floating shelf
Having these materials ready will make the process of hanging a Floating shelf much more convenient. Make sure to use a tape measure for precise measurements, a pencil for marking, and a stud finder to locate the wall studs that provide the necessary support for the shelf.
Using a power drill with appropriate drill bits will help you pre-drill holes and attach the mounting bracket securely. Additionally, keep a level handy to ensure that your shelf is perfectly straight. A screwdriver will be needed to secure the shelf in place, while wall anchors may be required if you’re unable to find studs.
Finally, choose the right screws for your specific type of floating shelf and ensure that you have the shelf itself ready for installation. With these materials at your disposal, you’ll be well-prepared to hang a floating shelf and add both functionality and aesthetic appeal to your living space.
Step 1: Measure and Mark
The first step in hanging a floating shelf is to accurately measure and mark the desired location on your wall. This step is crucial for ensuring that your shelf is level and properly positioned. Follow these steps:
- Using a measuring tape, determine the desired height at which you want to install the shelf. Measure from the floor or any nearby furniture to ensure proper alignment with your overall room design.
- Hold the floating shelf against the wall at the desired height, making sure it is level. Use a pencil to mark the top and bottom edges of the shelf on the wall.
- If you plan to install multiple shelves in a row, use a level and a long straightedge to draw a horizontal guideline across the wall. This guideline will help you align the shelves evenly.
- Double-check your measurements and marks to ensure accuracy. Remember that it’s always better to double-check than to have to make adjustments later on.
Once you have completed the measuring and marking process, you will have a clear guide for the placement of your floating shelf. This step sets the foundation for a well-aligned and visually pleasing installation.
Step 2: Find and Mark Studs
Locating the wall studs is an important step in hanging a floating shelf as they provide the necessary support for the weight of the shelf and the items you’ll be placing on it. Follow these steps to find and mark the studs:
- Start by using a stud finder and running it along the wall in the area where you plan to install the shelf. The stud finder will detect changes in density that indicate the presence of studs.
- Once the stud finder indicates the location of a stud, mark it with a pencil. Repeat this process at multiple points along the wall to ensure accuracy.
- Using a measuring tape, measure the distance between the marks you’ve made, as studs are typically spaced 16 or 24 inches apart. This will give you an idea of how many studs you have and where they are located relative to your shelf.
- If your marks indicate a stud placement that doesn’t align with your desired position for the shelf, you may need to make adjustments. Consider using wall anchors or alternative installation methods to ensure proper support.
Finding and marking the studs is crucial for the stability and safety of your floating shelf. Studs provide a secure anchor for the screws that will hold the mounting bracket in place. By locating the studs beforehand, you can position the shelf precisely and minimize any risk of it becoming loose or unstable over time.
Step 3: Pre-drill Holes
Pre-drilling holes is an essential step in hanging a floating shelf as it ensures that the screws will go in smoothly and reduce the risk of damaging the wall. Here’s how to pre-drill holes:
- Choose a drill bit that is slightly smaller in diameter than the screws you’ll be using. This will help create pilot holes that guide the screws into the wall.
- Attach the appropriate drill bit to your power drill. Make sure it is securely inserted and tightened.
- Position the drill bit over the marks you made for the stud locations. Hold the drill perpendicular to the wall and apply gentle pressure to create a pilot hole. Repeat this step for each stud mark.
- If you have marked any additional spots for wall anchors, pre-drill holes for those as well, following the instructions provided with the anchors.
- Once you have finished pre-drilling the holes, remove any debris or dust that may have accumulated. You can use a vacuum or a small brush to clean out the holes.
Pre-drilling holes will make it easier to insert the screws and minimize the chance of splitting the wood or damaging the wall. The pilot holes provide a clear path for the screws to follow, ensuring a more secure and stable installation. Take your time during this step to ensure accuracy and prevent any unnecessary mishaps.
Step 4: Install Wall Anchors (if needed)
Installing wall anchors is an important step if you are unable to locate studs or if you are hanging a shelf on a plaster or drywall surface that may not provide sufficient support. Wall anchors help distribute the weight and prevent damage to the wall. Here’s how to install wall anchors:
- Choose the appropriate wall anchors for your wall type and the weight capacity required for your floating shelf. The packaging of the wall anchors should provide guidance on weight limits.
- Hold the wall anchor against the wall at the location where you want to place it. Make sure it is aligned with the holes you pre-drilled in the previous step.
- Using a hammer or a screwdriver, gently tap the wall anchor into the pre-drilled hole until it is flush with the wall surface.
- If necessary, repeat this process for each wall anchor you plan to install.
- Once the wall anchors are installed, double-check that they are securely in place by giving them a slight tug or twist. They should feel solid and not move or come loose.
Wall anchors provide additional stability and strength for your floating shelf, especially when dealing with walls that may not have sufficient structural support. It is important to choose the right type and size of wall anchors for your specific wall material and the weight of your shelf. By installing wall anchors properly, you can ensure that your shelf stays securely in place and can hold the desired weight without compromising the integrity of the wall.
Step 5: Attach Mounting Bracket
Attaching the mounting bracket is a crucial step in hanging a floating shelf, as it provides the support and stability needed to hold the shelf securely on the wall. Here’s how to attach the mounting bracket:
- Position the mounting bracket against the wall, aligning it with the pre-drilled holes or wall anchors.
- Using a screwdriver or drill, insert screws through the holes in the bracket and into the wall. If you are attaching the bracket to a stud, make sure the screws are long enough to penetrate the stud effectively.
- Tighten the screws securely, but be cautious not to overtighten them, as this can damage the wall or strip the screws.
- Check the level of the mounting bracket using a level to ensure it is straight. Make any adjustments as needed.
It’s crucial to follow the manufacturer’s instructions for the specific mounting bracket you are using, as different brackets may require slightly different installation methods. Some brackets may have additional features, such as locking mechanisms or adjustable arms, which need to be properly set up.
By attaching the mounting bracket securely and ensuring it is level, you lay a strong foundation for the floating shelf. Taking the time to complete this step accurately will contribute to the overall stability and longevity of your shelf installation.
Step 6: Slide Shelf Onto Bracket
Now that the mounting bracket is securely attached to the wall, it’s time to slide the floating shelf onto the bracket. This step requires careful handling to ensure a proper fit and alignment. Follow these steps to slide the shelf onto the bracket:
- Hold the floating shelf with both hands, positioning it above the mounting bracket.
- Align the holes or slots on the back of the shelf with the corresponding tabs or hooks on the bracket.
- Slowly and carefully slide the shelf down onto the bracket, making sure all tabs or hooks are securely in place.
- Double-check that the shelf is level and properly seated on the bracket, ensuring that it is not leaning or tilting.
It’s crucial to handle the shelf with care during this step to prevent any damage or misalignment. Take your time to ensure that the shelf slides onto the bracket smoothly and without any forceful movements.
Additionally, make sure that the weight of the shelf is distributed evenly on the bracket. If the bracket has multiple tabs or hooks, ensure that the shelf is resting securely on all of them.
By sliding the shelf onto the bracket correctly, you’ll achieve a seamless and sturdy installation, creating a visually appealing floating effect.
Step 7: Secure Shelf
Once the floating shelf is in place on the mounting bracket, it’s important to secure it properly to ensure its stability and prevent any accidents. Follow these steps to securely fasten the shelf:
- Locate the screws or fasteners provided with the floating shelf. These are typically included to secure the shelf to the bracket.
- Using a screwdriver or drill, carefully insert the screws through the designated holes on the top of the shelf and into the bracket.
- Tighten the screws securely, making sure that the shelf is firmly attached to the bracket. Be cautious not to overtighten and damage the shelf or the bracket.
- If your floating shelf has additional security features, such as back brackets or locking mechanisms, follow the manufacturer’s instructions to properly secure them.
Securing the shelf is an important step in ensuring its stability and preventing it from accidentally coming off the bracket. The screws or fasteners provided with the shelf are specifically designed to provide the necessary support.
Remember to always use the proper tools and techniques according to the manufacturer’s instructions. By securing the shelf correctly, you will create a safe and reliable storage solution for your belongings.
Step 8: Test Stability
After securing the floating shelf, it’s essential to test its stability to ensure that it can safely hold the intended weight and withstand regular use. Follow these steps to check the shelf’s stability:
- Gently push and pull on the shelf to assess if it wobbles or feels loose. Apply a slight amount of pressure to different areas of the shelf to check for any noticeable movement.
- Place some lightweight items on the shelf to see how it handles the weight. Gradually increase the weight by adding more items, ensuring that the shelf remains stable and level.
- Observe the shelf for any signs of sagging or bending under the weight. If you notice any concerns, it may be necessary to redistribute the weight or reinforce the shelf.
- Repeat the stability testing periodically, especially if you plan to place heavier items on the shelf or if there are any changes in the shelf’s usage or environment.
By testing the stability of the shelf, you can address any potential issues before they become problematic. This step ensures that the shelf is secure and capable of supporting the desired load without compromising its structural integrity.
If you discover any instability or concerns during the testing process, it’s important to take the necessary steps to rectify the situation. This may involve reinforcing the mounting bracket, adjusting the placement of the shelf, or seeking professional assistance if needed.
Remember, ensuring the stability of the floating shelf is essential to maintain a safe and functional storage solution for your belongings.
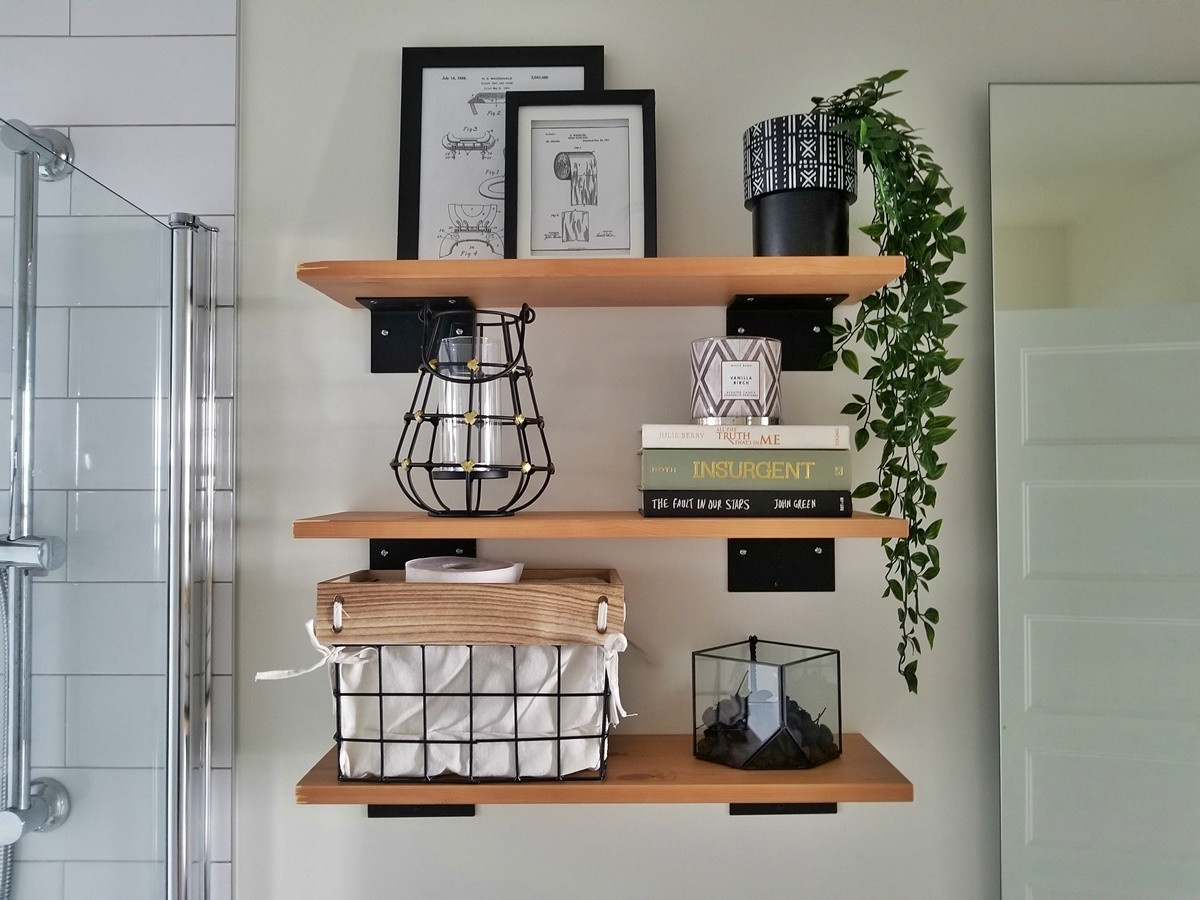
Step 9: Arrange and Style Shelf
Once you’ve successfully hung and secured the floating shelf, it’s time to unleash your creativity and arrange it to suit your aesthetic preferences. Follow these steps to arrange and style the shelf:
- Clean the shelf and remove any dust or debris that may have accumulated during the installation process. This will provide a clean surface for your display items.
- Consider the overall theme or style you want to achieve. Whether you prefer a minimalist look, a rustic vibe, or a glam aesthetic, select items that complement the design of your space.
- Arrange the items on the shelf, considering their size, shape, and color. Experiment with different configurations until you achieve a visually pleasing arrangement.
- Balance the display by varying the heights and sizes of the items. Use books, plants, decorative objects, or framed photos to create visual interest and a sense of harmony.
- Keep functionality in mind. Arrange items in a way that makes them easily accessible and functional for their intended purpose.
- Consider using decorative accents such as small baskets, trays, or vases to add texture and interest to the display.
- Step back and assess the overall look. Make any necessary adjustments or tweaks to ensure that the arrangement is visually appealing and reflects your personal style.
Arranging and styling the floating shelf allows you to showcase your personal taste and add a touch of personality to your space. Be creative and have fun with the process. Remember, you can always change and rearrange the items as you desire, allowing you to refresh the look of the shelf whenever inspiration strikes.
By arranging and styling the shelf, you transform it from a simple storage solution to a visually captivating focal point in your room, adding both functionality and aesthetics to your living space.