
Choosing the Right Finishing Method for Your Rug
When it comes to finishing your rug, there are several methods available that can give your creation a polished and professional look. The right finishing method will depend on your personal preference, the style of your rug, and the materials you have used. Here, we will explore three common finishing options: binding the edges, fringing the edges, and serging the edges.
Option 1: Binding the Edges
Binding is a popular method for finishing rugs and involves sewing a strip of fabric, usually made of cotton or canvas, around the edges of the rug. This not only gives the rug a clean and neat finish but also reinforces the edges, preventing them from fraying over time. Binding works well for rugs made of sturdy materials like wool or jute.
Option 2: Fringing the Edges
Fringing the edges of a rug can add a decorative touch and give it a traditional or bohemian look. This method involves unraveling the warp or weft threads at the edges to create a fringe. Fringing works best for rugs made of natural fibers like cotton or silk and can be done by hand or with the help of a fringe-making device.
Option 3: Serging the Edges
Serging is a technique that involves wrapping the edges of the rug with a tightly woven thread, usually made of polyester or nylon. This method provides a durable and professional-looking finish. Serging is ideal for rugs made of synthetic fibers like nylon or polyester and is commonly done with the help of a serging machine.
Before choosing a finishing method, consider the style and purpose of your rug. If you’re making a rug for high-traffic areas like hallways or entryways, binding or serging may be the better options as they offer more durability. Fringing works well for decorative rugs or those with a more rustic appeal.
Also, think about the overall aesthetic of your rug. Binding and serging can give your rug a tailored and modern look, while fringing adds a touch of elegance or playfulness, depending on the style.
Remember to take into consideration your skill level and the tools you have available. Binding and serging may require sewing machines or special equipment, while fringing can be done by hand.
By considering these factors, you can choose the finishing method that best suits your rug, ensuring a beautiful and long-lasting result.
Option 1: Binding the Edges
One popular method for finishing the edges of a rug is binding. Binding involves sewing a strip of fabric, typically made of cotton or canvas, around the edges of the rug. This not only provides a clean and polished look but also helps to reinforce the edges, preventing them from fraying over time.
Binding is a versatile finishing option that works well for rugs made of sturdy materials like wool or jute. It can be done by hand or with the help of a sewing machine, depending on your preference and skill level. Here is a step-by-step guide to binding the edges of your rug:
Step 1: Gather the necessary tools and materials. Before you begin, make sure you have all the supplies you need. This includes fabric binding tape or bias binding, scissors, a ruler or measuring tape, and a sewing machine or needle and thread if you’re doing it by hand.
Step 2: Prepare the rug for binding. Ensure that your rug is clean and free of any loose threads or debris. If necessary, trim the edges of the rug to make them even.
Step 3: Measure and cut the binding tape. Measure the length of each edge of your rug and add a few inches to allow for overlapping and corners. Cut the binding tape to the appropriate lengths.
Step 4: Attach the binding tape to the edges. Starting at one corner of the rug, align the raw edge of the binding tape with the raw edge of the rug’s edge. Pin or clip the tape in place to secure it. Continue attaching the binding tape along each side, adjusting it as needed to ensure a snug fit.
Step 5: Secure the binding tape. Once the binding tape is in place, you can either sew it using a sewing machine or stitch it by hand. If using a sewing machine, sew a straight stitch along the edge of the tape, making sure to catch both the tape and the rug. If hand stitching, use a whip stitch or a decorative stitch to secure the tape and create a finished look.
Step 6: Trim any excess tape or thread. After you have finished sewing the binding tape, carefully trim any excess tape or thread for a clean and neat finish.
Step 7: Final touches and quality check. Give your rug a final inspection to ensure that the binding is securely in place and that there are no loose threads or uneven stitches. Make any necessary adjustments or repairs as needed.
Binding the edges of your rug not only adds a professional touch but also helps to protect and preserve the rug over time. By following these steps and using the appropriate materials, you can achieve a beautifully finished rug that will enhance the overall look and durability of your creation.
Option 2: Fringing the Edges
Another popular method for finishing the edges of a rug is fringing. Fringing involves unraveling the warp or weft threads at the edges of the rug to create a fringe effect. This technique adds a decorative touch and can give your rug a traditional or bohemian look.
Fringing works particularly well for rugs made of natural fibers like cotton or silk. It can be done by hand or with the help of a fringe-making device. If you’re interested in fringing the edges of your rug, here is a step-by-step guide to get you started:
Step 1: Gather the necessary tools and materials. Before you begin, make sure you have all the supplies you need. This includes a pair of sharp scissors, a ruler or measuring tape, and a comb or fringe-making device if desired.
Step 2: Prepare the rug for fringing. Ensure that your rug is clean and free of any loose threads or debris. Trim the edges of the rug to make them even, if necessary.
Step 3: Decide on the desired length of your fringe. Measure and mark the length of your desired fringe along each edge of the rug. This will serve as a guide for unraveling the threads.
Step 4: Unravel the threads. Starting at one end, carefully pull out and unravel the warp or weft threads up to the marked length. Repeat this process along each edge until you have created the desired fringe.
Step 5: Trim the fringe. Once you have unraveled the threads, trim the fringe to ensure a consistent and even length. Use your scissors to carefully cut any uneven or excess strands.
Step 6: Comb or shape the fringe. If desired, use a comb or fringe-making device to comb through the fringe and give it a neat and uniform appearance. This can help to separate and define the individual strands.
Step 7: Final touches and quality check. Give your rug a final inspection to ensure that the fringing is even and secure. Make any necessary adjustments or repairs as needed.
Fringing the edges of your rug can add a unique and eye-catching element to your design. It is a versatile finishing option that works well for rugs with a more rustic or ornamental style. Whether done by hand or with the help of a fringe-making device, fringing can give your rug that extra touch of charm and personality.
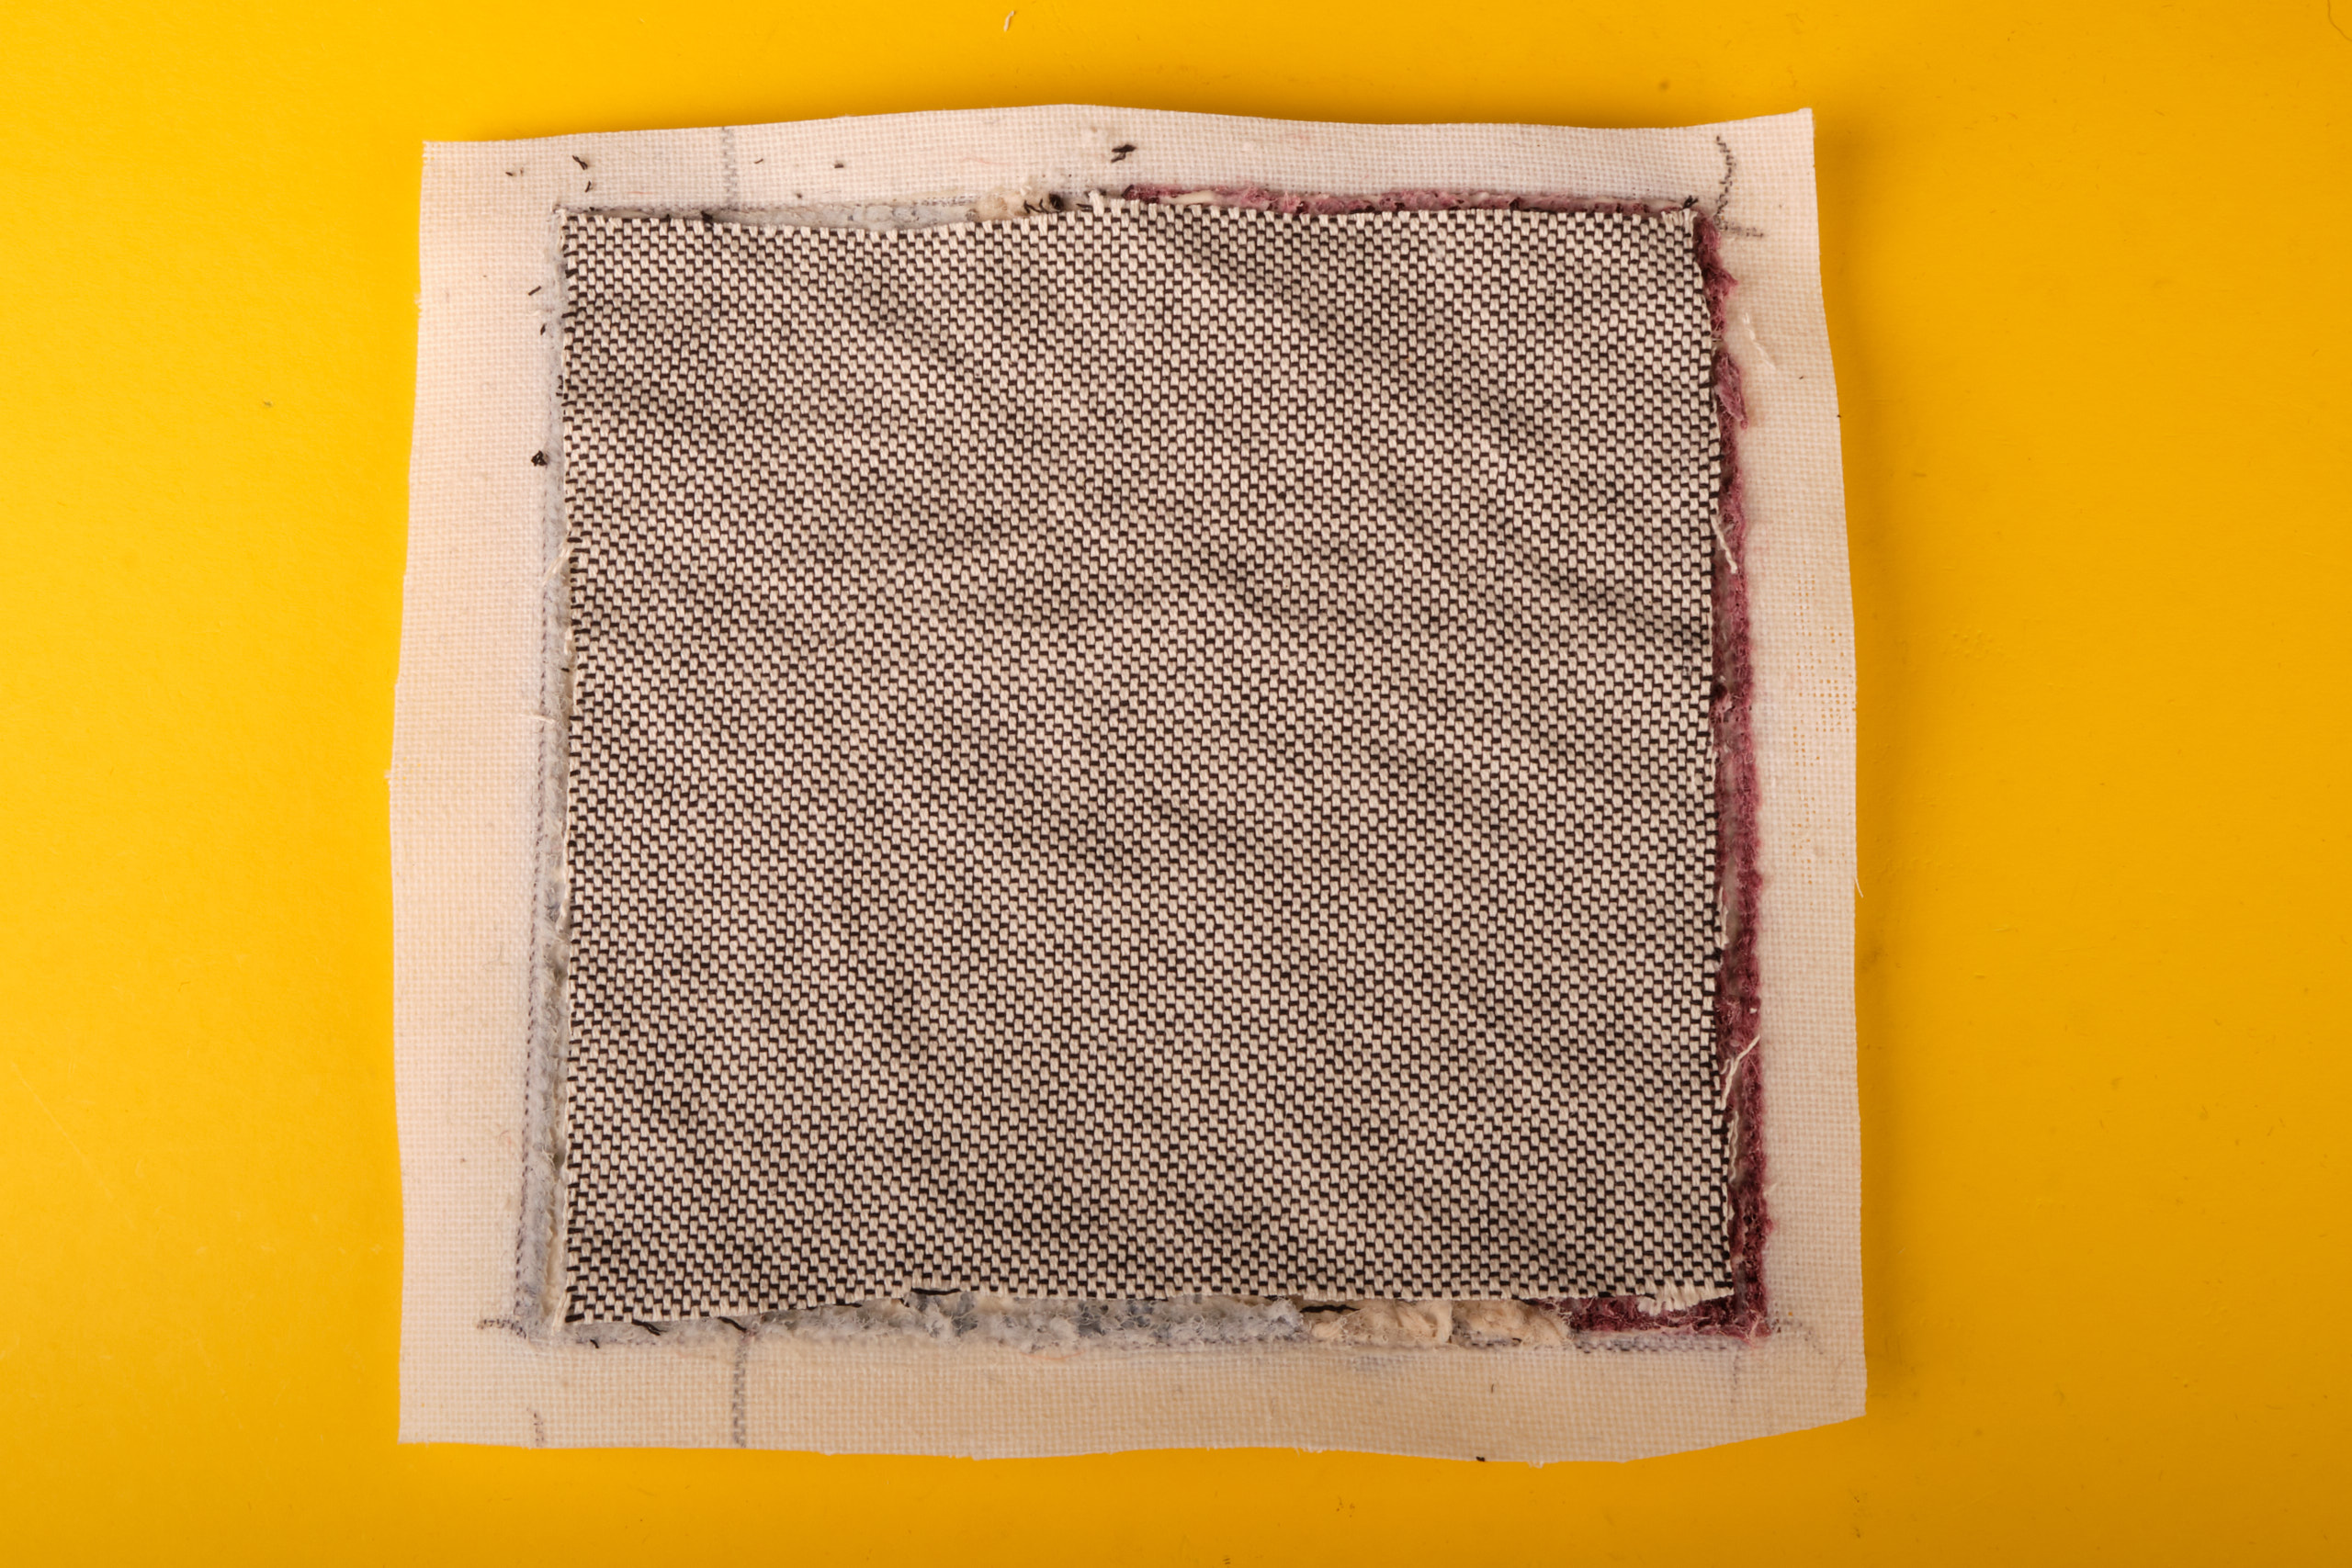
Option 3: Serging the Edges
Serging is a popular method for finishing the edges of a rug that offers a durable and professional-looking finish. This technique involves wrapping the edges of the rug with a tightly woven thread, typically made of polyester or nylon.
Serging works particularly well for rugs made of synthetic fibers like nylon or polyester. It provides a finished edge that helps prevent fraying and adds a touch of sophistication to your rug. If you’re considering serging the edges of your rug, here is a step-by-step guide to help you get started:
Step 1: Gather the necessary tools and materials. Before you begin, make sure you have all the supplies you need. This includes a serging machine or an overlocking sewing machine, serging thread, scissors, and a ruler or measuring tape.
Step 2: Prepare the rug for serging. Clean your rug and ensure that all loose threads or debris are removed. Trim any uneven edges to create a smooth and even surface.
Step 3: Measure and cut the serging thread. Using a ruler or measuring tape, measure the length of each edge of your rug. Add a few inches to allow for overlapping and corners. Cut the serging thread to the appropriate lengths.
Step 4: Serge the edges. Set up your serging machine according to the manufacturer’s instructions. Starting at one corner of the rug, guide the edges of the rug through the serging machine. The machine will sew a tight and durable stitch around the edge, enclosing the raw edges of the rug.
Step 5: Trim any excess thread. After serging the edges, carefully trim any excess thread for a clean and neat finish. Use sharp scissors to ensure a precise cut.
Step 6: Final touches and quality check. Take a moment to inspect your rug and ensure that the serging is secure and even along all edges. Make any necessary adjustments or repairs as needed.
Serging the edges of your rug not only provides a professional-looking finish but also helps to protect and reinforce the edges over time. The tightly woven thread creates a strong barrier against fraying, adding to the longevity of your rug.
By following these steps and using the appropriate tools and materials, you can achieve a beautifully serged edge that enhances the overall appearance of your rug.
Gather the Necessary Tools and Materials
Before you begin the process of finishing your rug, it is essential to gather all the necessary tools and materials. Having everything ready will help ensure a smooth and efficient process. Here is a list of the tools and materials you will need:
1. Finishing Method Supplies: Depending on the finishing method you choose, gather the specific supplies required. For binding the edges, you will need fabric binding tape or bias binding. For fringing the edges, you will need sharp scissors and a fringe-making device or comb. For serging the edges, you will need a serging machine or an overlocking sewing machine, as well as serging thread.
2. Scissors: A good pair of sharp scissors is essential for trimming any loose threads, cutting tape or binding, and creating clean edges.
3. Measuring Tape or Ruler: Accurate measurements are crucial for a well-finished rug. Use a measuring tape or ruler to measure the length and width of your rug, as well as the distance for cutting binding tape or for marking the desired length of fringing.
4. Pins or Clips: These will be useful for securing materials in place before attaching or sewing them to the rug.
5. Sewing Machine or Needle and Thread: If your chosen finishing method requires sewing, make sure you have a sewing machine in good working condition or sufficient needle and thread for hand sewing.
6. Cleaning Supplies: Ensure your rug is clean and free from any dirt or debris before beginning the finishing process. This may include a vacuum cleaner, mild detergent, and a soft brush or cloth for spot cleaning.
7. Safety Gear: Depending on the tools you’ll be using, it is essential to prioritize safety. Consider wearing protective gloves or goggles if necessary.
By gathering these tools and materials in advance, you will have everything you need at your fingertips, resulting in a more efficient and enjoyable rug finishing experience. Remember to double-check that you have all the necessary supplies before starting to avoid any unnecessary interruptions or delays.
Preparing the Rug for Finishing
Before you can begin the process of finishing your rug, it is crucial to properly prepare the rug’s surface. Taking the time to clean and assess the condition of the rug will ensure optimal results for your chosen finishing method. Here are the steps to prepare your rug for finishing:
1. Cleaning: Start by thoroughly cleaning your rug. If it is a new rug, make sure to remove any loose fibers or debris accumulated during the manufacturing process. For older rugs, gently vacuum or shake off any dirt or dust particles. You can also spot clean any visible stains or spills using a mild detergent and a soft brush or cloth.
2. Inspecting for Damage: Carefully examine the rug for any signs of damage or wear. Look for loose threads, frayed edges, or weak areas that may require repair before proceeding with the finishing process. If you come across any issues, take the time to address them to ensure the longevity of your rug.
3. Trimming Uneven Edges: Use a pair of sharp scissors to trim any uneven or jagged edges of the rug. This will create a clean and uniform canvas for the finishing method of your choice. Take care not to cut into the body of the rug while trimming, as this could lead to unraveling or further damage.
4. Checking the Rug’s Tension: Lay the rug flat on the ground and observe its tension. If the rug appears to be stretched or distorted, gently tug at the corners or edges to straighten it out. Avoid pulling too forcefully, as this could cause the rug to warp. Ensuring that the rug lies flat and even will help achieve a smooth and professional-looking finish.
5. Allowing the Rug to Settle: If you have recently purchased or unrolled your rug, it may have retained a curved shape from being rolled up. To allow the rug to settle in its natural form, let it lie flat for a few days before beginning the finishing process. This will help avoid any distortions or wrinkles that may affect the quality of the finished result.
By following these steps to prepare your rug for finishing, you are setting the stage for a successful and visually pleasing outcome. Taking the time to clean, inspect, and trim your rug will ensure that you have a solid foundation to work with, enabling you to achieve a professional and long-lasting finish.
Measuring and Cutting the Binding, Fringe, or Serging Tape
Accurate measurement and precise cutting are crucial when it comes to applying the binding, fringe, or serging tape to the edges of your rug. Taking the time to measure properly and cut the materials to the correct lengths will ensure a neat and professional finish. Here are the steps to measure and cut the binding, fringe, or serging tape:
1. Determine the Length: Start by measuring the length of each edge of your rug using a measuring tape or ruler. Add a few inches to the measured length to allow for overlapping and corners. This additional length will ensure that you have enough material to securely attach the binding, fringe, or serging tape to the rug.
2. Mark the Measurements: Using a pencil or tailor’s chalk, mark the measured lengths on the binding, fringe, or serging tape. These markings will serve as a guide when cutting the materials to the appropriate sizes.
3. Cut the Materials: With the measurements marked, carefully cut the binding, fringe, or serging tape along the marked lines. Use sharp scissors or a rotary cutter for clean and precise cuts. Take your time and ensure that the edges are even and straight.
4. Handling Corners: If your rug has corners, you will need to handle them differently depending on the finishing method. For binding, make diagonal cuts at the corners of the tape to create neat, mitered corners. For fringing, ensure that the fringe is evenly distributed around the corners. For serging, follow the instructions of your serging machine to smoothly navigate the corners.
5. Verify the Length: Before attaching the binding, fringe, or serging tape to your rug, double-check the lengths to make sure they match the corresponding edges of your rug. Making sure the measurements are accurate at this stage will help prevent any issues when securing the materials to the rug.
6. Revisit and Adjust: If any mistakes or inaccuracies are discovered after cutting the materials, make adjustments as needed. It is better to take the time to correct any errors now rather than working with ill-fitting materials later in the finishing process.
By carefully measuring and cutting the binding, fringe, or serging tape, you are setting the foundation for a precise and professional-looking finish. Taking the extra time and care during this step will ensure that the materials fit and align properly with the edges of your rug, resulting in a beautiful end result.
Attaching the Binding, Fringe, or Serging Tape to the Edges of the Rug
Once you have measured and cut the binding, fringe, or serging tape to the appropriate lengths, the next step is to attach it securely to the edges of your rug. Proper attachment is essential to ensure a neat and durable finish. Follow these steps to attach the binding, fringe, or serging tape to your rug:
1. Positioning: Start at one corner of the rug and align the raw edge of the binding, fringe, or serging tape with the raw edge of the rug’s edge. Make sure the material is positioned evenly and covers the entire edge of the rug.
2. Securing: To hold the material in place, you can use pins or clips. Pin the binding, fringe, or serging tape to the rug at regular intervals. This will prevent it from shifting or becoming misaligned during the attachment process.
3. Upholstery or Glue: Depending on your chosen finishing method, you can secure the binding, fringe, or serging tape to the rug in different ways. If you are using binding, you can use an upholstery needle and thread to sew it in place, following a straight stitch close to the edge. Alternatively, you can use fabric glue that is specifically designed for binding. For fringing, you can hand stitch or glue it to the rug, or you can use a fringe-making machine for a quicker and more uniform result. When it comes to serging tape, a serging machine or an overlocking sewing machine is usually used to sew it securely in place.
4. Maintaining Tension: As you attach the material, make sure to maintain tension along the edge of the rug. This will help prevent any puckering or looseness in the finished result. Smooth out the material as you move along the edge to ensure a clean and even appearance.
5. Handling Corners: When you reach a corner, adjust the binding, fringe, or serging tape to create a neat corner finish. For binding, fold the material at a 45-degree angle to create diagonal corners. For fringing, make sure that the fringes are evenly distributed around the corner and adjust them as needed. For serging, follow your machine’s instructions to maneuver the corners smoothly.
6. Removing Pins or Clips: Once the binding, fringe, or serging tape is securely attached along all edges of the rug, remove any pins or clips that were used to hold it in place. This will ensure a clean and finished look.
By carefully attaching the binding, fringe, or serging tape to the edges of your rug, you are taking the final step towards achieving the desired finish. Taking the time to secure the materials properly will result in a professionally finished rug that is both visually appealing and durable.
Securing the Edges with Sewing or Glue
Securing the edges of your rug is an important step in the finishing process. Whether you are using binding, fringe, or serging tape, properly securing these materials will ensure a neat and durable result. There are two common methods for securing the edges: sewing and glue. Here is a guide on how to secure the edges of your rug using these methods:
1. Sewing: Sewing is a traditional method for securing the edges of a rug. It provides a strong and long-lasting hold. If you have chosen binding or fringe as your finishing method, sewing is often the preferred option. Here’s how to secure the edges with sewing:
– For binding: Using an upholstery needle and thread, sew a straight stitch close to the edge of the binding. Make sure to catch both the binding and the rug fabric with each stitch. Continue sewing along the entire length of the binding, adjusting the tension as needed.
– For fringe: Hand stitching or using a sewing machine, sew the fringed edges of the rug to the rug fabric. Make sure to secure the fringe firmly, so it does not come loose over time. Stitch along the entire length of the fringed edges, paying attention to maintain even tension.
2. Glue: Glue is an alternative method for securing the edges of your rug, particularly if you are using binding or fringe. It provides a quick and convenient solution. Before using glue, ensure that it is specifically designed for fabric and is suitable for your chosen finishing materials. Here’s how to secure the edges with glue:
– For binding: Apply the fabric glue evenly along the edge of the rug, ensuring full coverage. Press the binding firmly onto the glued surface, using your fingers to smooth out any wrinkles or bubbles. Allow the glue to dry according to the manufacturer’s instructions.
– For fringe: Apply a thin line of fabric glue to the fringed edges of the rug. Press the fringed edges firmly onto the glued surface, making sure that the fringes are evenly distributed. Hold them in place until the glue sets.
Note: It is important to follow the manufacturer’s instructions for both sewing and gluing methods. Additionally, ensure that any excess glue is wiped away immediately to avoid leaving residue on your rug.
Whether you choose to sew or use glue, securing the edges of your rug is a critical step in achieving a polished and professional finish. Both methods have their advantages, so choose the one that best suits your skills, materials, and preferences.
Trimming Excess Tape or Thread
After attaching the binding, fringe, or serging tape to the edges of your rug, the next step is to trim any excess tape or thread for a clean and finished look. Trimming ensures that the edges are neat and free from any loose or protruding materials. Follow these steps to trim excess tape or thread:
1. Take a Close Look: Carefully examine the edges of your rug once the binding, fringe, or serging tape is attached. Look for any areas where there is excess tape or thread sticking out. These could be at the corners, along the edges, or where the finishing materials overlap.
2. Use Sharp Scissors: Use a pair of sharp scissors to trim the excess tape or thread. Sharp scissors will allow you to make precise cuts and avoid any fraying or damage to the rug fabric.
3. Trim Gradually: Start by trimming a small amount of tape or thread at a time. It is better to err on the side of caution and avoid cutting too much at once. Gradual trimming ensures that you have better control and can achieve the desired length without any mistakes.
4. Maintain an Even Edge: As you trim, aim to create a smooth and even edge along the entire length of the rug. This will provide a polished finish and prevent any unevenness or gaps in the finished result.
5. Be Mindful of Corners: Pay special attention to the corners of your rug. Trim the excess tape or thread in a way that creates clean and mitered corners for binding, evenly distributed fringes for fringing, or properly aligned serging for serging tape.
6. Check for Loose Ends: After trimming, check for any loose ends or threads that may have been missed. Trim these as well to ensure a tidy and professional finish.
7. Properly Dispose of Trimmings: Dispose of the excess tape or thread in a responsible manner, such as putting them in a trash bag or container. This helps keep your workspace clean and organized.
Trimming excess tape or thread is an important step in the finishing process, as it gives your rug a polished and refined appearance. By following these trimming techniques, you can ensure that your rug’s edges are clean, even, and free from any unnecessary materials. Take your time and make precise cuts to achieve the desired result.
Final Touches and Quality Check
After completing the main steps of finishing your rug, it’s important to give it some final touches and perform a quality check to ensure a professional and polished outcome. These final steps will add those extra details that make your rug stand out. Here’s what you need to do:
1. Inspect the Edges: Thoroughly examine the edges of your rug, checking for any loose threads, uneven stitches, or areas that may need extra reinforcement. If you find any issues, take the time to make any necessary repairs or adjustments to ensure a neat and secure finish.
2. Smooth Out the Edges: Run your fingers along the edges of the rug to make sure they are smooth and free from wrinkles or bumps. If you encounter any irregularities, flatten them out gently or use a smooth, flat object like a ruler to press down on the edges to make them even.
3. Check for Any Untrimmed Threads: Look closely for any stray or untrimmed threads that may have been missed during the trimming process. Carefully snip these threads to maintain a clean and professional appearance.
4. Double-Check the Corners: Pay special attention to the corners of your rug, ensuring that they are exactly how you want them to look. Adjust the binding, fringe, or serging if necessary to achieve clean and mitered corners for binding, evenly distributed fringes for fringing, or properly aligned serging for serging tape.
5. Evaluate the Overall Appearance: Step back and assess the overall appearance of your finished rug. Consider if there are any final touches or adjustments that would enhance its visual appeal. This might include making sure the design or pattern is aligned correctly or adjusting any decorative elements.
6. Test the Durability: Give the edges of your rug a gentle tug to check the durability and strength of the finishing. Ensure that the binding, fringe, or serging tape is securely attached and can withstand regular wear and tear.
7. Clean and Package: If needed, give your finished rug a final cleaning to remove any dust or debris that may have accumulated during the finishing process. Consider wrapping or packaging the rug to protect it until it’s ready to be used or displayed.
By performing these final touches and conducting a thorough quality check, you can be confident in the professional finish of your rug. Taking the time to attend to these details ensures that your rug not only looks visually appealing but also stands up to the test of time.
Tips and Tricks for a Professional Finish
Achieving a professional finish for your rug requires attention to detail and careful execution. Here are some tips and tricks to enhance the overall quality and appearance of your finished rug:
1. Plan and Practice: Before starting the finishing process, take some time to plan and visualize the desired outcome. Consider practicing on a small sample or scrap material to familiarize yourself with the chosen finishing method and perfect your technique.
2. Use High-Quality Materials: Invest in high-quality binding, fringe, or serging tape that is suitable for your rug’s material and style. Quality materials will enhance the durability and overall look of the finished result.
3. Take Accurate Measurements: Ensure accurate measurements of your rug’s edges to determine the correct length of binding, fringe, or serging tape needed. Taking precise measurements will help avoid material wastage and achieve a clean and snug fit.
4. Secure Materials Before Attaching: Use pins or clips to secure the binding, fringe, or serging tape in place before attaching it to the rug. This will prevent shifting or misalignment during the attachment process.
5. Consider Hand-Stitching: Hand-stitching certain finishing methods, such as binding or fringing, can provide more control and a more customized finish. Take the time to hand-stitch if you are comfortable with this technique.
6. Test the Sewing Machine Settings: If using a sewing machine, test the tension and stitch length on a scrap piece of material that is similar to your rug fabric. Adjust the settings as needed to achieve a balanced and secure stitch.
7. Take Breaks and Step Back: Give yourself breaks during the finishing process to rest your eyes and maintain focus. Remember to step back regularly and assess your progress from a distance to ensure overall symmetry and alignment.
8. Pay Attention to Detail: Take extra care when handling corners, ensuring a neat and professional look. Smooth out any wrinkles or bumps along the edges and trim any loose threads meticulously.
9. Don’t Rush the Finishing: The finishing process is the final touch that brings your rug together. Take your time and work carefully to ensure each step is done correctly. Rushing can lead to mistakes or a less polished finish.
10. Seek Inspiration: Look for inspiration from finished rug projects or tutorials to gather ideas for your own finishing techniques. This can help you explore different options and achieve a unique and professional look.
Remember, practice makes perfect when it comes to finishing rugs. Don’t be afraid to experiment and refine your techniques to achieve the best possible result. With these tips and tricks in mind, you can elevate your rug finishing skills and create beautifully finished pieces that you can be proud of.