
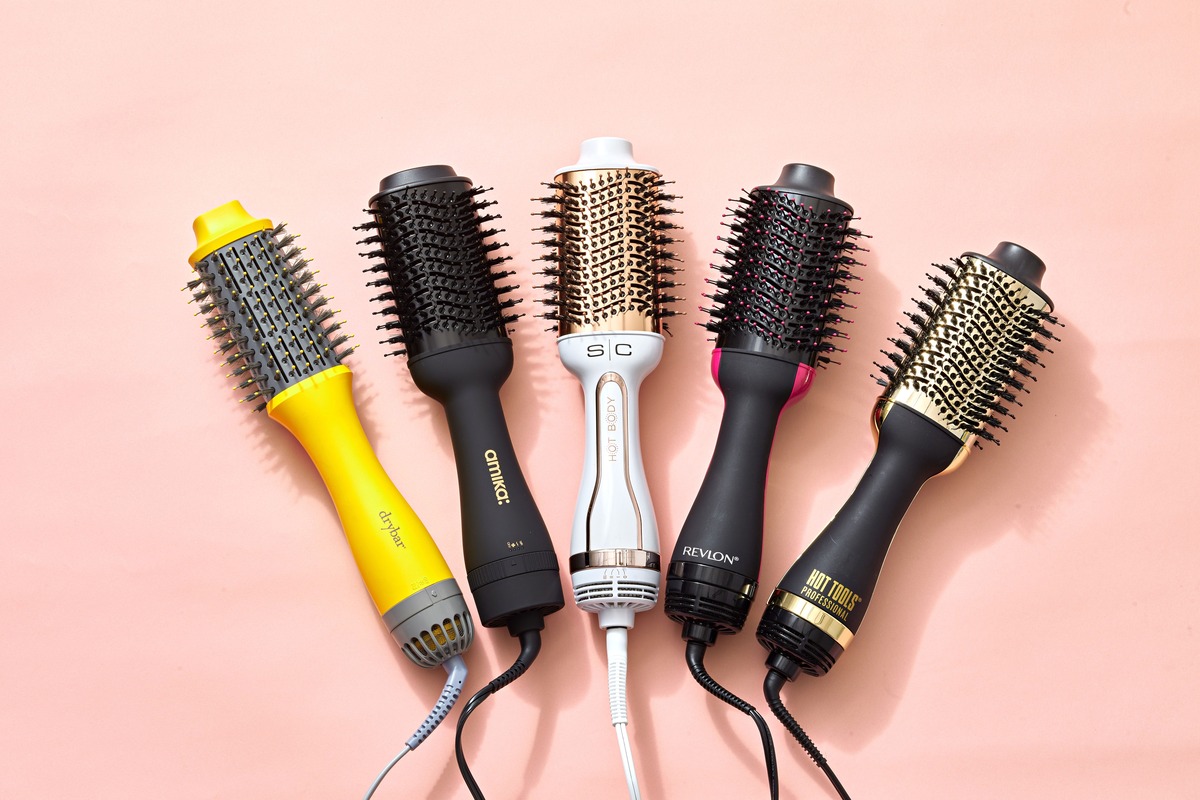
Why Cleaning Your Heated Brush is Important
Keeping your heated brush clean is essential for both its longevity and your hair’s health. Over time, hair products, oils, and residue can build up on the bristles and surface of the brush, diminishing its performance and potentially damaging your hair.
Here are a few key reasons why regular cleaning is crucial:
- Prolongs the lifespan of your brush: By regularly removing dirt, debris, and product buildup, you prevent these particles from accumulating and impacting the brush’s functionality. This ensures that your heated brush remains in optimal condition for longer periods.
- Prevents hair damage: When the bristles of your heated brush are clogged with residue, they can snag and pull at your hair, causing breakage and damage. By keeping the brush clean, you reduce the risk of tangles and minimize hair breakage, resulting in healthier, shinier locks.
- Allows for better heat distribution: When a heated brush is caked with excess product or debris, it can hinder the even distribution of heat. This can lead to hot spots on the brush, causing uneven styling and potentially burning your hair. Regular cleaning ensures that heat is evenly distributed, providing consistent results and reducing the risk of damage.
- Maintains hygiene: Hairbrushes can harbor bacteria and fungi, which can transfer to your scalp and hair. Cleaning your heated brush regularly helps maintain proper hygiene, reducing the likelihood of scalp and hair issues caused by these microorganisms.
- Improves styling results: A clean heated brush allows for smoother glides through your hair, ensuring better control and improved styling results. By removing product buildup and debris, your heated brush will be more effective in straightening, adding volume, or creating curls.
By incorporating regular cleaning and maintenance into your hair care routine, you can enjoy the benefits of a clean, well-functioning heated brush while protecting the health and vitality of your hair.
What You’ll Need
Before you begin cleaning your heated brush, gather the necessary items to ensure an effective and thorough cleaning process. Here’s what you’ll need:
- Mild shampoo or gentle cleanser: Look for a shampoo or cleanser that is suitable for your hair type. Avoid using harsh chemicals or abrasive cleaners that could damage the brush.
- Warm water: Prepare a bowl or sink with warm water to use for rinsing and soaking the brush.
- Clean cloth or towel: Have a clean cloth or towel on hand to wipe down the bristles and surface of the brush.
- Toothpick or small brush: A toothpick or small brush can be useful for removing stubborn hair or debris from between the bristles.
- Optional: Vinegar or baking soda: If your heated brush has tough buildup or stubborn residue, you may choose to have vinegar or baking soda available for a deeper cleaning.
- Optional: Disinfectant spray: If you prefer an extra level of cleanliness, consider having a disinfectant spray specifically designed for hairbrushes on hand. This can help eliminate bacteria and fungi.
- Drying rack or towel: After cleaning the brush, you’ll need a place to let it air dry. A drying rack or a clean towel can provide a suitable surface for drying.
Having these items prepared and readily available will make the cleaning process more convenient and efficient, ensuring that you can properly care for your heated brush.
Step 1: Unplug the Brush and Let it Cool Down
Before you begin the cleaning process, it’s crucial to unplug your heated brush and allow it to cool down completely. This step is essential for your safety and to prevent any potential damage to the brush.
To ensure a proper cooling period, it’s recommended to let the brush sit for at least 15-30 minutes after use. This allows the heating elements to cool down and lowers the risk of accidental burns during the cleaning process.
It’s important to remember that attempting to clean a hot or still-warm heated brush can be dangerous. The high temperatures can cause burns to your hands or other surfaces, and it may also affect the effectiveness of the cleaning process.
Once you’ve ensured that the heated brush is unplugged and has had sufficient time to cool down, you’re ready to move on to the next steps of the cleaning process.
Properly cooling and unplugging your heated brush is a crucial initial step that ensures your safety and guarantees that the cleaning process can be carried out effectively. By giving the brush enough time to cool down, you pave the way for a successful and safe cleaning experience.
Step 2: Remove Any Hair or Debris
Before you begin cleaning the bristles and surface of your heated brush, it’s important to remove any hair or debris that may have accumulated. Hair, dust, and other particles can get tangled in the bristles, affecting the brush’s performance and cleanliness.
To remove hair and debris from your heated brush, follow these simple steps:
- Use your fingers: Start by using your fingers to gently pull out any loose hair that you can see. Be careful not to yank or pull forcefully to avoid damaging the bristles.
- Use a toothpick or small brush: For stubborn hair or debris that is trapped between the bristles, use a toothpick or a small brush to carefully dislodge it. Gently insert the toothpick or brush between the bristles and move it back and forth to loosen the trapped particles.
- Check the brush base and edges: Don’t forget to inspect the base and edges of the brush as well. Hair and debris can sometimes accumulate in these areas. Use your fingers or a toothpick to remove any buildup that you find.
Removing hair and debris ensures that your heated brush functions at its best and prevents potential damage caused by clogged bristles. It also helps prevent the transfer of dirt and bacteria back onto your hair during styling.
Once you’ve removed all visible hair and debris, you’re ready to move on to the next step, which is cleaning the bristles of your heated brush.
Step 3: Clean the Bristles
Now that you’ve removed any hair or debris from your heated brush, it’s time to clean the bristles thoroughly. Cleaning the bristles not only improves the performance of your brush but also ensures that it remains hygienic for future use.
- Prepare a mixture: Fill a bowl or sink with warm water and add a small amount of mild shampoo or gentle cleanser. Stir the mixture to create a soapy solution.
- Dip the bristles: Gently submerge the bristles of your heated brush into the soapy water. Use your fingers to massage the bristles, ensuring that the soap penetrates between them and removes any dirt or product buildup.
- Soak if necessary: If the bristles are particularly dirty or have stubborn residue, you can leave them soaked in the soapy water for a few minutes to help loosen the buildup.
- Scrub with a toothbrush: For a deeper clean, use a toothbrush or a small brush to scrub the bristles. Focus on areas with noticeable buildup, gently brushing back and forth to remove any stubborn residue.
- Rinse thoroughly: Once you’ve scrubbed the bristles, rinse them under running water to remove any remaining soap or debris. Ensure that no soap residue is left on the bristles, as it can weigh down your hair or cause irritation to your scalp.
- Shake off excess water: Give the brush a gentle shake to remove excess water from the bristles, being careful not to strain or damage them.
- Pat dry with a towel: Use a clean towel to gently pat dry the bristles of your heated brush. Make sure they are completely dry before storing or using the brush again.
Cleaning the bristles of your heated brush regularly is vital for maintaining its performance and ensuring hygienic styling. By following these steps, you can effectively remove dirt, product buildup, and residue from the bristles, leaving them clean and ready for use.
Step 4: Clean the Surface of the Brush
After cleaning the bristles of your heated brush, it’s time to focus on cleaning the surface of the brush itself. This step helps remove any residue, oils, or product buildup that may have accumulated on the exterior.
- Dampen a clean cloth or towel: Start by dampening a clean cloth or towel with warm water. Make sure the cloth is not saturated, as excessive moisture can be damaging to the brush.
- Wipe the surface: Gently wipe the surface of the brush with the damp cloth or towel. Pay attention to the areas where residue and oil are likely to accumulate, such as the back, sides, and handle.
- For stubborn residue: If there are stubborn residue or oils that are not easily wiped away with a damp cloth, you can dampen the cloth with a mild soap solution and continue to gently wipe the surface.
- Focusing on the buttons and settings: Ensure that you clean any buttons, switches, or heat settings on the brush. These areas can also accumulate residue and require attention during the cleaning process.
- Check for hidden debris: Don’t forget to check for any hidden debris or residue that may be lodged in crevices or seams. Use a toothpick or a small brush to carefully remove any buildup in these hard-to-reach areas.
- Wipe dry: After cleaning the surface, use a dry cloth or towel to wipe away any moisture and ensure that the brush is completely dry before storing or using it again.
Cleaning the surface of your heated brush helps maintain its appearance and ensures that no residual oils or products come in contact with your hair during styling. By following these steps, you can effectively remove any buildup and keep the brush’s exterior clean and functional.
Step 5: Clean the Handle
As part of the cleaning process for your heated brush, it’s important to clean the handle. Despite being less exposed to product buildup or hair, the handle can still accumulate oils, residue, or dirt over time.
- Dampen a clean cloth: Begin by dampening a clean cloth with warm water. Ensure that the cloth is not overly wet, as excessive moisture can damage the handle or the internal components of the brush.
- Wipe the handle: Gently wipe the handle of the heated brush using the damp cloth. Pay close attention to any areas with visible grime or residue, such as the spaces between the buttons or the outer edges of the handle.
- For stubborn residue: If there are stubborn residue or oils that are not easily wiped away with a damp cloth, you can try using a mild soap solution. Dampen the cloth with the soapy solution and continue to gently wipe the handle to remove any buildup.
- Clean the buttons and switches: Take extra care to clean any buttons, switches, or other controls on the handle. These areas are more prone to residue or dirt buildup and may require a bit more attention during the cleaning process.
- Remove hidden debris: Look out for any hidden debris that may be trapped around the buttons or in small crevices. Use a toothpick or a small brush to carefully dislodge and remove any buildup in these hard-to-reach areas.
- Wipe dry: Once you have cleaned the handle, use a dry cloth to wipe away any remaining moisture. Ensuring that the handle is completely dry before storing or using the brush again is essential.
By regularly cleaning the handle of your heated brush, you maintain its appearance and prevent the buildup of dirt or residue. Following these steps will help keep the handle clean and functional, ensuring a hygienic and efficient heating experience.
Step 6: Dry the Brush
After cleaning your heated brush, it’s important to allow it to dry thoroughly before storing or using it again. Proper drying prevents the growth of bacteria and ensures the longevity of the brush’s components.
- Shake off excess water: Before drying your heated brush, give it a gentle shake to remove any excess water from the bristles and surface. Be sure not to strain or damage the bristles in the process.
- Pat dry with a towel: Use a clean towel to gently pat dry the bristles and surface of the brush. Take your time to absorb as much moisture as possible, ensuring that the brush is not left dripping wet.
- Air dry: Set the heated brush on a drying rack or a clean towel in a well-ventilated area to air dry completely. Avoid using heat sources such as hairdryers or placing the brush directly under sunlight, as excessive heat can damage the brush’s components.
- Avoid storing until completely dry: It’s crucial to wait until the brush is completely dry before storing it. Storing a damp or wet brush can lead to mold or mildew growth, which can impact the brush’s performance and cleanliness.
- Check for moisture: Before storing the brush, ensure that no moisture remains on the bristles, surface, or handle. Lingering moisture can cause damage over time, so it’s important to be thorough in the drying process.
By allowing your heated brush to dry properly, you prevent the growth of bacteria and ensure its longevity. Taking the time to follow these drying steps will help maintain the functionality and cleanliness of your brush, ready for your next use.
Step 7: Store the Brush Properly
Proper storage of your heated brush is essential for maintaining its condition and prolonging its lifespan. By storing it correctly, you can prevent damage, maintain cleanliness, and ensure that it’s readily available for future use.
- Ensure the brush is completely dry: Before storing your heated brush, ensure that it is thoroughly dry. Moisture left in the brush can lead to mold or damage, so it’s important to double-check for any lingering moisture.
- Keep it in a clean, dry place: Find a clean and dry location to store your heated brush. Avoid storing it in places with high humidity, as this can promote the growth of mold or mildew. Ideally, keep it in a drawer or cabinet away from direct sunlight and excessive heat.
- Protect the bristles: To prevent damage to the bristles, it’s recommended to use a brush guard or cover. This helps maintain the shape and integrity of the bristles, especially during storage or when traveling.
- Avoid tangling: Ensure that the cord is neatly wrapped and secured. Tangled cords can cause damage or strain to the wires, so it’s important to keep them organized to prevent any issues with functionality.
- Keep away from other items: When storing your heated brush, make sure it is kept separate from other hair products or accessories. Contact with styling products or hair sprays can leave residue on the brush and affect its performance.
- Regularly clean and maintain: While storing your heated brush, make it a habit to periodically clean and maintain it. This can include removing any dust or debris that may have accumulated, as well as ensuring that the bristles and surface are kept clean and free from residue.
By following these proper storage guidelines, you can maintain the cleanliness, functionality, and longevity of your heated brush. Taking the time to store it correctly will ensure that it’s always ready for your next styling session.