How to draw anime? You might be surprised to find that it is easier than you think. By understanding basic shapes and using simple techniques, you would be able to draw your favorite anime character with ease.
How to Draw Anime – Choosing a Character
With the popularity of anime consistently on the rise in recent years, you’ll have plenty of characters to choose from. We suggest working with your favorite or one that you are familiar with. Perhaps someone from the Demon Slayer movie? Choosing your favorite means you wouldn’t need many references and you’re bound to enjoy the process more.
In some cases, people choose familiar characters as a way of reworking them. This basically means that you’re learning how to draw them in your own style. Not only is it entertaining, it will also help broaden your imagination further. This is especially important, whether you’re a budding artist or someone who has years of experience!
How to Draw Anime Eyes
Anime eyes are made up of basic shapes and usually follow a pattern, even in different characters. There are two main anime eye styles you can use: round and long. These might differ in appearance, but they still utilize basic shapes.
If there’s one thing you need to keep in mind, it would be paying attention to the details such as your light source. This will help give your drawing’s eyes more life and expression. Watch any anime series and you’ll find many great examples of how light reflected in their eyes can express emotion.
Related: Top 10 KissAnime Alternatives to Watch Anime Online
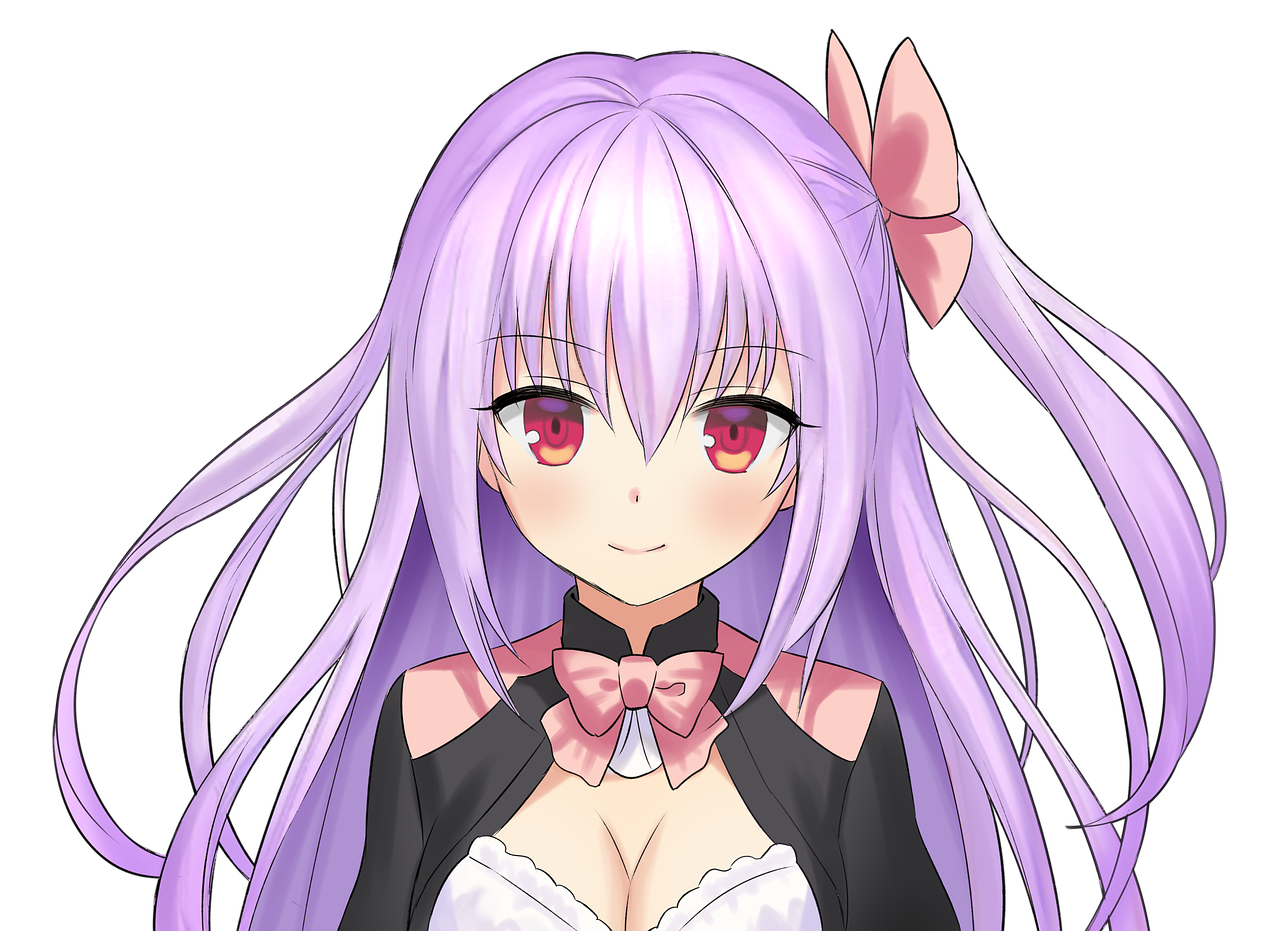
Round or Common Anime Eyes
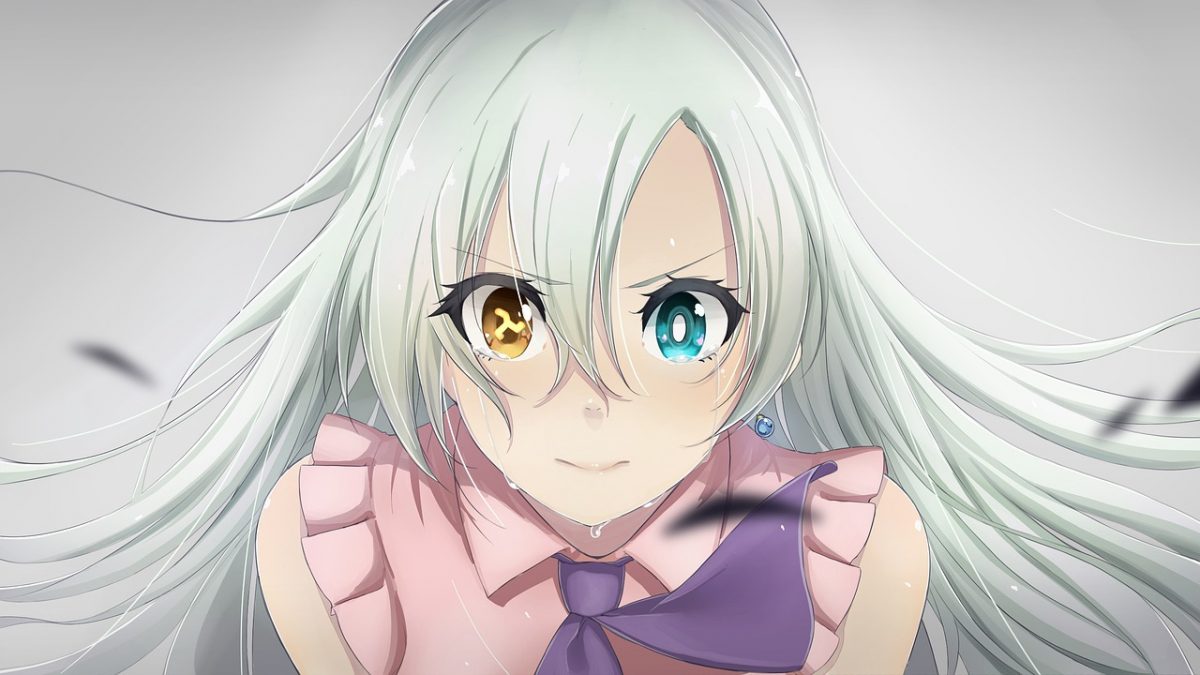
The common anime eye styles are quite round in shape. When drawing these, the pupils are greatly exaggerated when compared to a semi-realistic style.
- Start with a basic round shape.
- Next, add the top eyelid by drawing a curved horizontal line on top of the circle. This should dip quite a bit once you reach each opposite end.
- Add the lower lid, using the same steps as above, but make sure you draw it much shorter.
- An important feature of “common” anime eyes are the eyelashes. These can be drawn sparsely or full, depending on your character. Once you’re happy with everything, clean up your drawing and outline it with bolder strokes to make it stand out.
- Lastly, to add a gentler or kinder appearance to your drawing, don’t forget to add those white spots inside the pupils. Two to three of these should be enough to lend light to your drawing’s eyes.
Adding all the extra details isn’t always necessary. There are anime eyes such as that of Monkey D. Luffy where all you need is a basic round shape and a much smaller one for his pupils. To add expression, you simply change the size of his eye or contort the shape of his brows!
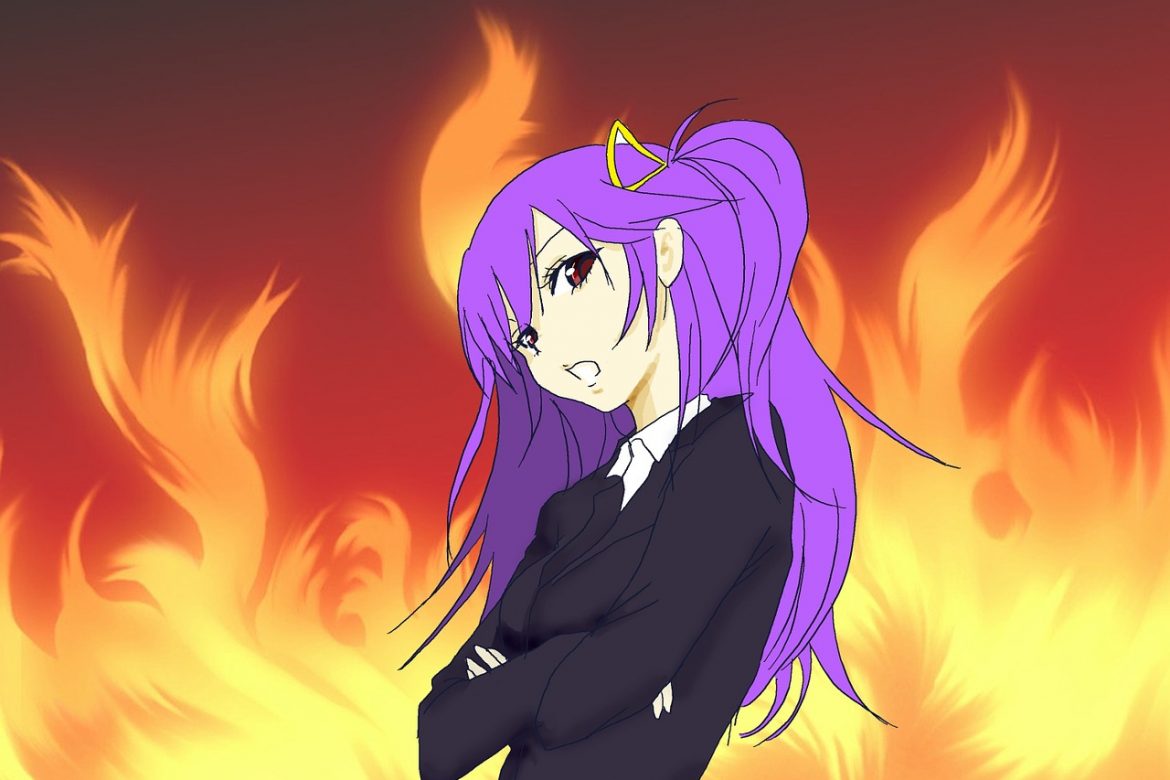
Sharp or Long Anime Eyes
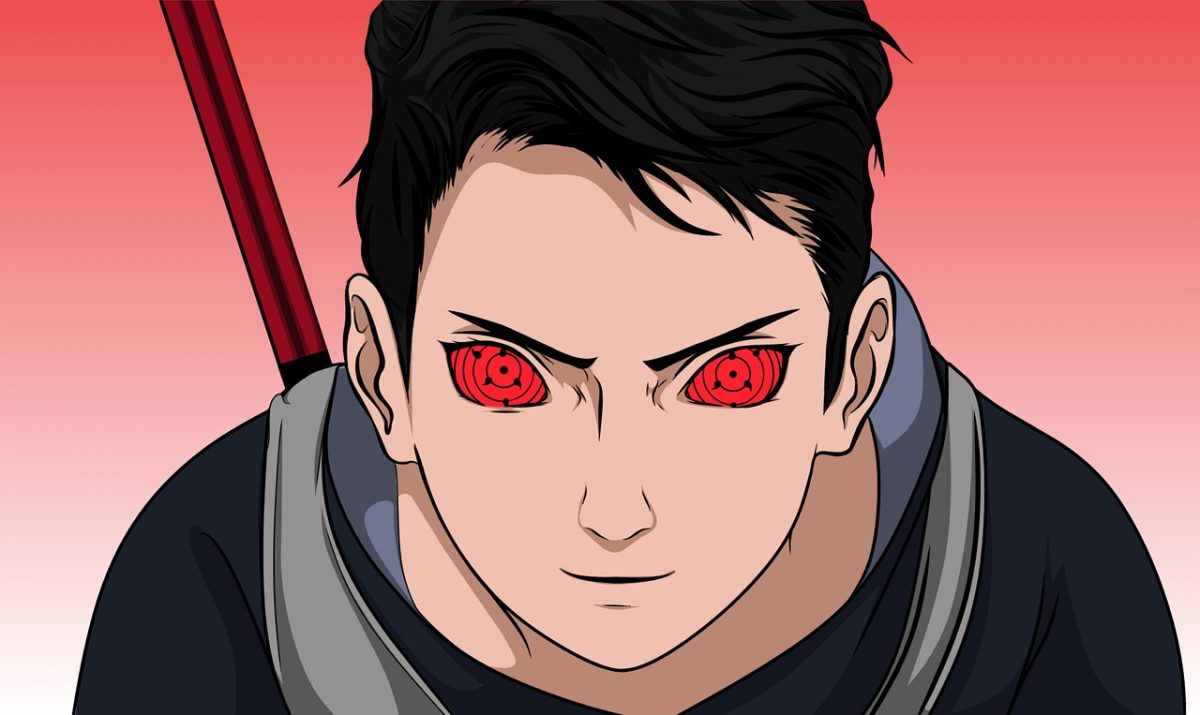
As the name suggests, long anime eyes tend to give off a sharper look. This style is typically used for the “cold” or “unfriendly” anime character. It also lends them an air of mystery, which you can see in Naruto’s Sasuke Uchiha. Here’s how to draw his eyes, including his Mangekyō Sharingan.
- Start by drawing his pupils. Draw four circles in layers, carefully making sure that each is spaced equally.
- Once you’re done, draw a rectangle around it to serve as your guide for drawing the eye-shape.
- Unlike our previous example, this eye-shape has sharper curves similar to a bird’s beak. All of your lines must also be connected as seen in the example.
- After you’ve drawn your eye-shape and you’re happy with it, you can add the rest of the circles, which are supposed to fill in most of Uchiha’s eyes.
- Take your time with this as it should be of equal width apart. Clean up your drawing after and outline it with bolder strokes before coloring it in.
How to Draw Anime Hair
Whether you’re drawing female or male anime hair, there are basic techniques you can use to make it cleaner and lend it some degree of realism. Note that when making anime drawings, this also tends to take the most time, so practice is key here.
- Start by making an outline of the character’s head. A rough sketch will do!
- Once you have that, draw the character’s hairline. Even if it’ll be hidden by a fringe, knowing where their hairline is will allow you to properly balance their hairstyle.
- Next, start sketching out the hairstyle you’ve chosen. For beginners, we suggest choosing an anime character with a simple style and avoid taking on complicated ones until you have mastered the basic shapes.
- One important thing to avoid is making your horizontal line or vertical line too short and too straight. This is because you will end up creating chunky hair strands that aren’t realistic or appealing.
- Like other anime drawings, light and shadow are key to adding texture to your piece. The same goes when you’re learning how to draw hair. Depending on where your light source is, it should create a reflection on the surface of their hair. This video about how to properly shade anime hair from Love2DrawManga to help you better understand the basics of adding a light source to your drawing!
How to Draw Anime Mouths
When learning how to draw anime face, there are two very distinct features you must pay attention to: the eyes and the mouth. This is because these two are where you can fully express the character’s emotions and really make your anime art more dynamic. Much like the eyes, there are also common types of anime mouths you can use. You’ll do better with them if you practice doing basic shapes and other easy drawings first!
Related: Easy Drawings Guide – Simple Pictures Anyone Can Recreate
Basic Anime Mouth
A basic anime mouth pertains to styles that don’t require much detail. It often employs the use of a curved horizontal line to create the basic mouth shape.
- Start by marking the mouth’s placement on the anime face. Do this by sketching the rough shape of their head and adding a cross in the middle. Depending on the anime character you’re sketching, place the marker accordingly.
- Size matters. It is important to make sure that the mouth you’re drawing is in good balance with the rest of the details you will be adding.
- A good tip to remember here is to mark the different placements for your drawing’s eyes, nose, and mouth.
- When drawing basic anime mouths, remember that the lines don’t always have to connect. It depends upon the character you’re copying or if you’re a bit more freehanded, you can style it in the way you want to.
- Light and shadow aren’t always a necessity to make this style expressive. A good example can be seen in drawings of Naruto Uzumaki. Whether he’s smirking or showing off a toothy grin, the basic anime mouth works because it is often exaggerated in size and shape!
Semi-Realistic Anime Mouths
So, what does semi-realistic in this context mean? Basically, these are anime drawings that require a bit more details. There is more fullness and shape, which also adds dimension to your anime pictures. This style is usually reserved for female anime characters, but can also be used for male ones. It all depends on the anime art you’re copying.
- To begin, study the character’s expression and the structure of their lips. Some might have more prominent upper lips, while others are more symmetrical in shape.
- Once you have the basic shapes down, draw the inner shape of the lips. It can get a little tricky here, so take your time with it! This will vary in shape according to the expression the character is making; whether they’re more of a neutral curved horizontal or round like a pout.
- If the character’s mouth is closed, a simple horizontal or wavy shape should suffice.
- To add “realism” you will need to employ the light source technique. This means adding a patch or hint of white on your character’s lips, depending on where the light is coming from. You can add this after you’ve filled in the shape so you can see how it looks and change it as needed.
- Our tip is to study your own lips in the mirror to get the curves and angles right. You can also opt to visit anime websites for more reference pictures. The more familiar you are with how semi-realistic lips and mouths look, the better you will be at putting it to paper.
How to Draw Anime Head
Did you know that how an anime character’s head is shaped can change a lot about their appearance? There are sharp anime faces as seen on Attack on Titan’s Eren Yeager, which also places emphasis on his gaunt physique.
Then you also have very angular anime faces, which are most prominent in muscular characters like Dragon Ball’s Goku. You also have rounder faces that are often seen in children, such as those in Studio Ghibli animations.
- To begin, mapping out the face makes things easier. Draw a circle on your paper then sketch a vertical line through its middle. Next, find the middle of your circle and draw a horizontal line across it.
- There’s no real ratio to follow here as you can adjust things according to your need. Just make sure you mark the placements for your characters’ eyes, nose, and lips before continuing.
- Once you have the placements done, you can begin sketching the outline for your character’s jaw. How to draw anime jaw shapes? Begin on either side of your circle, right at its widest point. Slowly take your line downward and angled toward where the center line is.
- Repeat the same on either side until the two lines meet. Now, how thin, pointed, or curved the jawline is depends on you. Try practicing different widths and different shapes to better see how each would look on paper.
- Remember to sketch out each line slowly so you have more control over its shape. Once you have the jaw drawn, don’t forget to add ears for your anime character. Its lower tip should end close to where the jaw begins.
- Once you’re done adding all the details, make sure you erase your guide lines and clean up any rough sketches you’ve made as well.
How to Draw Anime Body
For beginners, we will stick to the basics first. This means drawing from the neck to the chest area, so you can learn how to draw anime portraits. If you are looking to recreate full drawings, you must first study different anime poses and the anatomy of the character you’re referencing. It requires advanced techniques, however.
- Continuing from your drawing of an anime head, start by drawing the shoulders. Anime necks are more slender compared to real ones, but draw the appropriate thickness for the character you have chosen. Again, use rough sketches here so you can get the right shape you want.
- Once you reach the end of your neck drawing, continue with a slightly curved horizontal line, which represents the shoulders. Now, different anime characters also vary in shoulder shape. There are broad, round, slender, and muscular ones. Avoid drawing a straight line to make it a bit more realistic.
- From there, you can add clothing pieces or simply draw in basic anatomy details such as collarbones and neck muscles. Should you add clothing pieces such as kimonos, honing your flower drawing skills will come in handy.
- Collar bones are just two curved horizontal lines going from the middle of the shoulder all the way to its tip. Of course, you can make it as long or short as you need it to be. Male anime characters tend to have theirs more prominent so do keep that in mind.
- Neck muscles also tend to be wider for males and less prominent for female anime characters. You can also add a small upside down C-shape for their Adam’s apple, though this isn’t always necessary.
Much like learning how to draw anime hands, details can make or break any drawing. Aside from getting the balance right, do pay more attention to the shadows, the curves, and creases that your favorite anime character has when it comes to their body.
How to Draw Anime – Digital Art vs. Traditional Art Materials
Many artists would tell you that choosing between digital art and traditional art really depends upon your preferences. Some people choose to learn using traditional methods more, playing with art materials such as pencils, charcoals, and watercolor to create their anime drawings.
If you want to learn how to draw manga, traditional art might be a good start. This is because most manga studios and even animation companies still employ these techniques. The downside, however, is that it can get pretty expensive since you’ll need to replenish your materials from time to time.
If you’d rather go with something more convenient, digital might be more your thing. You can learn how to draw anime using different mediums and materials without needing to buy each one separately. There are also many free digital art apps, including:
Paid Options:
- Clip Studio Paint – iOS and Android
Learning How to Draw Anime Takes Practice
As with any new skill you’re trying to develop, you will need time and patience for learning how to draw manga or anime. Whether it be your favorite anime character or an original character, use the techniques we’ve provided as much as you can. You might end up surprised at how much you can progress with daily practice. Just keep learning and you’ll be able to create your own anime art in no time!