
Assess the Condition of the Current Lamp Post
Before you proceed with replacing the outdoor lamp post, it is essential to assess the condition of the current one. This step will help you determine whether a replacement is necessary or if repairs can be made instead. Here’s what you need to do:
- Inspect the overall structure: Take a close look at the existing lamp post to check for any visible signs of damage or deterioration. Look for cracks, rust, or any other significant structural issues that may compromise its stability.
- Examine the wiring: Check the wiring connected to the lamp post for any signs of wear and tear. Look for frayed wires, loose connections, or exposed cables that could pose a safety hazard.
- Assess the lighting fixture: Evaluate the condition of the lighting fixture itself. Look for any damage to the glass or plastic enclosure and ensure that it is secure and intact. Also, check if the bulbs are working correctly.
- Determine functionality: Test the lamp post to verify if it is functioning correctly. Turn on the switch and check if the light comes on as expected. If the lamp post is not working at all, it may indicate a more significant electrical issue.
Based on your assessment, you can make an informed decision on whether to replace the lamp post or attempt repairs. If the structure is severely damaged, the wiring is faulty, or the functionality is compromised, it is usually best to proceed with a replacement. However, if the damage is minor and repairable, you may choose to fix the existing lamp post instead.
Gather the Necessary Tools and Materials
Before you begin the process of replacing the outdoor lamp post, you’ll want to gather all the necessary tools and materials. This will ensure that you have everything you need readily available, saving you time and frustration during the installation. Here’s a list of the essential items you’ll need for the job:
- Wrench or pliers: You’ll need these to loosen and remove any nuts or bolts securing the old lamp post.
- Screwdriver: Depending on the type of screws used, you may need either a Phillips or flathead screwdriver to disassemble components.
- Wire cutter/stripper: This tool will come in handy when working with the electrical wiring for the lamp post.
- Electrical tape: Use electrical tape to secure wire connections and provide insulation for added safety.
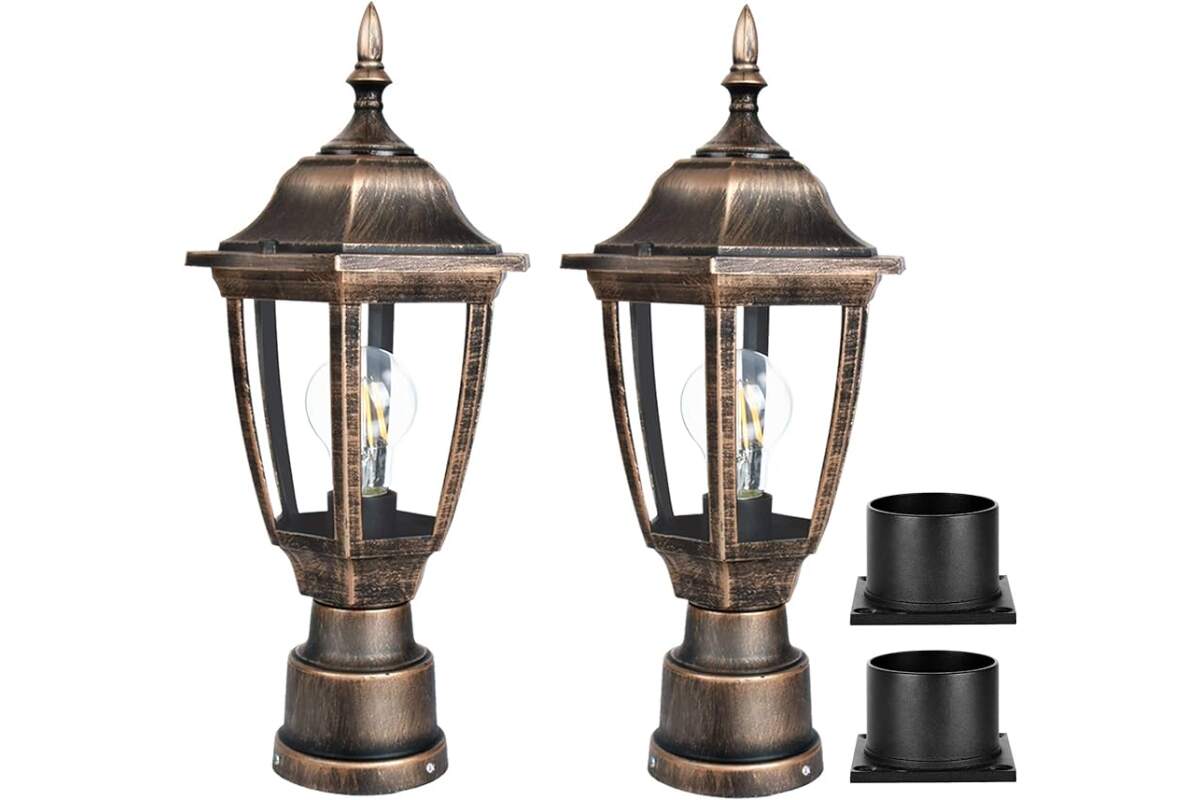
- New lamp post: Ensure you have the replacement lamp post ready to install. Consider selecting a post that matches your outdoor aesthetics and is compatible with the lighting fixture.
- Bulbs: Check the specifications of the old lamp post to determine the type and wattage of bulbs required for the new post.
- Concrete mix: If the current lamp post was secured in concrete, you may need concrete mix to create a stable foundation for the new post.
- Level: Having a level will help ensure that the new lamp post is installed straight and level, providing better functionality and aesthetics.
- Gloves and safety goggles: Protect your hands and eyes from any sharp edges or debris while working on the lamp post.
Make sure to gather all these tools and materials before starting the replacement process. This will allow for a smooth and efficient installation, helping you complete the project without unnecessary interruptions.
Turn off the Power Supply
Before you begin any work on the outdoor lamp post, it’s crucial to turn off the power supply to ensure your safety. Dealing with electrical components requires caution and taking the necessary precautions. Follow these steps to turn off the power supply:
- Locate the electrical panel: Find the electrical panel or circuit breaker box in your home. It is usually located in the basement, garage, or utility room.
- Identify the correct circuit: Look for the circuit breaker that controls the power supply for the outdoor lamp post. Most circuit breakers are labeled, making it easier to identify the right one. If not, you may need to toggle each breaker off momentarily to determine the correct one.
- Switch off the circuit breaker: Once you have identified the correct circuit breaker, switch it off by flipping the corresponding breaker switch to the “off” position. This will cut off the power supply to the lamp post.
- Test for power: To ensure that the power is properly turned off, go outside and attempt to turn on the lamp post. If everything was done correctly, the light should not turn on.
It is crucial to remember that working with electricity can be dangerous, and taking the necessary safety precautions is vital. If you are unsure or uncomfortable working with the electrical system, it is best to consult a professional electrician to ensure the job is done safely.
Remove the Old Lamp Post
Now that you have turned off the power supply and have all the necessary tools at hand, it’s time to remove the old lamp post. Follow these steps to ensure a smooth and safe removal process:
- Disconnect the wiring: Start by disconnecting the wiring from the old lamp post. Use your wire cutter/stripper to carefully remove any electrical connections. Remember to handle the wires with caution and avoid touching any exposed ends.
- Remove the bolts or screws: Once the wiring is disconnected, locate the bolts or screws securing the lamp post to its base. Depending on the design, you may need a wrench or pliers to loosen and remove them. Set the bolts or screws aside for later use, if necessary.
- Carefully lift the lamp post: With the bolts or screws removed, carefully lift the old lamp post from its base. If the post is heavy or awkwardly shaped, you may need assistance from another person to ensure a safe removal.
- Inspect the base: After removing the lamp post, take a moment to inspect the base area. Look for any debris, rust, or damage that may need to be addressed before installing the new lamp post.
Remember to handle the old lamp post with care and avoid damaging any surrounding structures or landscaping. If you cannot safely remove the lamp post on your own or encounter any difficulties during the process, don’t hesitate to seek professional assistance.
Check and Repair the Wiring
After removing the old lamp post, it’s essential to inspect and address any wiring issues before installing the new one. Follow these steps to check and repair the wiring:
- Inspect the wiring: Carefully examine the wiring connected to the lamp post. Look for any visible damage, such as frayed or broken wires. Check for loose connections or signs of corrosion.
- Replace damaged wiring: If you notice any damaged wires, it’s crucial to replace them. Use your wire cutter/stripper to remove the damaged section, ensuring that you have enough wire to make a secure connection.
- Prepare the wires: To prepare the wires for repair, strip the insulation from the ends using your wire cutter/stripper. Make sure you have a sufficient length of exposed wire for a secure connection.
- Make the necessary connections: If there are any loose or disconnected wires, reconnect them securely. Twist the exposed ends of the wires together and use a wire nut to hold them in place. Ensure the connection is tight and that no bare wire is exposed.
- Wrap with electrical tape: Once the connections are made, wrap them with electrical tape for added insulation and protection. This will help prevent any future issues with the wiring.
- Perform a continuity test: After making the necessary repairs, it is recommended to perform a continuity test to ensure there are no shorts or breaks in the wiring. Use a multimeter or continuity tester to check the integrity of the connections.
By checking and repairing the wiring before installing the new lamp post, you ensure a safe and reliable electrical connection. It’s essential to take your time and double-check all the connections to guarantee proper functionality and longevity for your new outdoor lighting fixture.
Install the New Lamp Post
With the wiring checked and repaired, it’s time to install the new lamp post. Follow these steps to ensure a smooth and successful installation:
- Position the base: Start by positioning the base of the new lamp post in the desired location. Ensure that it is level and aligned with any existing structures or pathways for a visually pleasing appearance.
- Secure the base: If the previous lamp post was secured in concrete, you may need to dig a hole and pour fresh concrete to create a stable foundation for the new post. Follow the manufacturer’s instructions for mixing and pouring the concrete, then insert the base into the wet concrete and allow it to set according to the specified curing time.
- Attach the post: Once the base is secure, attach the new lamp post to the base. Typically, this involves securing it with bolts or screws that match the pre-drilled holes in the base. Use a wrench or pliers to tighten the fasteners, ensuring that the post is stable and securely attached.
- Connect the wiring: With the post in place, connect the wiring from the new lamp post to the existing electrical supply. Make sure to match the corresponding wires (hot to hot, neutral to neutral, etc.) and use wire nuts to secure the connections. Wrap the connections with electrical tape for added protection.
- Assemble the lighting fixture: If the new lamp post includes a lighting fixture, follow the manufacturer’s instructions to assemble it. This may involve attaching the shade, inserting light bulbs, or adjusting any necessary settings.
- Test the new lamp post: Before finalizing the installation, test the new lamp post to ensure it is functioning correctly. Turn on the power supply and verify that the light comes on as expected. Check all switches and controls to ensure proper functionality.
By following these steps, you’ll be able to install the new lamp post and enjoy improved outdoor lighting in no time. Take care to secure all connections properly and ensure that the post is stable and level for both safety and aesthetic purposes.
Secure and Level the Lamp Post
Once the new lamp post is installed, it’s crucial to secure and level it properly. This step ensures the stability and aesthetic appeal of the lighting fixture. Here’s what you need to do:
- Check for stability: Ensure that the lamp post is stable and doesn’t wobble. If it feels unstable, adjust the bolts or screws holding it to the base until it is firmly secured.
- Use a level: Place a level against the lamp post to check if it is perfectly vertical. Adjust the position of the post if necessary by loosening the fasteners and making slight adjustments. Re-tighten the fasteners once the post is level.
- Inspect the height: Stand back and assess the height of the lamp post. Depending on your preference and the surrounding area, you may want to adjust the height slightly to achieve the desired look. Loosen the fasteners and make adjustments if needed, then re-tighten them.
- Ensure proper alignment: Pay attention to the alignment of the lamp post with any existing structures or pathways. It should be parallel or perpendicular to these elements for a visually pleasing appearance. Make any necessary adjustments by loosening the fasteners and repositioning the post as needed.
Taking the time to secure and level the lamp post will prevent any future issues such as tilting, instability, or potential damage. It also contributes to the overall aesthetic appeal of your outdoor space.
Connect the Wiring and Test
After securing and leveling the lamp post, the next step is to connect the wiring and test the functionality of the new installation. Follow these steps to ensure a proper connection and a successful test:
- Strip the wire ends: Use a wire stripper to carefully strip the ends of the electrical wires connected to the lamp post. Make sure to remove enough insulation to expose a sufficient length of wire for a secure connection.
- Make the connections: Match the corresponding wires from the lamp post to the existing electrical supply. Connect the same colored wires together, typically black to black (hot), white to white (neutral), and green or bare copper to the ground wire. Twist the wire ends together and secure them with wire nuts.
- Wrap with electrical tape: Once the connections are made, wrap each individual wire connection with electrical tape. This step provides extra insulation and protection against moisture and potential short circuits.
- Restore power supply: Switch the circuit breaker associated with the lamp post back on to restore the power supply. Double-check that all other circuit breakers remain in their correct positions.
- Test the lamp post: Turn on the wall switch or use the designated controls to activate the lamp post. Check if the light comes on as expected. If the light does not turn on, double-check the wiring connections and troubleshoot for any potential issues.
- Ensure proper functionality: Test all the features of the lamp post, such as dimming controls, motion sensors, or timers, to verify that they are working correctly. Adjust any settings as needed.
By following these steps, you will ensure a safe and proper electrical connection while also testing the functionality of the new lamp post. Pay attention to any abnormalities or malfunctions during the test, as they may indicate the need for further troubleshooting or adjustments.
Restore Power and Enjoy
With the wiring successfully connected and the lamp post tested and functioning as expected, it’s time to restore the power supply and enjoy your new outdoor lighting fixture. Follow these final steps to complete the installation process:
- Double-check the circuit breaker: Before restoring power, ensure that the circuit breaker associated with the lamp post is in the “on” position. Confirm that all other circuit breakers remain in their correct positions as well.
- Flip the switch: Go to the wall switch or designated controls for the lamp post and turn them on. This will activate the lamp post and illuminate your outdoor area.
- Observe and fine-tune: Take a moment to observe the newly installed lamp post in action. Ensure that the light is evenly distributed, and the focus is where you desire. If needed, make any necessary adjustments to the positioning, angle, or intensity of the lamp post to enhance its functionality and aesthetics.
- Enjoy your new lighting: With the lamp post properly installed and powered up, you can now bask in the enhanced beauty and functionality of your outdoor space. Whether it’s providing security, highlighting garden features, or adding a warm ambiance, your new lamp post will enhance your outdoor experience.
Remember to regularly maintain and inspect your lamp post to ensure its continued functionality and safety. Clean the fixture periodically, replace light bulbs when necessary, and promptly address any wiring issues that may arise.
Restoring power and enjoying your new lamp post marks the successful completion of the installation process. Sit back, relax, and savor the delightful atmosphere that your new outdoor lighting fixture brings to your surroundings.