
Measure and Mark
One of the first steps in hanging a curtain rod by yourself is to accurately measure and mark the placement of the rod. Taking the time to measure correctly will ensure that your curtains hang properly and enhance the overall appearance of your space. Here’s how to do it:
1. Determine the desired height: Measure from the floor to the desired height where you want the curtain rod to be positioned. This will depend on your personal preference and the length of your curtains. Consider whether you want your curtains to puddle on the floor or hover just above it.
2. Measure the curtain width: Measure the width of your window or the space in which you want to hang the curtains. This measurement will help you determine the appropriate length of the curtain rod.
3. Add extra width for fullness: To achieve a more luxurious and full look, add a few extra inches to the width measurement of your window. This added width will allow the curtains to gather more when closed, creating a more elegant appearance.
4. Mark the spots for the brackets: Use a pencil or marking tool to make small marks on the wall where the brackets will be installed. Ensure that the marks are level and aligned with each other, as this will ensure that the curtain rod hangs straight.
5. Double-check your measurements: Before proceeding to the installation, double-check all your measurements to ensure accuracy. This step will save you from the hassle of making adjustments later on.
By following these steps and taking accurate measurements, you’ll have a solid foundation to successfully hang your curtain rod. Taking the time to properly measure and mark will ensure that your curtains hang just right and add a touch of style to your space.
Choose the Right Curtain Rod
When it comes to hanging curtains, choosing the right curtain rod is essential for both functionality and aesthetics. The right curtain rod will not only support the weight of your curtains but also complement the overall style of your space. Here are some factors to consider when selecting a curtain rod:
1. Rod material: Curtain rods come in various materials such as metal, wood, or plastic. Each material has its own advantages and can create a different look in your space. Metal rods, such as stainless steel or wrought iron, are durable and versatile, while wooden rods can add warmth and a rustic touch. Plastic rods are a budget-friendly option and often come in a wide range of colors.
2. Weight capacity: Consider the weight of your curtains and choose a curtain rod that can support their weight. Heavier curtains may require a sturdier rod with a higher weight capacity. Check the product specifications to ensure that the rod can handle the weight of your curtains to prevent sagging or damage.
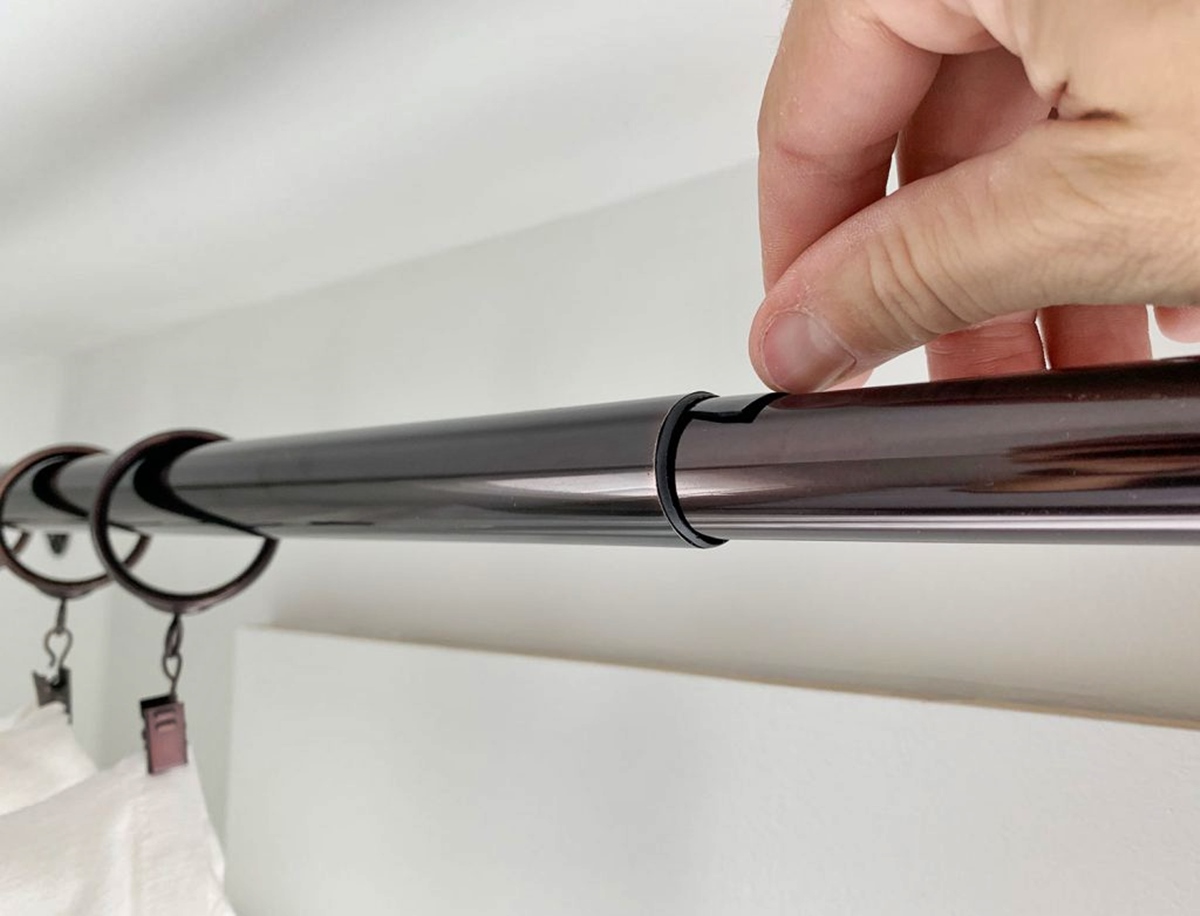
3. Adjustable versus fixed length: Decide whether you need a curtain rod with an adjustable length or a fixed length. Adjustable rods are versatile as they can fit various window sizes and allow you to customize the width. Fixed-length rods, on the other hand, are suitable for windows with a specific width and require precise measurement.
4. Style and design: The curtain rod should match the overall style and decor of your space. Consider the finish of the rod, such as brushed nickel, bronze, or matte black, to coordinate with other hardware and furnishings in the room. Additionally, think about the shape and design of the finials, which are the decorative pieces at the ends of the rod. Finials come in a variety of shapes, including round, square, or ornate designs, allowing you to add a personal touch to your curtains.
5. Installation method: Determine the installation method that suits your needs and abilities. Some curtain rods require brackets to be mounted on the wall, while others may use tension or magnetic rods that can be easily installed without hardware. Consider your skill level and the condition of your walls when selecting the installation method.
By considering these factors, you can select a curtain rod that not only serves its functional purpose but also enhances the overall aesthetic appeal of your space. With the right curtain rod in place, you’ll be able to hang your curtains with confidence and create a stylish and visually pleasing environment.
Gather the Tools and Materials
Before you begin hanging your curtain rod, it’s important to gather all the necessary tools and materials to ensure a smooth and efficient installation process. Here’s a list of items you’ll need:
1. Curtain rod: Choose a curtain rod that fits your window size and complements your decor. Ensure that it comes with all the necessary components, such as brackets and screws.
2. Brackets: The brackets are essential for supporting the curtain rod. They come in various styles and designs to accommodate different types of curtains and installation requirements. Make sure you have the correct number of brackets for your curtain rod.
3. Screws and anchors: Depending on the type of wall you have, you may need screws and anchors to secure the brackets. If your wall is made of drywall or plaster, anchors are usually necessary to provide stability. For stud walls, use screws that are appropriate for the material of the wall.
4. Level: A level is crucial for ensuring that your curtain rod hangs straight. It will help you align the brackets accurately and prevent any awkward angles or unevenness.
5. Measuring tape: Use a measuring tape to measure the height and width of your window, as well as the spacing for the brackets. Accurate measurements are key to a properly installed curtain rod.
6. Pencil or marker: Marking the spots for the brackets is essential for a level installation. Use a pencil or marker to make small dots on the wall at the appropriate measurement points.
7. Screwdriver or drill: Depending on the type of screws and brackets you have, you’ll need either a screwdriver or a drill to secure them. A cordless drill with appropriate drill bits can make the installation process faster and easier.
8. Step stool or ladder: If your window is located at a height that is difficult to reach, make sure you have a step stool or ladder to safely access the installation area. Safety should always be a top priority during any DIY project.
By gathering these tools and materials before you start the installation, you’ll be well-prepared for the task at hand. Having everything ready will save you time and frustration, allowing you to focus on the proper installation of your curtain rod.
Decide on the Placement of the Curtain Rod
Choosing the right placement for your curtain rod is crucial to ensure that your curtains hang properly and enhance the overall look of your space. Consider the following factors when deciding on the placement:
1. Window frame: Decide whether you want the curtain rod to be installed directly on the window frame or slightly above it. Installing the rod on the frame can create a clean and streamlined look, while mounting it above the frame can make the window appear larger and allow more natural light to enter the room.
2. Curtain length: Take into account the desired length of your curtains. If you want floor-length curtains, make sure the curtain rod is positioned high enough to allow the curtains to reach the floor without touching it. For curtains that hover just above the floor, the rod should be installed slightly higher to achieve the desired look.
3. Room height: Consider the height of your room when determining the placement of the curtain rod. Hanging the curtains as close to the ceiling as possible can create the illusion of higher ceilings and make the room appear more spacious and grand. However, if your ceilings are particularly high, you may need to find a balance between aesthetics and practicality.
4. Functionality: Think about the purpose of the curtains in the room. If the curtains are primarily for privacy, you may want to install the rod closer to the window frame to ensure full coverage. If the curtains are more for decorative purposes, you have more flexibility in deciding the placement based on aesthetics.
5. Furniture and fixtures: Take into account any furniture, fixtures, or obstacles near the window that may affect the placement of the curtain rod. Ensure that the curtains will hang freely without getting caught or obstructed by any objects.
6. Overall design: Consider the overall design and style of your space. The placement of the curtain rod should complement the existing elements and contribute to the cohesive look of the room.
Once you have considered these factors, mark the desired placement using a pencil or marker. Double-check the marks to ensure they are level and aligned properly. Taking the time to carefully decide on the placement of the curtain rod will result in a visually appealing and functional installation that enhances the overall ambiance of your space.
Find the Studs or Use Wall Anchors
Before installing the curtain rod brackets, it’s important to ensure that they are securely anchored to the wall. Depending on the type of wall you have, you can either find the studs or use wall anchors. Here’s how to do it:
1. Finding the studs: If your walls are made of drywall or plaster, locating the studs is crucial for a strong and stable installation. A stud finder is a handy tool that detects the presence of studs behind the wall. Slide the stud finder along the wall until it indicates the presence of a stud. Mark the location with a pencil or tape. Repeat this process to locate multiple studs along the length of the curtain rod.
2. Marking the stud locations: Using the stud locations you’ve identified, mark the spots on the wall where the brackets will be installed. Ensure that the marks are level and aligned, as this will ensure a straight and even installation of the curtain rod.
3. Using wall anchors: If you are unable to find studs or if they are not conveniently located for your curtain rod installation, wall anchors provide a reliable alternative. Wall anchors are plastic or metal inserts that provide additional support and stability when inserted into the wall. Follow the manufacturer’s instructions to choose the correct size and type of wall anchors for your curtain rod brackets. Use a drill to create pilot holes for the wall anchors, and then insert them into the holes. Carefully tap them in until they are flush with the wall surface.
4. Testing the stability: Before proceeding with the installation, give the brackets a gentle tug to ensure that they are securely anchored to the wall. If they feel loose or wobbly, you may need to reposition the brackets or use different wall anchors.
By either finding the studs or using wall anchors, you can ensure that the curtain rod brackets are properly secured to the wall. This step is vital to support the weight of the curtains and prevent any accidents or damage. Taking the time to find the studs or use wall anchors will result in a sturdy and long-lasting installation of your curtain rod.
Install the Curtain Rod Brackets
Now that you have located the studs or prepared the wall anchors, it’s time to install the curtain rod brackets. Follow these steps for a successful installation:
1. Position the brackets: Place the first bracket against the wall, aligning it with the mark you made earlier. Make sure it is level by using a level tool. Mark the screw hole locations on the wall using a pencil. Repeat this process for the second bracket.
2. Pre-drill holes: Using a drill and an appropriate drill bit, pre-drill pilot holes at the marked locations. The size of the drill bit should match the size of the screw provided with the brackets or the wall anchors.
3. Attach the brackets: Align the holes on the brackets with the pilot holes in the wall. Insert the screws provided and tighten them using a screwdriver or drill. Ensure that the brackets are securely attached to the wall, whether you are screwing into the studs or using wall anchors.
4. Check for level: Once the brackets are attached, use a level tool to double-check that they are perfectly horizontal. Adjust if necessary by loosening the screws slightly and repositioning the brackets. Once the brackets are level, tighten the screws again.
5. Test the stability: Give the brackets a gentle tug to ensure that they are firmly in place and can support the weight of the curtain rod. Wiggle the brackets slightly to make sure they are secure on the wall. If any adjustments are needed, tighten the screws again or reposition the brackets.
6. Double-check alignment: Stand back and visually inspect the alignment of the brackets. Ensure that they are evenly spaced and straight along the wall. This attention to detail will result in a professional-looking installation.
By carefully following these steps, you can ensure that the curtain rod brackets are correctly and securely installed. Taking the time to position the brackets accurately and checking for level and stability will contribute to a successful and visually appealing installation of your curtain rod.
Hang the Curtain Rod
Now that the curtain rod brackets are securely installed, it’s time to hang the curtain rod itself. Follow these steps to ensure a smooth and seamless hanging process:
1. Insert the rod into the brackets: Slide the curtain rod into the brackets and ensure that it is properly seated. The rod should fit snugly and be supported securely by the brackets. If necessary, adjust the brackets to ensure the rod is level and centered.
2. Secure the rod in place: Once the rod is in the brackets, look for any screws or mechanisms on the brackets that can be tightened to secure the rod in place. This will prevent any movement or slippage of the rod over time.
3. Check for level: Step back and use a level tool to confirm that the curtain rod is completely level. If it appears uneven, make any necessary adjustments by loosening the brackets’ screws and repositioning them. Once the rod is level, tighten the screws to secure the brackets in place.
4. Test for stability: Gently tug on the curtains or give the rod a slight shake to ensure that it is stable and securely installed. If any part feels loose or unstable, recheck the brackets and make sure they are tightly fastened to the wall.
5. Hang the curtains: With the rod securely in place, it’s time to hang your curtains. Slide the curtain hooks or rings onto the rod and evenly distribute them along the length. If you are using curtain panels with rod pockets, simply slide the rod through the pockets.
6. Arrange the curtains: Adjust and arrange the curtains to ensure they hang evenly and drape nicely. Make any necessary adjustments to achieve your desired look and curtain length. Step back and evaluate the overall appearance of the curtains to ensure they create the desired effect in the room.
By following these steps, you can successfully hang your curtain rod and enjoy beautifully draped curtains in your space. Taking the time to check for level, stability, and proper placement of the curtains will result in a professional and visually appealing installation.
Attach the Curtains
Now that the curtain rod is securely in place, it’s time to attach the curtains and bring your window treatment to life. Follow these steps to properly attach your curtains:
1. Prepare the curtains: If your curtains have curtain hooks or rings, attach them to the top edge of your curtains. Make sure the hooks or rings are evenly spaced and securely attached.
2. Slide the curtains onto the rod: Once the hooks or rings are in place, slide the curtains onto the curtain rod. Take your time to ensure that the curtains are evenly distributed along the entire length of the rod.
3. Adjust the curtain length: Determine the desired length for your curtains and make any necessary adjustments. Some curtains may require hemming or folding if they are too long. Conversely, if the curtains are too short, you may need to add extra fabric or consider purchasing longer curtains.
4. Arrange the curtains: Step back and evaluate the overall appearance of the curtains. Adjust them as needed to ensure they hang evenly and create the desired effect in the room. Straighten out any wrinkles or folds, and make sure the curtains hang smoothly and have a pleasing drape.
5. Tiebacks or accessories: If you have tiebacks or other curtain accessories, now is the time to install and use them. Tiebacks can be used to hold the curtains open and allow more light into the room during the day. They can also add a decorative element to your window treatment.
6. Finishing touches: Once the curtains are attached and arranged to your satisfaction, step back and admire your handiwork. Take a moment to straighten any curtain panels or adjust any details for a polished look.
By following these steps, you can successfully attach your curtains to the curtain rod and achieve a stylish and functional window treatment. Properly hanging and arranging your curtains will enhance the aesthetic appeal of the room while also providing privacy and light control.