
Checking the Tray Settings
In order to successfully change the tray settings on your HP printer, it is important to first understand the current configuration. Checking the tray settings is a quick and simple process that can be done through the printer’s control panel or the printer software on your computer.
If you are using the printer’s control panel, navigate to the settings menu and look for the tray settings option. Depending on the model of your HP printer, it may be labeled as “Paper Handling” or “Paper Settings.” Once you locate the tray settings, you can view the current settings for each tray, such as the paper size and type.
If you prefer to check the tray settings through the printer software on your computer, open the HP printer software and navigate to the “Settings” or “Print Preferences” menu. Look for the option related to paper handling or tray settings. From here, you can see the current configuration of each tray and make any necessary changes.
When checking the tray settings, it is important to ensure that the correct paper size and type are selected for each tray. This will prevent print errors and ensure that your documents are printed correctly. Additionally, you can check the default tray assignment, which determines which tray the printer will use as the primary tray for printing.
By taking the time to check the tray settings on your HP printer, you can ensure that the printer is configured correctly for your printing needs. This will help you avoid any unnecessary printing issues and ensure that your documents are printed efficiently and accurately.
Changing the Tray Settings on the HP Printer
Once you have checked the current tray settings on your HP printer, you may need to make changes to better suit your printing requirements. Whether you want to modify the default tray settings or change the tray settings for individual print jobs, the process can be easily done through the printer’s control panel or the printer software on your computer.
To change the default tray settings, start by accessing the printer’s control panel. Navigate to the settings menu and locate the tray settings option. Select the tray you want to modify and choose the desired paper size and type. Save the changes, and the printer will now use the selected tray as the default for future print jobs.
If you need to change the tray settings for a specific print job, you can do so through the print settings dialog box in your computer’s print menu. When you choose the “Print” option, a dialog box will appear where you can select the printer and adjust the settings. Look for a “Paper Source” or “Tray Selection” option and choose the desired tray for the print job. This will override the default tray settings for that specific print job.
Another way to change the tray settings is through the printer software on your computer. Open the HP printer software and navigate to the “Settings” or “Print Preferences” menu. Look for the option related to paper handling or tray settings. From here, you can modify the default tray settings or specify a different tray for individual print jobs.
Remember to save any changes you make to the tray settings on your HP printer. This will ensure that the new settings are applied and used for future print jobs. By customizing the tray settings to your specific needs, you can optimize the printing process and achieve the desired results.
Modifying the Default Tray Settings
Modifying the default tray settings on your HP printer allows you to customize the print settings that will be used automatically for all print jobs. This can be particularly helpful if you frequently print documents of different sizes or types. Fortunately, changing the default tray settings on an HP printer is a straightforward process that can be done through the printer’s control panel or the printer software on your computer.
To modify the default tray settings using the printer’s control panel, start by accessing the settings menu. Look for the tray settings option, which may be labeled as “Paper Handling” or “Paper Settings.” Once you locate this option, select the tray that you want to modify. From here, you can adjust the paper size and type to match your specific requirements. Save the changes, and the printer will now use the selected tray as the default for all future print jobs.
If you prefer to modify the default tray settings through your computer, open the HP printer software and navigate to the “Settings” or “Print Preferences” menu. Look for the option related to paper handling or tray settings. From there, you can choose the default tray for each paper size and type, giving you greater control over the printing process. Remember to save any changes you make to ensure that they are applied.
Modifying the default tray settings on your HP printer can save you time and effort, as you won’t need to manually select the tray each time you print. It also helps to avoid potential errors, as the printer will automatically use the correct tray based on your predefined settings. By customizing the default tray settings, you can streamline your printing process and ensure consistent results for all your print jobs.
Changing Tray Settings for Individual Print Jobs
Sometimes, you may need to change the tray settings for specific print jobs on your HP printer. For example, if you have different types of paper loaded in different trays, you might want to select a specific tray for a particular print job. Fortunately, the process of changing tray settings for individual print jobs is straightforward and can be done through the print settings dialog box on your computer.
To change the tray settings for a specific print job, start by opening the document you want to print and choosing the “Print” option from the file menu. This will open the print settings dialog box on your computer screen. Look for a “Paper Source” or “Tray Selection” option within the dialog box.
Once you locate the tray selection option, you can choose the specific tray from which you want to print. This selection will override the default tray settings for that particular print job only. Depending on your printer model and software, you may see a dropdown menu or a list of available trays to choose from. Simply select the desired tray and proceed with the print job as usual.
It’s important to note that changing the tray settings for individual print jobs does not affect the default tray settings. The printer will revert to using the default tray for subsequent print jobs. So, if you want to change the tray settings for all future print jobs, you should modify the default tray settings as explained in the previous sections.
Changing the tray settings for individual print jobs gives you the flexibility to adapt to different printing needs and preferences. Whether you need to print on specific types of paper or want to use a particular tray for a specific document, this feature allows you to make quick adjustments without permanently modifying the default tray settings on your HP printer.
Adjusting Tray Settings in the Print Driver
Adjusting tray settings in the print driver of your HP printer provides another convenient option for managing your printing preferences. The print driver is the software that communicates between your computer and the printer, allowing you to customize various settings including tray selection. By adjusting the tray settings in the print driver, you can streamline your printing process and ensure that the correct tray is used for each print job.
To adjust tray settings in the print driver, start by opening the document you want to print and selecting the “Print” option. This will open the print settings dialog box on your computer screen, displaying various printing options. Look for a tab or section related to “Paper Handling” or “Tray Selection” within the print settings window.
Depending on your printer model and software, you may see different options for tray selection. You can either choose specific trays by their names or numbers, or you can select options such as “Automatically Select” or “Use Default Tray.” The “Automatically Select” option allows the printer to determine the appropriate tray based on the paper size and type specified in the print job. If you want to use the default tray set on the printer, you can select the “Use Default Tray” option.
After adjusting the tray settings in the print driver, make sure to preview and review the changes in the print settings dialog box before initiating the print job. This will allow you to verify that the correct tray is selected based on your preferences. Once you are satisfied with the settings, proceed with printing as usual.
By adjusting tray settings in the print driver, you have the flexibility to choose the appropriate tray for each specific print job. Whether you need to print on a different paper size or utilize a specific tray for special projects, this feature allows you to easily customize the tray settings without impacting the default or individual print job settings.
Troubleshooting Tray Settings Issues
While changing tray settings on your HP printer is usually a smooth process, there may be times when you encounter issues or errors related to tray selection. If you are experiencing problems with the tray settings, the following troubleshooting steps can help you resolve the issue and get your printer back on track.
1. Double-check the tray configurations: Ensure that the paper size and type specified in the tray settings match the actual paper loaded in the trays. Incorrect settings can lead to paper jams or misfeeds. Make any necessary adjustments in the printer’s control panel or software.
2. Verify the default tray assignment: If the printer is not using the correct default tray, check the tray assignment settings. Ensure that the desired tray is set as the default tray for the paper size and type you are using. Modify the default settings if necessary.
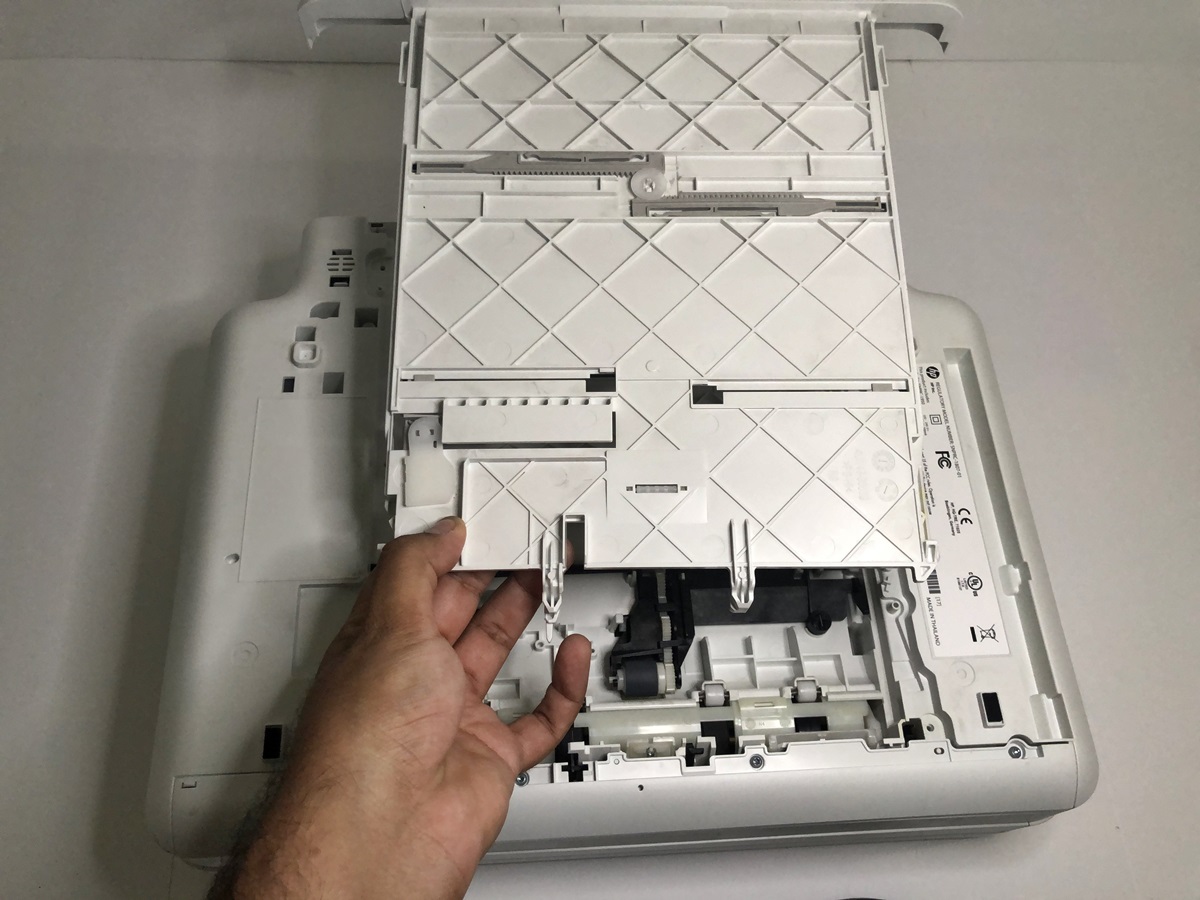
3. Clean the paper path and sensors: Over time, dust and debris can accumulate in the paper path and sensors, causing tray-related issues. Use a lint-free cloth and isopropyl alcohol to gently clean the paper path and sensors to maintain optimal performance.
4. Update the printer driver: Outdated or incompatible printer drivers can sometimes lead to tray settings problems. Visit the official HP website and download the latest printer driver software for your specific printer model. Install the updated driver and restart your computer.
5. Reset the printer to factory settings: If the above steps do not resolve the issue, you can try resetting the printer to its factory settings. Consult the printer’s user manual or visit the HP website for instructions on how to perform a factory reset. Be aware that this will erase any customized settings on the printer.
6. Contact HP support: If none of the troubleshooting steps resolve the tray settings issues, it may be beneficial to reach out to HP support for further assistance. They can provide additional guidance or arrange for a service technician to inspect and repair your printer if needed.
By following these troubleshooting steps, you can address and resolve tray settings issues on your HP printer. Ensuring accurate tray configurations and resolving any errors will help maintain smooth and efficient printing operations.
Tips for Managing Tray Settings in the HP Printer
Managing tray settings on your HP printer effectively can greatly enhance your printing experience and ensure optimal output. Here are some useful tips to help you navigate and make the most of tray settings:
1. Understand the tray capabilities: Familiarize yourself with the capabilities of each tray on your HP printer. Know the supported paper sizes, types, and capacities of each tray. This knowledge will help you make informed decisions when selecting trays for different print jobs.
2. Organize your paper stock: Properly organize and load the different paper stocks in the appropriate trays. By having different types of paper readily available in separate trays, you can easily select the desired tray for specific printing needs without the hassle of frequent paper changes.
3. Set default trays based on usage: Determine which tray is most frequently used for your everyday printing needs and set it as the default tray. This will save you time by automatically selecting the appropriate tray for routine printing tasks without the need for manual tray selection.
4. Utilize manual tray selection for specific needs: Take advantage of manual tray selection for special print jobs that require specific paper sizes, types, or specialty media. This ensures that your prints are of the highest quality and meet the desired specifications.
5. Regularly check and update tray settings: Periodically review and update your tray settings to accommodate changes in your printing requirements. Verify that the correct paper sizes and types are selected for each tray, and adjust them if necessary. This ensures accurate and error-free printing.
6. Invest in additional trays or accessories: Consider expanding your printer’s tray capacity by adding optional trays or accessories if you frequently deal with different paper stocks. This allows for efficient printing without the need for constant tray changes.
7. Keep tray mechanisms clean: Regularly clean the trays and associated mechanisms to avoid paper jams or misfeeds. Remove any accumulated dust, debris, or paper scraps that may hinder smooth tray operation and cause printing issues.
8. Stay up-to-date with printer software: Keep your printer software up-to-date to ensure compatibility and access to the latest features and enhancements. Check the HP website for updates and install them as recommended by the manufacturer.
By following these tips, you can effectively manage tray settings on your HP printer, resulting in improved efficiency, accurate prints, and a hassle-free printing experience.