
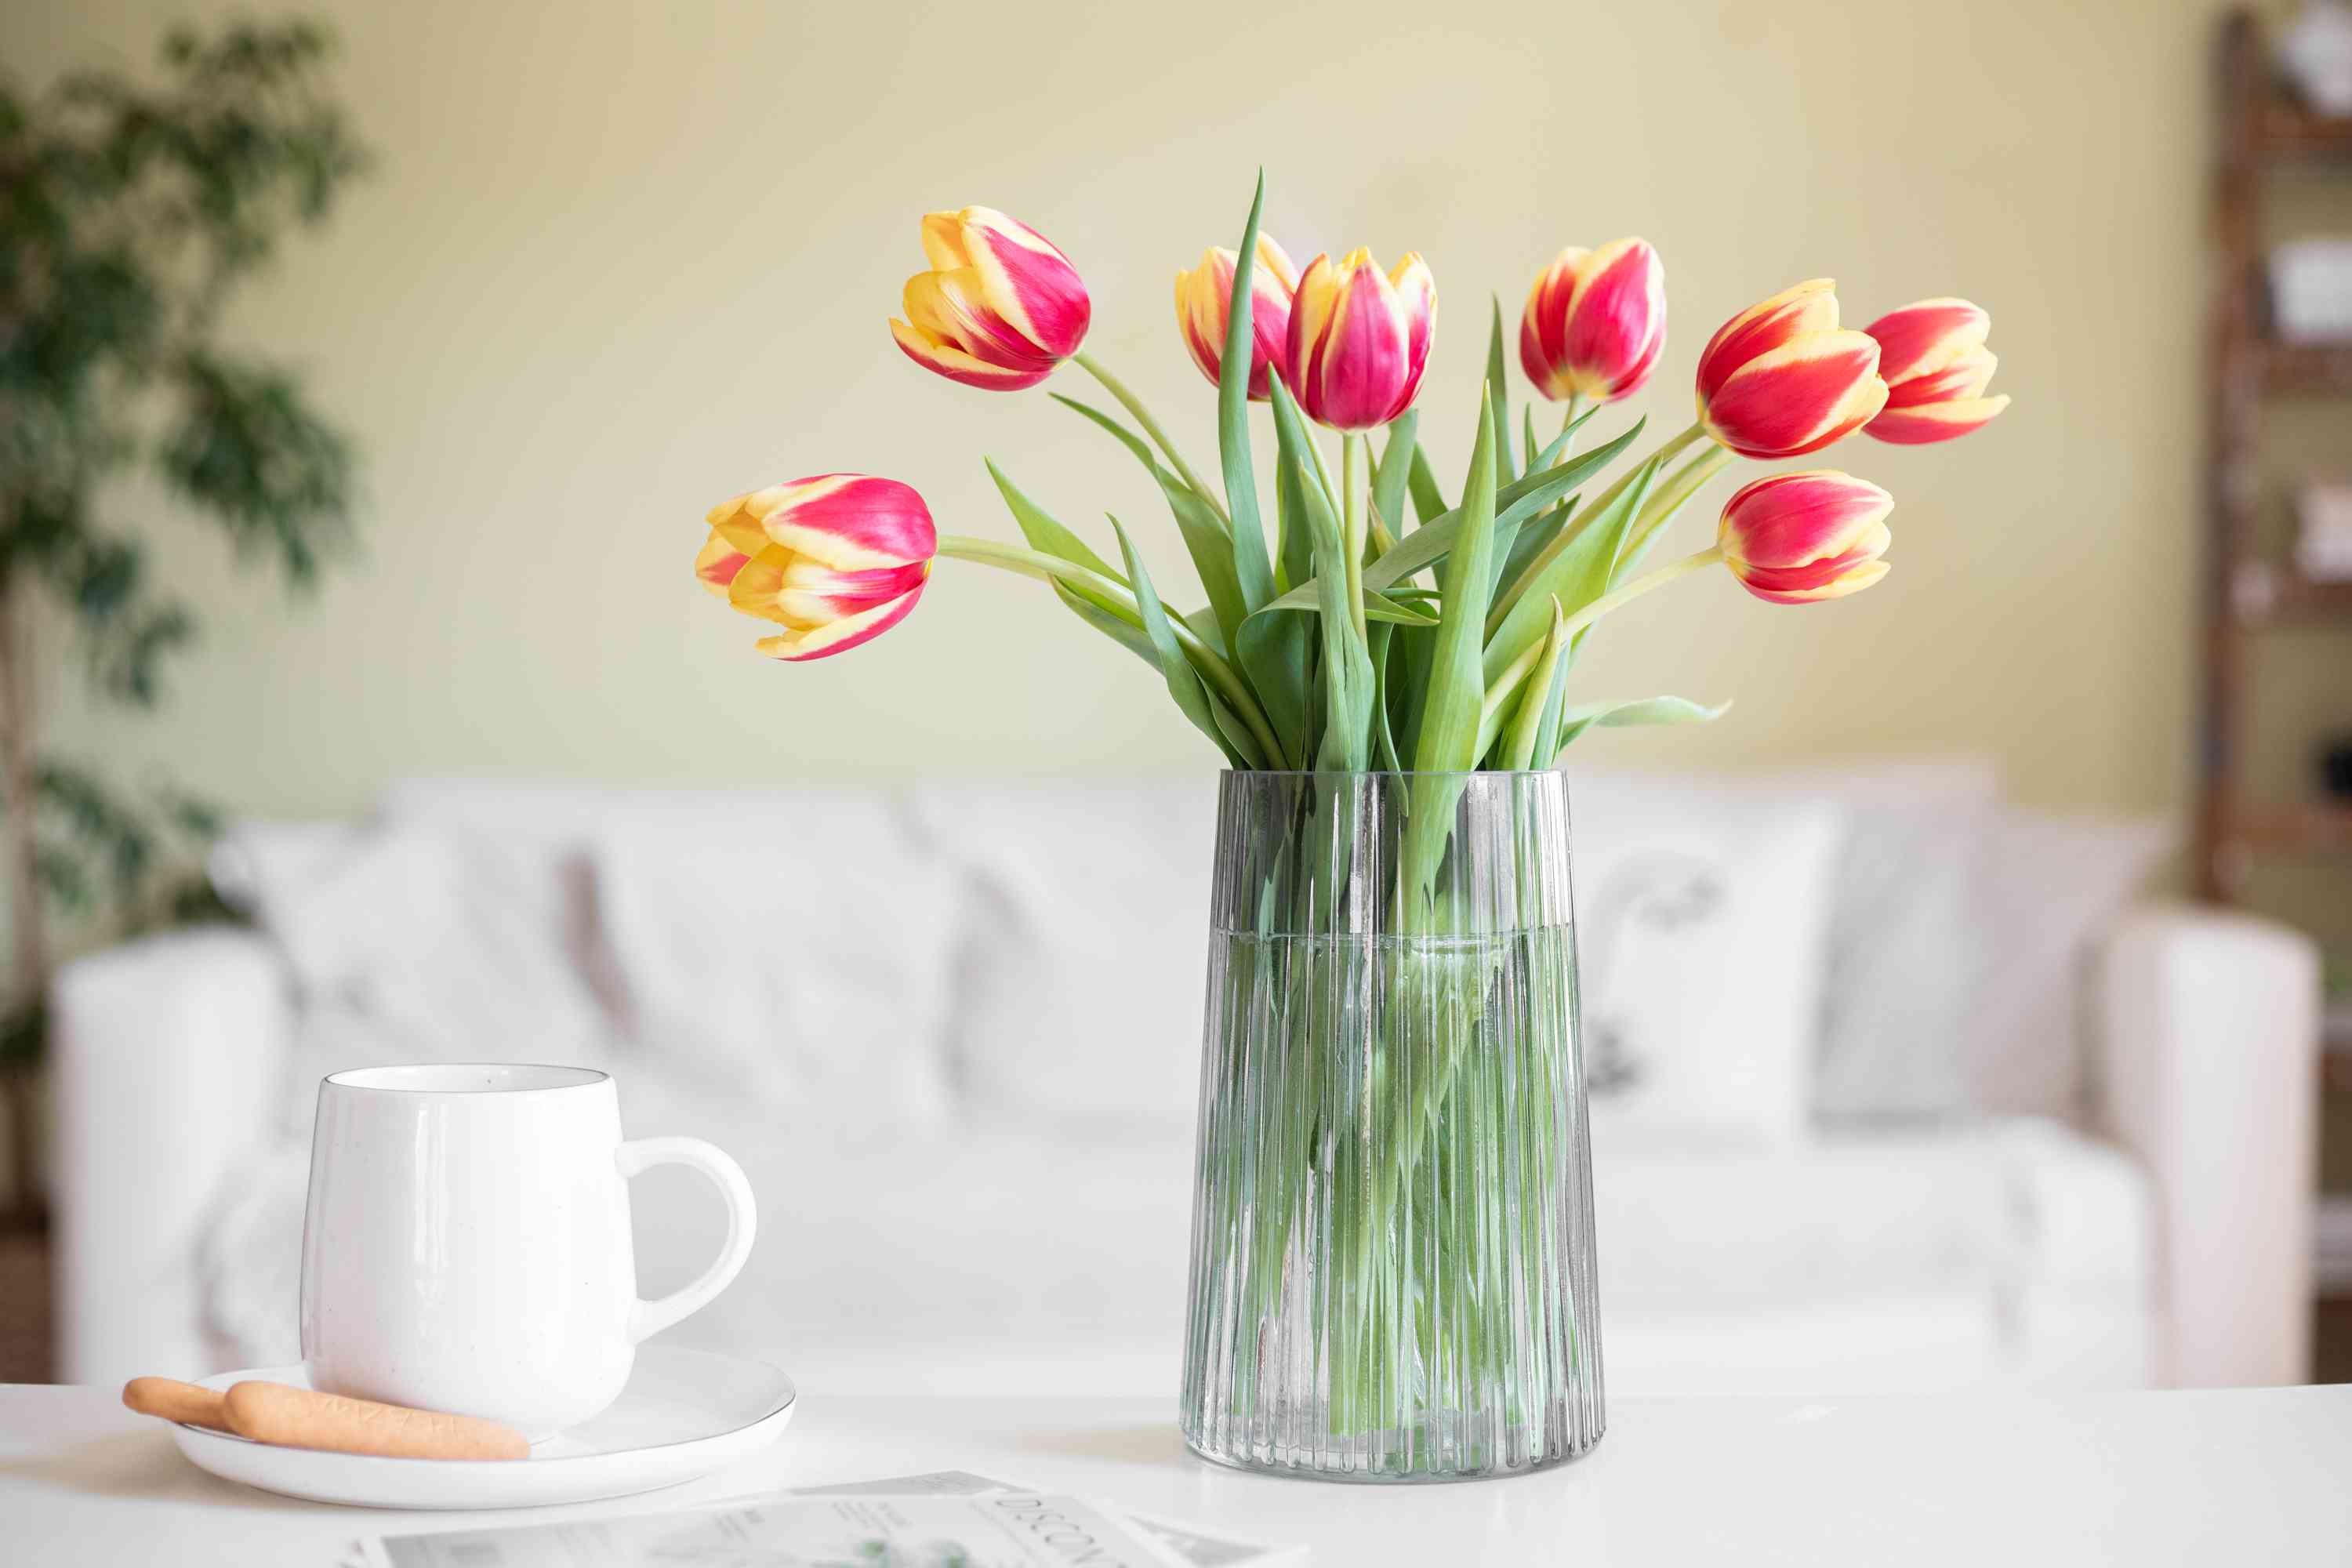
Choosing the Right Vase
When it comes to creating a realistic fake water arrangement, choosing the right vase is essential. The vase you select will not only serve as a container for the fake water but also significantly contribute to the overall visual appeal of the arrangement. Here are a few factors to consider when choosing the perfect vase:
- Size and Shape: Consider the size and shape of the vase in relation to the flowers or decorative objects you plan to place in the fake water. A tall, cylindrical vase may work well for long-stemmed flowers like roses, while a wider, rounder vase might be ideal for a more compact arrangement.
- Material: Vases come in various materials, such as glass, ceramic, and plastic. Glass vases offer a more elegant and transparent look, allowing the fake water to shine through. Ceramic vases, on the other hand, can add a touch of rustic or vintage charm. Plastic vases are a budget-friendly option and can mimic the appearance of glass.
- Transparency: Transparency is crucial for creating a realistic fake water effect. Opt for a clear or translucent vase that allows the light to pass through, giving the illusion of water depth and transparency.
- Stability: Ensure that the vase is stable and will not topple over easily, especially if you plan to use heavier decorative objects in the fake water. A stable vase will keep your arrangement intact and prevent any accidents.
- Personal Style: Lastly, consider your personal style and the overall aesthetic you want to achieve. Choose a vase that complements your existing decor or sets the mood you desire for the space. Whether you prefer a sleek and modern vase or a more ornate and decorative option, let your personal taste guide your selection.
By carefully considering these factors, you can choose a vase that not only accommodates the fake water but also enhances the visual appeal of your arrangement. Remember, the vase you choose will be the foundation for creating a stunning and realistic fake water display. Take your time to find the perfect fit and let your creative vision come to life.
Preparing the Base Material
Before you can start creating the fake water for your vase, it’s important to prepare the base material that will form the foundation of your arrangement. The base material serves as the solid structure that will hold your decorative objects in place and create the illusion of water depth. Follow these steps to prepare the base material:
- Choose a suitable material: Select a material that has a gel-like consistency and is safe to use in a vase. A popular choice for the base material is a clear resin or gel wax, which is readily available at craft stores.
- Measure and mix: Follow the instructions provided with your chosen base material to measure the appropriate amount. Typically, you’ll need to mix the base material with water or a specific solution to achieve the desired consistency. Read the instructions carefully, as different products may have different mixing ratios.
- Stir thoroughly: Use a clean stirring utensil to mix the base material and water or solution together. Make sure to stir thoroughly to ensure there are no lumps or uneven distribution of the ingredients.
- Allow time to set: Once mixed, let the base material sit for a few minutes to allow it to start setting. This will help it become more gel-like and easier to work with.
- Avoid air bubbles: To prevent air bubbles from forming in the base material, gently tap the mixing container on the table or use a toothpick or skewer to pop any visible bubbles on the surface. This will help create a more realistic and seamless look once the fake water is poured into the vase.
Preparing the base material is the first step in creating a convincing fake water arrangement. Taking the time to mix it properly and eliminate air bubbles will contribute to a more realistic final result. Once the base material is properly prepared, you’re one step closer to creating a stunning and lifelike display of faux water.
Mixing the Ingredients
Now that you have prepared the base material for your fake water arrangement, it’s time to mix the ingredients that will give it the appearance of real water. The mixture will determine the color and texture of the fake water, creating a visually appealing and realistic effect. Follow these steps to mix the ingredients:
- Choose a coloring agent: Depending on the desired effect, you can use a variety of coloring agents to mimic the color of water. Synthetic dyes or food colorings are commonly used options. Experiment with different color ratios to achieve the desired hue.
- Add the coloring agent: Start by adding a small amount of the chosen coloring agent to the base material mixture. Mix it well and assess the color. If it’s too light, add more coloring; if it’s too intense, dilute it with more base material.
- Blend carefully: Use a stirring tool or a small whisk to slowly blend the coloring agent into the base material. Be gentle to avoid creating too many air bubbles. Gradually incorporate the coloring until the desired shade is achieved. Take breaks to assess the color and make adjustments if necessary.
- Consider transparency: If you want the fake water to appear translucent, avoid adding too much coloring agent. Transparency can be achieved by using a smaller amount of dye or diluting it with more base material.
- Strengthen the color (optional): If the color of your fake water appears too weak, you can add a few drops of the coloring agent directly into the mixture without diluting it. This will intensify the color and help it appear more vibrant in the vase.
By carefully mixing the ingredients, you can achieve a realistic water color that will enhance the overall visual appeal of your arrangement. Remember to balance the intensity of the coloring agent to achieve the desired effect and ensure it aligns with the objects you intend to place in the fake water.
Adding Color to the Mixture
Adding color to the fake water mixture is an essential step in creating a visually appealing and realistic effect. Through careful selection and application of color, you can enhance the illusion of water in your arrangement. Here’s how to add color to the mixture:
- Select the right coloring agent: Choose a coloring agent that matches the desired hue for your fake water. Synthetic dyes or food colorings are commonly used options. Consider the color you want to achieve and the intended look of your arrangement.
- Start with a small amount: Begin by adding a small amount of the coloring agent to the base material mixture. You can always add more later if needed. It’s better to start with less and build up the color gradually to avoid overpowering the mixture.
- Mix thoroughly: Use a stirring tool or whisk to blend the coloring agent into the base material. Make sure to mix it thoroughly to achieve an even distribution of color. Take your time to ensure there are no streaks or inconsistencies in the mixture.
- Assess and adjust: Test the color by pouring a small amount of the mixture into a transparent container. Observe the color under different lighting conditions to see if it matches your desired effect. If it’s too pale, add more coloring agent, and if it’s too intense, dilute the mixture with more base material.
- Experiment with different shades: Don’t be afraid to experiment with different color ratios to achieve the perfect shade for your fake water. Mix small batches with varying amounts of coloring agent to find the right balance. Remember, subtle variations in color can create a more realistic effect.
Adding color to the mixture is a crucial step in creating convincing fake water. It allows you to personalize and customize the appearance of your arrangement. Take your time to mix and adjust the color until you achieve the desired result. With the right colors, your fake water will bring life and vibrancy to your floral or decorative display.
Enhancing the Texture of the Fake Water
Creating a realistic texture is essential for making your fake water arrangement look convincing. By adding texture to the fake water, you can mimic the appearance of ripples, waves, or movement, making it even more lifelike. Follow these steps to enhance the texture of the fake water:
- Add a texture medium: Choose a texture medium that is safe to use in your fake water mixture. Common options include clear gel mediums or craft products specifically designed for creating water effects. These products are readily available at craft stores.
- Apply the texture medium: Once you have selected your texture medium, apply it to the surface of the fake water mixture. Use a small brush or a spatula to spread the medium across the top, creating the desired texture. You can apply it in circular motions to mimic ripples or in gentle strokes to create movement.
- Experiment with different techniques: Don’t be afraid to experiment with different techniques to achieve the desired texture effect. Try using the edge of a toothpick to create small waves or lightly drag a comb through the texture medium to add depth and detail. Play around with various tools and methods to find the texture that best suits your arrangement.
- Consider the scale: Take into account the size of your vase and the objects you plan to place in the fake water when enhancing the texture. Keep the texture scale consistent with the overall scale of your arrangement to maintain realism. For example, smaller ripples may work better for delicate flower displays, while larger waves can accentuate bolder decorative objects.
- Allow time to dry: After applying the texture medium, allow it to dry according to the instructions provided with the product. This will ensure that the texture sets properly and doesn’t smudge or lose its shape. Avoid touching or disturbing the texture while it is drying to maintain its integrity.
Enhancing the texture of the fake water adds depth and visual interest to your arrangement, making it look more realistic. The texture medium allows you to create intricate details and replicate the appearance of water movement. With a little experimentation and patience, you can achieve a stunning faux water display that will captivate and impress.
Pouring the Fake Water into the Vase
Once you have prepared the fake water mixture and enhanced its texture, it’s time to pour it into the vase and bring your arrangement to life. Follow these steps to ensure a smooth and successful pouring process:
- Prepare a clean workspace: Clear your workspace and make sure the vase is clean and free from any debris. This will help prevent any unwanted particles from contaminating the fake water.
- Hold the vase securely: Ensure that you have a firm grip on the vase before pouring the fake water. It’s important to have steady control to prevent any spills or accidents.
- Pour slowly and evenly: Start pouring the fake water into the vase slowly and evenly. Aim for the center of the vase to distribute the water evenly and avoid splashing or overflowing.
- Observe the level: As you pour, keep an eye on the water level in the vase. Stop pouring when it reaches your desired depth. Remember to leave some room at the top to accommodate the flowers or decorative objects you plan to place in the fake water.
- Check for air bubbles: After pouring the fake water into the vase, gently tap the sides of the vase or use a toothpick to remove any visible air bubbles. This will ensure a smoother and more realistic appearance.
- Wipe any spills: If there are any spills or drips on the outside of the vase, wipe them clean with a soft cloth or paper towel. This will help maintain the overall cleanliness and neatness of your arrangement.
Pouring the fake water into the vase is the crucial moment when your arrangement starts to take shape. Take your time and pour carefully to ensure a clean and visually appealing result. Once the fake water is in place, you can move on to the next step of adding flowers or decorative objects to complete your stunning display.
Placing Flowers or Decorative Objects in the Fake Water
Now that you’ve poured the fake water into the vase, it’s time to add the finishing touch to your arrangement by placing flowers or decorative objects in the fake water. This step will bring color, beauty, and a sense of realism to your display. Follow these steps to ensure a successful placement:
- Select your flowers or objects: Choose the flowers, foliage, or decorative objects that will complement the overall theme and style of your arrangement. Consider the size, color, and texture of the items to ensure they harmonize with the fake water and the vase.
- Prepare the stems (if applicable): If you’re using fresh flowers, trim the stems at an angle and remove any excess leaves or thorns. This will help the stems fit securely in the fake water and prevent any debris from clouding the transparency.
- Place the stems in the vase: Gently insert the stems of the flowers or objects into the fake water. Arrange them in a way that looks natural and visually pleasing. You can create a clustered arrangement or space them out evenly, depending on your desired aesthetic.
- Adjust the positioning: Take a step back and assess the arrangement. Make any necessary adjustments to the placement of the flowers or objects to achieve balance and symmetry. Tweak the angles, heights, and orientations to create a visually pleasing composition.
- Consider using floral foam (optional): If you’re working with artificial flowers or decorative objects that require extra stability, consider using floral foam at the bottom of the vase. This will help anchor the stems and keep everything in place.
- Experiment with different arrangements: Don’t be afraid to get creative and experiment with various floral combinations or mix in other decorative elements like stones or seashells to enhance the visual appeal. Let your personal style and creativity shine through in the arrangement.
Placing flowers or decorative objects in the fake water is the final step in creating your stunning display. Take your time to arrange the elements thoughtfully, ensuring they blend harmoniously with the fake water and the overall design of your arrangement. With careful placement, you can achieve a captivating and visually impressive centerpiece or decorative accent.
Adding Finishing Touches
With the flowers or decorative objects in place, you’re almost done creating your beautiful fake water arrangement. To elevate the overall look and add those final touches of detail, consider the following steps:
- Clean the vase: Take a moment to wipe down the outside of the vase with a soft cloth or paper towel. This will remove any fingerprints, dust, or residue, giving your arrangement a polished and clean appearance.
- Trim excess stems (if needed): If any stems are longer than desired or obstruct the visual flow of the arrangement, carefully trim them using sharp scissors or garden shears. This will ensure a neater and more cohesive display.
- Add foliage or fillers: Consider adding green foliage or fillers around the base of the flowers or decorative objects to enhance the visual appeal. These additional elements can add depth, texture, and a more natural look to the arrangement.
- Adjust the angles: Step back and assess the arrangement from different angles. Make any necessary adjustments to ensure a balanced and aesthetically pleasing display from all perspectives.
- Consider lighting: Experiment with different lighting options to highlight and showcase your arrangement. Soft, natural lighting or strategically placed accent lights can create a mesmerizing effect and draw attention to the beauty of the fake water and the objects within it.
- Personalize with accessories (optional): If desired, personalize your arrangement by adding accessories such as ribbons, decorative stones, or floating candles. These small touches can enhance the overall theme or style of your arrangement and make it uniquely yours.
- Refresh the arrangement periodically: Over time, the water or fake water may need refreshing due to evaporation or dust accumulation. Keep a close eye on your arrangement and make necessary changes or adjustments to maintain its freshness and visual impact.
Adding those final finishing touches to your fake water arrangement ensures it looks polished, complete, and ready to be showcased. By considering the small details and personalizing it to your taste, you can create a visually stunning display that adds beauty and charm to any space.
Caring for Your Fake Water Arrangement
While fake water arrangements require less maintenance than live floral displays, there are still some steps you can take to keep them looking fresh and vibrant for an extended period. Follow these care tips to ensure the longevity and beauty of your fake water arrangement:
- Dust regularly: Use a soft cloth or a feather duster to gently remove any dust or debris that may accumulate on the flowers, objects, or the surface of the fake water. Regular dusting will help maintain a clean and polished appearance.
- Avoid direct sunlight: Sunlight can cause fading or discoloration of the flowers and may affect the transparency of the fake water over time. Keep your arrangement in a location where it is shielded from direct sunlight.
- Keep away from heat sources: Placing your fake water arrangement near heat sources like radiators or vents can cause damage to the materials and make them more prone to wear and tear. Select a cool and well-ventilated area to ensure the longevity of your arrangement.
- Handle with care: When moving or adjusting your fake water arrangement, handle it with care to prevent any accidental damage. Securely grip the vase and avoid pulling or tugging on the flowers or objects. Gentle handling will help maintain the integrity and appearance of your arrangement.
- Store properly: If you need to temporarily store your fake water arrangement, make sure to protect it from dust and potential damage. Ideally, place it in a clean, dry container or cover it with a cloth or plastic wrap to prevent dust buildup or accidental breakage.
- Refresh the fake water: Over time, the fake water may become cloudy or lose its transparency. If this happens, it may be necessary to empty the vase and prepare a fresh batch of fake water mixture. Properly clean the vase before refilling it to ensure an optimal and clear appearance.
- Enjoy and appreciate: Finally, remember to take the time to appreciate and enjoy your beautiful fake water arrangement. Display it prominently in your home or office, and let it bring a touch of elegance and natural beauty to your environment.
By following these care guidelines, you can prolong the lifespan and visual appeal of your fake water arrangement. Regular maintenance and gentle handling will ensure that your arrangement remains a stunning focal point for years to come.