
Materials needed
To change the time on your Shark watch, you will need a few essential materials. Having these items ready will make the process easier and ensure that you can set the time accurately. Here’s what you’ll need:
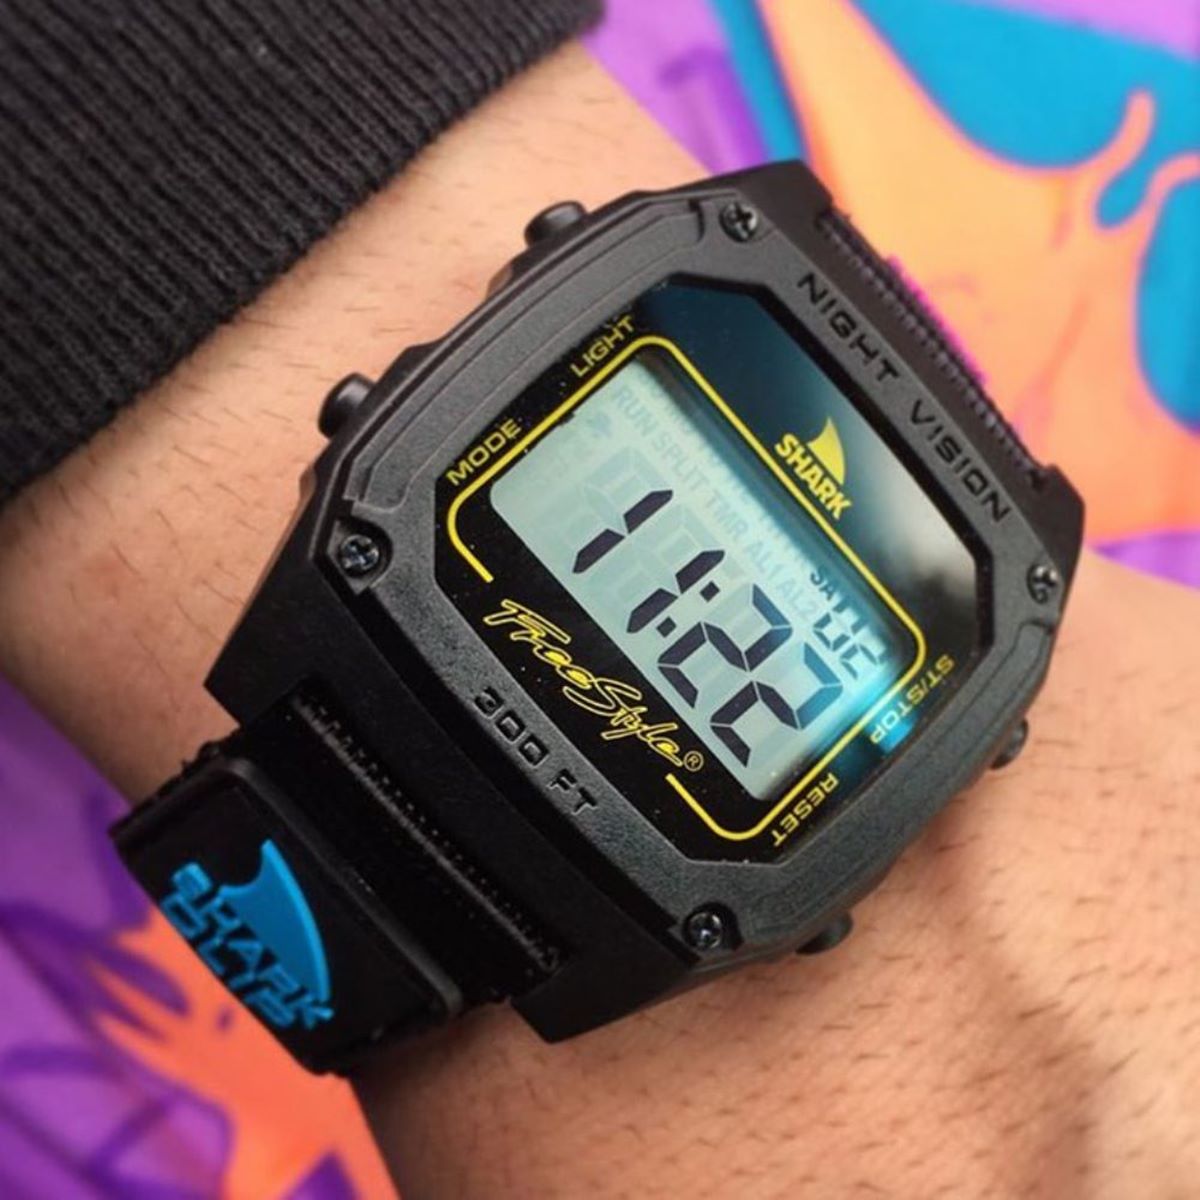
- A Shark watch – This is obvious, but make sure you have your Shark watch on hand.
- A stable surface – Find a quiet and stable surface where you can comfortably adjust the settings on your watch.
- A digital or analog watch – Depending on the type of Shark watch you have, you may need a digital or analog watch for reference.
- A reliable internet connection (optional) – If your Shark watch has smart capabilities, you may need a reliable internet connection to synchronize the time with an online server.
- A small tool or pin – Some Shark watches may require a small tool or pin to access certain buttons or adjust the time. Check your watch’s manual to see if you need any specialized tools.
Having these materials ready will ensure a smooth and seamless process when changing the time on your Shark watch. Once you have everything prepared, you can proceed to the next steps to adjust the time and customize other settings on your watch.
Step 1: Set the time
Setting the time on your Shark watch is the first step to ensure accurate timekeeping. Follow these simple instructions to set the time:
- Locate the “Time” button – Check your watch’s manual to find the specific location of the “Time” button. It is usually located on the side or bottom of the watch face.
- Press and hold the “Time” button – Press and hold the “Time” button until the time display starts flashing.
- Adjust the hour – Use the navigation buttons or crown to adjust the hour. Pay attention to whether it’s AM or PM and make the necessary changes.
- Confirm the hour – Once you’ve set the correct hour, press the “Time” button again to move on to the minute configuration.
- Adjust the minutes – Use the navigation buttons or crown to adjust the minutes. Take note of the exact minute and make precise adjustments if needed.
- Confirm the time – Once you’ve set the correct time, press the “Time” button for the final time to confirm and save the settings.
After following these steps, your Shark watch should display the correct time based on your settings. Double-check the time to ensure accuracy and make any necessary adjustments if needed.
Step 2: Adjust the date
In addition to setting the time, it’s important to keep the date on your Shark watch accurate. Follow these steps to adjust the date on your watch:
- Find the “Date” button – Refer to your watch’s manual to find the location of the “Date” button. It’s typically situated near the “Time” button.
- Press and hold the “Date” button – Press and hold the “Date” button until the date display starts flashing.
- Adjust the month – Use the navigation buttons or crown to adjust the month. Scroll through the months until you reach the correct one.
- Confirm the month – Once you’ve set the correct month, press the “Date” button to move on to the next setting.
- Adjust the day – Use the navigation buttons or crown to adjust the day. Ensure the day aligns with the current date.
- Confirm the date – Once you’ve set the correct date, press the “Date” button again to confirm and save the settings.
By following these steps, you can ensure that your Shark watch displays the accurate date. Remember to double-check the date to verify its correctness, especially during months with a different number of days.
Step 3: Customize additional settings
Aside from setting the time and date, Shark watches often offer additional customization options. These settings allow you to personalize your watch and tailor it to your preferences. Follow these steps to customize the additional settings:
- Access the settings menu – Look for a button or combination of buttons that allows you to access the settings menu. Refer to your watch’s manual for specific instructions.
- Navigate through the settings – Once in the settings menu, use the navigation buttons or crown to scroll through the available options.
- Adjust brightness and contrast – Many Shark watches offer the ability to adjust the brightness and contrast of the display. Find the brightness or display settings option and make the desired adjustments.
- Enable or disable alarms – If your watch has alarm functionality, locate the alarm settings and configure them to your preference. Set the desired time and choose whether you want the alarms to repeat daily or on specific days.
- Set up additional time zones – Some Shark watches allow you to set up multiple time zones if you frequently travel. Find the option to add additional time zones and input the desired cities or locations.
- Explore other features – Depending on your specific Shark watch model, there may be additional features to explore and customize. These can include stopwatch, countdown timer, and world time functionality. Refer to your watch’s manual for more information.
- Save the settings – After customizing the additional settings, make sure to save the changes. The process may vary depending on your watch model, so follow the on-screen instructions or refer to the manual.
By taking advantage of these additional customization options, you can make your Shark watch cater to your unique preferences and needs. Enjoy the flexibility and functionality that these settings provide.
Step 4: Troubleshooting common issues
While setting up your Shark watch, you may encounter some common issues. Don’t worry; these can typically be resolved with a few simple troubleshooting steps. Here are solutions for some common issues:
- Incorrect time display – If your Shark watch is displaying the incorrect time, double-check that you’ve followed the previous steps correctly. Make sure you’ve adjusted the time and date settings accurately. If the problem persists, try resetting the watch to its factory settings and repeat the setup process.
- Date not changing automatically – If the date on your Shark watch is not changing automatically at midnight, check the date configuration. Ensure that the watch is set to the correct time zone as this can impact the automatic date change. If the issue continues, refer to the watch’s manual for troubleshooting or contact customer support.
- Buttons not responding – If you’re experiencing unresponsive buttons, it could be due to dirt, debris, or moisture affecting the button contacts. Carefully clean the buttons with a soft cloth or toothbrush and make sure the watch is dry. If the problem persists, it may require professional repair.
- Battery life issues – If you notice that your Shark watch’s battery life is shorter than usual, check for any power-draining features that may be enabled, such as constant backlight or notifications. Disable unnecessary features and consider replacing the watch battery if it’s been a long time since the previous replacement.
- Syncing issues (for smart-capable watches) – If your Shark watch has smart capabilities and is not syncing with your phone or an online server, ensure that Bluetooth or Wi-Fi is enabled and working correctly. Also, check that you have the latest firmware or app version installed on both your watch and phone.
By troubleshooting these common issues, you can resolve any problems you may encounter while setting up or using your Shark watch. Remember to consult the watch’s manual or reach out to customer support if you need further assistance.
Step 5: Tips for maintaining accuracy
Once you’ve set up your Shark watch and ensured it is displaying the correct time and date, it’s important to take some steps to maintain its accuracy. Here are some helpful tips:
- Regularly check and adjust – Even if your Shark watch is known for its precision, it’s still a good idea to periodically check if the time and date are accurate. This is especially important during daylight saving time changes or when traveling to different time zones.
- Handle with care – Treat your Shark watch with care to prevent any damage that may affect its accuracy. Avoid exposing it to extreme temperatures, excessive moisture, or sharp impacts that could disrupt the internal mechanisms.
- Keep it clean – Clean the watch regularly to prevent any dirt or debris from clogging the buttons or affecting the display. Use a soft cloth or a toothbrush to gently remove any residue, and avoid using harsh chemicals that could damage the watch’s surface.
- Service when necessary – If you notice any significant issues with timekeeping, such as consistently losing or gaining time, it may be a sign that your Shark watch needs professional servicing. Take it to an authorized service center for a thorough check-up and adjustment.
- Ensure proper battery function – If your Shark watch is running on a battery, keep an eye on its lifespan. Replace the battery when it starts to weaken to maintain accuracy. Follow the manufacturer’s instructions or have it replaced by a professional.
- Stay updated – If your Shark watch has smart features, ensure that both the watch and any associated apps or firmware are kept up to date. Regular updates may include bug fixes or enhancements that improve accuracy and performance.
By following these tips, you can prolong the accuracy and reliability of your Shark watch. Enjoy wearing a timepiece that keeps you on track and stylishly complements your everyday activities.