
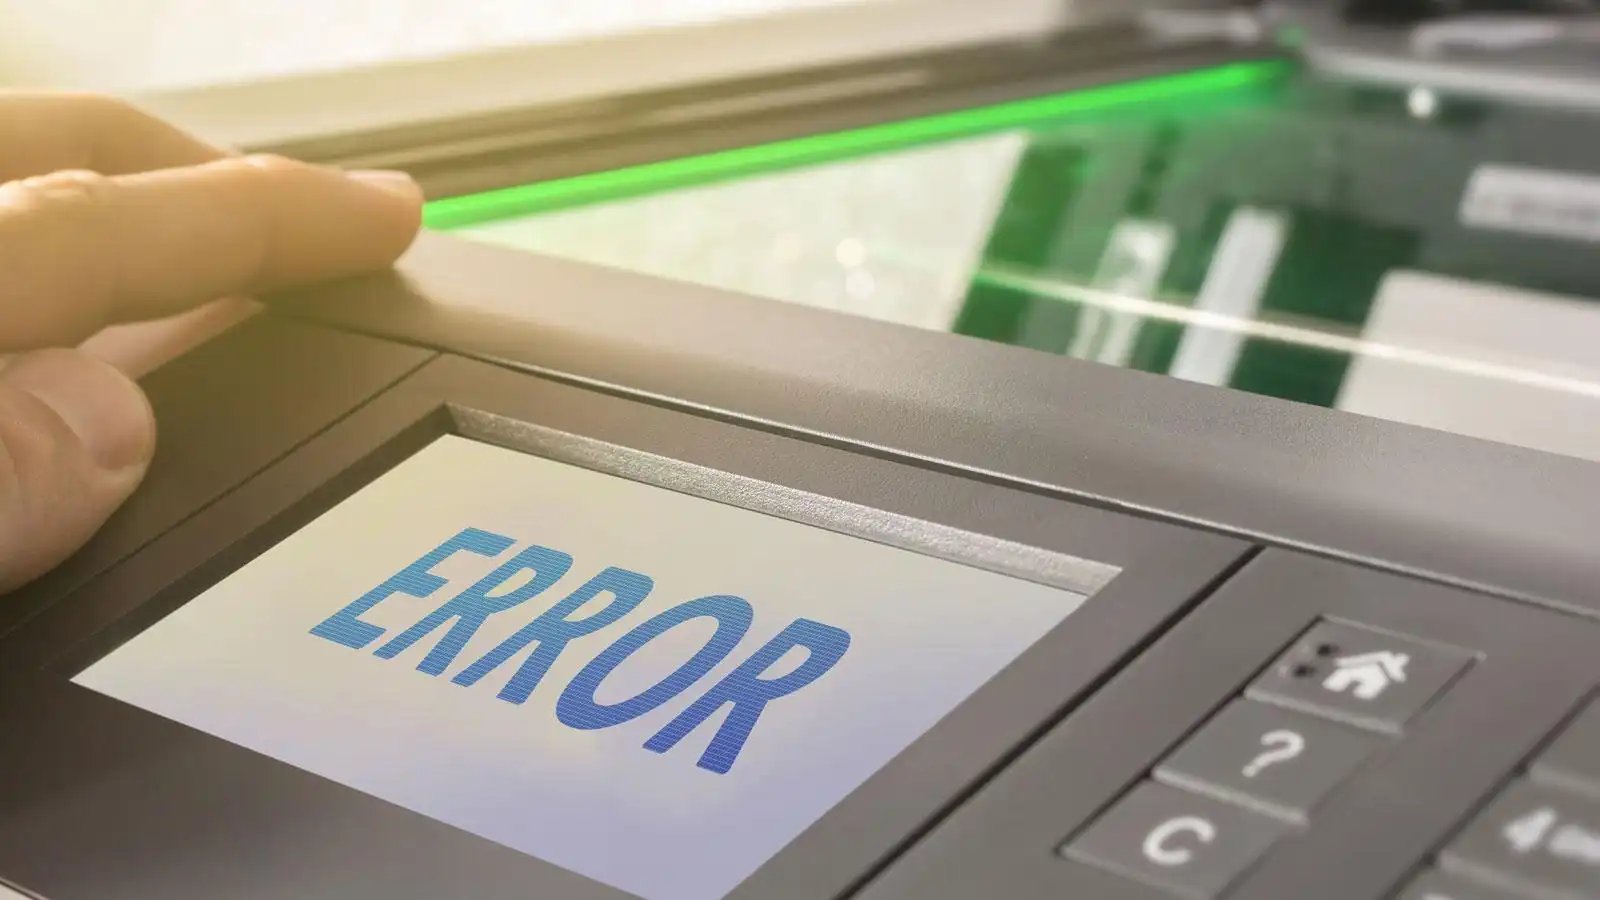
Common Causes for Scanner Connection Issues
When your scanner fails to connect to your computer, it can be frustrating and hinder your productivity. There are several common causes for these connection issues, and understanding them can help you troubleshoot and resolve the problem swiftly. Here are some of the most frequent culprits:
- USB Connection: A loose or faulty USB connection is a common reason for scanner connection issues. Ensure that the USB cable is securely plugged into both the scanner and the computer. Try using a different USB port or cable to see if that resolves the problem.
- Scanner Software Installation: Another common cause is improper installation or outdated scanner software. Check that the necessary software and drivers are properly installed on your computer. If not, reinstall the scanner software from the manufacturer’s website.
- Outdated Scanner Drivers: Outdated or incompatible scanner drivers can also disrupt the connection. Visit the manufacturer’s website and search for the latest drivers for your scanner model. Download and install the updated drivers to ensure compatibility.
- Power Issues: If your scanner is not powered on, it will not connect to your computer. Check that the scanner is plugged into a power source and turned on. Some scanners may have a power-saving mode, so ensure it is not in sleep or idle mode.
- Reboot Computer and Scanner: Sometimes, a simple reboot of both the computer and the scanner can resolve connectivity issues. Turn off both devices, wait for a few seconds, and then power them back on. This process can help reset any temporary glitches affecting the connection.
- Conflicts with Other Devices: Interference from other devices, such as printers or external hard drives, may disrupt the scanner connection. Disconnect any unnecessary USB devices and try connecting the scanner again to check if the problem is resolved.
- Firewall or Antivirus Software: In some cases, your computer’s firewall or antivirus software may block the scanner’s connection. Temporarily disable these security measures and see if the scanner connects. If it does, you can adjust the settings to allow the scanner’s connection while keeping your computer protected.
- Scanner Settings in Device Manager: Incorrect or conflicting scanner settings in the Device Manager can cause connection problems. Open the Device Manager, locate your scanner, and ensure that it is enabled and functioning correctly. Update the driver software if needed.
- Reset Scanner to Default Settings: Resetting your scanner to its default settings can help resolve connection issues caused by incorrect configurations. Refer to the scanner’s user manual or the manufacturer’s website to learn how to reset your scanner.
If you have tried all the troubleshooting steps above and your scanner still doesn’t connect to your computer, it may be helpful to contact the scanner manufacturer’s technical support. They can provide personalized assistance and guide you through more advanced troubleshooting options specific to your scanner model.
Check the USB Connection
A loose or faulty USB connection is one of the most common causes of scanner connection issues. Before diving into more complex troubleshooting, it’s essential to check and ensure that the USB connection is properly established between your scanner and computer. Here’s what you can do:
1. Confirm the USB Cable: Inspect the USB cable connecting your scanner to the computer. Make sure it is securely plugged into both the scanner and the computer’s USB port. Sometimes, the connection can come loose due to accidental tugs or movement. Reinsert the cable if necessary and ensure it fits snugly.
2. Try a Different USB Port or Cable: If the USB connection is intact but your scanner still doesn’t connect, try using a different USB port on your computer. Sometimes, a particular USB port may have issues. If possible, test the scanner with another USB cable to rule out any cable-related problems.
3. Check for Bent or Damaged Pins: Inspect the USB ports on both the scanner and the computer for bent or damaged pins. Misaligned or damaged pins can prevent a proper connection. If you notice any issues, use caution and gently straighten the bent pins using a small tool like a toothpick or a thin needle.
4. Restart the Scanner and Computer: Sometimes, a simple restart can resolve temporary connection issues. Turn off both the scanner and your computer, then wait for a few seconds before turning them back on. This helps to clear any minor glitches and refresh the connection.
5. Check USB Port Power: Some USB ports may not provide enough power to properly operate the scanner. If you’re using a USB hub, try connecting the scanner directly to a USB port on your computer. USB 3.0 ports generally provide more power than USB 2.0 ports and may offer better compatibility.
By carefully examining and ensuring a secure USB connection, you can often resolve connection issues with your scanner. However, if the problem persists, you may need to explore other troubleshooting steps and investigate other potential causes.
Ensure the Scanner Software is Installed Properly
Proper installation of the scanner software is crucial for establishing a successful connection between your scanner and computer. If the scanner software is not installed correctly or is outdated, it can cause connection issues. Follow these steps to ensure the scanner software is installed properly:
1. Check Software Compatibility: Verify that the scanner software you downloaded is compatible with your operating system. Some older scanner models may not have compatible software for newer operating systems. In such cases, check the manufacturer’s website for any available updates or alternative software options.
2. Ensure Complete Installation: If you have previously installed the scanner software, make sure it is fully installed. Incomplete or interrupted installations can lead to connection problems. Uninstall the current software, restart your computer, and reinstall the scanner software following the manufacturer’s instructions.
3. Use Original Manufacturer Software: It’s always recommended to use the official scanner software provided by the manufacturer. Third-party software may lack necessary drivers or features required for a stable connection. Visit the manufacturer’s website and download the latest version of the software specifically designed for your scanner model.
4. Run Scanner Software as Administrator: Sometimes, permission issues can hinder the scanner software from running smoothly. Right-click on the scanner software icon and select “Run as administrator” to give it the necessary privileges. This can help resolve any access-related problems that may be interfering with the connection.
5. Update the Scanner Software: Outdated software can also disrupt the connection between the scanner and computer. Check the manufacturer’s website regularly for any available software updates. Download and install the latest version to ensure optimal compatibility and performance.
Remember to restart your computer after installing or updating the scanner software to ensure the changes take effect. If you encounter any error messages during the installation process, take note of them and consult the manufacturer’s support documentation or contact their technical support for further assistance.
By following these steps, you can ensure that the scanner software is installed properly on your computer, minimizing the chances of encountering connection issues.
Update Scanner Drivers
Outdated or incompatible scanner drivers can often be the culprit behind scanner connection issues. Drivers act as a bridge between your scanner and computer, allowing them to communicate effectively. If your scanner drivers are outdated or incompatible, it can lead to connectivity problems. Here’s how you can update your scanner drivers:
1. Identify the Scanner Model: Determine the specific model of your scanner. You can usually find this information on the scanner itself or in the documentation that came with it. Alternatively, you can check the manufacturer’s website for a list of supported scanner models.
2. Visit the Manufacturer’s Website: Go to the official website of the scanner’s manufacturer. Look for the “Support” or “Drivers” section on their website.
3. Find the Latest Driver: Locate the latest driver for your scanner model. Most manufacturers provide a search function where you can enter the model number or browse through a list of available drivers. Download the driver that matches your operating system.
4. Install the Driver: Once the driver is downloaded, locate the file and double-click on it to start the installation process. Follow the on-screen prompts to complete the installation. Restart your computer after the installation is finished to ensure the changes take effect.
5. Automatic Driver Update Tools: Alternatively, you can use automatic driver update tools to simplify the process. These tools scan your computer, identify outdated or missing drivers, and download the latest versions for you. Popular driver update tools include Driver Booster, Driver Easy, and Snappy Driver Installer. However, exercise caution and use reputable software from trusted sources.
Regularly checking for driver updates is important as manufacturers release new drivers to address compatibility issues and improve performance. It’s recommended to set up automatic updates or periodically visit the manufacturer’s website to ensure you have the latest drivers installed.
If updating the scanner drivers doesn’t resolve the connection issues, you may need to explore other troubleshooting steps or contact the manufacturer’s technical support for further assistance.
Check if the Scanner is Powered On
One of the simplest yet often overlooked causes of scanner connection issues is forgetting to power on the scanner itself. It may seem obvious, but sometimes a scanner not being powered on can lead to frustration and confusion. To ensure your scanner is powered on and ready to connect, follow these steps:
1. Verify the Power Source: Check that your scanner is connected to a power source. Ensure that the power cord is securely plugged into the scanner and the power outlet. If it’s connected to a surge protector or power strip, make sure that the power strip is switched on as well.
2. Look for Indicator Lights: Most scanners have indicator lights that signify when they are powered on. Look for any lights on the scanner that indicate it’s receiving power. If you don’t see any lights, press the power button on the scanner to turn it on. Refer to the scanner’s user manual if you’re unsure of its power button’s location.
3. Check for Sleep or Idle Modes: Some scanners have power-saving features that put them into sleep or idle modes after a period of inactivity. If your scanner has been idle for an extended time, it may have entered one of these modes. Press any button on the scanner or follow the instructions in the user manual to wake it up from sleep or idle mode.
4. Inspect Cables and Connections: Ensure that all cables connecting the scanner to the power source are securely plugged in. If the power cord is detachable, try disconnecting and reconnecting it to the scanner. Sometimes, a loose connection can prevent the scanner from receiving power properly.
5. Restart the Scanner: If you’ve checked all the connections and the scanner still doesn’t appear to be powered on, try restarting it. Turn off the scanner, wait for a few seconds, and then turn it back on. This can help reset any temporary issues or glitches that may have affected the scanner’s power.
By confirming that your scanner is properly powered on, you can eliminate a simple and easily fixable reason for connection issues. If, after powering on the scanner, the connection problem persists, proceed to explore other troubleshooting steps.
Reboot Your Computer and Scanner
When encountering scanner connection issues, performing a simple reboot of both your computer and scanner can often resolve the problem. Restarting these devices can help clear temporary glitches and refresh the connection. Follow these steps to reboot your computer and scanner:
1. Save and Close any Open Programs: Before rebooting, save your work and close any open programs or documents. This ensures that you don’t lose any unsaved data or encounter any errors during the reboot process.
2. Turn off the Scanner: Locate the power button or switch on your scanner and turn it off. Wait for a few seconds to ensure that the scanner is completely powered down.
3. Shut Down the Computer: Click on the “Start” menu in the bottom left corner of your computer screen, then select “Shut Down” or “Restart”. Wait for the computer to completely shut down before proceeding to the next step.
4. Power on the Scanner: Once the computer has shut down, turn the scanner back on by pressing the power button or switch. Wait for the scanner to fully power up before proceeding.
5. Start the Computer: Press the power button on your computer to turn it back on. Wait for the operating system to load and the desktop to appear.
6. Check the Connection: After both the computer and the scanner have restarted, check the connection by attempting to scan a document. Open the scanner software or use the built-in scanning features of your operating system to test the connection.
If the scanner still fails to connect after the reboot, try repeating the process once more, ensuring that both the computer and scanner are fully powered off before starting again. If the connection issue persists, further troubleshooting may be required.
Rebooting your computer and scanner can often resolve temporary connection issues caused by software glitches or conflicts. It provides a fresh start for both devices and helps establish a stable connection for scanning tasks.
Check for Conflicts with Other Devices
Conflicts with other devices connected to your computer can sometimes interfere with the connection of your scanner, resulting in connection issues. It’s important to identify and resolve any conflicts to ensure a smooth and uninterrupted scanning experience. Here are some steps to check for conflicts with other devices:
1. Disconnect Unnecessary Devices: Disconnect any unnecessary USB devices from your computer, especially those connected to neighboring USB ports. These devices can sometimes cause interference and impact the scanner’s connection. Leave only the essential devices connected, such as your keyboard and mouse.
2. Try Different USB Ports: If your scanner is connected to a USB hub or a port that is shared with other devices, try connecting it directly to a USB port on your computer. USB hubs can sometimes cause conflicts and reduce the available power for the scanner, resulting in connection issues.
3. Update Device Drivers: Ensure that the drivers for all connected devices are up to date. Outdated or incompatible drivers can cause conflicts with the scanner and may prevent it from connecting properly. Check the manufacturer’s websites for the latest drivers and install them accordingly.
4. Restart Your Computer: A simple restart of your computer can help resolve conflicts with other devices. Sometimes, a temporary glitch or conflict can be cleared by restarting the system. This process also refreshes the USB connections and can help establish a stable connection for the scanner.
5. Use Different USB Cables: If you suspect that the USB cable you are using is causing conflicts, try a different USB cable. Some cables may not be fully compatible or may have issues that interfere with the scanner’s connection. Use a high-quality USB cable that is known to work well with scanning devices.
6. Check for Interference: External factors, such as electromagnetic interference, can disrupt the communication between your scanner and computer. Keep your scanner away from sources of interference, such as large speakers, power supplies, or wireless routers. Additionally, avoid placing your scanner near other electronic devices that may generate electromagnetic waves.
By checking for conflicts with other devices and implementing these troubleshooting steps, you can help ensure that your scanner connects properly to your computer. If the connection issues persist, further investigation may be necessary.
Disable Firewall or Antivirus Software Temporarily
Firewall or antivirus software on your computer can sometimes block the connection between your scanner and computer. While these security measures are essential for protecting your system, they can inadvertently interfere with the scanner’s communication. Disabling the firewall or antivirus software temporarily can help determine if they are causing the connection issues. Here’s how you can do it:
1. Disable Firewall: To disable the firewall on your computer, go to the Control Panel or system settings. Look for the “Windows Firewall” or “Firewall and Network Protection” option. Once you access the firewall settings, choose the option to turn off the firewall. Remember to note the current state of the firewall so you can re-enable it once you’ve tested the scanner’s connection.
2. Disable Antivirus Software: Depending on the antivirus software you’re using, the steps to disable it may vary. Most antivirus software includes an icon in the system tray or an option in the settings menu to disable protection temporarily. Locate the antivirus software’s icon or open the software’s settings to find the option to disable real-time protection or the entire antivirus program. Again, make a note of the antivirus software’s current state to re-enable it once you’ve tested the scanner’s connection.
3. Test the Scanner: After disabling the firewall or antivirus software, attempt to connect and use the scanner. Open the scanner software or use the operating system’s built-in scanning function to check if the connection is successful. If the scanner connects and functions correctly, it indicates that the firewall or antivirus software was causing the connection issues.
4. Re-enable Firewall and Antivirus Software: Once you’ve finished testing the scanner’s connection, re-enable the firewall and antivirus software following the same steps used to disable them. It’s important to keep these security measures enabled to protect your computer from potential threats.
Please note that disabling the firewall or antivirus software should only be done temporarily for the purpose of troubleshooting the scanner connection. Leaving these security measures disabled for an extended period can leave your computer vulnerable to threats. If disabling the firewall or antivirus software doesn’t resolve the connection issues, try exploring other troubleshooting options or seek assistance from the manufacturer’s technical support.
Configure Scanner Settings in Device Manager
If your scanner is not connecting properly to your computer, there may be incorrect or conflicting settings in the Device Manager. The Device Manager allows you to manage and configure the hardware devices connected to your computer, including your scanner. Follow these steps to configure the scanner settings in Device Manager:
1. Open Device Manager: Right-click on the “Start” button in the lower-left corner of your screen and select “Device Manager” from the context menu. Alternatively, you can press the Windows key + X and choose “Device Manager” from the menu.
2. Locate the Scanner: In the Device Manager window, expand the category labeled “Imaging devices” or “Scanners”. This should display your scanner model. If you can’t find your scanner in these categories, look for any unknown devices or devices with a yellow exclamation mark icon, as they may represent your scanner.
3. Check Scanner Status: Double-click on the scanner’s entry to open its properties. In the General tab, check the status of the scanner. It should display “This device is working properly”. If it shows any other status, such as “Error Code 10”, there may be a problem with the scanner’s drivers or compatibility.
4. Update or Roll Back Drivers: In the properties window of the scanner, navigate to the Driver tab. Here, you have two options. You can either click on “Update Driver” to search for the latest drivers online and install them automatically. Alternatively, if you recently updated the scanner drivers and are experiencing issues, you can click on “Roll Back Driver” to revert to the previous version.
5. Enable the Scanner: If the scanner is disabled, go to the General tab in the properties window and click on “Enable Device” if it’s available. This will allow the Device Manager to recognize and enable the scanner for use.
6. Uninstall and Reinstall the Scanner: If the previous steps didn’t resolve the connection issue, you can try uninstalling the scanner from Device Manager. Right-click on the scanner’s entry and select “Uninstall device”. Once uninstalled, disconnect the scanner, restart your computer, and reconnect the scanner. Windows should automatically reinstall the necessary drivers.
By properly configuring the scanner settings in Device Manager, you may be able to resolve any conflicts or issues that are impacting the connection between your scanner and computer. If the connection problem persists, you may need to explore other troubleshooting options or seek assistance from the manufacturer’s technical support.
Reset the Scanner to Default Settings
If resolving scanner connection issues through other methods hasn’t been successful, resetting the scanner to its default settings can often help. Resetting the scanner clears any custom settings or configurations that may be causing the connection problem. Here’s how you can reset your scanner to default settings:
1. Refer to the Scanner Manual: Consult the user manual that came with your scanner. Look for information about resetting the scanner to its default settings. The manual should provide specific instructions on how to perform a reset, as the process may vary depending on the scanner model.
2. Online Support: If you don’t have the physical user manual or can’t find the instructions in it, visit the manufacturer’s website for support. Look for the support section or search for your scanner model to find troubleshooting guides or instructions on resetting the scanner.
3. Follow the Reset Procedure: Once you have located the instructions, follow them carefully to reset the scanner to its default settings. This typically involves pressing specific buttons or using a combination of buttons on the scanner. The reset procedure may take a few moments, so be patient and follow the instructions exactly as provided.
4. Power Cycling: After performing the reset, power cycle the scanner by turning it off and then on again. This helps ensure that the reset takes effect and clears any residual data or settings.
5. Reconfigure Settings: After the scanner has been reset to its default settings, you may need to reconfigure certain settings, such as the scan resolution, scan quality, or network settings. Consult the user manual or the manufacturer’s support resources to set up the scanner according to your preferences.
By resetting the scanner to its default settings, you eliminate any customized configurations that may be causing the connection issues. This allows you to start fresh and establish a new connection between your scanner and computer. However, if the connection problem persists, you may need to explore other troubleshooting steps or contact the manufacturer’s technical support for further assistance.
Contact Technical Support
If you have exhausted all troubleshooting options and your scanner still fails to connect to your computer, contacting the manufacturer’s technical support is your next step. Technical support teams are equipped with the knowledge and resources to provide guidance and assistance in resolving complex scanner connection issues. Here’s what you can do:
1. Visit the Manufacturer’s Website: Go to the official website of the scanner manufacturer. Look for a “Support” or “Contact Us” section. There, you should find information on how to get in touch with their technical support team. Many manufacturers provide different means of communication, such as phone, email, or live chat.
2. Provide Detailed Information: When contacting technical support, be prepared to provide specific details about the issue you are experiencing. Include information such as the scanner model, the operating system you are using, any error messages you have encountered, and the troubleshooting steps you have already attempted. The more detailed your description, the better equipped the technical support team will be to assist you.
3. Follow Their Recommendations: The technical support team may ask you to perform additional troubleshooting steps or provide specific instructions to help diagnose and resolve the connection issue. Follow their recommendations carefully, providing feedback on the results of each step and asking for clarification if necessary.
4. Provide Feedback and Ask Questions: During your communication with technical support, don’t hesitate to ask questions or seek clarification if you don’t understand something. Similarly, provide feedback on the effectiveness of the suggested solutions and let them know if you encounter any difficulties along the way. Open and clear communication is key to finding a solution that works for you.
5. Explore Warranty Coverage: Depending on the warranty terms of your scanner, technical support may be able to assist you with repairs or replacements if the issue is hardware-related. Consult your scanner’s warranty documentation or inquire with the technical support team about any warranty coverage options available to you.
Technical support is there to assist you in resolving complex scanner connection issues that may go beyond what you can do on your own. Utilize their expertise and resources to find the most suitable solution for your specific situation.
If your scanner is out of warranty or if the technical support’s suggestions don’t resolve the issue, you may consider seeking help from a professional technician or considering alternative options for scanning documents.