
What is an MRIMG file?
An MRIMG file, also known as a Macrium Reflect Image file, is a type of disk image file that contains a complete backup of a hard drive or partition. It is created using Macrium Reflect, a popular backup and cloning software for Windows operating systems.
When you create a backup using Macrium Reflect, it creates an MRIMG file that contains a snapshot of the entire system or specific partitions. This file includes not only the files and folders stored on the disk but also the system configuration, installed operating system, and application settings.
MRIMG files are vital for data recovery and system restoration as they provide a point-in-time backup of the entire system. In the event of a system failure, hardware malfunction, or accidental deletion, you can use an MRIMG file to restore your computer to its previous state.
These files are particularly useful when migrating to a new computer or upgrading your operating system. You can simply restore the MRIMG file onto the new system, saving time and effort in reinstalling software and configuring settings.
MRIMG files are typically large due to their comprehensive nature. However, they offer a high level of compression to minimize the storage space required. This is especially helpful when creating frequent backups, ensuring you do not run out of storage space.
It is important to note that MRIMG files are specific to Macrium Reflect and cannot be opened or restored using other backup or imaging software. Therefore, it is essential to keep a backup of the Macrium Reflect software or create a bootable USB drive with the software in case you need to access the MRIMG file on a different system.
How is an MRIMG file created?
To create an MRIMG file, you will need to have Macrium Reflect installed on your Windows computer. Follow the steps below to create an MRIMG file:
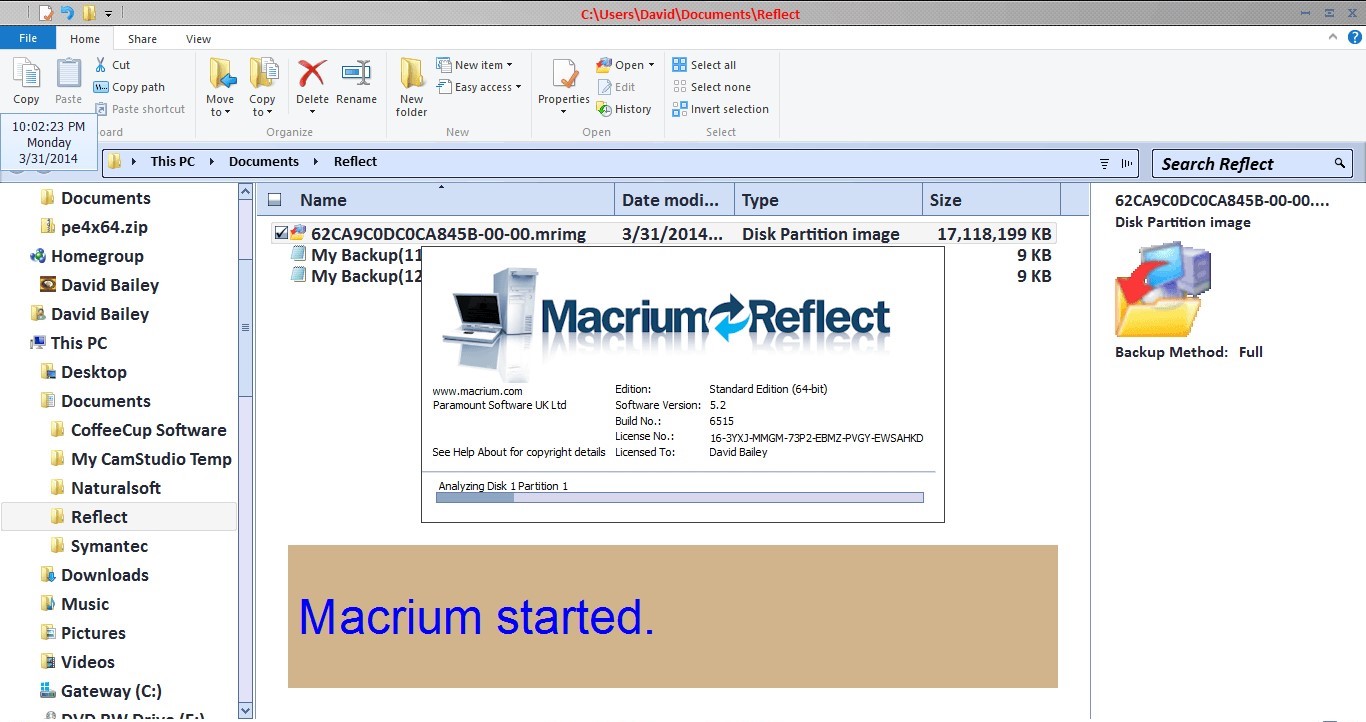
- Launch Macrium Reflect on your computer.
- In the main interface, click on the “Create a backup” option.
- Choose the source disk or partition that you want to create a backup of.
- Select the destination where you want to save the MRIMG file. You can choose an external hard drive, network location, or another partition on your computer.
- Customize the backup settings according to your preference. You can choose to compress the file, encrypt it for added security, and select the backup type (full, differential, or incremental).
- Review the summary of the backup settings and click on the “Finish” button to start the backup process.
- Macrium Reflect will now create an MRIMG file of the selected disk or partition. The time it takes to create the backup will depend on the size of the data and the performance of your computer.
- Once the backup process is complete, you will have an MRIMG file that contains a snapshot of the selected disk or partition.
It is recommended to regularly create MRIMG files to ensure you have up-to-date backups of your data and system configuration. By doing so, you can easily restore your computer to a previous state in case of any unforeseen events or data loss.
What software is used to open an MRIMG file?
An MRIMG file, created by Macrium Reflect, can only be opened and restored using Macrium Reflect software. Macrium Reflect is a feature-rich backup and disk imaging software specifically designed for Windows operating systems.
Macrium Reflect provides a user-friendly interface that allows you to browse and restore specific files or entire partitions from an MRIMG file. It also offers various options for system recovery, disk cloning, and scheduled backups.
In order to open an MRIMG file, you need to have Macrium Reflect installed on your Windows computer. If you don’t have the software installed, you will not be able to directly access the contents of the MRIMG file.
Once you have Macrium Reflect installed, follow the steps below to open an MRIMG file:
- Launch Macrium Reflect on your computer.
- Click on the “Restore” tab in the main interface.
- From the left panel, select the location where the MRIMG file is stored.
- Locate the MRIMG file and select it.
- In the right panel, you will see the contents of the MRIMG file, including partitions, folders, and files.
- Select the files or partitions that you want to restore and choose the destination where you want to restore them.
- Click on the “Restore” button to start the restoration process.
Macrium Reflect will then restore the selected files or partitions from the MRIMG file to the specified destination. It is important to note that restoring an MRIMG file will overwrite any existing data in the target location, so ensure that you have adequate backups and confirm the restoration options before proceeding.
How to open an MRIMG file using Macrium Reflect?
To open an MRIMG file using Macrium Reflect and access its contents, follow the steps below:
- Launch Macrium Reflect on your Windows computer.
- In the main interface, click on the “Restore” tab.
- On the left-hand side, navigate to the location where the MRIMG file is stored. This can be an external hard drive, network location, or another partition on your computer.
- Select the MRIMG file that you want to open.
- In the right-hand side window, you will see the contents of the MRIMG file, including partitions, folders, and files.
- You can browse through the file system and navigate to specific folders or files within the MRIMG file.
- To extract individual files or folders from the MRIMG file, select them and click on the “Copy Selected Files” button.
- Choose a destination folder on your computer where you want to extract the selected files or folders.
- Macrium Reflect will then copy the selected files or folders from the MRIMG file to the specified destination folder.
Opening an MRIMG file using Macrium Reflect allows you to selectively access and extract specific files or folders from the backup image. This can be helpful when you need to retrieve specific data without restoring the entire system or partition.
It’s important to note that when opening an MRIMG file, you should have Macrium Reflect installed on your computer. Macrium Reflect is specifically designed to work with MRIMG files and provides the necessary tools and features to access and restore the backup image.
Can an MRIMG file be converted to other formats?
No, an MRIMG file, created by Macrium Reflect, cannot be directly converted to other formats. MRIMG files are proprietary disk image files specifically designed to work with Macrium Reflect software for backup and restoration purposes.
Macrium Reflect uses its own file format to store the disk image, which includes not only the files and folders but also the system configuration and settings. This file format is optimized for capturing a complete snapshot of a system or specific partitions, ensuring a reliable and comprehensive backup.
While you cannot convert an MRIMG file to a different format, Macrium Reflect provides various options for restoring the data from the MRIMG file. You can restore the entire system or specific partitions to the original location or a different disk. Additionally, you can extract individual files or folders from the MRIMG file and save them to a separate location on your computer.
If you need to convert the contents of an MRIMG file to a different format, such as a virtual machine image or a different backup software’s format, you would first need to restore the backup using Macrium Reflect and then use other software or tools to perform the necessary conversion.
It’s worth mentioning that Macrium Reflect offers a range of features and options to meet various backup and restoration needs. If you require the capability to convert backup images to different formats, you may explore alternative backup software that supports the desired conversion functionality.
How to restore data from an MRIMG file?
To restore data from an MRIMG file created by Macrium Reflect, you can follow these step-by-step instructions:
- Launch Macrium Reflect on your Windows computer.
- Click on the “Restore” tab in the main interface.
- In the left panel, navigate to the location where the MRIMG file is stored. This can be an external hard drive, network location, or another partition on your computer.
- Select the MRIMG file that contains the data you want to restore.
- In the right panel, you will see the contents of the MRIMG file, including partitions, folders, and files.
- Select the specific partition or files that you want to restore. You can choose to restore the entire system or individual files and folders.
- Choose the destination where you want to restore the data. It can be the original location or a different partition or disk.
- Review the restore options and ensure they are set according to your preferences. You can choose to overwrite existing files, resize partitions, or exclude specific files or folders.
- Click on the “Restore” button to initiate the data restoration process.
- Macrium Reflect will restore the selected data from the MRIMG file to the specified destination. The time it takes will depend on the size of the data and the performance of your system.
- Once the restoration process is complete, you can access the restored data in the destination location you specified.
Restoring data from an MRIMG file allows you to recover files, folders, and even system configurations in the event of data loss, system failure, or hardware malfunction. It provides a convenient way to retrieve your important data and restore your system to a previous state.
It’s important to note that the specific restoration options and features may vary slightly depending on the version of Macrium Reflect you are using. It’s recommended to carefully review the documentation or user guide provided by Macrium Reflect for more detailed instructions relevant to your specific version.
What are the limitations of an MRIMG file?
While MRIMG files created by Macrium Reflect offer a reliable and comprehensive backup solution, it is important to be aware of their limitations. Here are some of the limitations of an MRIMG file:
- Compatibility: MRIMG files are specific to Macrium Reflect software and cannot be directly opened or restored using other backup or imaging software. To access the contents of an MRIMG file, you need to have Macrium Reflect installed on your computer.
- Windows Compatibility: Macrium Reflect is primarily designed for Windows operating systems. As a result, MRIMG files may not be compatible with other operating systems, such as macOS or Linux. You may need third-party software to convert or restore MRIMG files on non-Windows platforms.
- File-Level Restoration: While Macrium Reflect allows you to extract individual files or folders from an MRIMG file, it is primarily a disk imaging tool focused on system-level backups. As a result, file-level restoration may not be as efficient or granular as in dedicated file backup tools.
- Storage Space: MRIMG files can be quite large, especially for full system backups. This means you need to ensure you have sufficient storage space available to store these files. However, Macrium Reflect provides options for compression to minimize the storage requirements.
- Restoration Time: Restoring an MRIMG file, especially for full system backups, can be time-consuming. The time it takes to restore a backup depends on the size of the MRIMG file, system resources, and any additional configurations required during the restoration process.
- Version Compatibility: It is important to ensure compatibility between the version of Macrium Reflect used to create the MRIMG file and the version being used for restoration. Using different versions may result in compatibility issues and the inability to restore data successfully.
Despite these limitations, MRIMG files remain a powerful and essential tool for system backup and restoration. They provide a comprehensive snapshot of your system configuration and data, offering peace of mind in the event of system failures, data loss, or migration to new hardware.
How to compress an MRIMG file?
Compressing an MRIMG file created by Macrium Reflect can help reduce its size, making it more manageable and requiring less storage space. Macrium Reflect provides built-in options for compressing MRIMG files during the backup process. Here’s how you can compress an MRIMG file:
- Launch Macrium Reflect on your Windows computer.
- Click on the “Create a backup” option in the main interface.
- Select the source disk or partition that you want to back up.
- Choose the destination where you want to save the MRIMG file. This can be an external hard drive, network location, or another partition on your computer.
- In the backup options, navigate to the “Advanced” tab.
- Enable the compression option by checking the box next to “Compress Image.” You can choose between different compression levels, such as “None,” “Fast,” “Medium,” or “Best.”
- Customize any other backup settings according to your requirements, such as encryption, backup type, or scheduling options.
- Review the backup summary and click on the “Finish” button to start the backup process.
- Macrium Reflect will create the MRIMG file with the specified compression level.
The compression level you choose will affect the size and speed of the backup process. A higher compression level will result in a smaller MRIMG file but may take longer to create. On the other hand, a lower compression level will produce a larger MRIMG file but will be quicker to create.
It is important to note that while compression reduces the size of the MRIMG file, it may extend the time required to restore the backup. The restoration process involves decompressing the file, so keep this in mind when choosing the compression level.
Compressing MRIMG files is particularly useful when you need to conserve storage space without sacrificing the integrity and completeness of your backups. It allows you to create frequent backups while minimizing the impact on disk space usage.
Additionally, Macrium Reflect also offers features like Intelligent Sector Copy, which further optimizes the backup process by copying only used sectors of the disk, resulting in even smaller MRIMG files.
How to extract individual files from an MRIMG file?
Macrium Reflect allows you to easily extract individual files or folders from an MRIMG file created through the backup process. Here are the steps to extract specific files from an MRIMG file:
- Launch Macrium Reflect on your Windows computer.
- Click on the “Restore” tab in the main interface.
- In the left panel, navigate to the location where the MRIMG file is stored. This can be an external hard drive, network location, or another partition on your computer.
- Select the MRIMG file that contains the files you want to extract.
- In the right panel, you will see the contents of the MRIMG file, including partitions, folders, and files.
- Navigate through the file system and locate the specific files or folders you want to extract.
- Select the files or folders by clicking on them. You can select multiple files or folders by holding down the Ctrl key.
- Once you have selected the desired files, click on the “Copy Selected Files” button located in the toolbar.
- Choose the destination folder on your computer where you want to extract the selected files.
- Macrium Reflect will extract the selected files from the MRIMG file and save them to the specified destination folder.
By extracting individual files from an MRIMG file, you can conveniently access specific data without requiring a full system or partition restoration. This feature is particularly useful when you only need to retrieve specific files or folders from a backup image.
Keep in mind that the extracted files will retain their original directory structure, making it easier to organize and use them. The extracted files can be used just like any other files on your computer, allowing you to selectively recover and utilize important data from your backups.
Macrium Reflect’s ability to extract individual files from an MRIMG file offers flexibility and convenience when it comes to accessing and recovering specific data from your backups.
How to verify the integrity of an MRIMG file?
Ensuring the integrity of an MRIMG file is essential to guarantee that it is free from errors and corruption. Macrium Reflect provides a built-in feature to verify the integrity of an MRIMG file during the backup process. Follow these steps to verify the integrity of an MRIMG file:
- Launch Macrium Reflect on your Windows computer.
- Click on the “Create a backup” option in the main interface.
- Select the source disk or partition that you want to back up.
- Choose the destination where you want to save the MRIMG file, such as an external hard drive or network location.
- In the backup options, navigate to the “Advanced” tab.
- Enable the “Verify Image” option by checking the box next to it.
- Customize any other backup settings according to your requirements, such as compression, encryption, backup type, or scheduling options.
- Review the backup summary and click on the “Finish” button to start the backup process.
- Macrium Reflect will create the MRIMG file and then verify its integrity by comparing the original files to the backup image.
- A verification report will be generated, indicating whether the MRIMG file is intact or if any errors were detected.
Verifying the integrity of an MRIMG file ensures that the backup image accurately represents the original data. This step is crucial in validating the reliability and completeness of the backup.
If the verification process detects any errors or inconsistencies, it is important to address them promptly. You may need to create a new backup or investigate the cause of the integrity issues, such as disk errors or hardware problems.
Regularly verifying the integrity of MRIMG files allows you to have confidence in the accuracy and integrity of your backups. It provides an additional layer of reassurance that your data is protected and can be successfully restored when needed.
It’s worth mentioning that verification adds a small amount of extra time to the backup process, but it is a valuable step to ensure the reliability of your backups.